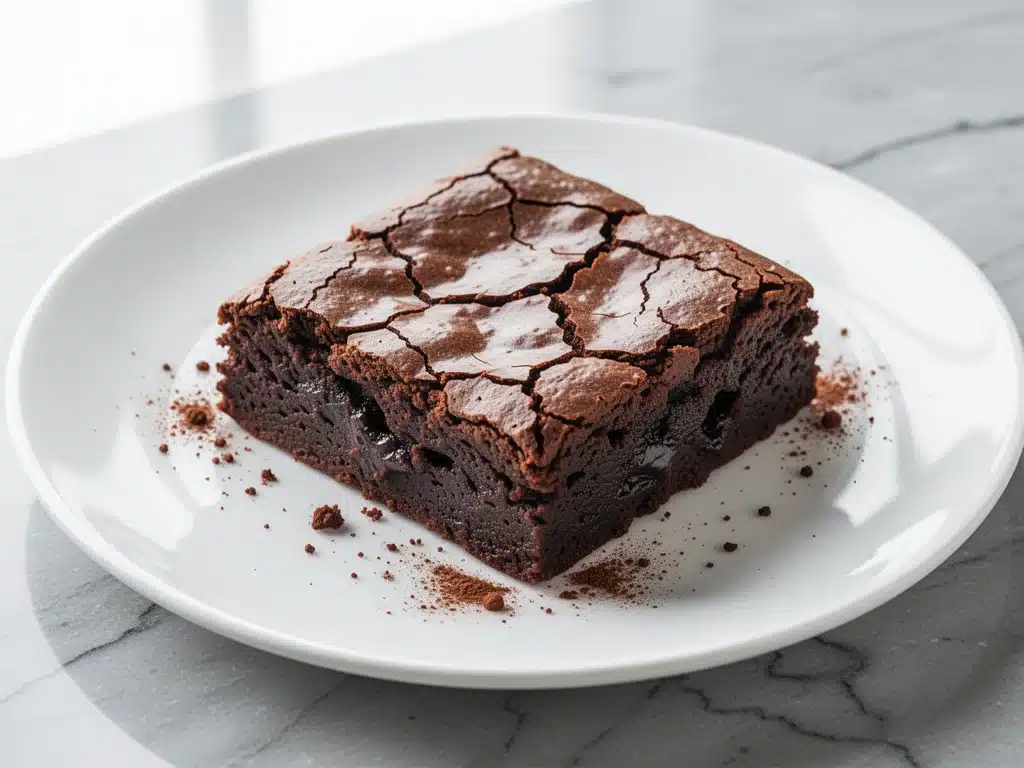
There is a specific kind of magic that happens when you mix brownie batter in a single bowl. It’s not just about convenience (though, let’s be honest, who wants to wash five different bowls on a Sunday afternoon?). It’s about the trust you build with the recipe. When you throw everything into one vessel and stir until it’s dark, glossy, and smelling like a chocolate factory exploded, you know you’re onto something good.
But here’s the hard truth: most “one-bowl” brownie recipes are disappointing. They turn out cakey when you asked for fudgy. They bake up dry and crumbly. And the shiny, crackly top? Yeah, that’s usually just a myth. I’ve spent the last three years testing, failing, and rebaking until I finally cracked the code. This isn’t just another chocolate recipe. This is the ultra-fudgy one-bowl brownies with crackly shiny tops that I’ve been obsessed with since the first batch came out of my oven.
I remember the first time I made these. I was tired, the kids were arguing over tablets, and I needed a dessert that felt fancy but took ten minutes of active effort. I threw butter, sugar, eggs, cocoa, and flour into a large mixing bowl. I whisked it all together, dumped it in a pan, and waited. When I pulled them out, the top had that distinct, paper-thin crinkle that looks like it came from a high-end bakery. I took a bite. It was dense, chewy, and fudgier than a brownie has any right to be.
Since then, I’ve made this one-bowl brownie recipe at least a dozen times. I’ve tested different brands of cocoa, different pans, and different oven temperatures. I’ve even compared them to my favorite fudgy mint chocolate brownies (which are great, but this version is more versatile). And every single time, this recipe wins. It’s my go-to when I need to impress guests without spending hours in the kitchen, or when I just need a little chocolate therapy after a long day.
So, if you’ve been burned by dry, cakey brownies before, I’m here to tell you: it’s not your fault. It’s just the wrong recipe. Let me show you how to make the best fudgy brownies you’ve ever tasted, using nothing more than a bowl, a whisk, and a little bit of know-how.
Why You’ll Love This One-Bowl Brownie Recipe
I know what you’re thinking. “Another brownie recipe? Really?” But hear me out. This ultra-fudgy one-bowl brownies with crackly shiny tops hits a sweet spot that most recipes miss. It’s not just about being easy; it’s about delivering that perfect texture contrast that makes a brownie legendary.
Here’s why this recipe has earned a permanent spot in my weekly rotation:
- Actually Fudgy, Not Cakey — Most recipes fail here. They use too much flour or baking powder. I’ve dialed in the ratio so these are dense and chewy, with a texture that’s closer to a truffle than a cupcake. I’ve tested this with my picky-eater nephew, and even he admitted these were “different” (which is kid-speak for amazing).
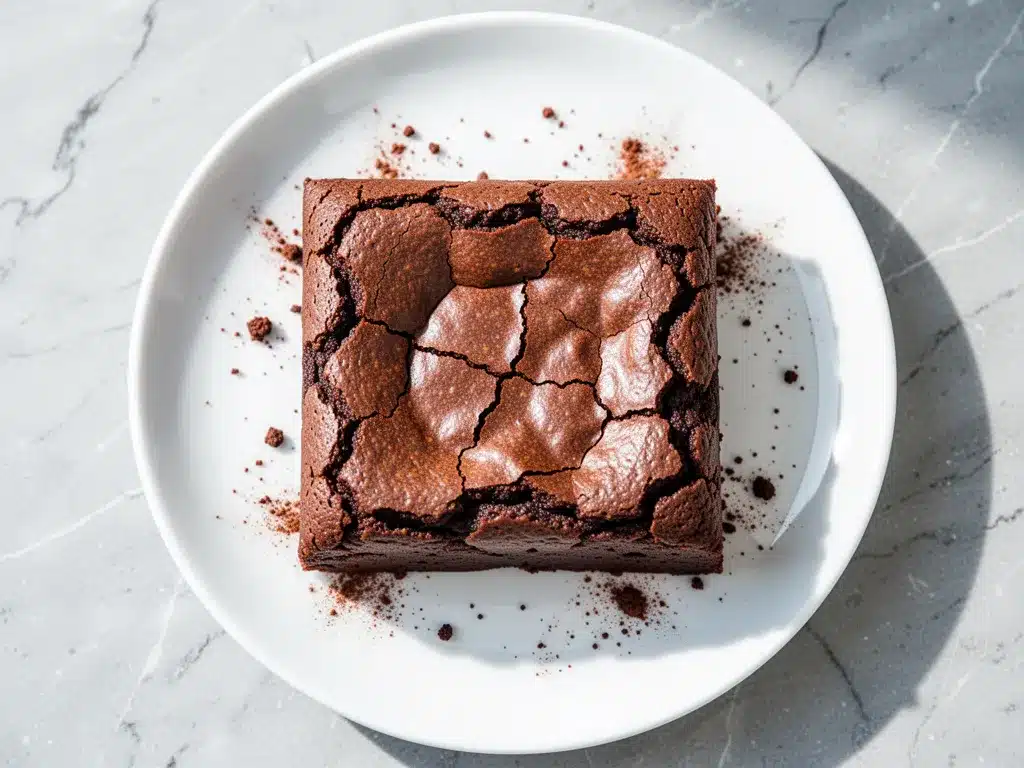
- The Crackly Top is Real — I’m not kidding. That shiny, crinkly crust isn’t an accident. It’s chemistry. By whisking the eggs and sugar vigorously before adding the dry ingredients, you create that beautiful, paper-thin layer. It’s the kind of top that makes people ask, “Where did you buy these?”
- One Bowl, Zero Stress — Seriously, one bowl. One whisk. You can make this in the time it takes to order takeout. I’ve made these while helping my daughter with her homework, and they came out perfect. No fancy stand mixer required. Just a sturdy bowl and a bit of elbow grease.
- Pantry Staples — You probably have almost all of this in your kitchen right now. Butter, sugar, eggs, cocoa powder, flour, salt. If you have these, you can make dessert tonight. No special trips to the store. It’s the ultimate “I need chocolate now” solution.
- Freezer-Friendly — These freeze beautifully. I often double the batch, freeze half the batter (or baked brownies) for later. They thaw out just as fudgy as day one. Perfect for meal prepping desserts or having a snack ready for unexpected guests.
Real talk: this is the brownie I make when I want to feel like a pro baker but don’t want the mess. It’s reliable, it’s delicious, and it’s surprisingly sophisticated for how simple it is. Once you try this one-bowl brownie recipe, you’ll wonder why you ever bothered with boxed mixes or complicated multi-bowl methods.
Ingredients You’ll Need for Ultra-Fudgy Brownies
One of the best things about this ultra-fudgy one-bowl brownies with crackly shiny tops is how few ingredients you need. But don’t let the simplicity fool you—every single ingredient plays a critical role in the texture and flavor. Here’s what you’ll need and why I’m picky about each one.
The Wet Ingredients
Unsalted Butter (1 cup / 226g) — I use high-quality European butter like Kerrygold or Plugrá if I can find it. The higher fat content makes the brownies richer and more fudgy. You’ll need to melt this. I use the microwave in 30-second bursts, stirring in between, so it doesn’t boil over. Let it cool slightly before adding to the eggs, or you’ll scramble them.
Granulated Sugar (1 ½ cups / 300g) — This is key for the crackly top. The granules create pockets of air when whisked with the eggs, which expands in the oven to form that shiny crust. Don’t swap this for brown sugar if you want that specific crinkly texture. Brown sugar makes them chewier but not as shiny.
Eggs (3 large, room temperature) — Room temperature eggs incorporate into the sugar mixture much better. Cold eggs can make the melted butter seize up. If I forget to take them out, I just run them under warm water for a minute. Don’t skip this step—it matters for the texture.
Vanilla Extract (1 teaspoon) — Pure vanilla, please. I know it’s expensive, but in a recipe with so few ingredients, the vanilla really shines. It adds depth and rounds out the chocolate flavor. I use Nielsen-Massey, but any good pure vanilla works.
The Dry Ingredients
Unsweetened Cocoa Powder (¾ cup / 60g) — This is the star. I use natural unsweetened cocoa powder (like Hershey’s or Guittard). Dutch-processed cocoa can work, but it’s less acidic and might change the texture slightly. Stick with natural for that classic brownie tang. Make sure it’s not old or clumpy. If your cocoa has been sitting for years, toss it and buy fresh. It makes a huge difference.
All-Purpose Flour (½ cup / 60g) — Yes, only half a cup. That’s it. This low flour-to-cocoa ratio is what keeps them fudgy. Don’t add more flour “just in case.” You’ll turn them into cake. Sift it if it’s clumpy, but honestly, I just whisk it in. The less handling, the better.
Salt (½ teaspoon) — I can’t stress this enough: salt is not optional. It balances the sweetness and amplifies the chocolate flavor. I use fine sea salt. If you only have kosher salt, use a little less because the grains are bigger. A pinch of salt makes chocolate taste like chocolate.
Optional: Chocolate Chips (½ cup) — I sometimes fold in semi-sweet chocolate chips for extra gooeyness. But honestly? The batter is so rich that I usually skip them. If you do add them, use high-quality chips like Ghirardelli or Ghirardelli 60% Cacao Bittersweet. They melt better than generic chips.
Pro Tip: I always measure my flour by spooning it into the cup and leveling it off, rather than scooping directly from the bag. Scooping packs the flour down, and you’ll end up with too much. Too much flour = dry brownies. I’ve made that mistake. Don’t be like me.
Equipment Needed
You really don’t need much for this one-bowl brownie recipe. Here’s what I use:
Large Mixing Bowl — I use a 4-quart stainless steel bowl. It needs to be big enough to whisk the eggs and sugar vigorously. A glass bowl works too, but I prefer metal because it conducts heat if I’m in a rush. Make sure it’s clean and dry.
Whisk — A medium-sized balloon whisk is perfect. You need to aerate the egg and sugar mixture, so a spoon just won’t cut it. Get a whisk with tight wires for better mixing.
8×8 Inch Baking Pan — This is the standard size for this recipe. I line it with parchment paper, leaving an overhang on the sides. This is the secret to easy removal. Without parchment, you’ll be scraping brownie bits out of the pan for days. I use Reynolds Parchment Paper. It’s reliable and doesn’t slide around.
Microplane or Box Grater — Not strictly needed, but if you want to add a touch of elegance, grate some high-quality dark chocolate over the top before baking. It melts into those cracks and looks fancy.
Offset Spatula — For spreading the batter evenly. I use a silicone one because it’s flexible and easy to clean. A regular spoon works in a pinch, but a spatula gives you a smoother surface, which helps with the crackly top.
Cooling Rack — Let the brownies cool in the pan for at least 20 minutes. If you try to cut them hot, they’ll fall apart. Patience is a virtue, especially with brownies.
I keep all of this stuff in my main kitchen cabinet. Nothing fancy. Nothing you need to buy specifically for this. Just the basics you use every day.
How to Make Ultra-Fudgy One-Bowl Brownies: Step-by-Step
Alright, let’s get into the nitty-gritty. I’m walking you through exactly how I make these ultra-fudgy one-bowl brownies with crackly shiny tops, including the little tricks that make the difference between good and great.
Step 1: Prep Your Pan and Oven
Preheat your oven to 350°F (175°C). This is crucial. If your oven is too hot, the edges will burn before the center sets. If it’s too cool, you won’t get that crackly top. Use an oven thermometer to check—most ovens are off by 10-15 degrees. Line your 8×8 inch baking pan with parchment paper. Leave a 2-inch overhang on the long sides. This creates “handles” so you can lift the brownies out easily after baking. Spray the parchment with non-stick spray just to be safe.
Step 2: Melt the Butter
Melt the butter in the microwave or in a small saucepan over low heat. I prefer the microwave for speed. Put the butter in a microwave-safe bowl and heat in 30-second intervals, stirring in between, until fully melted. Let it cool for 5 minutes. You don’t want it hot, just melted. If it’s boiling hot, it will cook the eggs when you add them, and we don’t want scrambled eggs in our brownies.
Step 3: The Magic Whisk (Creating the Crackly Top)
In your large mixing bowl, combine the granulated sugar and eggs. This is the most important step for the shiny, crackly top. Whisk vigorously for about 2-3 minutes. You want the mixture to become pale, thick, and airy. It should look like a glossy paste. I usually whisk until my arm feels it. This process incorporates air and dissolves some of the sugar, which is what creates that beautiful crust. Don’t rush this. I’ve tried skipping it, and the tops stay matte and flat. You can see the difference immediately.
Step 4: Add Wet Ingredients
Stir in the melted butter and vanilla extract. Mix until just combined. The mixture might look slightly curdled or separated—that’s okay. It will come together when you add the dry ingredients. Don’t worry about it looking perfect yet.
Step 5: Fold in Dry Ingredients
Add the cocoa powder, flour, and salt. Use a spatula or wooden spoon to fold these in. Fold gently. You don’t want to overmix. Just stir until no dry streaks of flour remain. The batter will be thick and glossy. If you overmix at this stage, you’ll develop gluten, and the brownies will be tough. Stop as soon as it’s combined. It’s okay if it looks a little thick. That’s fudgy.
Step 6: Add Mix-Ins (Optional)
If you’re adding chocolate chips, fold them in now. I like to save half the chips to sprinkle on top for a bakery-style look. Fold the rest into the batter gently.
Step 7: Bake
Pour the batter into your prepared pan. Spread it evenly with your spatula. Bake for 25-30 minutes. Here’s the trick: start checking at 25 minutes. The brownies are done when the top is crackly and shiny, and a toothpick inserted into the center comes out with moist crumbs clinging to it—not wet batter, but not completely clean either. If the toothpick is clean, you’ve overbaked them. If it’s wet, give them 2-3 more minutes. Every oven is different, so trust your eyes more than the timer.
Step 8: Cool and Serve
Let the brownies cool in the pan for at least 20 minutes. This allows them to set. If you cut them hot, they’ll be messy. Once cooled, use the parchment handles to lift them out of the pan. Place on a cutting board and slice into squares. Enjoy warm with a glass of milk, or let them cool completely for a firmer texture.
Expert Tips & Tricks for Perfect Brownies
I’ve made these brownies so many times that I’ve picked up a few tricks along the way. These are the things that will save you from my mistakes.
Don’t Skip the Whisking — I know it’s tedious, but whisking the eggs and sugar is non-negotiable for that crackly top. It takes 2 minutes of effort that pays off in texture. I set a timer so I don’t stop too early.
Room Temperature Eggs — If your eggs are cold, they won’t emulsify properly with the sugar. I keep a bowl of warm water on the counter and drop the eggs in for 5 minutes if I forget to take them out of the fridge.
Use Good Cocoa — Cheap cocoa powder tastes dusty and flat. Spend the extra dollar on Guittard, Hershey’s Special Dark, or Valrhona. Your taste buds will thank you. I once used a store-brand cocoa, and the brownies tasted like cardboard. Never again.
Check Early — Ovens vary wildly. My oven runs hot, so I check at 25 minutes. If you’re using a convection oven, reduce the temperature by 25°F and check even earlier. Overbaking is the enemy of fudgy brownies.
Cool Completely — I know it’s hard to wait. But hot brownies are messy. Let them cool in the pan. If you’re desperate, put the pan in the fridge for 15 minutes to speed up the process. But patience yields the best slices.
Store Properly — Store leftovers in an airtight container at room temperature for up to 4 days. They stay fudgy if sealed tightly. If they start to dry out, add a slice of bread to the container—the brownies will absorb the moisture.
Variations & Substitutions
Once you’ve mastered the basic one-bowl brownie recipe, you can tweak it to suit your mood. Here are some variations I’ve tested:
Mint Chip Brownies — Add ½ cup mini chocolate chips and 1 teaspoon peppermint extract. They taste like After Eight mints. Great for holidays.
Espresso Brownies — Add 1 tablespoon of instant espresso powder to the dry ingredients. It doesn’t make them taste like coffee; it just deepens the chocolate flavor. I do this all the time.
Peanut Butter Swirl — Drop spoonfuls of peanut butter on top of the batter and swirl with a knife. It creates a marbled effect. I pair these with my peanut butter chocolate chip cookie cups for a double peanut-butter fix.
Gluten-Free — Swap the all-purpose flour for a 1:1 gluten-free flour blend (like Bob’s Red Mill). The texture is almost identical. I’ve made these for my gluten-free friend, and she couldn’t tell the difference.
Dairy-Free — Use vegan butter (like Miyoko’s or Earth Balance) and ensure your chocolate chips are dairy-free. The texture is slightly less fudgy, but still delicious.
Nutty — Fold in ½ cup chopped walnuts or pecans. Toast the nuts first for extra flavor. These are great for potlucks.
White Chocolate — Swap half the cocoa powder for white chocolate chips. It creates a marbled look and adds sweetness. I like this version for kids.
Serving & Storage
These ultra-fudgy one-bowl brownies with crackly shiny tops are best served slightly warm. I often microwave a square for 10 seconds before eating. It makes the center extra gooey.
Side Dishes: Serve with a glass of cold milk, a scoop of vanilla ice cream, or a dollop of whipped cream. I also like to serve them with my iced vanilla chai latte for a cozy afternoon treat.
Storage: Keep in an airtight container at room temperature for up to 4 days. They freeze well for up to 3 months. Wrap individual squares in plastic wrap and store in a freezer bag. Thaw at room temperature for 30 minutes.
Reheating: Microwave for 10-15 seconds to restore fudginess. Avoid the oven, as it can dry them out.
Nutrition Information
I’m not a nutritionist, but here’s the breakdown if you’re tracking. These are rich, so a little goes a long way.
Per Serving (1 of 16 brownies):
- Calories: 180
- Protein: 3g
- Carbs: 24g
- Fat: 9g
- Sugar: 18g
- Fiber: 1g
These are definitely a treat. But they’re homemade, so you know exactly what’s in them. No preservatives, no weird additives. Just real ingredients. When I want to make it lighter, I cut them into smaller squares and pair them with a piece of fruit. But usually? I just eat two and enjoy it.
Final Thoughts
So, that’s my ultra-fudgy one-bowl brownies with crackly shiny tops! I know I’ve talked your ear off, but when you find a recipe that works this well, you want to share it. These brownies have saved me on busy weeknights, impressed dinner guests, and satisfied my chocolate cravings for years.
They’re easy, they’re delicious, and they’re reliable. Make them once, and I promise you’ll make them again. And if you do, I’d love to hear how they turned out. Drop a comment below and let me know if you added any fun mix-ins. I’m always looking for new ideas.
Happy baking! And I hope your kitchen smells as good as mine does right now.
Frequently Asked Questions
Can I use a 9×13 pan instead of 8×8?
You can, but the brownies will be thinner. You’ll need to reduce the baking time by about 5-7 minutes. Keep a close eye on them. I prefer the 8×8 pan because it gives that perfect thick, fudgy texture. If you use 9×13, you’ll get more brownies, but they’ll be less dense.
Why didn’t my brownies get a crackly top?
This usually happens if you didn’t whisk the eggs and sugar enough. The crackly top comes from the air incorporated into the sugar-egg mixture. Whisk for at least 2-3 minutes until pale and thick. Also, make sure you’re using granulated sugar, not brown sugar. Brown sugar doesn’t create the same crust.
Can I make these gluten-free?
Yes! Swap the all-purpose flour for a 1:1 gluten-free flour blend. The texture is almost identical. I’ve tested this with Bob’s Red Mill and King Arthur, and both work great. Just make sure your cocoa powder is certified gluten-free, as some brands process in facilities with wheat.
How do I store leftover brownies?
Store them in an airtight container at room temperature for up to 4 days. If your kitchen is humid, keep them in the fridge. They’ll last up to a week in the fridge. For longer storage, freeze them. Wrap individual squares in plastic wrap and store in a freezer bag for up to 3 months.
Can I double this recipe?
Yes, but you’ll need a 9×13 inch pan. Double the ingredients and bake for 30-35 minutes. Check at 30 minutes to avoid overbaking. The center might take longer to set, so use the toothpick test.
What kind of cocoa powder should I use?
I recommend natural unsweetened cocoa powder. Dutch-processed cocoa can work, but it’s less acidic and might change the texture slightly. Avoid “processed with alkali” cocoa if you want that classic brownie tang. Hershey’s Special Dark is a great choice.
Can I add nuts?
Absolutely. Fold in ½ cup of chopped walnuts or pecans. Toasting them first adds extra flavor. I like walnuts in these, but pecans are also delicious. Just be careful not to overmix when adding them.
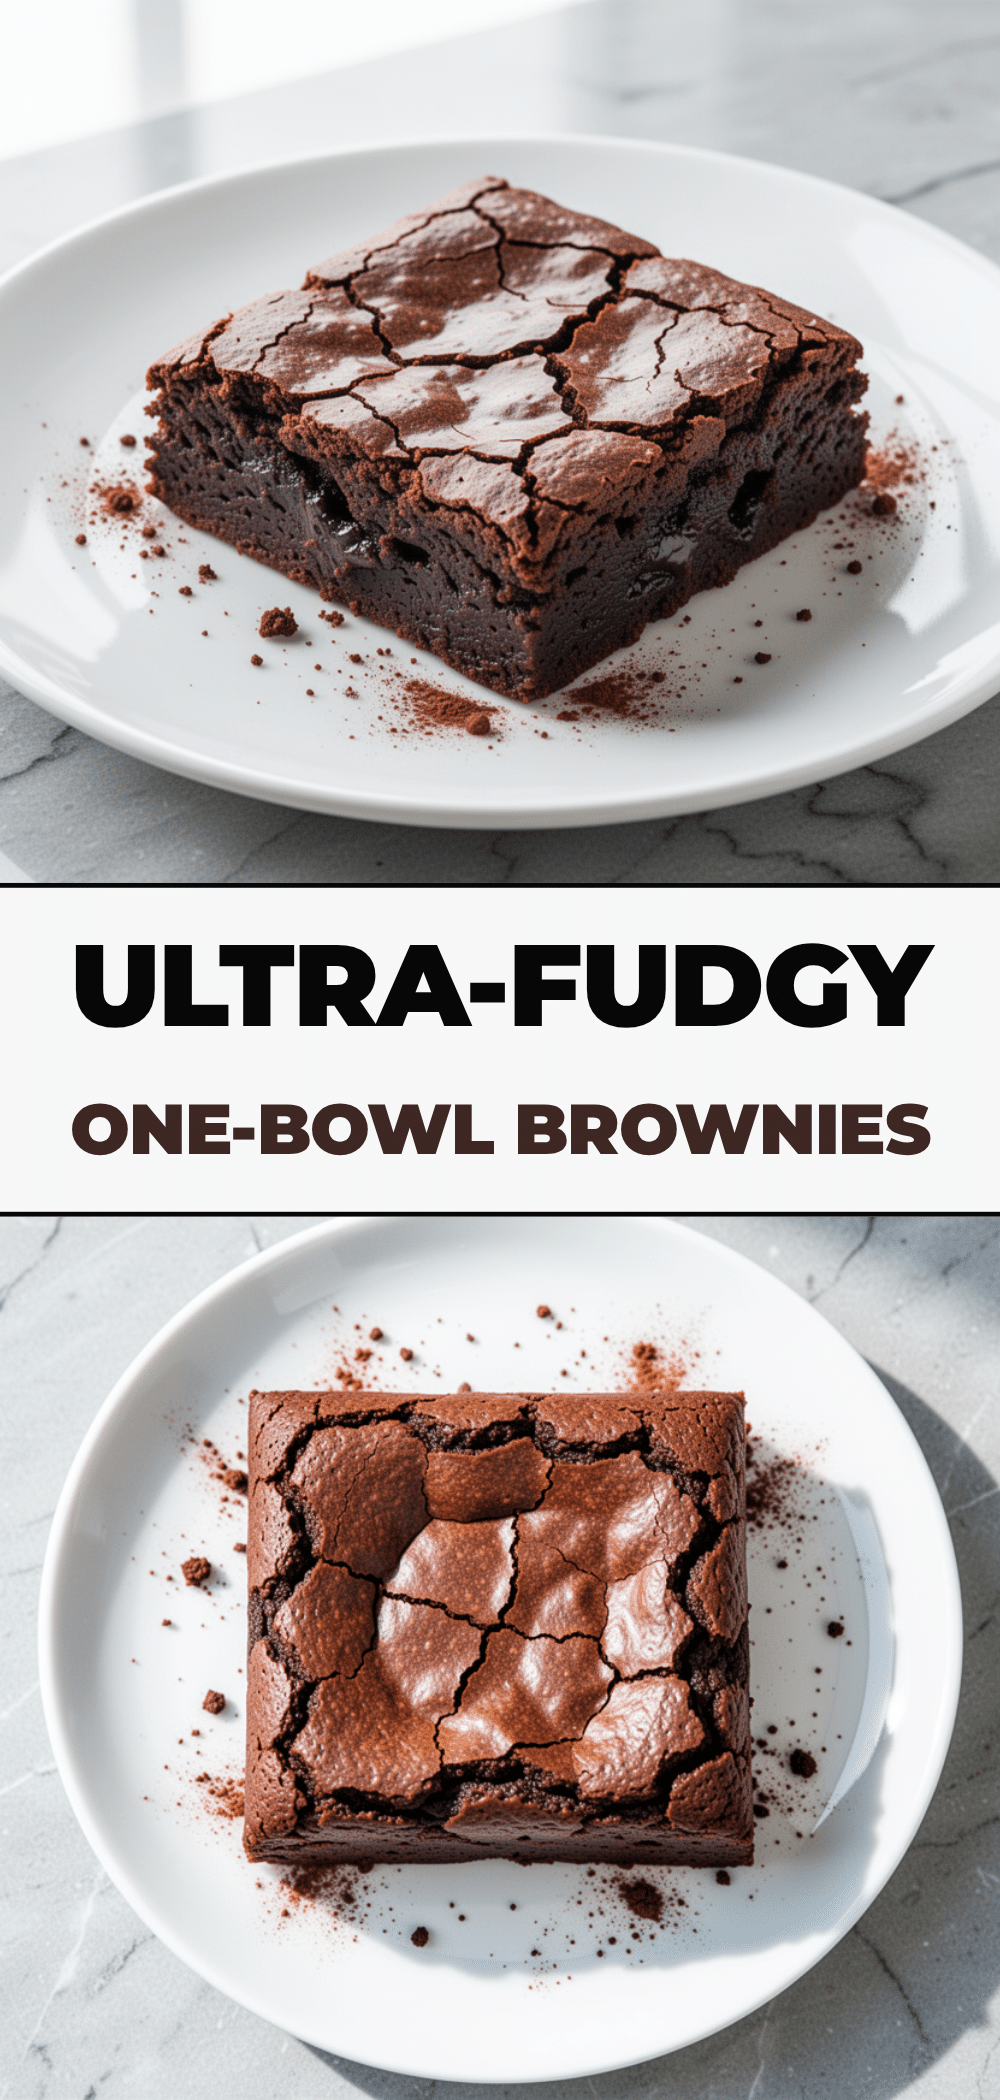
Pin This Recipe!
Ultra-Fudgy One-Bowl Brownies: Easy Homemade Crackly Tops
- Total Time: 40 minutes
- Yield: 16 servings 1x
Description
These ultra-fudgy one-bowl brownies deliver dense, chewy texture with a signature crackly, shiny top. Made with simple pantry staples and minimal equipment, this recipe is reliable, delicious, and perfect for any chocolate craving.
Ingredients
- 1 cup (226g) unsalted butter, melted and slightly cooled
- 1 ½ cups (300g) granulated sugar
- 3 large eggs, room temperature
- 1 teaspoon pure vanilla extract
- ¾ cup (60g) natural unsweetened cocoa powder
- ½ cup (60g) all-purpose flour
- ½ teaspoon fine sea salt
- ½ cup semi-sweet chocolate chips (optional)
Instructions
- Preheat oven to 350°F (175°C). Line an 8×8 inch baking pan with parchment paper, leaving a 2-inch overhang on the long sides, and spray with non-stick spray.
- Melt the butter in the microwave in 30-second intervals, stirring between bursts, until fully melted. Let it cool for 5 minutes so it is warm but not hot.
- In a large mixing bowl, combine the granulated sugar and eggs. Whisk vigorously for 2-3 minutes until the mixture is pale, thick, and airy.
- Stir in the melted butter and vanilla extract until just combined. The mixture may look slightly curdled.
- Add the cocoa powder, flour, and salt. Fold gently with a spatula or wooden spoon until no dry streaks remain. Do not overmix.
- If using, fold in the chocolate chips. Pour batter into the prepared pan and spread evenly.
- Bake for 25-30 minutes. The brownies are done when the top is crackly and shiny, and a toothpick inserted into the center comes out with moist crumbs clinging to it.
- Let the brownies cool in the pan for at least 20 minutes to set before lifting them out using the parchment handles and slicing into squares.
Notes
Room temperature eggs are crucial for proper emulsification. Whisking the eggs and sugar vigorously is the key to achieving the crackly top. Do not overbake; the toothpick should have moist crumbs, not wet batter. Store in an airtight container at room temperature for up to 4 days.
- Prep Time: 10 minutes
- Cook Time: 30 minutes
- Category: Dessert
- Cuisine: American
Nutrition
- Serving Size: 1 square
- Calories: 180
- Sugar: 18
- Sodium: 120
- Fat: 9
- Saturated Fat: 5
- Carbohydrates: 24
- Fiber: 1
- Protein: 3
Keywords: brownies, one-bowl brownies, fudgy brownies, crackly top, easy dessert, chocolate brownies, homemade brownies


