I still remember the exact moment I fell in love with whipped coffee. It was 2:00 AM during one of those brutal winter weeks when the sun barely came up and my coffee machine had decided to take a permanent vacation. I was tired, grumpy, and staring into the abyss of my empty pantry, wondering if instant coffee was actually a valid breakfast group.
Then I saw the TikTok trend. You know the one. Three ingredients. Sugar. Instant coffee. Hot water. Just whisk it until it turns into this impossible, cloud-like foam. I thought it was a gimmick. I thought it would be sweet sludge over bitter coffee. I was wrong. So wrong.
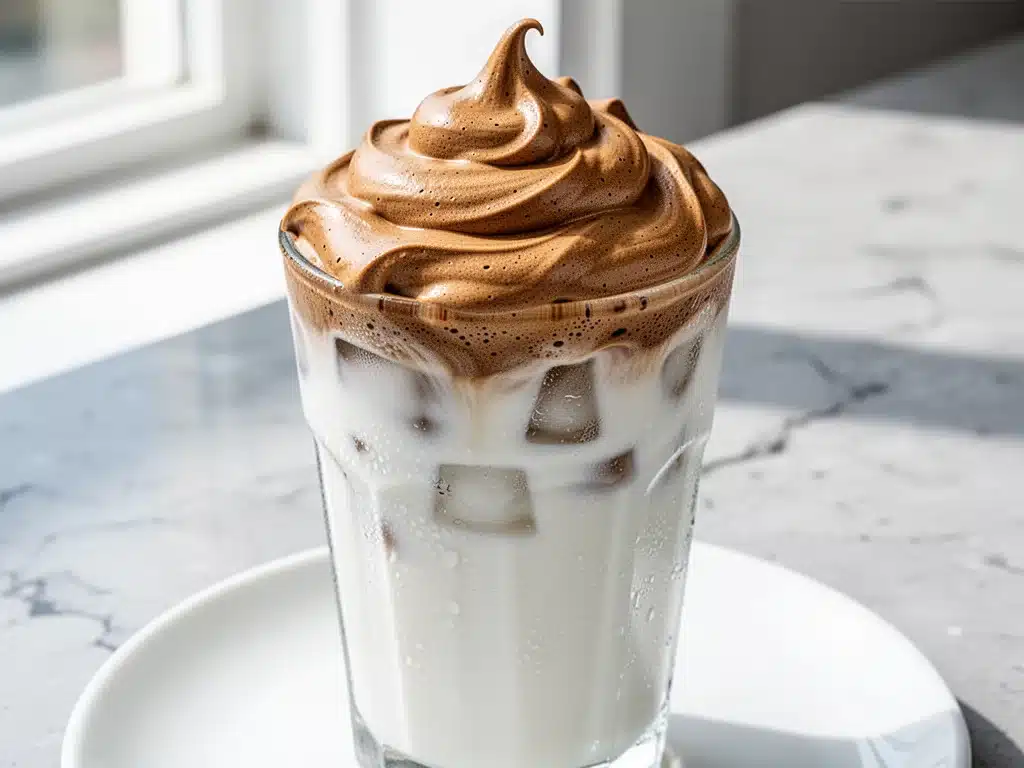
That first morning, I made my Whipped Dalgona Coffee with Ice Cold Milk in about five minutes flat. I poured that thick, caramel-colored foam over a glass of ice-cold milk and took a sip. It tasted like a dessert. It tasted like a latte from a trendy café in Seoul, but I made it with ingredients I already had sitting in my cupboard. The texture was insane—like meringue meets espresso. It was fluffy, rich, and honestly, the only thing that got me through that workday.
Since then, I’ve made this drink probably 50 times. I’ve tried it hot, I’ve tried it iced, I’ve tried it with oat milk, almond milk, and regular dairy. And every single time, it works. It’s become my secret weapon for busy mornings when I don’t have time to brew a full pot, but I still want that coffee shop luxury feeling. It’s fast, it’s fun, and it looks absolutely stunning in photos (which, let’s be honest, is half the fun).
If you’re tired of rushing out to buy overpriced lattes or spending 20 minutes waiting for your brewer to heat up, this recipe is for you. It’s simple, it’s satisfying, and it’s going to change your morning routine. Trust me. Once you try this, you’ll never go back to plain black coffee again.
Why You’ll Love This Recipe
There are a lot of coffee trends that come and go, but the whipped coffee trend has stuck around for a reason. It’s not just about the aesthetics; it’s about the experience. Here’s why I keep coming back to this simple drink:
- Stupid Simple Ingredients — Seriously, you only need three things. Instant coffee (not ground coffee!), sugar, and hot water. I don’t care if you’re a coffee snob or you just drink it for the caffeine, this works. I’ve made it with cheap instant coffee and expensive freeze-dried espresso, and both work beautifully.
- Five Minutes or Less — From start to finish, this takes about five minutes of active whisking. That’s it. I’ve made this while my kids were getting dressed for school. It’s the ultimate “I’m running late but I still want quality” drink.
- Texture Overload — The magic is in the foam. It’s airy, it’s stable, and it floats on top of the milk like a cloud. It changes the whole drinking experience. It’s not just coffee; it’s a dessert in a glass.
- Customizable to Your Taste — Want it sweeter? Add more sugar. Want it stronger? Use double the coffee. Want to try it with a different milk? Go for it. I’ve even tried swapping half the sugar for honey for a slightly different flavor profile.
- Perfect for Meal Prep — If you’re a morning person, you can make the whipped coffee base the night before. Store it in the fridge in an airtight container, and in the morning, just grab a spoonful and drop it over ice and milk. It holds up surprisingly well.
- Great for Entertaining — When I have friends over for brunch, I set up a whipped coffee bar. We make the foam together while we chat, and then everyone customizes their own glasses. It’s a fun, interactive way to start the day, similar to how you might set up a fall charcuterie board for a cozy afternoon snack.
It’s my go-to when I need a pick-me-up that feels special but requires zero effort. It’s reliable, it’s delicious, and it always makes me feel like I’m doing something fancy, even if I’m wearing sweatpants.
Ingredients You’ll Need
Here’s the best part: you probably have all of this already. I’m not asking you to go to the store for anything exotic. This is pantry-friendly cooking at its finest.
For the Whipped Coffee Base
Instant Coffee (2 tablespoons / 10g) — This is the most important part. Do not use ground coffee. Do not use espresso powder unless it’s soluble instant. You need standard instant coffee granules. I prefer a medium roast because it has a balanced flavor that isn’t too bitter. Nescafé Gold is my go-to, but any brand works. Just make sure it’s the kind that dissolves in water.
White Sugar (2 tablespoons / 25g) — Equal parts coffee and sugar is the golden rule. The sugar isn’t just for sweetness; it helps create the structure of the foam. It stabilizes the bubbles. If you want it less sweet, you can reduce to 1.5 tablespoons, but you might lose some of that stiff peak texture.
Hot Water (2 tablespoons / 30ml) — Just boiling water from your kettle or microwave. You don’t need a lot. Just enough to dissolve the coffee and sugar so you can whisk it into foam.
For the Drink
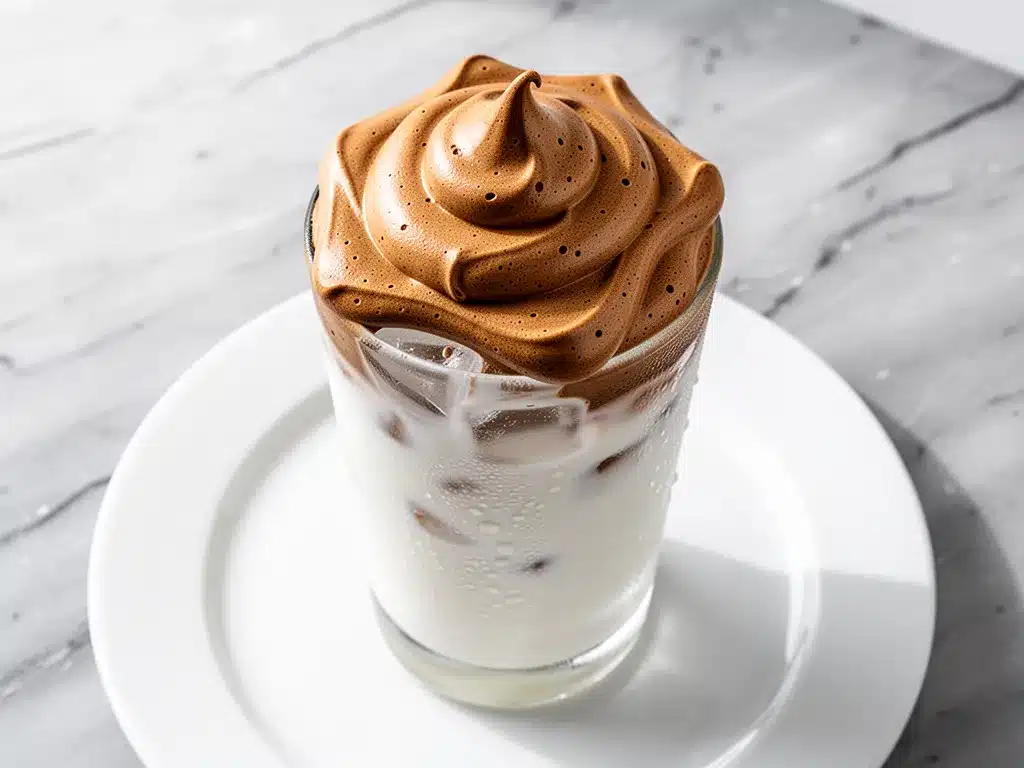
Milk of Choice (1 to 1.5 cups / 240-360ml) — This is where you get creative. Whole milk makes the richest, creamiest drink. Oat milk is my personal favorite for the texture—it whips up beautifully and has a natural sweetness. Almond milk works too, but it’s a bit thinner. I’ve even made this with condensed milk for a super sweet version (like a Vietnamese coffee variation). For a lighter option, try skim milk, though it won’t be as luxurious.
Ice Cubes (1 cup / optional) — If you’re making the iced version, which I highly recommend, you’ll need a glass full of ice. It keeps the drink cold and slows down the melting of the foam slightly, giving you that layered look.
Optional Garnishes — A sprinkle of cocoa powder, a dash of cinnamon, or a drizzle of caramel sauce. I usually keep it simple, but if I’m feeling fancy, I add a pinch of cinnamon on top.
Shopping Tips
Instant Coffee Quality: Don’t buy the cheapest stuff on the bottom shelf if you can avoid it. The flavor difference between generic instant coffee and a mid-range brand like Nescafé or Starbucks Via is noticeable. You’re only using two tablespoons, so splurging a little bit on the coffee makes a big difference.
Milk Storage: Make sure your milk is cold. If you’re making the iced version, the contrast between the room-temperature foam and the cold milk is key to the experience.
Equipment Needed
You don’t need fancy gadgets for this. In fact, the more manual you make it, the more satisfying it is to watch the transformation. Here’s what I actually use:
A Small Mixing Bowl — I use a small ceramic bowl, about 6 inches wide. It doesn’t have to be fancy. Just something that’s easy to hold and whisk in. A glass bowl works too, so you can see the color change.
Handheld Milk Frother or Electric Whisk — I’ll be honest: I use an electric milk frother for this. It takes about 60 seconds and turns the mixture into stiff peaks instantly. If you don’t have one, a regular whisk works, but it will take 5-7 minutes of arm workout. A stand mixer with the whisk attachment also works great if you want to multitask.
A Spoon — For stirring the initial mixture before whisking, and for serving the foam.
A Tall Glass — I like to use a tall, clear glass so you can see the layers. It’s not required, but it’s part of the aesthetic fun. A mason jar works perfectly too.
Optional: Ice Tongs or Scoop — If you’re making the iced version, having tongs makes it easier to pack the ice in without splashing.
Tool Tips
No Frother? — If you don’t have an electric frother, don’t panic. Use a regular whisk. It’s a workout, but it’s meditative. Just make sure your bowl is heavy so it doesn’t slide around.
Clean Bowl: — Make sure your bowl and whisk are completely clean and dry. Any oil or residue can prevent the foam from forming properly. I give my bowls a quick rinse and dry them with a paper towel before starting.
How to Make It: Step-by-Step
Alright, let’s make this! I’m walking you through exactly how I do it, including the little tricks I’ve picked up over time. It’s straightforward, but there are a few key moments to watch.
Step 1: Combine Coffee and Sugar (1 minute)
Add the 2 tablespoons of instant coffee and 2 tablespoons of white sugar into your small mixing bowl. Stir them together with a spoon until they’re evenly distributed. You want the coffee and sugar to be well mixed so there are no clumps of coffee sitting at the bottom.
Step 2: Add Hot Water (10 seconds)
Pour in the 2 tablespoons of hot water. Stir it gently just to dissolve the coffee and sugar. You should have a dark, thick syrup-like mixture. Don’t worry if it looks watery right now; that’s normal. The magic happens when you start whisking.
Step 3: Whisk Until Stiff Peaks Form (1-3 minutes)
This is the main event. If you’re using an electric frother, submerge the whisk head into the mixture and turn it on. Hold it steady and don’t move it around too much. You’ll see the color start to lighten from dark brown to a golden caramel color. This takes about 60-90 seconds.
If you’re using a hand whisk, it’s going to be a workout. Whisk vigorously and rapidly. You’re trying to incorporate as much air as possible. The mixture will start to thicken and lighten. This takes about 5-7 minutes. Keep going until the mixture holds its shape. When you lift the whisk, the foam should stand up in stiff peaks, like meringue. If it droops, keep whisking.
Visual Cue: You’ll know it’s ready when the color is a uniform light tan and the mixture has doubled in volume. It should look glossy and fluffy, not watery.
Step 4: Prepare Your Glass (1 minute)
While the coffee is whisking, fill your tall glass with ice cubes. If you’re making the hot version, skip the ice and warm your glass with hot water first to keep the drink hot longer. Pour your cold milk over the ice, filling the glass about 3/4 full.
Step 5: Assemble the Drink (30 seconds)
Take a spoonful of the whipped coffee foam and gently drop it onto the surface of the milk. It will float! Add more spoonfuls until you have a thick layer of foam on top. You can stir it in if you want a uniform coffee drink, or leave it layered for that dramatic visual effect.
Step 6: Serve and Enjoy
Sip it through the foam first to taste the sweet, airy coffee, then stir it all together for the full latte experience. Add a sprinkle of cinnamon or cocoa powder if you’re feeling fancy. Drink it immediately while the foam is still fresh and fluffy.
Total Time: About 5 minutes (depending on whisking method)
Troubleshooting
Foam isn’t stiff: You probably didn’t whisk long enough. Keep going! The mixture needs to incorporate enough air to create structure.
Foam is too sweet: Next time, reduce the sugar to 1.5 tablespoons. Remember, you’re also adding milk, which adds a natural sweetness.
Foam melts too fast: Make sure your milk is very cold. The temperature contrast helps the foam hold its shape longer. Also, serve it immediately.
Expert Tips & Tricks
Here’s everything I’ve learned from making this dozens of times. These tips will save you from my mistakes.
Use the Right Coffee
This cannot be stressed enough: use instant coffee. Ground coffee will not work. Espresso powder can work if it’s soluble, but standard instant coffee granules are the easiest and most reliable. I’ve tried using cold brew concentrate mixed with sugar, and it just doesn’t whip up the same way. The texture is key, and only instant coffee + sugar + water creates that specific meringue-like foam.
Don’t Rush the Whisking
I know it’s tempting to stop as soon as it looks light. But if you want stiff peaks that don’t collapse, you need to keep going. I usually whisk for a full minute past when I think it’s ready. The extra air incorporation makes the foam more stable.
Temperature Matters
For the iced version, make sure your milk is ice cold. If your milk is room temperature, the foam will melt into the milk too quickly, and you’ll lose that beautiful layered look. For the hot version, use warm milk, not boiling milk, or it might cook the foam slightly.
Make It Ahead
I’ve tested this, and the whipped coffee foam can be made up to 2 hours in advance. Just cover the bowl with plastic wrap and store it in the fridge. When you’re ready to drink, just spoon it onto your milk. It holds up surprisingly well, though it might lose a tiny bit of volume. Give it a gentle stir before spooning if it looks separated.
Experiment with Sweeteners
While white sugar is traditional, I’ve tried honey, maple syrup, and brown sugar. Honey works well but changes the flavor profile to be more floral. Maple syrup adds a nice depth. Brown sugar makes it taste like a caramel latte. White sugar is the most neutral and reliable, but feel free to play around.
Scale It Up
Need to make coffee for a group? Just double or triple the recipe. The ratios stay the same: 1 part coffee, 1 part sugar, 1 part water. I’ve made 6 batches at once for a family brunch, and it works perfectly.
Variations & Substitutions
Once you’ve nailed the basic version, here’s how you can mix it up. I’ve tried all of these, and they’re all delicious in their own way.
Hot Dalgona Coffee
Skip the ice and use warm milk. You can even add a pinch of cinnamon or nutmeg to the milk for a cozy fall vibe. This is perfect for chilly mornings. I sometimes make this with chai spices for a spiced coffee twist.
Vegan Dalgona
Use oat milk or almond milk instead of dairy milk. The foam itself is already vegan (coffee, sugar, water), so just swap the milk. Oat milk gives the creamiest texture.
Chocolate Dalgona
Add 1 tablespoon of cocoa powder to the coffee mixture before whisking. It turns the foam a darker brown and adds a chocolatey flavor. It’s like a mocha latte in a glass. I’ve paired this with my fudgy mint chocolate brownies for a decadent breakfast treat.
Vanilla Dalgona
Add 1/2 teaspoon of vanilla extract to the milk before pouring. It adds a subtle sweetness and aroma that complements the coffee beautifully.
Condensed Milk Dalgona
Instead of regular milk, pour sweetened condensed milk into the glass first, then add ice, then top with the whipped coffee. This is very similar to Vietnamese iced coffee (cà phê sữa đá). It’s incredibly sweet and rich. Use half the sugar in the foam if you go this route.
Matcha Dalgona
Swap the instant coffee for matcha powder. Use 1 tablespoon matcha, 2 tablespoons sugar, and 2 tablespoons hot water. Whisk until frothy and pour over milk. It’s a vibrant green and earthy alternative.
Decaf Version
Use decaf instant coffee. Same process, same taste, just no jitters. Perfect for evenings or if you’re sensitive to caffeine.
Serving & Storage
How to Serve: I usually serve this straight away, while the foam is still fresh and fluffy. It’s a drink that’s best enjoyed immediately. Set up a small station with your whipped coffee, milk, ice, and optional garnishes, and let everyone build their own glass.
Side Pairings: This drink pairs well with anything breakfast or brunch-related. I love it with sourdough breakfast toast or spinach and feta egg muffins. It’s also great with bakery-style blueberry streusel muffins for a weekend brunch vibe.
Storage: The whipped coffee foam can be stored in an airtight container in the refrigerator for up to 2 hours. It will start to deflate over time, so it’s best made fresh. The milk should be used immediately. Do not store the assembled drink, as the foam will melt and the texture will be ruined.
Reheating: Not applicable. This is a cold drink. If you make the hot version, reheat the milk gently, but do not microwave the foam.
Nutrition Information
I’m not a nutritionist, but here’s the breakdown if you’re tracking. This is per serving (1 glass), made with whole milk.
- Calories: 180
- Protein: 8g
- Carbs: 24g
- Fiber: 0g
- Sugar: 22g
- Fat: 6g
- Sodium: 70mg
What’s Good: It’s a quick energy boost. The caffeine helps with focus, and the milk provides protein and calcium.
What to Know: It’s high in sugar, especially if you use the full 2 tablespoons. If you’re watching your sugar intake, reduce the sugar to 1 tablespoon or use a sugar substitute. The calorie count can vary significantly depending on the type of milk you use. Oat milk and whole milk are higher in calories, while almond milk is lower.
My Take: Look, this is a treat. It’s sweet, it’s indulgent, and it’s meant to be enjoyed. I don’t make this every day, but when I do, I make it count. If you want to make it lighter, use unsweetened almond milk and reduce the sugar. But honestly? The whole point is the fun, creamy texture. Enjoy it!
Final Thoughts
So that’s my go-to whipped coffee! I’ve probably talked your ear off at this point, but when you make a recipe this often, you have a lot to say about it.
This has saved my mornings more times than I can count. It’s my answer to “I need coffee but I don’t have time” when I’m rushing out the door. It’s quick, it’s fun, and it always makes me feel like I’m treating myself. My family loves it, my friends love it, and I love it because it’s so easy to make.
Make it yours! Try different milks, different sweeteners, different garnishes. The best recipes are the ones you adapt to your tastes. I hope this becomes a staple in your morning routine, just like it has in mine.
If you make this, drop a comment and let me know what you think! I love hearing how recipes turn out in your kitchen. And if something doesn’t work, tell me that too—I’m here to help troubleshoot.
Happy brewing! And I hope your morning tastes half as good as mine does right now.
Frequently Asked Questions
Q: Can I use ground coffee instead of instant coffee?
A: No, you can’t. Ground coffee won’t dissolve and whip properly. You need instant coffee granules or soluble espresso powder. If you don’t have instant coffee, you can try making a strong espresso shot and whipping it with sugar and a little water, but it won’t get the same stiff peaks.
Q: Why isn’t my foam stiff?
A: You probably didn’t whisk long enough. Keep going! It takes about 1-2 minutes with an electric frother and 5-7 minutes with a hand whisk. The mixture needs to incorporate enough air to create structure. Also, make sure your bowl is clean and dry.
Q: Can I make this ahead of time?
A: Yes! You can make the whipped coffee foam up to 2 hours in advance. Store it in an airtight container in the fridge. When you’re ready to drink, just spoon it onto your milk. It might lose a little volume, but it’s still delicious.
Q: What kind of milk works best?
A: Whole milk is the richest and creamiest. Oat milk is my personal favorite for texture and sustainability. Almond milk is lighter but works well too. Try different milks to see which you like best!
Q: Can I use a sugar substitute?
A: You can, but it might affect the texture. Sugar helps stabilize the foam. If you use a liquid sweetener like honey or maple syrup, the foam might be softer. If you use a powder substitute, it should work, but the taste will be different.
Q: How many tablespoons of foam should I use per glass?
A: The recipe makes enough for 2 glasses. Use about 3-4 tablespoons of foam per glass, depending on how thick you like it. You want a generous layer on top.
Q: Can I add flavorings to the foam?
A: Yes! You can add a pinch of cinnamon, cocoa powder, or vanilla extract to the mixture before whisking. Just make sure you don’t add too much liquid, or it will affect the whipping process.
Pin This Recipe!
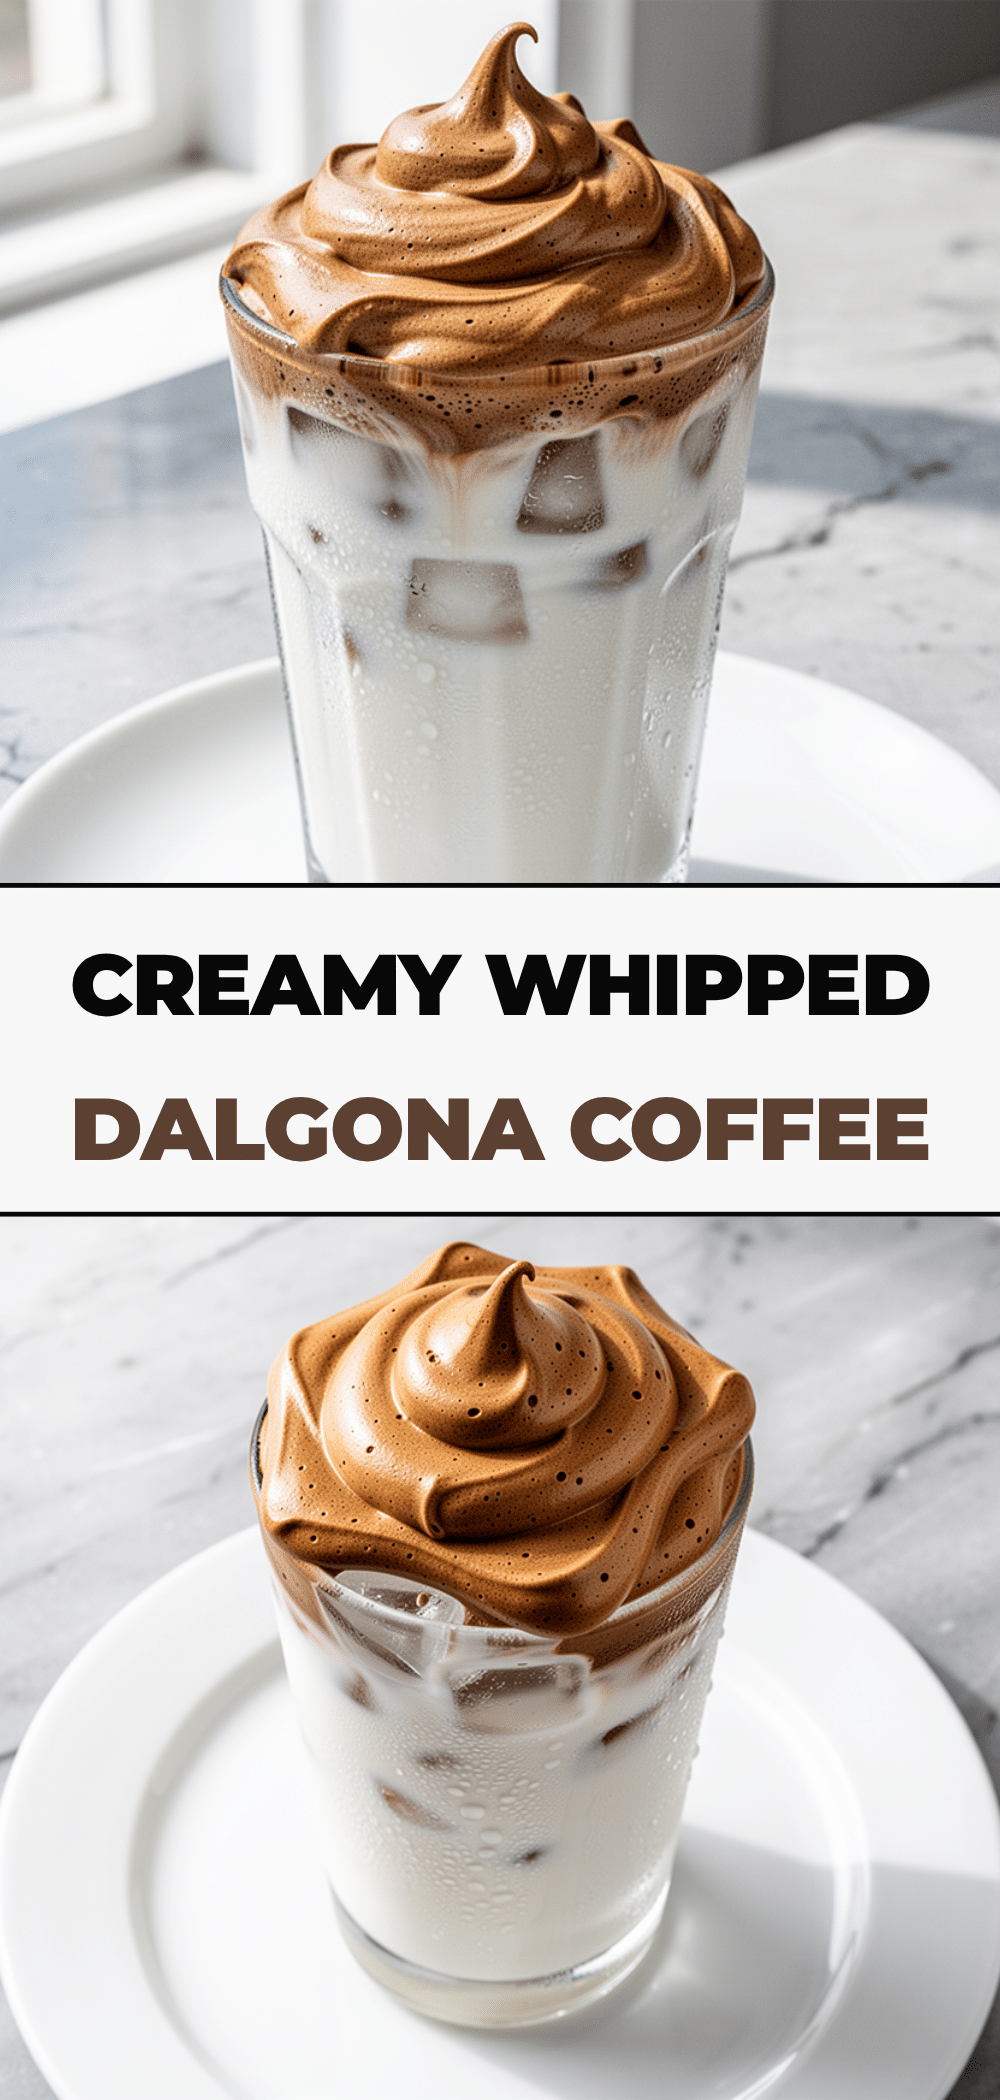

Whipped Dalgona Coffee: 5-Minute Easy Morning Drink
- Total Time: 5 minutes
- Yield: 2 servings 1x
Description
A trendy, fluffy whipped coffee made with just three ingredients: instant coffee, sugar, and hot water. Served over ice-cold milk for a delicious, café-style latte experience in minutes.
Ingredients
- 2 tablespoons instant coffee (not ground coffee)
- 2 tablespoons white sugar
- 2 tablespoons hot water
- 1 to 1.5 cups milk of choice (whole, oat, almond, etc.)
- 1 cup ice cubes (optional, for iced version)
- Optional garnishes: cocoa powder, cinnamon, or caramel sauce
Instructions
- Combine 2 tablespoons of instant coffee and 2 tablespoons of white sugar in a small mixing bowl. Stir until evenly distributed.
- Pour in 2 tablespoons of hot water and stir gently to dissolve the coffee and sugar into a dark syrup.
- Whisk the mixture vigorously using an electric milk frother or hand whisk until it becomes light tan, glossy, and forms stiff peaks (about 1-3 minutes with electric frother, 5-7 minutes with hand whisk).
- Fill a tall glass with ice cubes (if making iced version) and pour in the milk, filling the glass about 3/4 full.
- Spoon the whipped coffee foam onto the surface of the milk. Add more spoonfuls until a thick layer is formed.
- Serve immediately, sipping through the foam first or stirring it in for a uniform latte.
Notes
Ensure the bowl and whisk are completely clean and dry to help the foam form properly. The foam can be made up to 2 hours in advance and stored in the fridge. Use instant coffee granules, not ground coffee. For a less sweet version, reduce sugar to 1.5 tablespoons.
- Prep Time: 2 minutes
- Cook Time: 3 minutes
- Category: Beverage
- Cuisine: Korean-inspired
Nutrition
- Serving Size: 1 glass
- Calories: 180
- Sugar: 22
- Sodium: 70
- Fat: 6
- Saturated Fat: 3.5
- Carbohydrates: 24
- Protein: 8
Keywords: dalgona coffee, whipped coffee, iced coffee, morning drink, easy recipe, coffee shop at home, viral recipe


