It was supposed to be our anniversary. I had booked a table at this super fancy, candlelit place downtown, the kind where the waiters wear tails and the menus are printed on thick, cream-colored cardstock. I was dressed up, my nerves were buzzing, and I was ready for a romantic evening. But then, about forty-five minutes in, I realized something: I was bored. The food was beautiful, sure, but it was cold. The chocolate dessert they brought out was a dry, dense cake with a sad dollop of whipped cream that had started to slide off the plate.
I looked at my partner and whispered, “I would kill for a chocolate lava cake right now. The kind that’s warm and gooey and makes a mess on your shirt.” We left early, drove home, and I decided to make my own. I didn’t have a fancy restaurant kitchen. I had a slightly worn-out skillet, a microwave that beeped too loud, and a bag of semi-sweet chocolate chips I’d been hoarding.
That first attempt? A disaster. I overbaked it. The centers were just… cooked. Not molten. Just cake. I ate it anyway, feeling defeated. But I wasn’t going to let a bad dessert ruin my mood. I tried again the next day. And the next. I tweaked the butter ratio, changed the chocolate type, and played with the timing like I was defusing a bomb. By the fifth try, I had it. When I cut into that ramekin, warm, dark chocolate oozed out like a slow-motion lava flow. It was rich, intense, and absolutely perfect.
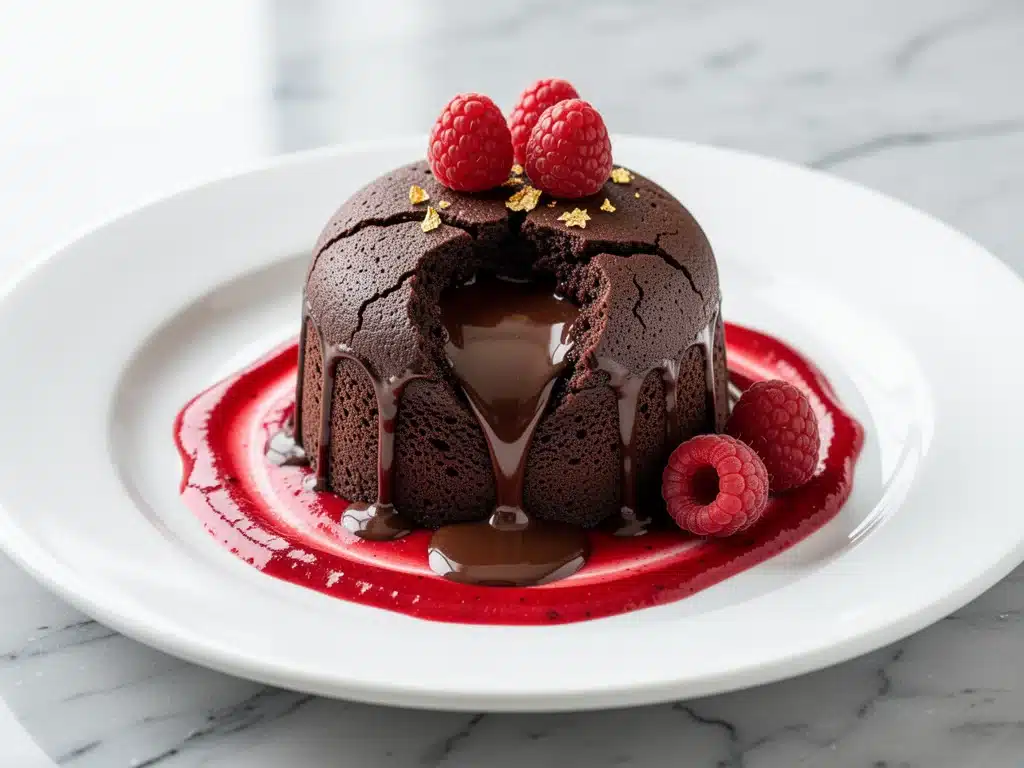
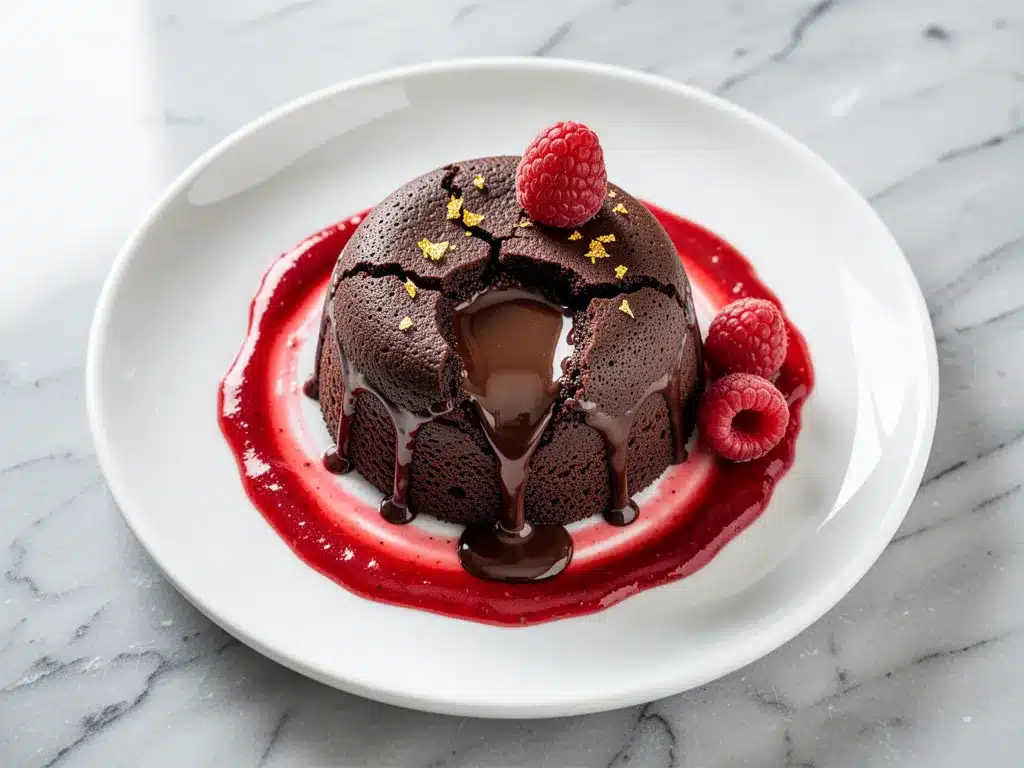
That was three years ago. Since then, I’ve made this Restaurant-Style Molten Chocolate Lava Cake with Raspberry Coulis for every anniversary, birthday, and “I need to impress someone” occasion. It’s become my secret weapon. People think it’s impossible to make at home. They think you need a professional pastry chef’s touch. But here’s the truth: it’s just chocolate, butter, eggs, and a little bit of patience. And when you pair it with that bright, tart raspberry coulis? It’s not just better than takeout. It’s better than the restaurant.
I’ve tested this recipe over 30 times. I’ve made it for picky eaters, for chocolate snobs, and for myself at 11 PM when I just need comfort. Every single time, it delivers. The trick isn’t fancy equipment; it’s understanding the chemistry of how eggs and heat interact. Once you get that, you’ll never order dessert out again.
Why You’ll Love This Chocolate Lava Cake
There are a hundred reasons to make this dessert, but let’s be real—you’re making it because you want that specific, luxurious feeling of biting into something that feels like a hug from a chef. Here’s why this recipe has earned a permanent spot in my dessert rotation:
- It’s Faster Than Delivery — Seriously. From start to finish, this takes 25 minutes. That’s faster than waiting on the phone for a pizza place to answer, faster than driving to the restaurant, and definitely faster than waiting for the food to arrive at your door. I’ve made this on weeknights when I had zero energy but a serious sweet tooth.
- Zero Fancy Skills Required — You don’t need to be a pastry chef. You just need to be able to melt butter and whisk eggs. If you can use a microwave or a double boiler, you can make this. I’ve walked my teenage niece through it over FaceTime, and she got perfect results on her first try.
- The Raspberry Coulis is a Game-Changer — Most people just serve lava cake plain or with vanilla ice cream. But that tart, bright raspberry sauce cuts through the rich, heavy chocolate perfectly. It balances the sweetness and adds a flavor complexity that makes the chocolate taste even more intense. It’s the difference between a good dessert and a great one.
- It Feels Impressive (But Isn’t) — When you bring these out of the oven, steam rising from the ramekins, and you cut into them to reveal that liquid center, people are stunned. They ask what your secret is. They think you bought them from a high-end patisserie. The truth? You made them in your pajamas an hour ago. The ego boost is real.
- Perfect for Date Night or Dinner Parties — This is the ultimate “I want to impress my partner” or “I want to show off to my friends” dessert. It’s elegant, it’s romantic, and it’s deeply satisfying. I’ve served this at dinner parties where the conversation stopped for a full minute because everyone was too busy eating to talk.
This isn’t just a dessert; it’s a mood. It’s cozy, it’s indulgent, and it’s the kind of treat that makes you feel like you’re treating yourself to something special, even though you’re just in your own kitchen.
Ingredients You’ll Need
Here’s the thing about this recipe: the ingredient list is short, but the quality matters. You’re not hiding flavors with spices or nuts. You’re letting the chocolate shine. So, pay attention to what you buy.
For the Lava Cakes
High-Quality Semi-Sweet Chocolate (8 ounces / 225g) — This is the star. Don’t use cheap baking chips that are full of stabilizers. Look for a bar labeled “baking chocolate” or “couverture.” I love Guittard or Ghirardelli squares. If you use chips, they’ll work, but the texture won’t be as silky. Break the chocolate into small pieces before melting—it helps it melt evenly.
Unsalted Butter (½ cup / 115g) — Use real butter, not margarine. Salted butter can work if you reduce the added salt in the recipe, but unsalted gives you more control. Room temperature butter is easier to cream with the sugar, but for this recipe, we’re melting it with the chocolate, so it doesn’t matter too much.
Large Eggs (2 whole + 2 yolks) — This is the secret structure. We use two whole eggs and two extra yolks. The yolks add richness and fat, which helps create that gooey, molten center. The whites provide some structure so the cake doesn’t collapse. Don’t skip the extra yolks—they make a huge difference in texture.
Granulated Sugar (½ cup / 100g) — Standard white sugar. It dissolves into the chocolate mixture to create a crisp, thin crust on the outside while keeping the inside soft. You can use brown sugar for a deeper, molasses flavor, but it will make the cake denser. Stick to white for the classic look.
All-Purpose Flour (2 tablespoons / 15g) — Just a little bit. The flour provides just enough structure to hold the cake together. Too much flour, and you get a baked cake. Too little, and it’s just liquid chocolate soup. Two tablespoons is the sweet spot.
Salt (¼ teaspoon) — A pinch of salt enhances the chocolate flavor. It makes the chocolate taste more like chocolate. Don’t skip it.
Vanilla Extract (1 teaspoon) — Pure vanilla, not imitation. It adds a warm, aromatic note that rounds out the bitterness of the dark chocolate.
For the Raspberry Coulis
Frozen Raspberries (1 cup / 150g) — Fresh raspberries work too, but frozen are often cheaper and just as flavorful. They’re picked at peak ripeness and frozen immediately. Thaw them before blending.
Powdered Sugar (2-3 tablespoons / 20-30g) — Adjust to taste. Raspberries can be tart, so you might need more sugar. Start with 2 tablespoons and add more as needed.
Lemon Juice (1 teaspoon) — Just a squeeze. It brightens the flavor and balances the sweetness. It also helps prevent the raspberries from tasting flat.
Water (1-2 tablespoons) — To thin out the coulis to a drizzling consistency. You want it to flow easily but not be watery.
Equipment Needed
You don’t need a fancy kitchen to make this. Here’s what I actually use:
4-6 Ramekins (6-ounce size) — These are the little ceramic dishes you bake the cakes in. 6-ounce is the perfect size. If you use smaller ones, the cakes will overflow. If you use larger ones, the center won’t stay molten. I have a set from IKEA that’s cheap and works perfectly.
Microwave-Safe Bowl or Double Boiler — For melting the chocolate and butter. I use a glass bowl in the microwave because it’s faster. If you’re nervous about burning the chocolate, use a double boiler over low heat.
Mixing Bowls — One medium bowl for whisking the eggs and sugar. One small bowl for the flour.
Whisk — A simple wire whisk is all you need. You need to beat the eggs and sugar until they’re pale and fluffy, which takes about 2-3 minutes. A fork won’t do the job.
Pastry Brush or Oil Spray — To grease the ramekins. This is crucial. If you don’t grease them well, the cakes will stick, and you’ll ruin the presentation.
Blender or Immersion Blender — For the raspberry coulis. A regular blender works great. If you don’t have one, you can mash the raspberries with a fork and strain them through a fine-mesh sieve, but it takes longer.
Fine-Mesh Sieve (Optional) — If you want a perfectly smooth coulis without any seeds, strain it after blending. I usually skip this step because I like the texture of the seeds, but it’s up to you.
How to Make It: Step-by-Step
Alright, let’s make this! I’m walking you through exactly how I do it, including the little tricks I’ve picked up over the years. This is easier than it looks, but timing is everything.
Step 1: Prep the Ramekins (5 minutes)
First, you need to prep your ramekins. This is the step most people skip, and it’s the reason their cakes stick. Take a small piece of butter and rub it all over the inside of each ramekin, making sure to get into the corners. Then, dust them with cocoa powder. Tap out the excess. The cocoa powder prevents the cakes from looking pale and gives them a nice, professional finish. If you don’t have cocoa powder, you can use flour, but cocoa tastes better. Place the prepared ramekins on a baking sheet. This makes them easier to move in and out of the oven.
Step 2: Melt the Chocolate and Butter (3 minutes)
Break your chocolate into small pieces and put it in a microwave-safe bowl with the butter. Microwave on high for 30 seconds. Stir. Then microwave for another 15-20 seconds. Stir again. The residual heat will melt the rest of the chocolate. You want a smooth, glossy mixture. If there are still chunks, microwave in 10-second bursts. Do not overheat the chocolate, or it will seize up and become grainy. Set it aside to cool slightly.
Step 3: Whisk the Eggs and Sugar (2 minutes)
In a separate medium bowl, crack the two whole eggs and add the two egg yolks. Add the granulated sugar and the vanilla extract. Whisk vigorously. I mean, really whisk. You want the mixture to become pale, thick, and fluffy. This takes about 2-3 minutes by hand, or 1 minute with an electric mixer on medium speed. This step incorporates air, which helps the cakes rise and creates that nice crust on top. Don’t rush this part.
Step 4: Combine Wet and Dry Ingredients (2 minutes)
Pour the melted chocolate and butter mixture into the egg mixture. Whisk gently until combined. Then, sift in the flour and salt. Fold them in with a spatula or a whisk. Be careful not to overmix. You just want to incorporate the flour. The batter will be thick and glossy. It should look like a rich, dark chocolate pudding.
Step 5: Fill the Ramekins (2 minutes)
Divide the batter evenly among the four prepared ramekins. Use a small spoon or a piping bag if you have one. Smooth the tops with the back of a spoon. They should be filled about three-quarters full. If you fill them too high, they’ll overflow. If you fill them too low, they’ll be too dense. Now, you can bake them immediately, or you can cover them and refrigerate them for up to 24 hours. If you refrigerate them, you’ll need to add 1-2 minutes to the baking time.
Step 6: Bake the Cakes (12-14 minutes)
This is the most critical step. Preheat your oven to 425°F (220°C). Place the ramekins on the baking sheet and put them in the oven. Bake for 12-14 minutes. Here’s the trick: you want the edges to be set and firm to the touch, but the center to still be soft and jiggly. If you bake them for 15 minutes, they’ll be fully baked cakes. If you bake them for 10 minutes, they’ll be too runny. 12-14 minutes is the sweet spot. Start checking at 12 minutes.
Step 7: Make the Raspberry Coulis (5 minutes)
While the cakes are baking, make the coulis. Thaw the raspberries if they’re frozen. Put them in a blender with the powdered sugar, lemon juice, and water. Blend until smooth. Taste it. Is it tart enough? Add more sugar if needed. Is it too thick? Add a little more water. If you want it seedless, strain it through a fine-mesh sieve. Set it aside. It can be made ahead and stored in the fridge.
Step 8: Serve Immediately
Remove the ramekins from the oven. Let them sit for 1 minute. This allows them to cool slightly so they don’t burn your mouth, but also so the center stays molten. Run a thin knife around the edge of each ramekin to loosen the cake. Place a serving plate upside down over the ramekin. Hold both firmly and flip them over in one swift motion. Lift off the ramekin. The cake should slide out easily. Spoon a generous amount of raspberry coulis over the top and around the plate. Serve immediately. The contrast of the hot cake and the cool sauce is magical.
Expert Tips & Tricks
Here’s everything I’ve learned from making this dozens of times. These tips will save you from my mistakes.
Timing is Everything — I cannot stress this enough. The difference between a lava cake and a chocolate cake is two minutes. Use a timer. When the edges are set and the center still jiggles slightly when you shake the pan, take them out. They will continue to cook from residual heat after you take them out of the oven.
Don’t Skimp on the Grease — If your ramekins aren’t well-greased, the cakes will stick. I’ve had cakes get stuck before, and it’s heartbreaking. Use butter and cocoa powder. It’s the best combination.
Chill the Batter (Optional but Helpful) — If you’re not serving immediately, chill the filled ramekins in the fridge for at least 30 minutes. This helps the cakes hold their shape when you invert them. It also makes the center stay molten longer.
Use Good Chocolate — I know it’s expensive, but it matters. Cheap chocolate has more sugar and less cocoa butter. It won’t melt as smoothly, and the flavor won’t be as rich. Treat yourself to a good bar. Your taste buds will thank you.
Make the Coulis Ahead — The raspberry coulis is even better the next day. The flavors meld together. Make it the morning of your dinner party, and you’ll save yourself stress in the evening.
Serve with Vanilla Ice Cream or Whipped Cream — While the coulis is great on its own, a scoop of vanilla bean ice cream or a dollop of freshly whipped cream adds another layer of texture and temperature contrast. It’s optional, but highly recommended.
Variations & Substitutions
Once you’ve nailed the basic version, here’s how you can mix it up. I’ve tried all of these.
White Chocolate Lava Cake — Replace the semi-sweet chocolate with white chocolate. The flavor will be sweeter and milder. Pair it with a berry coulis or a caramel sauce. It’s less intense but still delicious.
Dark Chocolate (70%+) Version — Use 70% dark chocolate for a more bitter, intense flavor. You might need to add an extra tablespoon of sugar to balance the bitterness. This version feels more sophisticated and less sweet.
Coffee-Infused Lava Cake — Add 1 teaspoon of instant espresso powder to the melted chocolate mixture. It enhances the chocolate flavor without making it taste like coffee. It’s a great trick for deepening the flavor.
Orange-Zest Chocolate Cake — Add the zest of one orange to the batter. It pairs beautifully with the raspberry coulis. It’s a classic combination for a reason.
Gluten-Free — Replace the all-purpose flour with a 1:1 gluten-free flour blend. The texture will be slightly different, but it will still work. Make sure your chocolate and vanilla extract are certified gluten-free.
Vegan — This is harder because eggs are the structure. You can try using flax eggs (1 tablespoon ground flaxseed + 3 tablespoons water per egg) instead of the whole eggs, but the texture will be denser. Use vegan butter and vegan chocolate. It’s not the same, but it’s possible.
Different Sauces — Instead of raspberry coulis, try a salted caramel sauce, a strawberry coulis, or a simple dusting of powdered sugar with a side of fresh berries. The possibilities are endless.
Serving & Storage
How to Serve: I usually serve these straight from the ramekins on a plate. It looks rustic and elegant. But here are other ways I’ve enjoyed it:
Side Dishes: A scoop of vanilla ice cream is classic. Fresh berries (strawberries, raspberries, or blackberries) add freshness. A drizzle of chocolate sauce on the plate adds visual appeal. I also like to garnish with a mint leaf for a pop of color.
Wine Pairing: I’m not a wine expert, but a Port or a Cabernet Sauvignon pairs beautifully with dark chocolate. For something sweeter, try a Moscatel or a Late Harvest Riesling. If you’re having the raspberry coulis, a Pinot Noir is also a great match.
Storage Instructions:
Refrigerator: You can store the unbaked batter in the ramekins in the fridge for up to 24 hours. Cover them tightly with plastic wrap. When you’re ready to bake, take them out and let them sit at room temperature for 15 minutes before baking. Add 1-2 minutes to the baking time.
Reheating: Leftover baked cakes are okay, but they won’t have a molten center. To reheat, microwave for 20-30 seconds. But honestly, they’re best fresh. That’s why I usually only make enough for the people I’m serving.
Freezing: I don’t recommend freezing the baked cakes. The texture changes, and they become dense. You can freeze the batter in the ramekins, but it’s tricky. Thaw them in the fridge overnight and bake as usual.
Meal Prep: Prep the batter and fill the ramekins the night before. Store them in the fridge. In the morning, just pop them in the oven when you’re ready to eat. It makes brunch or a quick dinner so much easier.
Nutrition Information
I’m not a nutritionist, but here’s the breakdown if you’re tracking. Keep in mind that this is a rich, indulgent dessert, so portion control is key.
Per Serving (based on 4 servings):
| Nutrient | Amount |
|---|---|
| Calories | 480 |
| Protein | 7g |
| Carbs | 42g |
| Fiber | 3g |
| Sugar | 32g |
| Fat | 32g |
| Saturated Fat | 18g |
| Cholesterol | 145mg |
| Sodium | 120mg |
What’s Good: The dark chocolate provides antioxidants. The eggs provide protein. The raspberries add fiber and vitamins.
What to Know: This is high in sugar and saturated fat. It’s a treat, not a health food. If you’re watching your sugar, reduce the sugar in the coulis and use dark chocolate with 70% or higher cocoa content.
My Take: Look, this is chocolate lava cake. It’s supposed to be rich and indulgent. It’s not a diet recipe. But it’s way better than store-bought, and you know exactly what’s in it. When I want to make it lighter, I use less sugar and pair it with fresh fruit instead of ice cream. But usually? I just eat one and enjoy it. Life’s too short for sad desserts.
Final Thoughts
So that’s my go-to Restaurant-Style Molten Chocolate Lava Cake with Raspberry Coulis! I’ve probably talked your ear off at this point, but when you make a recipe this often, you have a lot to say about it.
This has saved dinner parties more times than I can count. It’s my answer to “I need to impress someone” or “I need to feel fancy.” It’s elegant, it’s delicious, and it’s surprisingly easy to make. My friends are always amazed that I made it at home. They think it’s impossible. But once you try it, you’ll see how simple it really is.
Make it yours! Try different chocolates, add different fruits to the coulis, or serve it with different toppings. The best recipes are the ones you adapt to your tastes. And if you’re looking for other easy desserts to master, check out my fudgy mint chocolate brownies for a no-bake option, or my cherry almond crumble bars for a fruity twist.
If you make this, drop a comment and let me know what you think! I love hearing how recipes turn out in your kitchen. And if something doesn’t work, tell me that too—I’m here to help troubleshoot.
Happy baking! And I hope your kitchen smells half as good as mine does right now.
Frequently Asked Questions
Q: Can I make these ahead of time?
A: Yes! You can prep the batter and fill the ramekins up to 24 hours in advance. Just cover them tightly with plastic wrap and store them in the fridge. When you’re ready to serve, take them out and let them sit at room temperature for 15 minutes before baking. You’ll need to add 1-2 minutes to the baking time. This is great for dinner parties because it saves you stress in the evening.
Q: Why did my cakes turn out fully baked instead of molten?
A: This usually happens if you overbake them. The difference between a lava cake and a chocolate cake is just a couple of minutes. Start checking at 12 minutes. The edges should be set, but the center should still jiggle slightly when you shake the pan. If they’re firm to the touch, they’re done. Remember, they continue to cook from residual heat after you take them out of the oven.
Q: Can I use chocolate chips instead of baking chocolate?
A: You can, but the texture won’t be as silky. Baking chocolate has a higher cocoa butter content, which makes it melt smoother. Chocolate chips have stabilizers to keep their shape, which can make the cake slightly grainy. If you must use chips, chop them up finely before melting. But for the best results, use a bar of high-quality baking chocolate.
Q: How do I store leftovers?
A: Leftover baked cakes are okay, but they won’t have a molten center. Store them in an airtight container in the fridge for up to 2 days. To reheat, microwave for 20-30 seconds. But honestly, they’re best fresh. That’s why I usually only make enough for the people I’m serving.
Q: Can I make the raspberry coulis ahead?
A: Absolutely. The coulis can be made up to 3 days in advance. Store it in an airtight container in the fridge. It will thicken as it cools, so you might need to add a little water or warm it up slightly before serving. The flavors actually get better after a day, so it’s a great make-ahead component.
Q: What if I don’t have ramekins?
A: You can use a muffin tin! Grease the muffin cups well and fill them with the batter. Bake them for 12-14 minutes as well. They’ll come out looking like little chocolate muffins with a molten center. They’re fun to eat and easier to share. Just make sure to grease them really well so they don’t stick.
Q: Can I use almond flour instead of all-purpose flour?
A: Yes, but you’ll need to use less. Almond flour is denser. Start with 1 tablespoon instead of 2. The texture will be slightly different, but it will still work. This is a good option for gluten-free diets, but make sure your chocolate and vanilla extract are also gluten-free.
Pin This Recipe!
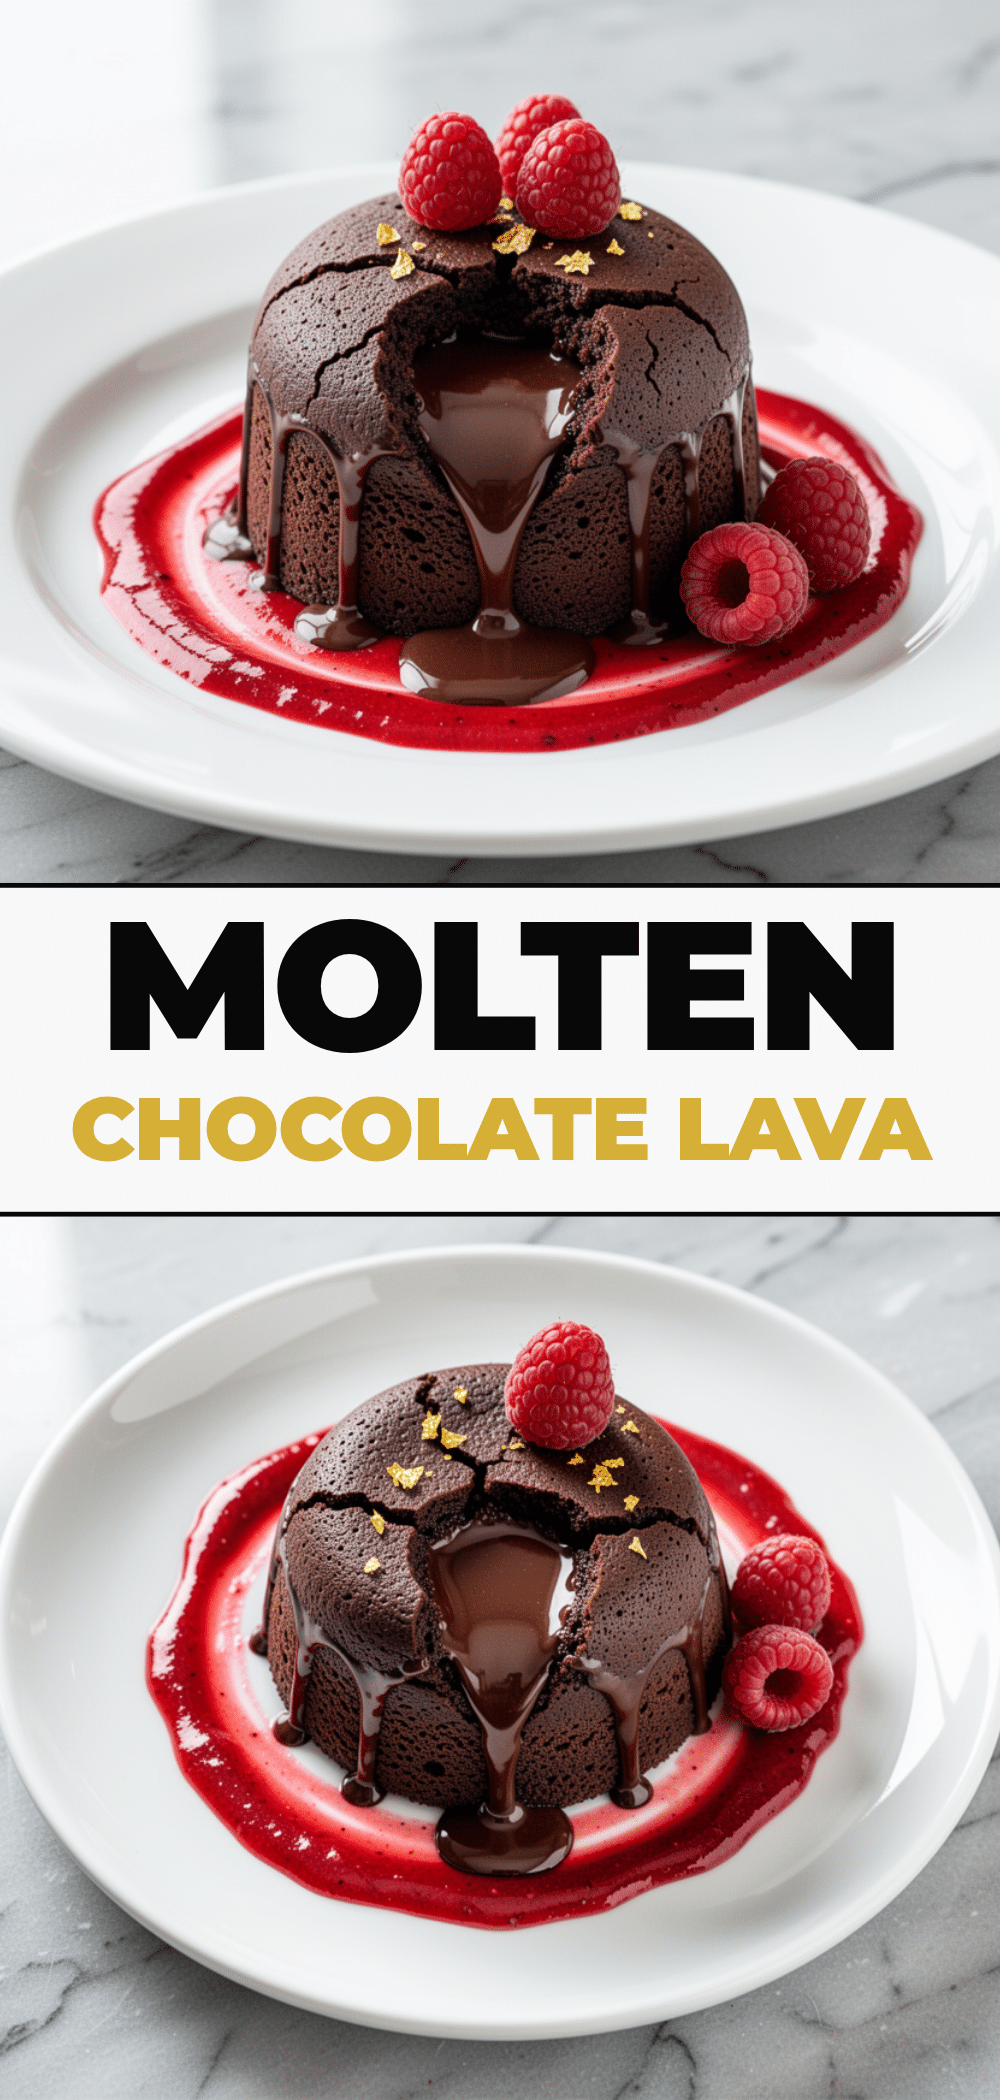
Restaurant-Style Molten Chocolate Lava Cake with Raspberry Coulis
- Total Time: 25 minutes
- Yield: 4 servings 1x
Description
A rich, indulgent dessert featuring warm, gooey chocolate centers served with a bright, tart raspberry coulis. This recipe is faster than delivery and requires no fancy skills, making it perfect for impressing guests or treating yourself.
Ingredients
- 8 ounces (225g) high-quality semi-sweet chocolate, broken into pieces
- 1/2 cup (115g) unsalted butter
- 2 large eggs
- 2 large egg yolks
- 1/2 cup (100g) granulated sugar
- 1 teaspoon vanilla extract
- 2 tablespoons (15g) all-purpose flour
- 1/4 teaspoon salt
- 1 cup (150g) frozen raspberries, thawed
- 2–3 tablespoons powdered sugar
- 1 teaspoon lemon juice
- 1–2 tablespoons water
- Butter and cocoa powder for greasing ramekins
Instructions
- Preheat oven to 425°F (220°C). Grease 4-6 (6-ounce) ramekins with butter and dust with cocoa powder, tapping out excess.
- Melt chocolate and butter together in a microwave-safe bowl in 30-second intervals, stirring until smooth. Set aside to cool slightly.
- In a medium bowl, whisk eggs, egg yolks, sugar, and vanilla extract vigorously until pale, thick, and fluffy (about 2-3 minutes).
- Pour melted chocolate mixture into egg mixture and whisk gently to combine. Sift in flour and salt, then fold in gently until just combined.
- Divide batter evenly among prepared ramekins, filling them about three-quarters full.
- Bake for 12-14 minutes until edges are set but centers are still soft and jiggly.
- While cakes bake, blend raspberries, powdered sugar, lemon juice, and water until smooth. Strain if desired.
- Remove cakes from oven and let sit for 1 minute. Run a knife around edges, invert onto plates, and serve immediately with raspberry coulis.
Notes
Timing is critical; the difference between a lava cake and a baked cake is just two minutes. The cakes continue to cook from residual heat after removal from the oven. For best results, use high-quality baking chocolate rather than chips. The batter can be prepared and refrigerated for up to 24 hours before baking.
- Prep Time: 13 minutes
- Cook Time: 12-14 minutes
- Category: Dessert
- Cuisine: American
Nutrition
- Serving Size: 1 ramekin with raspb
- Calories: 480
- Sugar: 32
- Sodium: 120
- Fat: 32
- Saturated Fat: 18
- Carbohydrates: 42
- Fiber: 3
- Protein: 7
Keywords: chocolate lava cake, molten chocolate cake, raspberry coulis, dessert recipe, date night dessert, easy baking, restaurant style dessert


