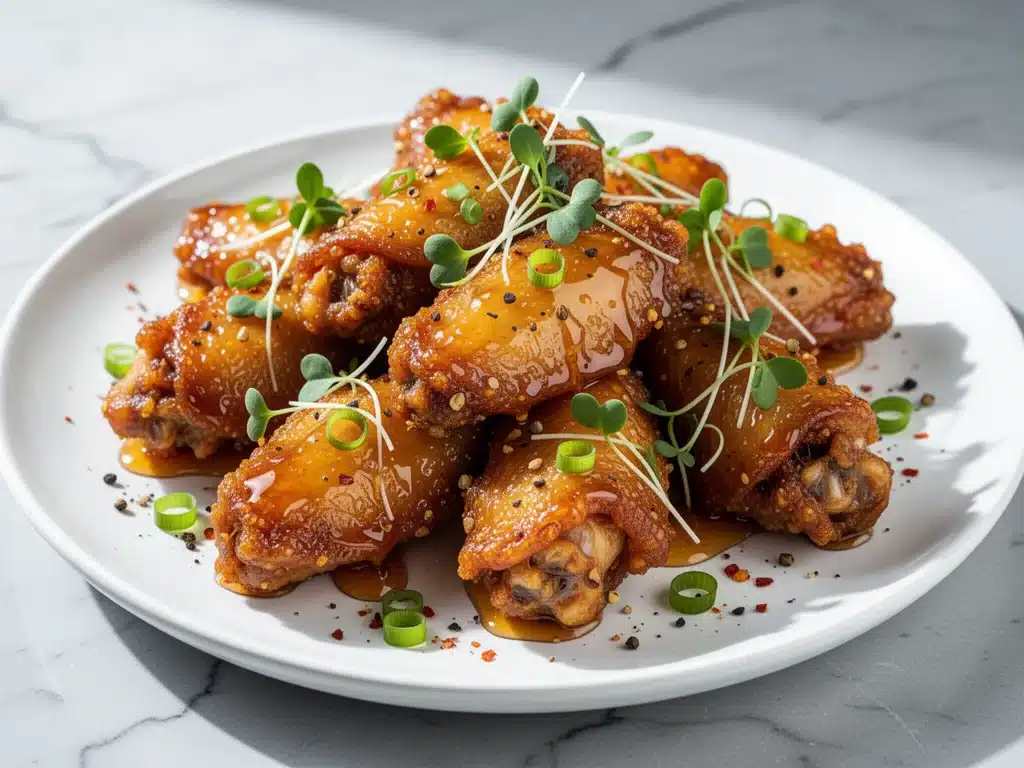
It was 6:45 PM on a Tuesday, and I was staring at the clock like it owed me money. My stomach was growling, my brain was fried from eight hours of spreadsheets, and the thought of standing over a hot stove to deep-fry wings was absolutely exhausting. I wanted that crispy, sticky, finger-licking good dinner, but I didn’t have the energy to deal with splattering oil or a kitchen that looked like a bomb went off.
Then I remembered I had an air fryer gathering dust in the back of my cupboard. I’d used it for sweet fries a few times, but wings? I always thought wings needed an oven, or worse, a deep fryer. I was wrong. So wrong. I tossed a pound of frozen wings into the basket, set the dial, and went to change into sweatpants. Twenty minutes later, I pulled out wings that were impossibly crispy on the outside, juicy on the inside, and coated in a sticky honey garlic glaze that made me actually stop scrolling on my phone and pay attention to my food.
I’ve made this air fryer chicken wings recipe at least a dozen times since that Tuesday. I’ve tested different glazes, tried various cooking times, and even convinced my skeptical husband to give it a shot (he now asks for these wings more than any other dinner). This is hands-down the easiest way to get restaurant-quality wings at home without the hassle, the mess, or the long cook time. If you’re looking for a weeknight meal that feels indulgent but actually comes together in the time it takes to watch one episode of your favorite show, this is it.
There’s something magical about how the air fryer circulates hot air to crisp up the skin without needing a bath of oil. It’s not just a trend; it’s a game-changer for weeknight dinners. These sticky honey garlic chicken wings are sweet, savory, garlicky, and have that perfect crunch that makes you want to lick your fingers. And the best part? The cleanup is a breeze because you’re not dealing with gallons of hot grease.
So, if you’re tired of ordering expensive takeout or spending hours in the kitchen, you need to try this. It’s real food, it’s fast, and it tastes incredible. Let’s get cooking.
Why You’ll Love This Air Fryer Chicken Wings Recipe
I know there are a million chicken wing recipes out there. But this specific method—using the air fryer for the crisp and a quick stovetop glaze for the flavor—is the winner. Here’s why these wings have taken over our dinner rotation:
- Stupidly Crispy Without Deep Frying — Seriously, the skin gets shatteringly crisp. I’ve tried oven-baked wings, and they’re usually rubbery or soggy. The air fryer forces the moisture out of the skin, creating that perfect crunch. It’s like magic, but it’s just physics.
- Under 30 Minutes Total — From frozen to finished, it takes about 25 minutes. That’s less time than it takes to drive to a fast-food drive-thru. I make these on nights when I’m completely depleted and just need dinner to happen.
- Sweet, Salty, and Garlicky — The glaze is the star here. It’s not just sugary; it’s got a savory garlic kick that balances the honey perfectly. It sticks to the wings without making them soggy, which is the hardest part of wing-glazing.
- Minimal Cleanup — No splatter guards, no pots of oil to cool and dispose of, no greasy stovetop to scrub. Just a liner (optional) and a small saucepan. My husband does the dishes, and he actually enjoys it because there’s barely anything to wash.
- Perfect for Meal Prep or Snacking — These wings reheat surprisingly well in the air fryer (don’t use the microwave, or they’ll get chewy). I often make a double batch for lunch bowls or snack on them while I cook dinner.
This recipe has saved me from so many “I’m too tired to cook” moments. It’s reliable, delicious, and makes you look like a culinary genius even when you’re running on fumes. Plus, they’re a huge crowd-pleaser. I’ve served these to friends who claim they “don’t like wings,” and they always come back for seconds.
Ingredients You’ll Need
Here’s the good news: you probably have most of these ingredients already. This isn’t a complicated recipe with hard-to-find spices. It’s simple, honest food.
For the Wings
Chicken wings (2 pounds / 900g) — I use standard chicken wingettes and flats. You can use drumettes, but wingettes are easier to dip in sauce. I usually buy them frozen from the grocery store to save time, but fresh wings work great too. If using fresh, pat them dry thoroughly to help them crisp up.
Vegetable oil or avocado oil (1 tablespoon) — Just a light coating. I use avocado oil because it has a high smoke point, but any neutral oil works. This helps the skin crisp and the seasoning stick.
Garlic powder (1 teaspoon) — Not the fresh garlic yet—that goes in the glaze. The powder adds a foundational savory flavor to the skin.
Onion powder (1 teaspoon) — Adds a subtle sweetness and depth that pairs perfectly with the honey.
Smoked paprika (½ teaspoon) — This gives a nice color and a hint of smoke. If you don’t have it, regular paprika works, but smoked is better.
Salt (½ teaspoon) — Kosher salt is best because it’s less salty by volume. Adjust to taste.
Black pepper (¼ teaspoon) — Freshly cracked is ideal.
For the Sticky Honey Garlic Glaze
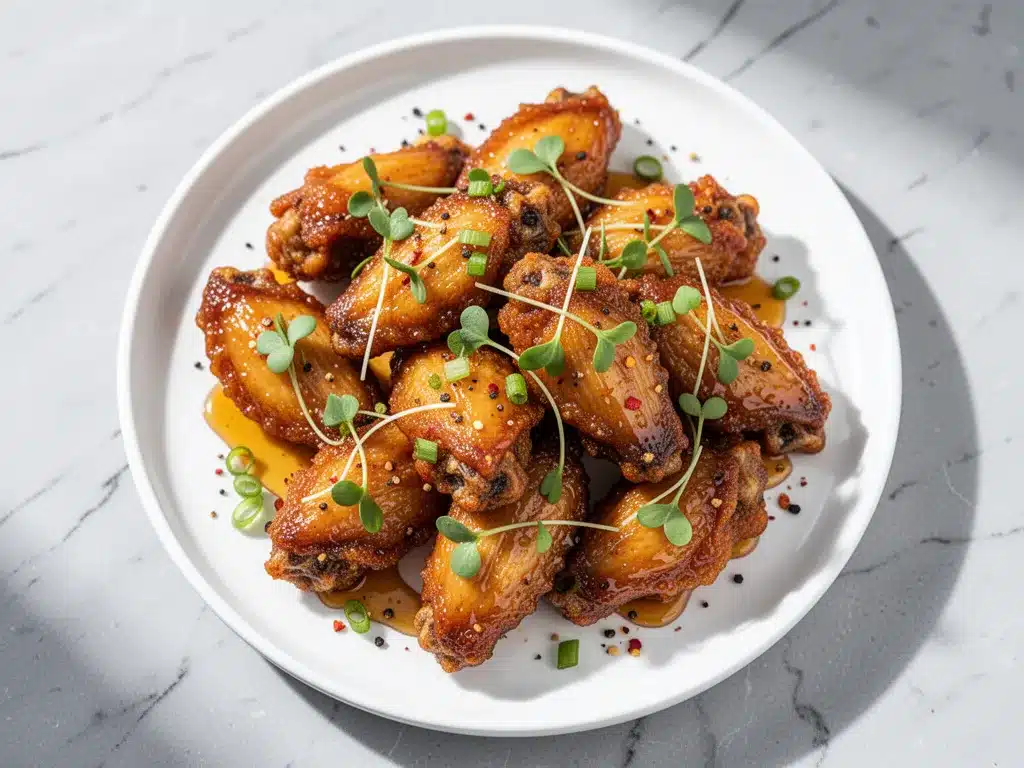
Garlic (4-5 cloves, minced) — Yes, fresh garlic. Do not use jarred garlic for the glaze if you can help it. It has a metallic aftertaste that clashes with the honey. Fresh minced garlic is fragrant and sweet when cooked briefly.
Honey (½ cup / 170g) — Use good-quality honey. Clover or wildflower honey works well. I’ve tried using maple syrup as a substitute, but it’s thinner and doesn’t get as sticky. Stick with honey for that classic wing texture.
Soy sauce (3 tablespoons) — This adds the umami and saltiness. I use low-sodium soy sauce so I can control the salt level. Regular soy sauce works too, just taste before adding extra salt.
Rice vinegar (1 tablespoon) — This cuts through the sweetness of the honey and the richness of the chicken. It’s essential for balance. If you don’t have rice vinegar, apple cider vinegar works in a pinch, but the flavor profile changes slightly.
Red pepper flakes (½ teaspoon) — Optional, but I love the heat. Start with less if you’re sensitive to spice. You can add more later.
Sesame oil (1 teaspoon) — Just a teaspoon. It adds a nutty aroma that elevates the whole dish. Don’t skip it, but don’t overdo it—it’s potent.
Green onions (2-3, sliced) — For garnish. They add a fresh, crisp bite that contrasts with the sticky, soft glaze.
Sesame seeds (1 tablespoon) — Optional, but pretty and adds a nice texture. Toasted sesame seeds are best.
Equipment Needed
You don’t need a fancy kitchen for this. Here’s what I actually use:
Air Fryer — Obviously. I use a 5.8-quart basket air fryer. It’s big enough to cook two pounds of wings in two batches without overcrowding. Overcrowding is the enemy of crispiness, so make sure there’s space between the wings for air to circulate.
Baking Sheet or Plate — To hold the wings while you toss them in oil and spices.
Small Saucepan — For making the glaze. A small 1-quart pan works perfectly. It makes cleanup even easier.
Tongs — For flipping the wings. Metal tongs are best because they can handle the heat.
Pastry Brush or Spoon — To toss the wings in the glaze. I prefer tossing them in a large bowl to ensure even coating.
Optional: Parchment Paper or Silicone Liner — I use a silicone liner to make cleanup a breeze. It prevents the wings from sticking to the basket. If you don’t use a liner, you’ll need to scrub the basket afterward, which is fine, but why work harder?
How to Make It: Step-by-Step
Alright, let’s make this! I’m walking you through exactly how I do it, including the little tricks I’ve picked up to ensure your wings are perfectly crispy and sticky.
Step 1: Prep the Wings (5 minutes)
If your wings are frozen, don’t worry—you can cook them straight from frozen. However, if they’re fresh, pat them dry with paper towels. Moisture is the enemy of crispiness. Place the wings in a large bowl and drizzle with the oil. Add the garlic powder, onion powder, paprika, salt, and pepper. Toss until the wings are evenly coated. I usually do this with my hands—it’s faster and ensures every nook and cranny gets seasoned.
Step 2: Cook the Wings (20 minutes)
Preheat your air fryer to 380°F (190°C). This isn’t strictly necessary for all air fryers, but it helps get the crisp going faster. Place the wings in the air fryer basket in a single layer. Do not overcrowd! If you have two pounds of wings, you’ll likely need to cook them in two batches. Leave space between each wing so the hot air can circulate. Cook for 12 minutes.
After 12 minutes, open the basket and flip the wings. You’ll notice the skin is starting to brown and crisp. Cook for another 8-10 minutes, depending on how crispy you like them. I usually go for 10 minutes for maximum crunch. The wings are done when the skin is golden brown and the internal temperature reaches 165°F (74°C). If you don’t have a thermometer, just make sure the juices run clear when you pierce the thickest part.
Step 3: Make the Glaze (5 minutes)
While the wings are cooking, make the glaze. In a small saucepan over medium heat, combine the minced garlic, honey, soy sauce, rice vinegar, red pepper flakes, and sesame oil. Whisk together until the honey is dissolved. Let it simmer for 2-3 minutes until it thickens slightly. It should coat the back of a spoon. Be careful not to burn the garlic—keep the heat medium, not high. If the glaze gets too thick, add a teaspoon of water.
Step 4: Toss and Serve (2 minutes)
Once the wings are done, transfer them to a large mixing bowl. Pour the warm glaze over the wings. Toss vigorously until every wing is coated in that sticky, glossy sauce. The heat from the wings will help the glaze adhere. Serve immediately, topped with sliced green onions and sesame seeds. These are best eaten hot and sticky, right out of the bowl.
Total Time: About 25-30 minutes (20 minutes cooking, 5-10 minutes prep and glaze).
Expert Tips & Tricks
Here’s everything I’ve learned from making these wings dozens of times. These tips will save you from my mistakes.
Don’t Overcrowd the Basket
This is the #1 mistake people make. If the wings are touching, they steam instead of crisp. Cook in batches if you have to. It takes an extra 10 minutes, but it’s worth it for the texture. I’ve learned this the hard way with soggy wings that tasted like boiled chicken.
Flip Midway
Even if your air fryer has a rotating feature, I still recommend flipping the wings halfway through. It ensures even browning. I use tongs to flip them at the 12-minute mark.
Glaze While Hot
Always toss the wings in the glaze immediately after they come out of the air fryer. The residual heat helps the sauce stick. If you let them cool, the glaze will slide off. I’ve tried this, and it’s a sad, saucy mess.
Thicken the Glaze
If your glaze is too runny, let it simmer a bit longer. A thick glaze sticks better and doesn’t make the wings soggy. I like it thick enough to drip slowly off the spoon.
Save the Pan Juice
If there’s excess glaze in the bowl, don’t throw it away! Pour it into a small saucepan and heat it up. Drizzle it over the wings again before serving. Extra sticky goodness is never a bad thing.
Variations & Substitutions
Once you’ve nailed the basic version, here’s how you can mix it up. I’ve tried all of these, and they’re all delicious.
Spicy Honey Garlic
Add 1 tablespoon of sriracha or gochujang paste to the glaze. This adds a fiery kick that balances the sweetness. Perfect if you like things spicy.
Teriyaki Style
Swap the rice vinegar for mirin and add a teaspoon of grated ginger to the glaze. It gives a more traditional Japanese flavor profile.
Soy Ginger
Reduce the honey to ¼ cup and add 1 tablespoon of grated fresh ginger and 1 teaspoon of sesame oil. Less sweet, more savory.
Gluten-Free
Use tamari instead of soy sauce. Everything else is naturally gluten-free. I use tamari and it tastes identical.
Dairy-Free
This recipe is naturally dairy-free, so you’re good to go! Just double-check your soy sauce and honey are pure.
Vegan
Substitute the chicken wings with cauliflower florets or seitan strips. The glaze works perfectly with cauliflower. I roast the cauliflower in the air fryer at 400°F for 15-20 minutes before tossing in the glaze.
Serving & Storage
How to Serve
I usually serve these wings straight from the bowl at the dinner table. They’re finger food, so provide plenty of napkins! But here are other ways I’ve enjoyed them:
- With a Side Salad — A simple green salad with a light vinaigrette cuts the richness of the wings.
- With Rice or Noodles — I sometimes serve these over steamed rice or lo mein for a heartier meal. It’s like a deconstructed chicken fried rice.
- As an Appetizer — These are perfect for game day or parties. I make a double batch and serve them with extra glaze on the side for dipping.
Storage Instructions
Refrigerator:
Store leftovers in an airtight container for up to 3 days. The wings will keep, but the glaze might soak in and make the skin less crispy.
Reheating:
Best method: Reheat in the air fryer at 380°F for 3-4 minutes. This restores the crispiness. Avoid the microwave, as it will make the wings chewy and soggy. If you must use the microwave, do it in short bursts and follow up with a quick air fry or toaster oven session.
Freezing:
I don’t recommend freezing glazed wings because the texture changes. If you want to meal prep, cook the wings plain, freeze them, and glaze them fresh when you’re ready to eat. This keeps the texture optimal.
Nutrition Information
I’m not a nutritionist, but here’s the breakdown if you’re tracking. Keep in mind that nutritional values can vary based on the specific chicken and brands used.
Per Serving (based on 4 servings, 8 wings each):
| Nutrient | Amount |
|---|---|
| Calories | 450 |
| Protein | 28g |
| Carbs | 35g |
| Fat | 22g |
| Sugar | 28g |
| Sodium | 680mg |
These wings are higher in sugar due to the honey, but they’re also high in protein. If you’re watching your sugar, you can reduce the honey to ¼ cup, though the glaze won’t be as sticky. It’s comfort food, so enjoy it in moderation!
Final Thoughts
So that’s my go-to air fryer chicken wings recipe! I’ve probably talked your ear off at this point, but when you find a recipe that works this well, you have a lot to say about it. These wings have saved weeknight dinners more times than I can count. They’re my answer to “what’s for dinner” when I’m tired, don’t want takeout, and still want something that tastes really good.
Make it yours! Try different glazes, swap in your favorite spices, or adjust the heat level. The best recipes are the ones you adapt to your family’s tastes. If you make this, drop a comment and let me know what you think! I love hearing how recipes turn out in your kitchen. And if something doesn’t work, tell me that too—I’m here to help troubleshoot.
Happy cooking! And I hope your kitchen smells half as good as mine does right now. If you’re looking for more easy weeknight meals, check out my maple dijon roasted chicken for a hands-off option, or my high-protein chicken and broccoli meal prep bowl if you’re meal prepping for the week.
Frequently Asked Questions
Can I use fresh wings instead of frozen?
Yes! Fresh wings work great. Just make sure to pat them very dry with paper towels before seasoning. Moisture is the enemy of crispiness, so the drier they are, the better they’ll crisp in the air fryer. Cooking time might be slightly less—check them at 18 minutes.
Why are my wings not crispy?
Usually, this is due to overcrowding the basket. The wings need space for air to circulate. If they’re touching, they steam. Also, make sure you’re not skipping the oil coating. A thin layer of oil helps conduct heat and crisp the skin. Finally, ensure your air fryer is preheated if your model recommends it.
Can I make the glaze ahead of time?
Absolutely. You can make the glaze up to 3 days in advance and store it in the fridge. Reheat it gently in the microwave or on the stove before tossing the wings. The flavors actually meld and improve over time.
What if I don’t have an air fryer?
You can bake these wings in the oven! Preheat to 400°F (200°C). Place wings on a wire rack set over a baking sheet (this helps air circulate). Bake for 40-45 minutes, flipping halfway, until crispy and cooked through. The texture won’t be quite as crispy as air-fried, but it’s still delicious.
How spicy are these wings?
The base recipe is mildly spicy from the red pepper flakes. If you add no red pepper flakes, they’re sweet and savory. If you want them spicy, add sriracha or cayenne to the glaze. Start with ½ teaspoon and adjust to your heat tolerance.
Can I freeze the cooked wings?
I don’t recommend freezing glazed wings. The glaze will become watery and the skin will lose its crunch. Instead, cook the wings plain, freeze them in airtight bags, and glaze them fresh when you’re ready to eat. Reheat in the air fryer to restore crispiness.
What sides go well with these wings?
Since these wings are rich and sticky, I like pairing them with something light and crunchy. A simple green salad, coleslaw, or even crispy baked ranch chickpeas work well. If you want a heartier meal, serve them with steamed rice or garlic bread.
Pin This Recipe!
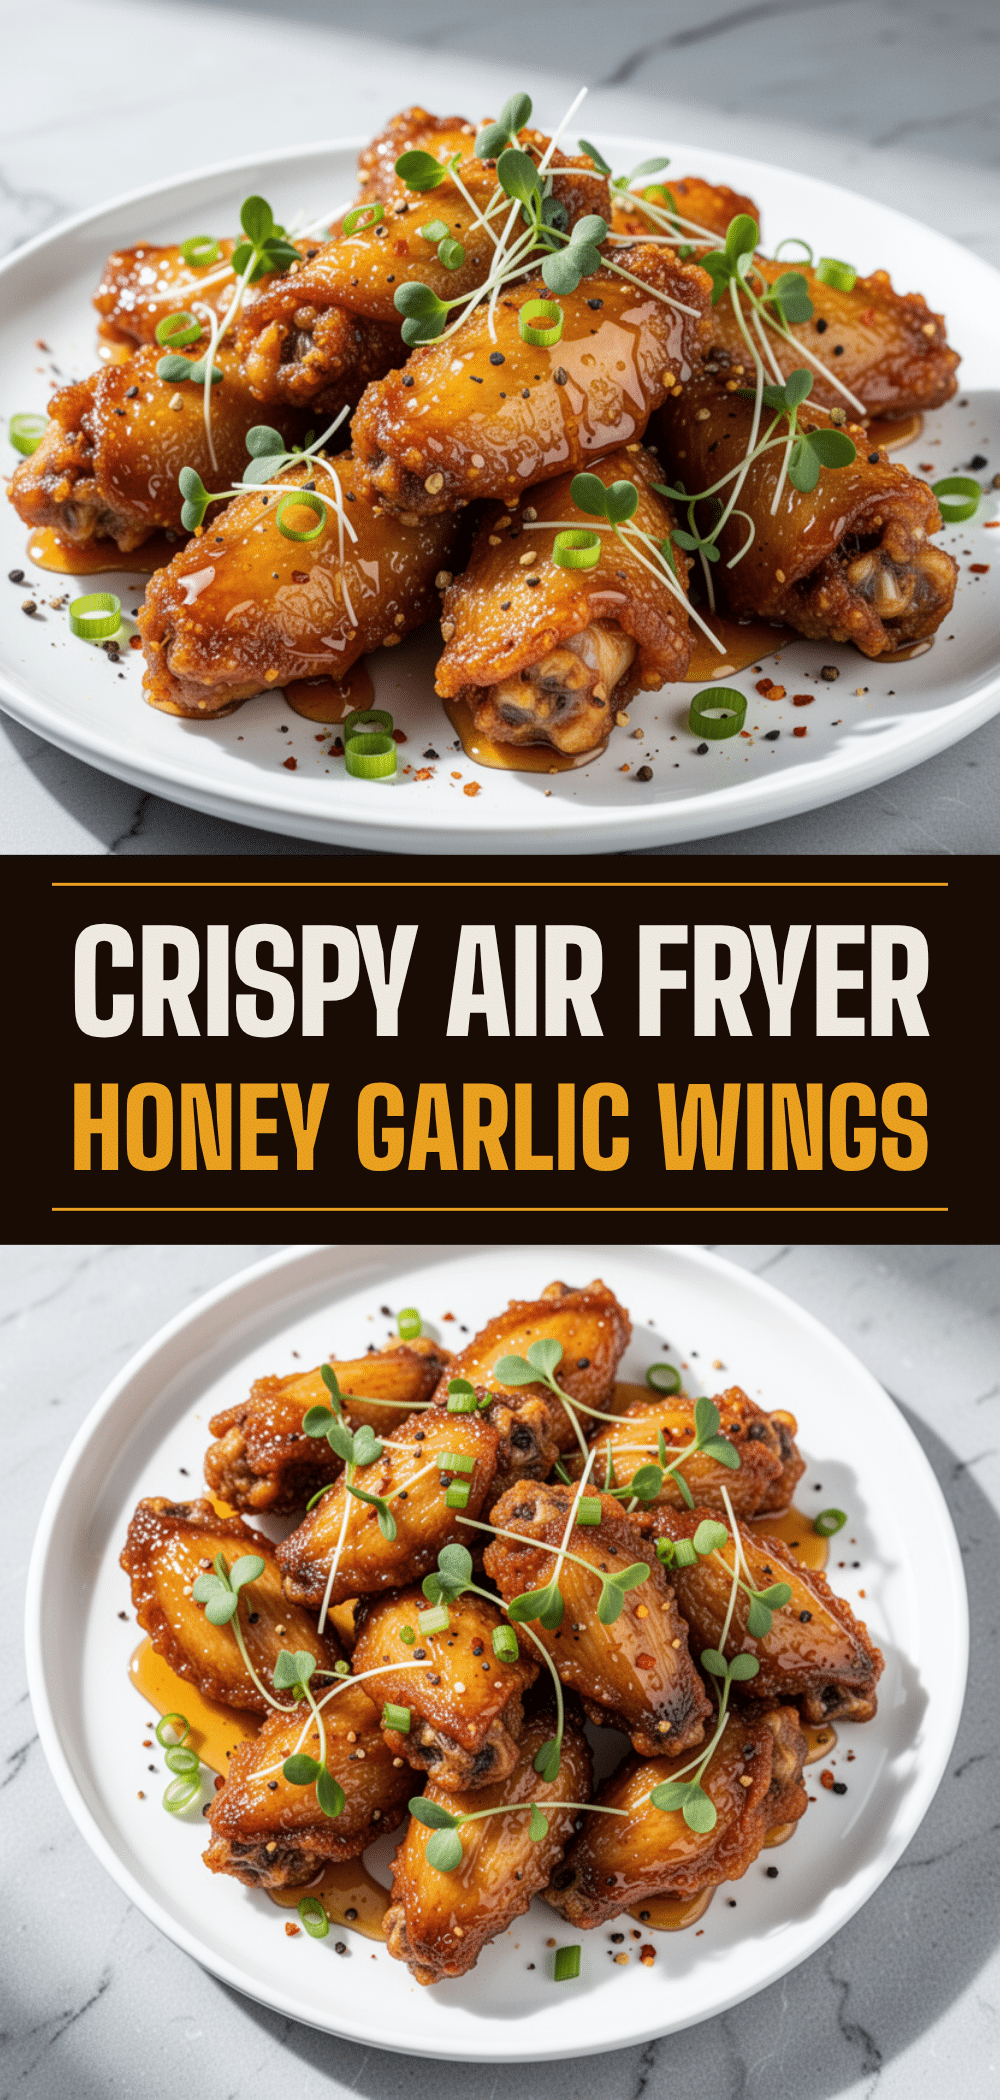
Air Fryer Chicken Wings: 20-Min Easy Honey Garlic Recipe
- Total Time: 25-30 minutes
- Yield: 4 servings 1x
Description
Crispy, sticky honey garlic chicken wings made in an air fryer in under 30 minutes. This easy weeknight dinner requires minimal cleanup and delivers restaurant-quality results without deep frying.
Ingredients
- 2 pounds chicken wings (wingettes and flats)
- 1 tablespoon vegetable oil or avocado oil
- 1 teaspoon garlic powder
- 1 teaspoon onion powder
- ½ teaspoon smoked paprika
- ½ teaspoon salt
- ¼ teaspoon black pepper
- 4–5 cloves garlic, minced
- ½ cup honey
- 3 tablespoons soy sauce
- 1 tablespoon rice vinegar
- ½ teaspoon red pepper flakes
- 1 teaspoon sesame oil
- 2–3 green onions, sliced
- 1 tablespoon sesame seeds
Instructions
- Preheat air fryer to 380°F (190°C).
- Pat fresh wings dry if using; place frozen or fresh wings in a large bowl.
- Drizzle with oil and add garlic powder, onion powder, paprika, salt, and pepper. Toss to coat evenly.
- Place wings in the air fryer basket in a single layer, ensuring they are not overcrowded. Cook in batches if necessary.
- Cook for 12 minutes, then flip the wings.
- Continue cooking for 8-10 minutes until skin is golden brown and internal temperature reaches 165°F (74°C).
- While wings cook, combine minced garlic, honey, soy sauce, rice vinegar, red pepper flakes, and sesame oil in a small saucepan over medium heat.
- Simmer glaze for 2-3 minutes until it thickens slightly and coats the back of a spoon.
- Transfer cooked wings to a large bowl and pour warm glaze over them.
- Toss vigorously to coat wings evenly in the sauce.
- Serve immediately, topped with sliced green onions and sesame seeds.
Notes
Do not overcrowd the air fryer basket to ensure crispiness. Flip wings halfway through cooking. Toss wings in glaze immediately while hot for best adhesion. For gluten-free, use tamari instead of soy sauce. Do not freeze glazed wings; freeze plain cooked wings and glaze fresh.
- Prep Time: 5 minutes
- Cook Time: 20 minutes
- Category: Main Course
- Cuisine: Asian Fusion
Nutrition
- Serving Size: 2 wings per serving
- Calories: 450
- Sugar: 28
- Sodium: 680
- Fat: 22
- Carbohydrates: 35
- Protein: 28
Keywords: air fryer chicken wings, honey garlic wings, easy weeknight dinner, crispy chicken wings, air fryer recipes, sticky wings, quick meals


