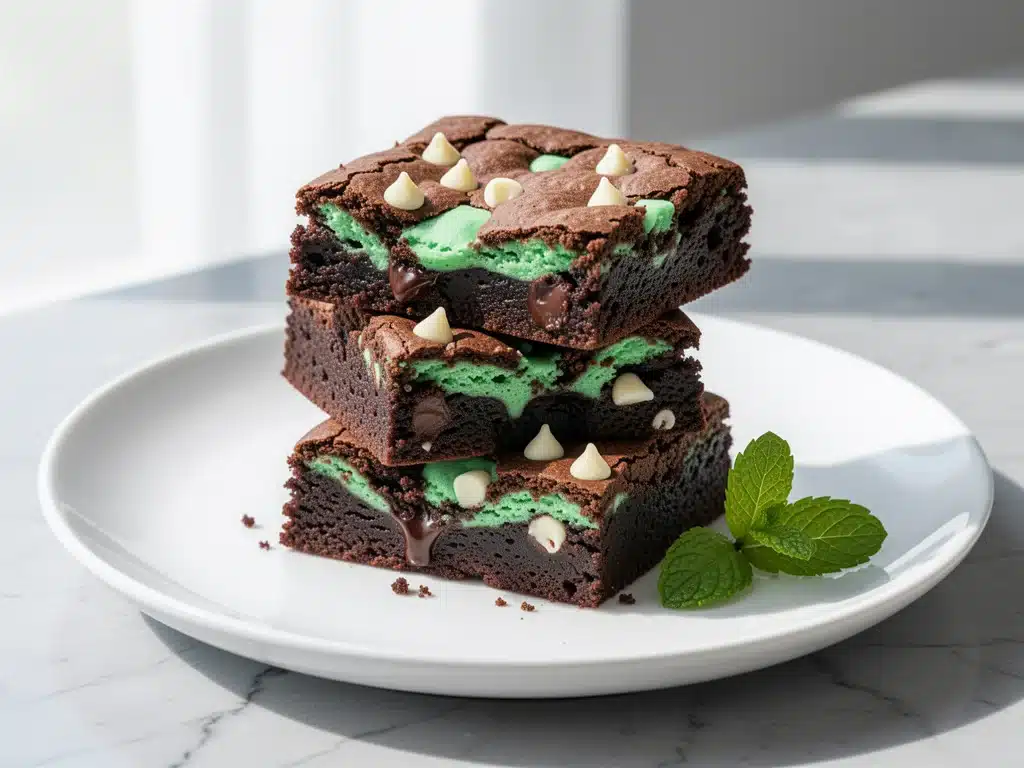
I have a confession to make. For years, I was convinced that mint and chocolate didn’t belong in the same baked good. It felt like a culinary crime. You know the kind—where you take a perfectly good, dense, fudgy brownie and dump artificial green dye on it, making it look like something out of a Halloween-themed bakery from 1998. I avoided it. I steered clear of the “peppermint patty” brownies at every holiday party.
Then, last winter, my sister brought over a batch of fudgy mint chocolate brownies made from scratch. No green dye. No artificial flavoring. Just real chocolate, real butter, and a surprisingly simple amount of fresh mint. I took one bite and stopped talking mid-sentence. It was dark, intense, and cool at the same time. The mint wasn’t a candy-cane explosion; it was subtle, earthy, and perfectly balanced the richness of the chocolate. It was like eating a high-end truffle.
I begged for the recipe. She laughed and told me it was basically a standard brownie recipe with one secret weapon: mint extract and a tiny bit of chocolate mint leaves I’d never even heard of. I went home and made them three times in a week. I’m not exaggerating. Three times. Because once you get the ratio right, these 5-ingredient mint chocolate brownies are dangerously addictive.
Here’s the thing about this recipe: it’s stupidly simple. You don’t need a stand mixer. You don’t need fancy flour blends. You don’t need to temper chocolate or whip egg whites into stiff peaks. You just melt some chocolate, mix it with butter, sugar, eggs, and flour, stir in the mint, and bake. That’s it. It’s the kind of dessert that makes you look like a genius baker while actually requiring zero technical skill. If you can make no-bake peanut butter granola bites, you can master these brownies. Seriously.
I’ve tested this specific ratio of mint to chocolate dozens of times, tweaking it until it was perfect for my family. My husband, who usually only eats plain chocolate, asks for these every Friday. My kids think they’re getting away with eating dessert for breakfast. And honestly? I don’t blame them. These fudgy mint chocolate brownies are the ultimate comfort food with a twist that keeps you coming back for just one more piece.
Why You’ll Love This 5-Ingredient Recipe
There are about ten reasons I keep making these, but let’s be real—you’re here because you want dessert that tastes amazing without taking all weekend to make. Here’s why these mint chocolate brownies have taken over my kitchen:
Stupid Simple Ingredients — Seriously, five ingredients. Flour, sugar, butter, chocolate, and mint. That’s it. No weird pantry items you’ll only use once. I keep chocolate chips, butter, and sugar stocked specifically so I can throw these together on a whim. It’s the ultimate “I need dessert now” recipe.
Lightning Fast — From start to finish, these take about 35 minutes. Ten minutes of prep, 25 minutes of baking. I’ve made these on weeknights when I forgot to plan dinner and still wanted something sweet. They’re faster than ordering takeout and way healthier (okay, maybe not *that* much healthier, but better than a greasy pizza).
Perfectly Fudgy Texture — I’ve tried a lot of brownie recipes that come out cakey or dry. Not these. Because we’re melting the chocolate with the butter, you get that dense, fudgy, almost lava-cake center. It’s the kind of texture that sticks to your teeth in the best way possible. If you prefer soft-baked treats, you might also enjoy my soft-baked banana oatmeal cookies, but these brownies are a different beast entirely.
Crowd-Pleaser — I’ve served these to my picky eater nephew, my food-snob cousin, and my husband’s colleagues. Everyone loves them. The mint isn’t overpowering; it’s sophisticated. It feels like you went to a fancy patisserie, but you made it in your pajamas.
Makes Amazing Leftovers — Actually, these taste better the next day. The flavors meld together overnight, and the mint becomes even more subtle and rich. I deliberately make a double batch on Sunday so I have dessert for the rest of the week. They keep well in an airtight container for up to five days.
Budget-Smart — Feeds a family of four for under $8. That’s cheaper than a box of fancy cookies and way tastier. Plus, you control the quality of the chocolate, which makes a huge difference in the final taste.
This is my go-to when I need dessert to just work. No complicated techniques, no weird ingredients, just reliable, delicious food that makes everyone happy. And if you’re looking for other easy treats, these are right up there with my crispy baked chicken nuggets in terms of being a household staple.
Ingredients You’ll Need
Here’s the best part: you probably have most of this already. I’m particular about two ingredients here—the chocolate and the mint—and I’ll tell you exactly why. But for the rest? It’s pantry basics.
Dark Chocolate Chips (1 cup / 175g) — This is the star. I use semi-sweet or bittersweet chocolate chips. Don’t use white chips or milk chocolate if you want that deep, fudgy flavor. Ghirardelli or Guittard work great. If you can’t find chips, chop up a bar of chocolate. It melts slightly slower but tastes amazing.
Unsalted Butter (½ cup / 115g) — Use real butter. Margarine won’t give you the same rich texture. Cut it into cubes before melting so it heats evenly. I always keep a stick in the fridge, but if it’s too cold, just microwave it for 10 seconds to soften it up.
Granulated Sugar (1 cup / 200g) — Regular white sugar is perfect here. It adds that slight crunch on the edges and chewiness in the middle. You can use brown sugar for a more caramel-like flavor, but it will make them cakier. Stick with white for true fudginess.
Eggs (2 large) — Room temperature eggs are best. They mix in smoother and help create that glossy top. If you’re in a rush, just drop them in a bowl of warm water for 5 minutes to warm them up.
All-Purpose Flour (¾ cup / 95g) — Just plain old flour. No need for cake flour or almond flour here. Overmixing the flour is the enemy of fudgy brownies, so measure it carefully and mix gently.
Mint Extract (1 teaspoon) — This is the secret weapon. Use pure peppermint extract or spearmint extract, not the sugary “candy cane” flavoring from the baking aisle. The pure extract tastes natural and sophisticated. I buy mine at the grocery store in the vanilla aisle—it’s right next to the vanilla extract.
Fresh Mint Leaves (2 tablespoons, finely chopped) — Optional, but highly recommended. It adds texture and a fresh burst of flavor. If you can’t find fresh mint, skip it. The extract is enough. But if you have a mint plant (and you should, it’s easy to grow), chop up a few leaves. It looks beautiful too.
Salt (¼ teaspoon) — A pinch of salt balances the sweetness and enhances the chocolate flavor. Don’t skip it. It’s the difference between “sweet” and “delicious.”
Optional Add-ins:
- White Chocolate Chips (½ cup) — For those who want a marbled effect. I swirl them in before baking.
- Crushed Peppermint Candy — For a more traditional “mint chip” vibe. Adds crunch.
- Sea Salt Flakes — Sprinkle on top after baking for a fancy touch.
Equipment Needed
You don’t need fancy equipment for this. Here’s what I actually use:
Medium Saucepan — For melting the chocolate and butter. I use a small stainless steel pot. It heats evenly and is easy to clean. A microwave-safe bowl works too, but you have to watch it closely so it doesn’t burn.
Mixing Bowls — Two bowls. One for melting, one for mixing. I use a medium bowl for the wet ingredients and a larger one for combining everything. Glass or ceramic works best.
Whisk — For beating the eggs and sugar until smooth. A regular wire whisk is fine. No need for an electric mixer.
8×8 Inch Baking Pan — This is the standard size for brownies. Line it with parchment paper for easy removal. I also use a 9×9 pan if I want thinner brownies, but an 8×8 gives you that perfect thick, fudgy square.
Parchment Paper — Essential. It prevents sticking and makes cleanup a breeze. Just leave a little overhang on the sides so you can lift the brownies out once they’re cooled.
Knife — For chopping the fresh mint. A sharp chef’s knife works best. If you don’t have one, a regular kitchen knife is fine. Just be careful.
Measuring Cups and Spoons — For accuracy. I use standard metal measuring cups for dry ingredients and a liquid measuring cup for the butter if I’m melting it.
Wire Rack — For cooling the brownies. They need to cool completely before cutting, or they’ll be too soft and messy. A simple wire rack works perfectly.
How to Make It: Step-by-Step
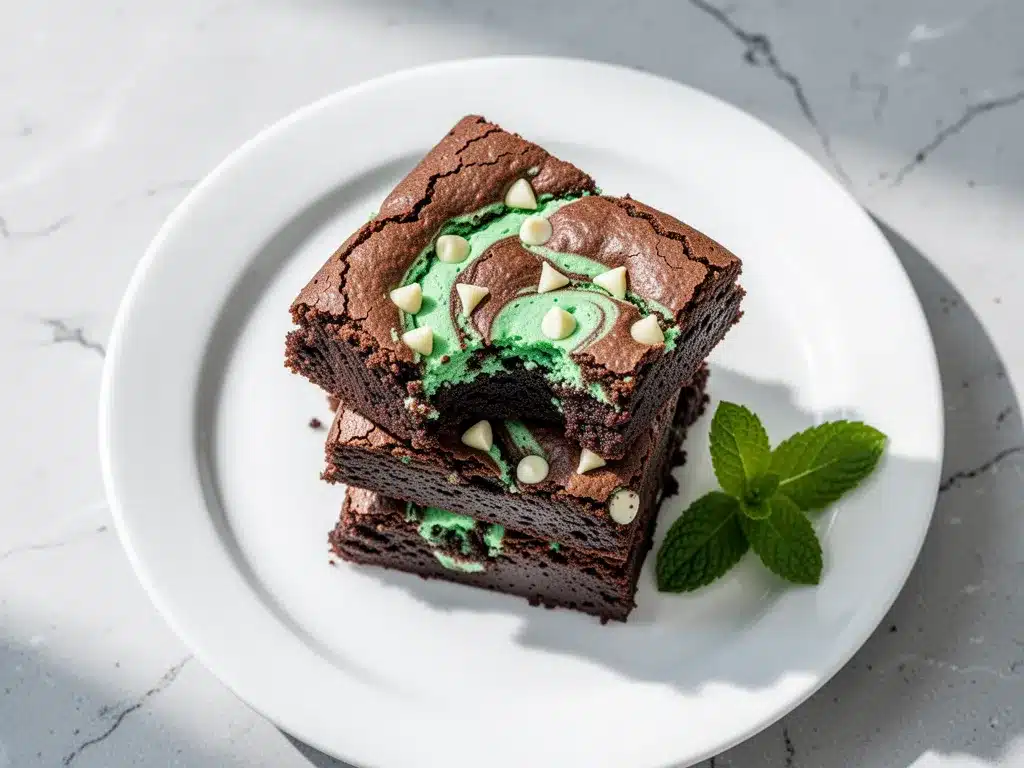
Alright, let’s make this! I’m walking you through exactly how I do it, including the little tricks I’ve picked up over the years.
Step 1: Prep Your Pan and Oven (5 minutes)
Preheat your oven to 350°F (175°C). Grease an 8×8 inch baking pan with butter or cooking spray, then line it with parchment paper. Leave a little overhang on the sides—you’ll need that to lift the brownies out later. This step is crucial because these brownies are sticky and fudgy. Without parchment, you’ll be scraping brownie bits out of the pan for hours.
Step 2: Melt the Chocolate and Butter (5 minutes)
In a medium saucepan over low heat, combine the butter and chocolate chips. Stir constantly until the chocolate is completely melted and smooth. If you’re using a microwave, heat in 30-second intervals, stirring in between, to avoid burning. The mixture should be glossy and fluid. Remove from heat and let it cool for 2 minutes. If it’s too hot, it’ll cook the eggs when you add them, which is not what we want.
Step 3: Mix the Wet Ingredients (3 minutes)
Whisk the sugar into the melted chocolate mixture until well combined. The mixture will look thick and shiny. Add the eggs one at a time, whisking well after each addition. Stir in the mint extract and salt. The batter should be smooth and slightly thick. Don’t worry if it looks a bit separate—that’s normal. It’ll come together when you add the flour.
Step 4: Add the Flour (2 minutes)
Sprinkle the flour over the wet mixture. Gently fold it in with a spatula or wooden spoon. Stop as soon as the flour disappears. Overmixing is the enemy of fudgy brownies. You want just enough mixing to incorporate the flour, no more. If you see streaks of flour, that’s okay. A few lumps are better than a tough, cakey brownie.
Step 5: Fold in the Mint (1 minute)
If you’re using fresh mint leaves, fold them into the batter now. They’ll distribute evenly throughout. If you’re using peppermint candy or white chocolate chips, add those now too. The batter should be dark, glossy, and speckled with green or white.
Step 6: Bake (25 minutes)
Pour the batter into the prepared pan and spread it out evenly. Bake for 25-30 minutes. The brownies are done when the top is cracked and shiny, and a toothpick inserted into the center comes out with moist crumbs attached (not wet batter, but not completely clean either). If you want cakier brownies, bake for 30 minutes. For fudgy brownies, stick to 25 minutes. I usually pull them at 25 minutes because they continue to cook in the pan as they cool.
Step 7: Cool and Cut (30 minutes)
Let the brownies cool in the pan for at least 30 minutes. This is the hardest part, I know. But if you cut them while they’re hot, they’ll fall apart. Once cooled, use the parchment paper overhang to lift the brownies out of the pan. Cut into squares or bars. Dust with powdered sugar or sea salt if you’re feeling fancy.
Expert Tips & Tricks
Here’s everything I’ve learned from making these dozens of times. These tips will save you from my mistakes.
Don’t Overmix the Flour
This is the #1 tip. Overmixing develops gluten, which makes brownies cakey. Fold the flour in gently and stop as soon as it’s incorporated. I’ve ruined batches by being too eager. Now I use a spatula and fold slowly. It’s worth the extra minute.
Use Good Chocolate
Since chocolate is the main ingredient, use good chocolate. Cheap chocolate chips with lots of additives will taste waxy. Ghirardelli, Guittard, or Lindt are my favorites. If you can afford it, buy a bar of high-quality dark chocolate and chop it yourself. It melts beautifully and tastes incredible.
Room Temperature Eggs
Cold eggs can cause the chocolate mixture to seize up or clump. Bring your eggs to room temperature before starting. If you forget, just drop them in warm water for 5 minutes. It makes a huge difference in the texture.
Check Early
Ovens vary. Start checking your brownies at 25 minutes. The toothpick test is your best friend. If it comes out with moist crumbs, pull them. If it comes out clean, they’re done but might be slightly dry. I prefer moist crumbs for that fudgy center.
Cool Completely
I know it’s tempting to eat them hot. But these brownies set as they cool. If you cut them too early, they’ll be messy and fall apart. Patience pays off. The flavor also improves as they cool, allowing the mint to meld with the chocolate.
Common Mistakes (and how to avoid them):
- Mistake: Brownies are cakey — Fix: You overmixed the flour or baked them too long. Next time, fold gently and check early.
- Mistake: Brownies are too hard — Fix: You used too much flour or baked them at too high a temperature. Measure flour carefully (spoon and level, don’t scoop) and use an oven thermometer to check your temp.
- Mistake: Mint flavor is too strong — Fix: You used too much extract. Start with ½ teaspoon and add more if needed. It’s easier to add than to take away.
Variations & Substitutions
Once you’ve nailed the basic version, here’s how you can mix it up. I’ve tried all of these.
Double Chocolate Mint
Add ½ cup of mini chocolate chips to the batter. They melt into pockets of pure chocolate goodness. This is my personal favorite variation. The extra chocolate makes them even richer.
White Chocolate Mint
Swirl in ½ cup of melted white chocolate before baking. It creates a beautiful marbled effect and adds a sweet, creamy contrast to the dark chocolate. My kids love this version.
Peppermint Crunch
Crush a few peppermint candies and sprinkle them on top before baking. They melt slightly and create a crunchy, candy-like topping. Great for holiday parties.
Gluten-Free
Use a 1:1 gluten-free flour blend. It works perfectly in this recipe. I’ve used Bob’s Red Mill and Cup4Cup, and both gave great results. Just make sure the blend contains xanthan gum for structure.
Dairy-Free
Replace the butter with coconut oil or a vegan butter alternative. Use dairy-free chocolate chips. The texture will be slightly different but still delicious. My lactose-intolerant friend loves this version.
Vegan
Replace the eggs with two flax eggs (2 tablespoons ground flaxseed mixed with 6 tablespoons water, let sit for 5 minutes). Use dairy-free chocolate and butter. It’s not quite as fudgy, but still tasty. I’ve made this for vegan friends and they’ve loved it.
Serving & Storage
How to Serve:
I usually serve these straight from the pan, cut into squares. But here are other ways I’ve enjoyed them:
- With Ice Cream — A scoop of vanilla bean ice cream on top of a warm brownie is heaven. The cold ice cream contrasts with the fudgy brownie perfectly.
- With Coffee — These are perfect with a cup of black coffee or espresso. The mint cuts through the bitterness of the coffee.
- With Whipped Cream — A dollop of homemade whipped cream adds a light, airy touch.
Toppings Bar:
When I have guests, I put out: powdered sugar, sea salt flakes, crushed peppermint candy, and white chocolate drizzle. Everyone customizes their brownie.
Storage Instructions:
Refrigerator: Store in an airtight container for up to 5 days. They keep well in the fridge, especially in hot weather. Let them come to room temperature before serving for the best texture.
Freezer: These freeze beautifully! Wrap individual brownies in plastic wrap and store in a freezer bag for up to 3 months. Thaw at room temperature or microwave for 10 seconds. They taste almost as good as fresh.
Room Temperature: Keep in an airtight container at room temperature for up to 3 days. They’re best eaten within the first two days for peak freshness.
Nutrition Information
I’m not a nutritionist, but here’s the breakdown if you’re tracking. This is based on 16 brownies.
Per Serving (1 brownie):
- Calories: 180
- Protein: 2g
- Carbs: 24g
- Fiber: 1g
- Sugar: 18g
- Fat: 10g
- Saturated Fat: 6g
- Cholesterol: 35mg
- Sodium: 45mg
What’s Good:
– Simple ingredients
– No artificial colors
– Can be made gluten-free or dairy-free
– Portion-controlled (cut into squares)
What to Know:
– Higher in sugar and fat (it’s a brownie, after all)
– Contains dairy and gluten (unless modified)
– Moderate calories per serving
My Take:
Look, this is a dessert. It’s meant to be enjoyed, not analyzed. It’s better than store-bought because you know exactly what’s in it. When I want to make it lighter, I cut them into smaller squares and pair them with a piece of fruit. But usually? I just eat one or two and savor every bite.
Final Thoughts
So that’s my go-to fudgy mint chocolate brownies! I’ve probably talked your ear off at this point, but when you make a recipe this often, you have a lot to say about it. These brownies have saved my dessert game more times than I can count. They’re my answer to “what’s for dessert” when I’m tired, don’t want to order out, and still want something that tastes really good.
Make it yours! Try different add-ins, swap in your favorite chocolate, or adjust the mint to your liking. The best recipes are the ones you adapt to your family’s tastes. If you make this, drop a comment and let me know what you think! I love hearing how recipes turn out in your kitchen. And if something doesn’t work, tell me that too—I’m here to help troubleshoot.
Happy baking! And I hope your kitchen smells half as good as mine does right now.
Frequently Asked Questions
Can I use mint leaves instead of mint extract?
You can, but the flavor will be different. Fresh mint leaves provide a more subtle, herbal flavor, while extract gives a stronger, more consistent mint taste. I usually use both for the best balance. If you only have fresh mint, chop it finely and increase the amount to 3-4 tablespoons. If you only have extract, 1 teaspoon is perfect.
Why did my brownies turn out cakey?
This usually happens if you overmix the flour or use too much flour. Make sure to measure the flour correctly (spoon and level, don’t scoop) and fold it in gently. Also, check your oven temperature with a thermometer—ovens can run hot and bake brownies too quickly, making them cakey.
Can I make these ahead for a party?
Absolutely! These brownies actually taste better the next day. You can make them 1-2 days ahead and store them in an airtight container. If you’re making them further in advance, freeze them. They thaw beautifully and taste almost as good as fresh.
Can I use milk chocolate instead of dark chocolate?
You can, but the brownies will be sweeter and less fudgy. Dark chocolate (semi-sweet or bittersweet) provides a deeper, richer flavor that balances the mint better. If you use milk chocolate, reduce the sugar by 2 tablespoons to compensate.
How do I store leftover brownies?
Store them in an airtight container at room temperature for up to 3 days. For longer storage, refrigerate for up to 5 days or freeze for up to 3 months. Let them come to room temperature before serving for the best texture.
Can I double this recipe?
Yes, but you’ll need a 9×13 inch baking pan. Double all ingredients and bake for 30-35 minutes. Check with a toothpick at 30 minutes. The brownies will be slightly thinner, so keep an eye on them to avoid overbaking.
Pin This Recipe!
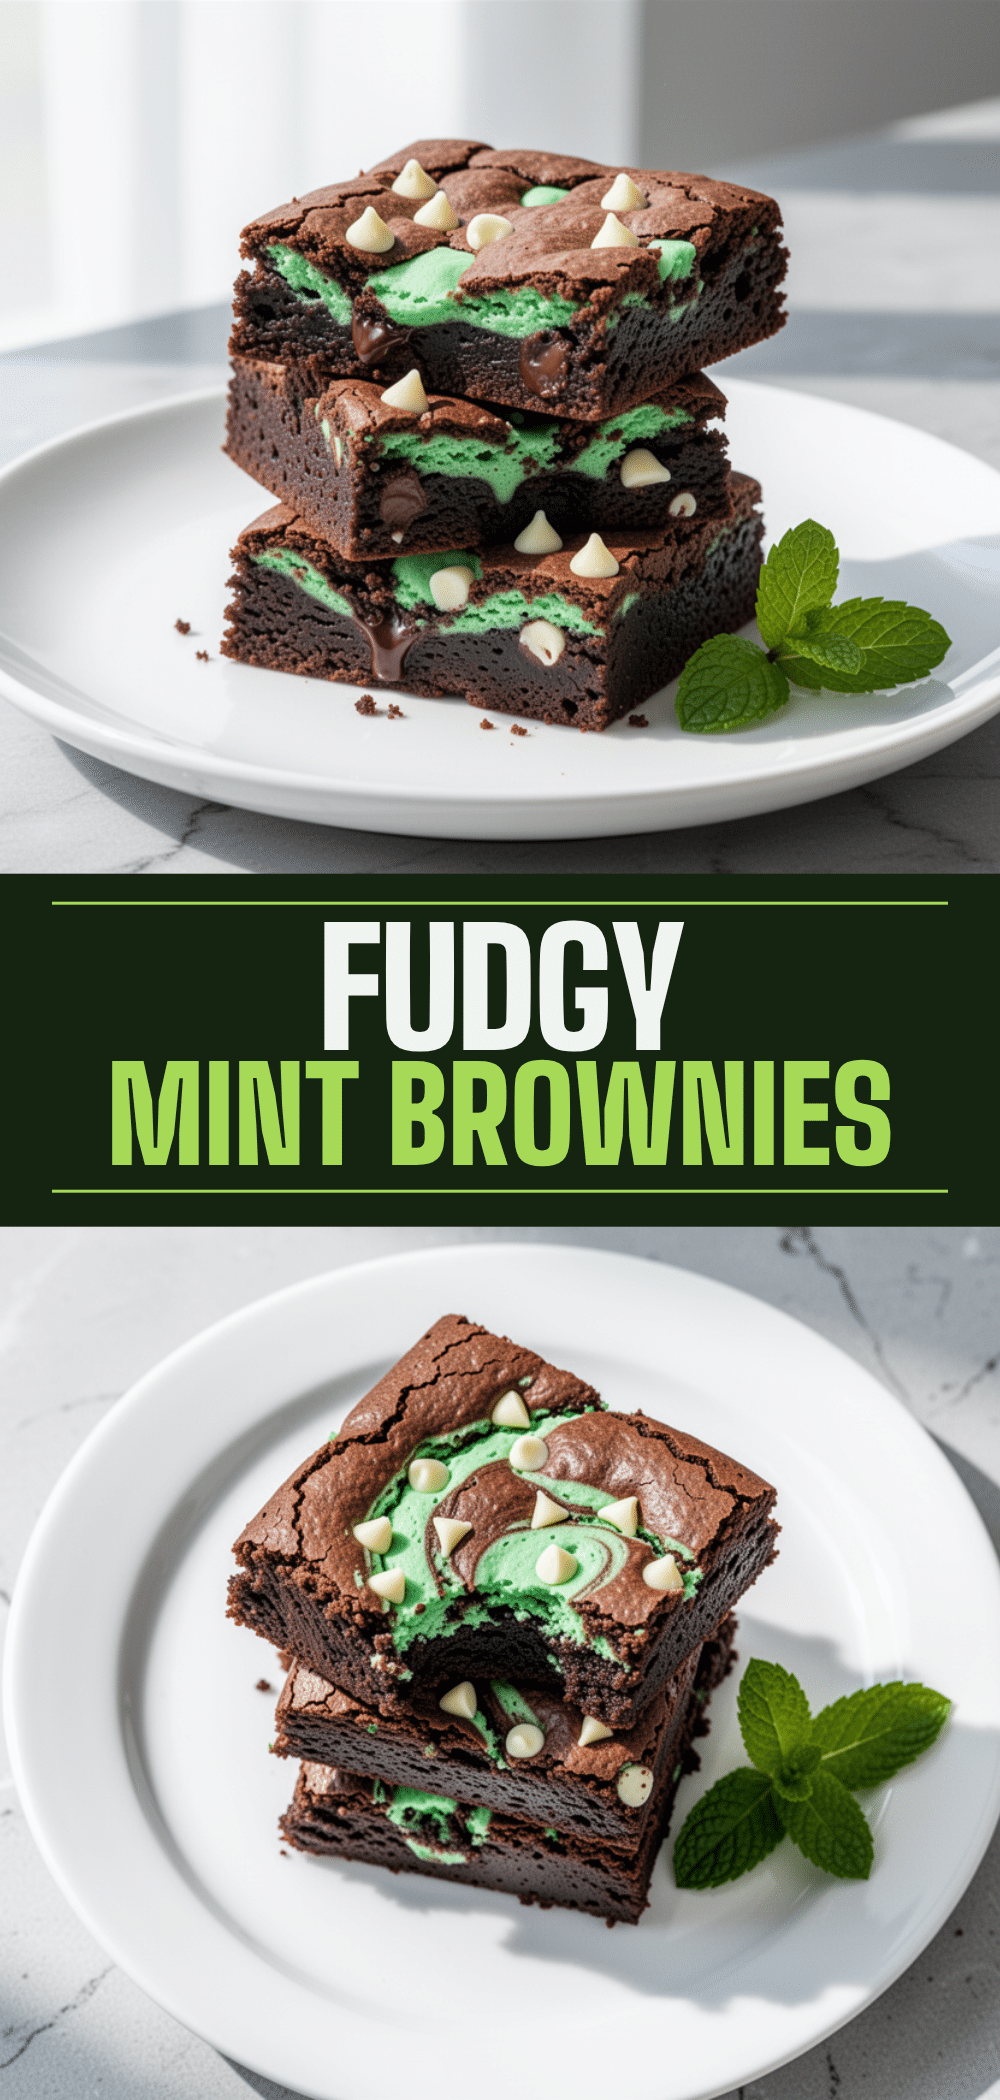
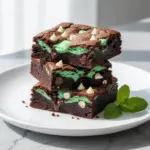
Fudgy Mint Chocolate Brownies: 5-Ingredient Easy Recipe
- Total Time: 35 minutes
- Yield: 16 servings 1x
Description
These fudgy mint chocolate brownies are incredibly simple to make with just a few pantry staples. Featuring a dense, chocolatey texture balanced by subtle mint flavor, they are a crowd-pleasing dessert ready in under 40 minutes.
Ingredients
- 1 cup (175g) dark chocolate chips (semi-sweet or bittersweet)
- ½ cup (115g) unsalted butter
- 1 cup (200g) granulated sugar
- 2 large eggs, room temperature
- ¾ cup (95g) all-purpose flour
- 1 teaspoon mint extract (pure peppermint or spearmint)
- ¼ teaspoon salt
- 2 tablespoons fresh mint leaves, finely chopped (optional)
Instructions
- Preheat oven to 350°F (175°C). Grease an 8×8 inch baking pan and line it with parchment paper, leaving an overhang on the sides.
- In a medium saucepan over low heat, melt the butter and chocolate chips together, stirring constantly until smooth. Remove from heat and let cool for 2 minutes.
- Whisk the sugar into the melted chocolate mixture until combined. Add eggs one at a time, whisking well after each addition. Stir in the mint extract and salt.
- Sprinkle the flour over the wet mixture and gently fold it in with a spatula until just incorporated. Do not overmix.
- Fold in the fresh mint leaves if using.
- Pour the batter into the prepared pan and spread evenly.
- Bake for 25-30 minutes, or until the top is cracked and shiny and a toothpick inserted into the center comes out with moist crumbs attached.
- Let the brownies cool in the pan for at least 30 minutes before lifting them out and cutting into squares.
Notes
Do not overmix the flour to maintain a fudgy texture. Use good quality chocolate for the best flavor. Brownies taste better the next day as flavors meld. They can be stored in the refrigerator for up to 5 days or frozen for up to 3 months.
- Prep Time: 10 minutes
- Cook Time: 25 minutes
- Category: Dessert
- Cuisine: American
Nutrition
- Serving Size: 1 brownie square
- Calories: 180
- Sugar: 18
- Sodium: 45
- Fat: 10
- Saturated Fat: 6
- Carbohydrates: 24
- Fiber: 1
- Protein: 2
Keywords: mint chocolate brownies, fudgy brownies, 5 ingredient dessert, easy brownie recipe, mint dessert, chocolate brownies