There is a specific kind of panic that hits around 4:30 PM on a Tuesday. You know the one. You’ve just walked through the door, your shoes are off, and the house is quiet in that deceptive way that usually means the kids are up to no good. You open the fridge. It’s mostly empty. There’s a half-jar of pickles, some wilting spinach, and a package of chicken breasts that have been sitting there since Sunday. You don’t have time to marinate. You don’t have the energy to deep fry. And you definitely don’t want to order takeout because the delivery app is charging $8 in fees.
That was me last week. I was staring at those plain, sad chicken breasts, wondering if I could survive on toast and peanut butter (don’t judge, sometimes that’s dinner). Then I remembered a box of panko breadcrumbs and a wedge of Parmesan cheese hiding in the back of the pantry. I threw them together with some garlic, a little olive oil, and a whole lot of hope. I put them in the oven and set a timer for 20 minutes. When the timer went off, the smell of garlic and toasted cheese filled the kitchen, and my kids ran in like I’d just lit a firework.
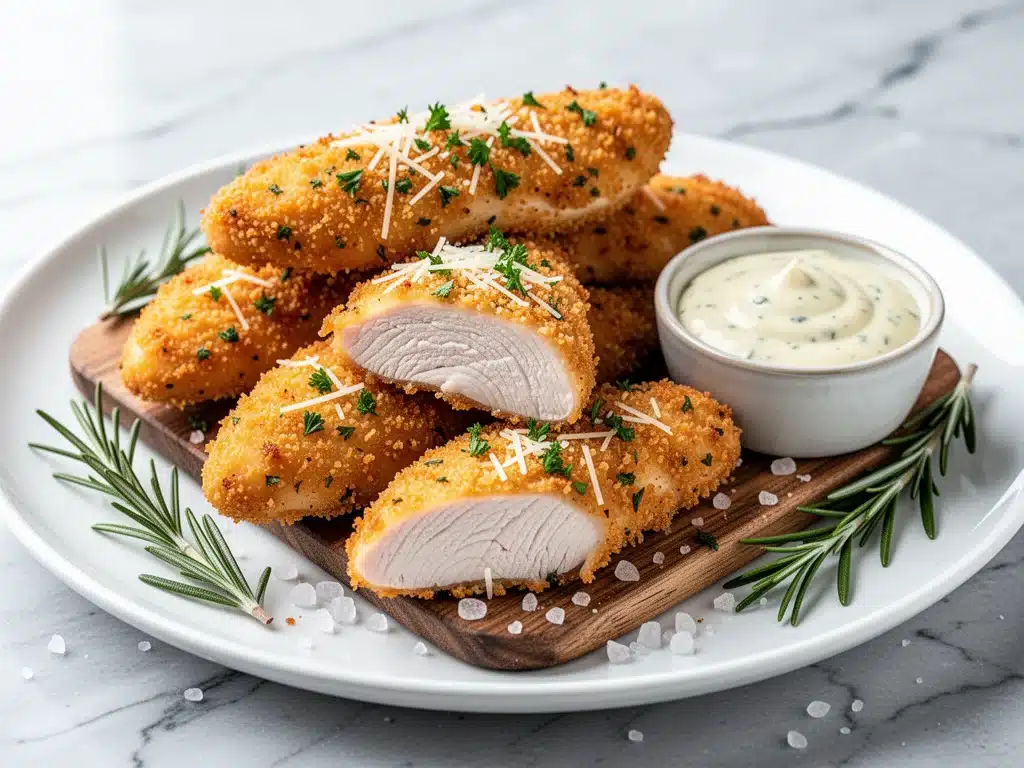
These baked garlic parmesan chicken tenders are that magic. They’re crispy, golden, and packed with flavor without the guilt or the grease of deep frying. I’ve made this recipe at least a dozen times in the last two months, tweaking the garlic amount (it’s always more garlic than you think) until I landed on this perfect balance. They’re my go-to when I need dinner to just work. No complicated techniques, no weird ingredients, just reliable, delicious food that makes everyone happy. If you’re tired of dry, boring chicken strips, you need to try this. It’s hands-down the best method I’ve found for getting crispy chicken into a healthy weeknight meal.
Why You’ll Love This Recipe
I know what you’re thinking. “Chicken tenders? Again?” But hear me out. This isn’t your average, dry, school-lunch chicken strip. This is the upgraded version. The kind of chicken that gets scraped off the plate. I’ve served these to picky eaters, skeptical husbands, and even my food-snob friend who usually critiques everything, and they all asked for the recipe. Here’s why this baked garlic parmesan chicken tenders recipe has earned a permanent spot in my rotation:
- Stupid Simple Prep — Seriously, if you can mix a bowl and dip a finger, you can make this. I’ve walked my teenage son through it over FaceTime while I was on a work call. It’s foolproof.
- Lightning Fast — 20 minutes from start to finish, and only 8 of those are active cooking. I make this on weeknights when I get home at 7pm and my brain is already fried.
- Crispy Without the Oil — The panko and Parmesan combo creates a crust that actually stays crunchy in the oven. No soggy bottoms here. I tested this against breaded chicken nuggets, and these win on texture every time.
- Family Friendly — My kids love them, and I love that they’re baked, not fried. I can serve these with confidence, knowing they’re a solid protein source without the heavy batter of fast food.
- Makes Amazing Leftovers — Actually tastes great cold or reheated. I deliberately make extra for my husband’s lunch throughout the week. He prefers them cold with a little mustard.
- Budget-Smart — Chicken breasts are often on sale, and you probably have the spices and breadcrumbs already. Feeds 4-6 people for under $12. That’s less than one meal at a drive-thru.
This is my answer to “what’s for dinner” when I’m tired, don’t want takeout, and still want something that tastes really good. It’s comforting, it’s quick, and it tastes homemade. That’s the best part.
Ingredients You’ll Need
Here’s the best part: you probably have most of this already. This isn’t a recipe that requires a special trip to the store for obscure ingredients. It’s built on pantry staples and fresh basics. I’m particular about three things here—the type of breadcrumb, the freshness of the garlic, and the cheese—but otherwise, it’s pretty flexible.
For the Chicken
Chicken breasts (1.5 pounds / 680g) — Use boneless, skinless chicken breasts. I buy the large ones and slice them into strips. If you can’t find tenders, just cut the breasts yourself. Look for pieces that are roughly 1-inch thick so they cook evenly. Don’t buy the pre-cut tenderloins if you can avoid it; they’re often too thin and dry out fast.
Eggs (2 large) — These act as the glue for the breading. I use large eggs, room temperature if I remember (cold eggs can sometimes make the breading slide off, though it’s not a dealbreaker). Beat them well with a fork until smooth.
Milk (2 tablespoons / 30ml) — I use whole milk for richness, but buttermilk is even better if you have it. The acid in buttermilk tenderizes the chicken slightly. If you don’t have buttermilk, add a teaspoon of lemon juice to your milk and let it sit for 5 minutes.
For the Crispy Coating
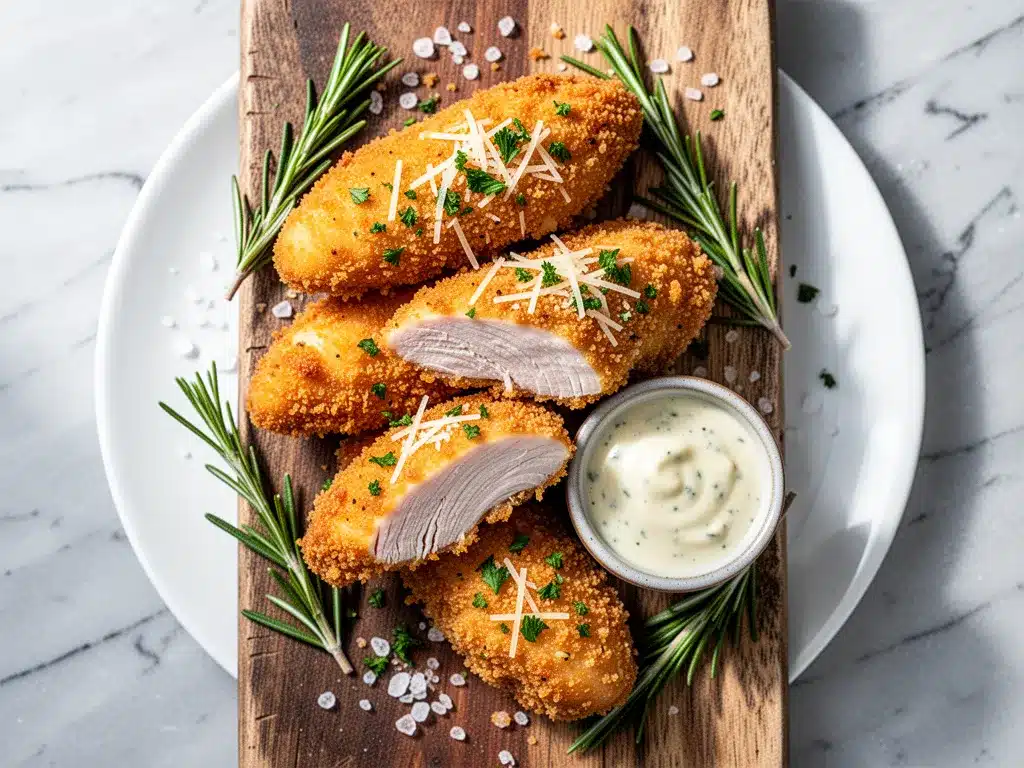
Panko breadcrumbs (1.5 cups / 150g) — This is non-negotiable. Regular breadcrumbs are too fine and dense. Panko is flaky and airy, which creates that shatteringly crisp crust. I always keep a bag of panko in my pantry. If you can’t find it, you can pulse regular breadcrumbs in a food processor until they’re chunky, but panko is worth the trip.
Parmesan cheese (½ cup / 50g, freshly grated) — Buy the block and grate it yourself. Pre-grated Parmesan has cellulose in it to prevent clumping, and that stuff doesn’t melt or brown the same way. Freshly grated Parmesan gives you that nutty, salty flavor and helps the crust stick. I use a microplane for this—it’s fast and easy.
Garlic (4 cloves, minced / about 2 tablespoons) — Yes, four cloves. Don’t skimp. This is garlic Parmesan chicken, after all. Fresh only—no jarred garlic in this recipe. The flavor of jarred garlic is too metallic and sharp for a delicate breading. Mince it finely so you get bits of garlic in every bite.
Dried Italian seasoning (1 teaspoon) — Or use a mix of dried oregano and basil. This adds that classic savory note. If you’re out, dried thyme works too, but Italian seasoning is the standard here.
Salt and black pepper — To taste. I use about 1 teaspoon of kosher salt and ½ teaspoon of freshly cracked pepper in the breadcrumb mixture. Don’t forget to season the chicken itself before dipping!
Olive oil or cooking spray — For brushing. I prefer brushing with olive oil because it helps the browning. You can use non-stick cooking spray if you’re watching calories, but the oil gives a better color.
For the Garlic Parmesan Dip (Optional but Recommended)
Mayonnaise (¼ cup / 60g) — I use regular mayo, not light. It creates a creamy base.
Garlic powder (½ teaspoon) — Adds a concentrated garlic punch.
Grated Parmesan (2 tablespoons / 20g) — More cheese, because why not?
Lemon juice (1 teaspoon) — Cuts through the richness of the mayo and cheese.
Fresh parsley (1 tablespoon, chopped) — For color and freshness.
Equipment Needed
You don’t need fancy equipment for this. Here’s what I actually use. If you’re missing something, there’s almost always a substitute.
Baking sheet — I use a standard 13×18 inch half-sheet pan. Make sure it’s large enough to fit all the chicken strips in a single layer with a little space between them. Crowding the pan leads to steaming, not baking, and you want crispy.
Parchment paper or silicone baking mat — I always line my pan. Cleanup is a nightmare if the cheese drips and burns onto the pan. Parchment paper is cheap and easy. A silicone mat is great if you use it often.
Three shallow bowls or plates — You need a setup for the dredging station: one for flour (optional, but I skip it for simplicity), one for the egg wash, and one for the breadcrumb mixture. I use pie plates or wide, shallow bowls. Deep bowls make it hard to coat the chicken evenly.
Pastry brush — For brushing the oil on top. I use a silicone brush because it’s easy to clean. A fork works if you’re being lazy, but a brush gives even coverage.
Cheese grater — Box grater or microplane. I prefer microplane for the Parmesan because it gets fine and powdery, which mixes better with the breadcrumbs.
Cutting board and sharp knife — For slicing the chicken breasts. A serrated bread knife can also work well for slicing through chicken breasts without squishing them.
How to Make It: Step-by-Step
Alright, let’s make this! I’m walking you through exactly how I do it, including the little tricks I’ve picked up to ensure your chicken comes out juicy and crispy every time.
Step 1: Prep the Chicken (5 minutes)
Start by slicing your chicken breasts. Place a breast on your cutting board and slice it horizontally into strips that are about 1-inch thick and 3-4 inches long. You want them uniform so they cook at the same rate. If some pieces are thicker, pound them gently with the bottom of a heavy pan or a meat mallet to even them out. Pat the chicken strips completely dry with paper towels. This is crucial—moisture is the enemy of crispiness. If they’re wet, the breading will slide off.
Step 2: Set Up Your Dredging Station (3 minutes)
Get three shallow bowls or plates ready. In the first bowl, whisk together the eggs and milk until smooth. In the second bowl, combine the panko breadcrumbs, grated Parmesan cheese, minced garlic, Italian seasoning, salt, and pepper. Mix it all together with a fork until the garlic and cheese are evenly distributed. If you’re making the dip, mix the mayo, garlic powder, Parmesan, lemon juice, and parsley in a small bowl and set aside. Taste the dip and adjust salt if needed.
Step 3: Coat the Chicken (5 minutes)
Take a chicken strip and dip it into the egg wash, turning it over to coat both sides. Let the excess egg drip off for a second—don’t rush this, or your breading will be soggy. Then, press the chicken strip into the breadcrumb mixture. Use your hands to press the crumbs firmly onto the chicken. Don’t just sprinkle the crumbs; press them in. This ensures the coating sticks during baking. Place the coated strip on a clean plate or directly onto your lined baking sheet. Repeat with all the chicken strips.
Step 4: Bake Until Golden (15-20 minutes)
Preheat your oven to 400°F (200°C). Line your baking sheet with parchment paper. Arrange the chicken strips on the sheet, leaving about ½ inch of space between each one. This air circulation is key to getting them crispy on all sides. Brush the tops lightly with olive oil. This helps them brown and crisp up. Place them in the oven and bake for 15-20 minutes. Flip the chicken halfway through (around the 10-minute mark) to ensure even browning. The chicken is done when the coating is golden brown and the internal temperature reaches 165°F (74°C). If you don’t have a thermometer, cut into the thickest piece—it should be white and juicy, not pink.
Step 5: Serve and Enjoy (2 minutes)
Remove the chicken from the oven and let them rest for 2-3 minutes. This allows the juices to redistribute so they stay moist. Serve immediately with your garlic Parmesan dip, honey mustard, or ketchup. They’re best hot out of the oven, but they’re still good if you let them cool slightly.
Total Time: About 30 minutes (8 minutes active, 20 minutes baking)
Expert Tips & Tricks
Here’s everything I’ve learned from making this dozens of times. These tips will save you from my mistakes and ensure your baked garlic parmesan chicken tenders come out perfect.
Press the Breadcrumbs Firmly
I used to just dust the chicken with crumbs, and they’d fall off in the oven. Now I press them in. I use my fingers to pat the crumbs onto the chicken, making sure they stick. It takes an extra second, but it makes a huge difference in the final texture.
Don’t Skip the Oil Brush
Baked chicken often feels dry because it lacks fat. Brushing the tops with olive oil mimics the frying process. It helps the breadcrumbs turn golden brown and crisp up. If you’re really watching calories, you can use cooking spray, but the brush gives better control and coverage.
Use a Wire Rack (Optional but Nice)
If you have a wire cooling rack that fits inside your baking sheet, place the chicken on the rack instead of directly on the pan. This allows air to circulate underneath the chicken, preventing the bottoms from getting soggy. I don’t always do this, but when I do, the crispiness is next level.
Keep the Oven Door Closed
I know it’s tempting to peek, but opening the oven door lets out heat and can cause the chicken to cook unevenly. Wait until at least the 15-minute mark to check them. If you’re worried, just look through the glass door.
Make a Double Batch
This recipe freezes beautifully. I often double the batch and freeze half for later. To freeze, bake the chicken until just set (not fully cooked through), let them cool completely, then freeze on a baking sheet before transferring to a freezer bag. Reheat in the oven at 375°F for 10-12 minutes. They’ll still be crispy!
Variations & Substitutions
Once you’ve nailed the basic version, here’s how you can mix it up. I’ve tried all of these, and they all work well.
Spicy Kick
Add ½ teaspoon of cayenne pepper or red pepper flakes to the breadcrumb mixture. If you like heat, you can also add a pinch of smoked paprika for a smoky depth. This is great if you’re serving these with a cool dip like ranch.
Herb Garden
Skip the Italian seasoning and use dried parsley, thyme, and chives. This gives a fresher, milder flavor that’s great for kids who are sensitive to strong herbs. Add some fresh chopped chives on top after baking.
Gluten-Free Option
Use gluten-free panko breadcrumbs. I’ve used brands like Bob’s Red Mill, and they work surprisingly well. They’re a bit denser, so press them on firmly. You can also use crushed gluten-free cornflakes for extra crunch.
Dairy-Free Version
Replace the Parmesan with nutritional yeast, which gives a cheesy, nutty flavor. Use olive oil or dairy-free butter for brushing. For the dip, use vegan mayo and skip the Parmesan or use a vegan Parmesan alternative. It’s not exactly the same, but it’s still tasty.
Different Proteins
You can use chicken thighs instead of breasts. Thighs are juicier and more flavorful, but they take slightly longer to cook (about 20-25 minutes). You can also use turkey cutlets or even tofu strips for a vegetarian version. For tofu, press the tofu first to remove moisture, then follow the same breading process.
Serving & Storage
These chicken tenders are versatile and go with almost anything. Here’s how I serve them and how to store leftovers.
How to Serve
I usually serve these straight from the baking sheet at the dinner table—it looks rustic and stays warm. But here are other ways I’ve enjoyed them:
- With Dips — The garlic Parmesan dip is my favorite, but honey mustard, ranch, or ketchup are classics.
- On Salads — Slice the tenders and put them on top of a Caesar salad or a simple green salad. They add great protein and crunch.
- With Mashed Potatoes — Serve them with creamy mashed potatoes and gravy. It’s a comfort food combo that never fails.
- In Sandwiches — Use them in a chicken sandwich with lettuce and tomato. Or make a chicken parmesan sandwich with marinara and melted mozzarella.
Storage Instructions
Refrigerator: Store leftovers in an airtight container for up to 3-4 days. The breading will soften in the fridge, which is normal.
Reheating: The best way to reheat is in the oven or air fryer. Preheat to 375°F and bake for 5-10 minutes until crispy again. You can also use a toaster oven. Avoid the microwave—it makes the breading soggy and rubbery. If you must use the microwave, heat in short bursts and let them sit for a minute to crisp up slightly.
Freezing: As mentioned, you can freeze baked chicken tenders. Place them in a single layer on a baking sheet, freeze until solid, then transfer to a freezer bag. They’ll keep for up to 3 months. Reheat from frozen in the oven at 375°F for 15-20 minutes.
Meal Prep Idea
I make a big batch on Sunday and portion them out for lunches. They’re great cold or reheated. If you’re packing them for school lunches, they pair well with these crispy baked chicken nuggets style snacks or simple veggie sticks.
Nutrition Information
I’m not a nutritionist, but here’s the breakdown if you’re tracking. Please note that these are estimates and can vary based on the specific chicken and ingredients you use.
Per Serving (based on 6 servings, 4 tenders each):
- Calories: 280
- Protein: 28g
- Carbs: 15g
- Fiber: 1g
- Sugar: 1g
- Fat: 12g
- Saturated Fat: 3g
- Cholesterol: 85mg
- Sodium: 450mg
What’s Good: High in protein, relatively low in carbs, and contains calcium from the Parmesan. It’s a much healthier alternative to fried chicken tenders.
What to Know: The sodium can be high due to the Parmesan and salt. If you’re watching sodium, use low-sodium Parmesan and reduce the added salt in the breading.
Final Thoughts
So that’s my go-to baked garlic parmesan chicken tenders recipe! I’ve probably talked your ear off at this point, but when you make a recipe this often, you have a lot to say about it. This has saved weeknight dinners more times than I can count. It’s my answer to “what’s for dinner” when I’m tired, don’t want takeout, and still want something that tastes really good. My kids are happy, my husband’s happy, and I’m happy because I’m not stressed about cooking.
Make it yours! Try different add-ins, swap in your favorite herbs, or adjust the garlic (though more is always better in my opinion). The best recipes are the ones you adapt to your family’s tastes. If you’re looking for other easy dinner ideas, you might also enjoy trying these turkey cheddar pinwheels for a quick lunch or snack.
If you make this, drop a comment and let me know what you think! I love hearing how recipes turn out in your kitchen. And if something doesn’t work, tell me that too—I’m here to help troubleshoot. Happy cooking! And I hope your kitchen smells half as good as mine does right now.
Frequently Asked Questions
Can I use chicken tenders instead of cutting my own?
Absolutely! If you can find pre-cut chicken tenders, use them. Just make sure they’re not too thin. If they are, you might want to pound them slightly or reduce the cooking time by a few minutes to prevent drying out.
Why did my breading fall off?
This usually happens if the chicken wasn’t dry enough before dipping, or if you didn’t press the breadcrumbs on firmly. Pat the chicken dry with paper towels, and make sure to press the crumbs into the chicken so they adhere. Also, ensure your egg wash is thick enough to act as a glue.
Can I make these in an air fryer?
Yes! Air fryer baked garlic parmesan chicken tenders are amazing. Cook at 375°F for 8-10 minutes, flipping halfway through. They’ll be even crispier than in the oven. Just don’t overcrowd the basket.
How do I store leftovers?
Store in an airtight container in the fridge for up to 4 days. Reheat in the oven or air fryer to maintain crispiness. Avoid the microwave if you want them to stay crunchy.
Can I freeze the uncooked chicken?
Yes, you can freeze the breaded chicken before baking. Place them on a baking sheet, freeze until solid, then transfer to a freezer bag. Bake from frozen, adding 5-10 minutes to the cooking time.
What dipping sauce goes best with these?
Garlic Parmesan dip is my favorite, but honey mustard, ranch, BBQ sauce, and ketchup are all great. Try the crispy baked chicken nuggets recipe for a similar vibe with a different twist.
Can I use panko breadcrumbs made with whole wheat?
Yes, whole wheat panko works well. It’s a bit denser and has a nuttier flavor, which I actually like. Just make sure to press them on firmly.
Pin This Recipe!
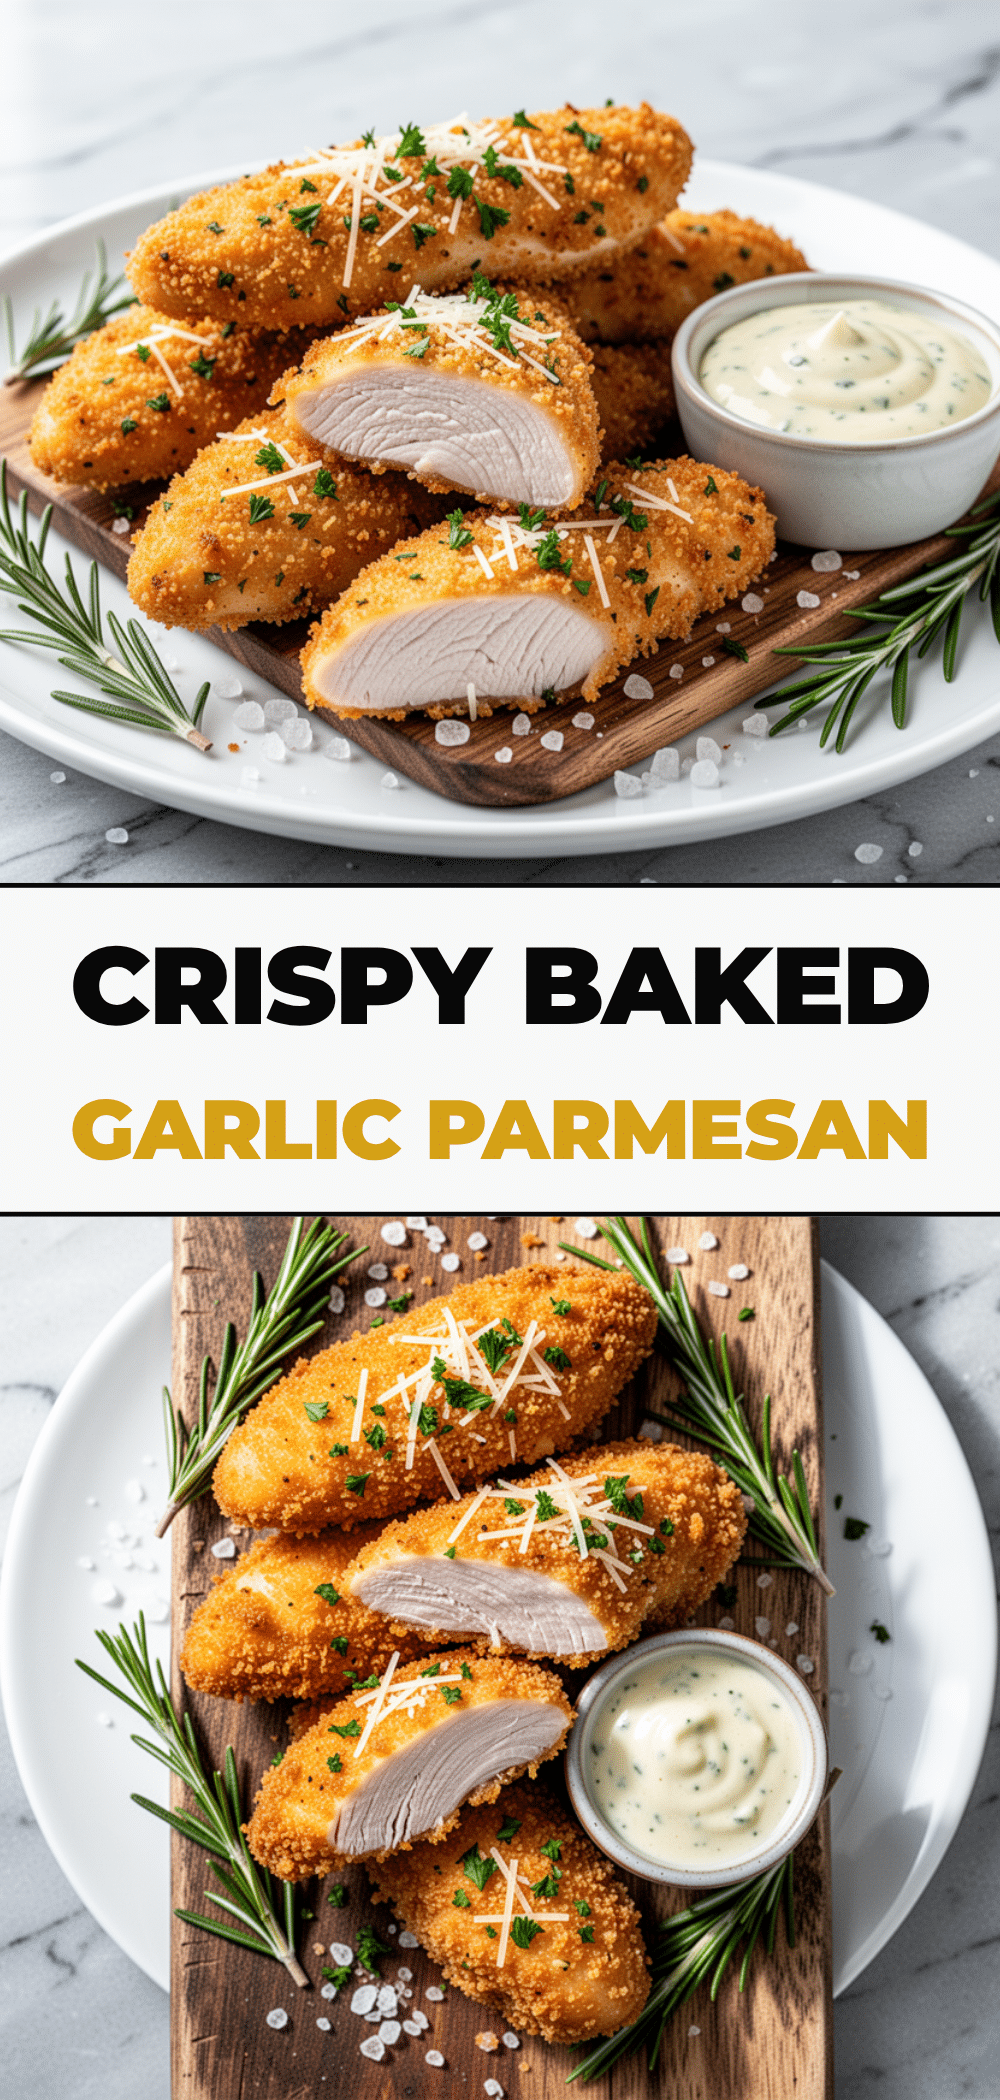

Baked Garlic Parmesan Chicken Tenders
- Total Time: 30 minutes
- Yield: 4-6 servings 1x
Description
Crispy, golden baked chicken tenders coated in panko and Parmesan with garlic, offering a healthier alternative to deep-fried versions that are ready in about 30 minutes.
Ingredients
- 1.5 pounds boneless, skinless chicken breasts
- 2 large eggs
- 2 tablespoons milk (or buttermilk)
- 1.5 cups panko breadcrumbs
- ½ cup freshly grated Parmesan cheese
- 4 cloves garlic, minced
- 1 teaspoon dried Italian seasoning
- 1 teaspoon kosher salt
- ½ teaspoon freshly cracked black pepper
- Olive oil or cooking spray
- ¼ cup mayonnaise (for dip)
- ½ teaspoon garlic powder (for dip)
- 2 tablespoons grated Parmesan cheese (for dip)
- 1 teaspoon lemon juice (for dip)
- 1 tablespoon fresh parsley, chopped (for dip)
Instructions
- Preheat oven to 400°F (200°C) and line a baking sheet with parchment paper.
- Slice chicken breasts into 1-inch thick strips, pat dry with paper towels, and ensure pieces are uniform in thickness.
- In a shallow bowl, whisk eggs and milk together.
- In a second shallow bowl, combine panko breadcrumbs, grated Parmesan, minced garlic, Italian seasoning, salt, and pepper.
- Dip each chicken strip into the egg wash, letting excess drip off, then press firmly into the breadcrumb mixture to coat.
- Place coated chicken strips on the prepared baking sheet, leaving space between them.
- Brush the tops lightly with olive oil.
- Bake for 15-20 minutes, flipping halfway through, until internal temperature reaches 165°F (74°C) and coating is golden brown.
- Let rest for 2-3 minutes before serving.
Notes
Pat chicken dry before breading to ensure crispiness. Press breadcrumbs firmly onto chicken to prevent falling off. For extra crispiness, use a wire rack on the baking sheet. Can be frozen before or after baking.
- Prep Time: 8 minutes
- Cook Time: 20 minutes
- Category: Main Course
- Cuisine: American
Nutrition
- Serving Size: 4 tenders per servin
- Calories: 280
- Sugar: 1
- Sodium: 450
- Fat: 12
- Saturated Fat: 3
- Carbohydrates: 15
- Fiber: 1
- Protein: 28
Keywords: chicken tenders, baked chicken, garlic parmesan, easy dinner, weeknight meals, healthy chicken, panko chicken, family friendly


