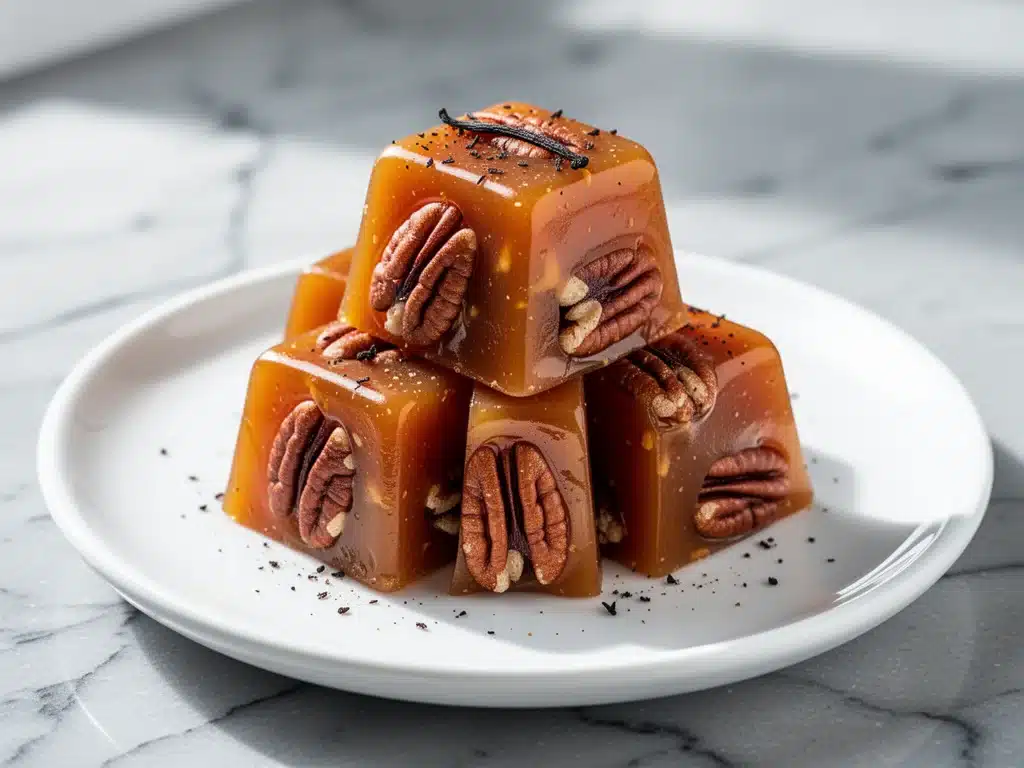
I have a confession to make. For years, I avoided making pralines at home. Not because I didn’t love them—I absolutely do. I’m talking about that soft, chewy, caramel-like candy that melts on your tongue and tastes like a warm hug from the South. I avoided them because I was terrified of the sugar thermometer. I’ve seen the horror stories online: burnt batches, grainy messes, candy that turns into hard glass instead of creamy clouds. I assumed pralines were one of those things you buy at a fancy gift shop and pay $15 for a small tin of six.
But last fall, while scrolling through recipes for a holiday party I was hosting, I stumbled across a technique that changed everything. It wasn’t complicated. It didn’t require a degree in chemistry. It just required patience and a good thermometer. So I made a batch. Then another. Then I added vanilla bean because, honestly, why stop there?
These buttery brown sugar pecan pralines with vanilla bean are not just good for homemade candy. They are better than anything you’ll find in a store. The texture is impossibly soft and chewy, the flavor is deep and caramelized from the brown sugar, and the vanilla bean adds that floral, aromatic note that elevates the whole thing. I’ve made these for family gatherings, office holiday parties, and even just to satisfy my own sweet tooth on a Tuesday night. Every single time, people ask for the recipe. Every single time, I tell them the secret is in the temperature.
If you’ve been intimidated by candy making, this is your sign to stop. I’m going to walk you through exactly how I make these pralines, the mistakes I made so you don’t have to, and why this recipe has become my go-to gift for friends who think they “don’t like sweets.” Spoiler: they will love them.
Why You’ll Love This Recipe
There are plenty of candy recipes out there. But this version of buttery brown sugar pecan pralines with vanilla bean hits a different note. It’s not just sugar and nuts. It’s a dessert that feels luxurious but is surprisingly approachable. Here’s why I keep making these, and why you will too:
Soft, Chewy Texture — I’ve tried hard pralines before, and they’re fine, but they’re not my favorite. These are soft. Like, melt-in-your-mouth soft. I’ve tested the temperature multiple times to find the sweet spot where they set but still stay tender. The brown sugar is the key here—it retains moisture better than white sugar, giving you that signature chew.
Rich, Complex Flavor — Brown sugar brings a molasses depth that white sugar just can’t match. When you combine that with real butter and the aromatic seeds of a vanilla bean, you get a flavor profile that’s sophisticated but comforting. It tastes like a high-end candy shop, but it’s made in your kitchen.
Impressive but Simple — Yes, you need a thermometer. But the technique is straightforward. Mix, boil, cool slightly, beat, add pecans, drop. That’s it. You don’t need fancy molds or special equipment. Just a pot, a spoon, and a bit of patience. I’ve made these while half-watching TV. It works.
Perfect for Gifting — These pralines pack well and travel well. I put them in little cellophane bags with a ribbon, and they look like they came from a boutique. I’ve given these to teachers, neighbors, and coworkers, and the compliments never stop. It’s the gift that keeps on giving because everyone asks where I bought them.
Uses Simple Ingredients — You probably have most of these in your pantry. Brown sugar, butter, heavy cream, pecans, vanilla. No weird chemicals or hard-to-find items. This is real food, just sweetened.
Real talk: Once you make these, you’ll never buy pralines again. They’re cheaper, fresher, and infinitely better. And if you’re looking for other ways to use those pecans, check out my fall maple pecan pie bars—they’re a great no-bake alternative if you’re feeling lazy.
Ingredients You’ll Need
Here’s the thing about pralines: the quality of your ingredients matters. You’re not hiding flavors under chocolate or spices. You’re tasting the butter, the sugar, the nuts, and the vanilla. So treat yourself to the good stuff.
Unsalted Butter (½ cup / 113g) — Use real butter. Not margarine. Not butter substitute. Real, high-quality unsalted butter. I prefer European-style butter because it has a higher fat content, which makes the pralines richer. If you can’t find it, regular unsalted butter works fine. Just make sure it’s fresh.
Dark Brown Sugar (2 cups / 400g) — I use dark brown sugar for this recipe. It has more molasses than light brown sugar, which gives the pralines that deep, caramel-like flavor. If you only have light brown sugar, you can use it, but the flavor won’t be as robust. Pack it tightly when you measure.
Heavy Cream (½ cup / 120ml) — Full-fat heavy cream is non-negotiable. Low-fat cream won’t give you the same richness or texture. It’s the fat content that helps create that creamy, smooth consistency. Don’t skimp here.
Vanilla Bean (1 pod) — This is what makes these pralines special. I love the visible specks and the aromatic flavor. If you don’t have a vanilla bean, you can use 2 teaspoons of pure vanilla extract, but add it at the very end, off the heat. However, the bean is worth the effort. Just split it lengthwise and scrape out the seeds.
Pecan Halves (2 cups / 200g) — Use fresh, raw pecan halves. Avoid pecans that look oily or stale. Toasting them lightly before adding them to the mixture (optional but recommended) brings out their nutty flavor. I usually toast them in a dry skillet for 3-4 minutes until they smell fragrant.
Salt (¼ teaspoon) — A pinch of salt balances the sweetness. I use flaky sea salt if I’m garnishing, but regular kosher salt in the mixture is perfect.
Optional: Sea Salt for Garnish — If you want that fancy restaurant look, sprinkle a little flaky sea salt on top right after you drop the pralines onto the parchment paper. It adds a nice crunch and visual appeal.
Quick tip: I keep a bag of pecans in the freezer to ensure they stay fresh. Pecans can go rancid quickly because of their high oil content. If yours smell a bit off, toss them and get fresh ones. It makes a huge difference.
Equipment Needed
You don’t need a professional candy kitchen for this. Here’s what I actually use:
Candy Thermometer — This is the most important tool. I use a clip-on digital candy thermometer because it’s accurate and easy to read. If you don’t have one, an instant-read thermometer works too, but you’ll need to check the temperature more often. Don’t guess. Sugar is precise.
Heavy-Bottomed Saucepan — I use a 3-quart saucepan with a thick bottom. Thin pots can scorch the sugar, leading to burnt pralines. A heavy bottom ensures even heating. My old stainless steel pot is my go-to.
Wooden Spoon or Heat-Resistant Spatula — You’ll need to stir the mixture constantly. A wooden spoon is great because it doesn’t conduct heat. A silicone spatula works too, just make sure it’s rated for high heat.
Parchment Paper — Line two baking sheets with parchment paper. This is where you’ll drop the pralines. Do not use wax paper; it will melt. Parchment is your friend.
Small Bowl — For your scraped vanilla bean seeds. Keeps things organized.
Measuring Cups and Spoons — Standard stuff. Just make sure your brown sugar is packed tightly.
One last thing: I recommend having a bowl of ice water nearby. If you accidentally burn the sugar, you can’t fix it, but if you get a sticky mess on your hands, the ice water helps clean it up faster. Trust me on this.
How to Make It: Step-by-Step
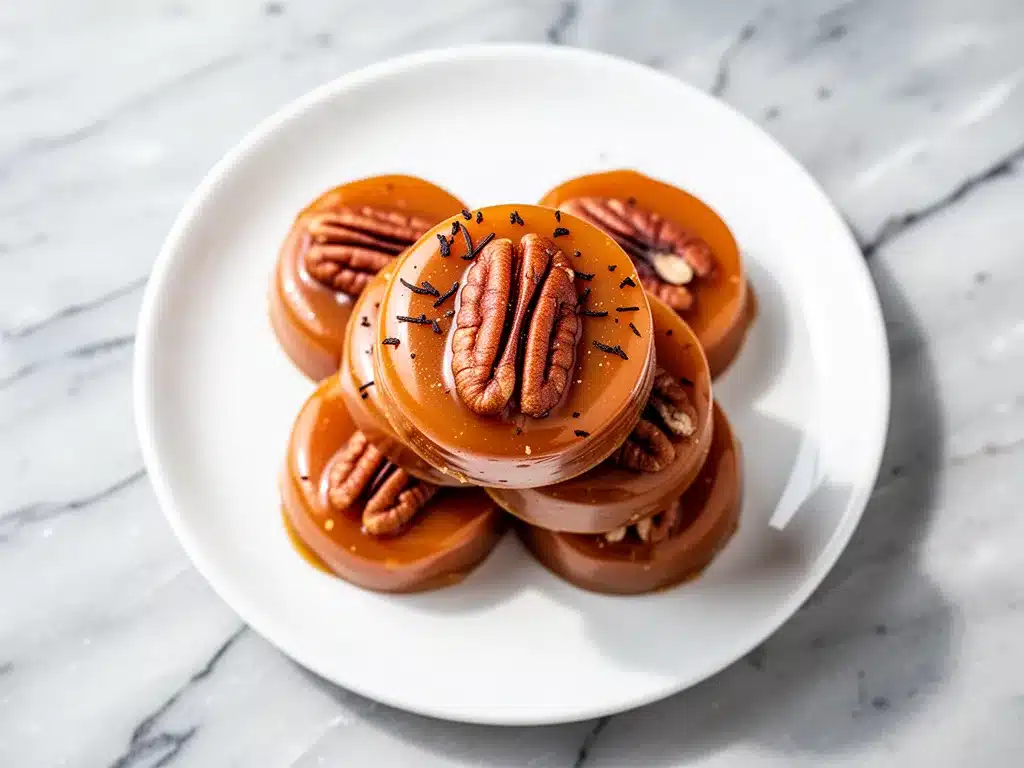
Alright, let’s make these buttery brown sugar pecan pralines with vanilla bean. I’m going to walk you through the process, including the little tricks that ensure success. Grab your thermometer and let’s get started.
Step 1: Prep Your Station (5 minutes)
Before you turn on the stove, get everything ready. Line two baking sheets with parchment paper. Measure out your brown sugar, butter, and cream. Scrape your vanilla bean and set the seeds aside. Toast your pecans if you’re doing that, and let them cool. Once the sugar starts melting, things move fast. You don’t want to be scrambling for ingredients while the mixture is boiling.
Step 2: Combine and Melt (5-7 minutes)
In your heavy-bottomed saucepan, combine the butter, brown sugar, and heavy cream. Place the pot over medium heat. Stir constantly with your wooden spoon until the butter melts and the sugar dissolves. This might take 5-7 minutes. Don’t rush this step. If the sugar doesn’t fully dissolve, your pralines might be grainy later. You want a smooth, homogeneous mixture.
Step 3: Boil to the Correct Temperature (10-15 minutes)
Once the mixture is smooth, clip on your candy thermometer. Increase the heat to medium-high and bring the mixture to a boil. Do not stir once it starts boiling! Stirring can cause crystallization, which leads to grainy pralines. Instead, swirl the pan gently to prevent sticking. Watch the temperature closely. You need to reach the soft-ball stage, which is 234°F to 240°F (112°C to 115°C). This usually takes 10-15 minutes. If you go above 240°F, the pralines will be too hard. If you’re below 234°F, they’ll be too soft and won’t set.
Step 4: Cool and Add Vanilla (2 minutes)
Once the mixture reaches 238°F (the sweet spot I’ve found works best), remove the pot from the heat. Let it cool for about 5 minutes. This is crucial. If you add the vanilla and pecans immediately, the heat might evaporate the vanilla flavor. But if you wait too long, the mixture will start to set, and you won’t be able to beat it smoothly. After 5 minutes, stir in your vanilla bean seeds. The mixture will look glossy and smooth.
Step 5: Beat the Mixture (3-5 minutes)
This is the step that creates the creamy texture. Using your wooden spoon, beat the mixture vigorously. You’re looking for it to thicken and lose its gloss. It will start to look matte and slightly thicker. This takes about 3-5 minutes of steady beating. Don’t skip this! If you don’t beat it enough, the pralines will be hard and shiny. If you beat it too much, they’ll be too dry. Stop when it starts to look like thick pudding.
Step 6: Add Pecans (1 minute)
Once the mixture has thickened, fold in your toasted pecans. Use a spatula to gently incorporate them. Make sure they’re evenly distributed. You want a spoonful of pecans in every bite.
Step 7: Drop and Set (30 minutes)
Using two spoons, drop dollops of the mixture onto your prepared baking sheets. Don’t flatten them; let them keep their natural mound shape. Sprinkle with flaky sea salt if you’re using it. Let them cool at room temperature for about 30 minutes. They will firm up as they cool. Do not refrigerate them; this can cause condensation and make them sticky. Just let them sit out.
Total Time: About 45 minutes (10 minutes active, 35 minutes cooling)
Pro tip: If the mixture starts to set too quickly before you can beat it, put the pot back on low heat for 30 seconds and stir. It will loosen up again. I’ve done this a few times when I got distracted by the dog.
Expert Tips & Tricks
Here’s everything I’ve learned from making these dozens of times. These tips will save you from my mistakes.
Temperature is Everything
I cannot stress this enough. Your candy thermometer needs to be accurate. I tested mine in boiling water (should read 212°F at sea level) to make sure it was correct. If your thermometer is off by even 5 degrees, your pralines will be ruined. I’ve had pralines that were too hard because I went to 245°F instead of 238°F. Don’t guess.
Don’t Stir While Boiling
Once the mixture starts boiling, resist the urge to stir. Stirring introduces air and can cause sugar crystals to form, leading to grainy pralines. Just swirl the pan gently. If you see bubbles forming on the side, wipe them away with a wet pastry brush. This prevents crystallization.
Beat Until It Changes Texture
The beating step is what transforms the glossy syrup into creamy pralines. You’re looking for the mixture to turn from shiny to matte. It will also thicken noticeably. This usually takes 3-5 minutes of vigorous stirring. If you’re tired, ask for help. But don’t skip it.
Use Fresh Pecans
Pecans go rancid quickly. If they smell like paint or oil, they’re bad. Toasting them lightly before adding them enhances their flavor. I toast mine in a dry skillet for 3-4 minutes, shaking the pan constantly. Watch them closely—they burn fast.
Work Quickly
Once you remove the pot from the heat, you have a limited window to beat and drop the pralines. The mixture cools fast. If you’re slow, it will set in the pot, and you’ll have a giant lump of candy to deal with. Have your spoons ready and your parchment lined up.
Common Mistakes:
Mistake: Grainy Pralines
Fix: This happens if sugar crystals form. Make sure you dissolve the sugar completely before boiling. Wipe the sides of the pot with a wet brush during boiling. Don’t stir once it boils.
Mistake: Hard Pralines
Fix: You boiled the mixture too long. Use a reliable thermometer and stop at 238°F. If you’re at high altitude, you may need to go lower (check altitude adjustments).
Mistake: Soft, Sticky Pralines
Fix: You didn’t boil the mixture long enough, or you didn’t beat it enough. Make sure you hit the temperature and beat until the texture changes.
Variations & Substitutions
Once you’ve mastered the basic version, here’s how you can mix it up. I’ve tried all of these.
Dark Chocolate Pralines
After you beat the mixture, stir in ½ cup of chopped dark chocolate. It adds a rich, fudgy layer. Let the chocolate melt into the warm mixture. This is my favorite variation for holiday gifts.
Maple Pralines
Replace ¼ cup of the heavy cream with pure maple syrup. Add 1 teaspoon of maple extract. This gives a wonderful autumn flavor that pairs beautifully with the pecans. If you’re a fan of fall maple pecan sticky buns, you’ll love this twist.
Spiced Pralines
Add ½ teaspoon of cinnamon, ¼ teaspoon of nutmeg, and a pinch of cayenne pepper to the mixture before boiling. The cayenne adds a subtle kick that’s surprising and delicious.
Coconut Pralines
Replace half the pecans with toasted coconut flakes. This gives a tropical vibe that’s great for summer parties.
Dairy-Free Option
Use coconut cream instead of heavy cream and vegan butter instead of dairy butter. The texture will be slightly different, but still tasty. I haven’t tested this extensively, but it’s worth a try if you’re dairy-free.
Serving & Storage
How to Serve:
I usually serve these pralines on a small plate with coffee or tea. They’re rich, so a little goes a long way. I also love pairing them with a glass of bourbon or a sweet dessert wine. If you’re making a dessert board, these pralines are a great addition alongside fall charcuterie board items like dried fruits and nuts.
Storage:
Store pralines in an airtight container at room temperature for up to 2 weeks. Place parchment paper between layers to prevent sticking. They should stay soft and chewy. If they start to get hard, you can soften them by microwaving for 10 seconds.
Freezing:
Yes, you can freeze pralines! Place them in a single layer on a baking sheet and freeze for 1 hour. Then transfer to an airtight container or freezer bag. They’ll last for up to 3 months. Thaw at room temperature before serving. I’ve done this for holiday gifts, and they thaw perfectly.
Pro Tip: If you’re gifting these, wrap them in cellophane bags with a ribbon. Add a tag with the recipe name. People will think you bought them from a fancy shop.
Nutrition Information
I’m not a nutritionist, but here’s the breakdown if you’re tracking. Keep in mind that these are rich, sweet candies, so portion control is key.
Per Praline (approx. 15g):
- Calories: 85
- Protein: 1g
- Carbs: 9g
- Fiber: 1g
- Sugar: 8g
- Fat: 5g
- Saturated Fat: 2g
What’s Good: Pecans provide healthy fats and some protein. The vanilla bean has antioxidants.
What to Know: High in sugar and calories. These are indulgences, not health food. Enjoy in moderation.
My Take: Look, these are pralines. They’re candy. But they’re made with real ingredients, and you control the quality. It’s better than buying processed candies with unknown additives. When I make these, I enjoy one or two with my coffee. It’s a treat, not a snack.
Final Thoughts
So that’s my go-to buttery brown sugar pecan pralines with vanilla bean! I’ve probably talked your ear off at this point, but when you make a recipe this often, you have a lot to say about it.
This has saved my holiday gifting game more times than I can count. It’s my answer to “what do I bring to the party?” when I want to impress but don’t have hours to spend. My friends are happy, my family is happy, and I’m happy because I’m not stressed about buying overpriced, mediocre candies.
Make it yours! Try different variations, swap in your favorite nuts, adjust the vanilla. The best recipes are the ones you adapt to your tastes. If you make these, drop a comment and let me know what you think! I love hearing how recipes turn out in your kitchen. And if something doesn’t work, tell me that too—I’m here to help troubleshoot.
Happy cooking! And I hope your kitchen smells half as good as mine does right now.
Frequently Asked Questions
Q: Can I use light brown sugar instead of dark?
A: Yes, you can, but the flavor won’t be as deep. Dark brown sugar has more molasses, which gives that rich caramel taste. If you only have light brown sugar, use it, but know that the pralines will be slightly milder in flavor.
Q: Why did my pralines turn out hard?
A: This usually means you boiled the mixture too long. The temperature went above 240°F. Next time, use a reliable thermometer and stop at 238°F. Also, check your thermometer’s accuracy by testing it in boiling water.
Q: Why are my pralines grainy?
A: Graininess is caused by sugar crystals. This happens if the sugar didn’t dissolve completely before boiling, or if you stirred the mixture while it was boiling. Make sure to stir until the sugar dissolves, then stop stirring once it boils. Wipe the sides of the pot with a wet brush to remove any sugar crystals.
Q: Can I make these ahead of time?
A: Yes! These pralines keep well at room temperature for up to 2 weeks. You can also freeze them for up to 3 months. Just make sure to store them in an airtight container to prevent them from drying out.
Q: Do I have to toast the pecans?
A: It’s not strictly necessary, but I highly recommend it. Toasting brings out the nutty flavor and adds a nice aroma. It takes only 3-4 minutes in a dry skillet. If you skip it, the pralines will still be good, but less flavorful.
Q: Can I substitute heavy cream with milk?
A: I don’t recommend it. Heavy cream provides the fat and richness that makes pralines creamy. Milk has too much water and not enough fat, which can lead to a grainy or hard texture. If you must, use half-and-half, but heavy cream is best.
Q: How do I store pralines if it’s humid?
A: Humidity can make pralines sticky. Store them in an airtight container with a packet of silica gel or a piece of bread (the bread absorbs moisture). Keep them in a cool, dry place. Avoid the refrigerator, as condensation can make them soggy.
Pin This Recipe!
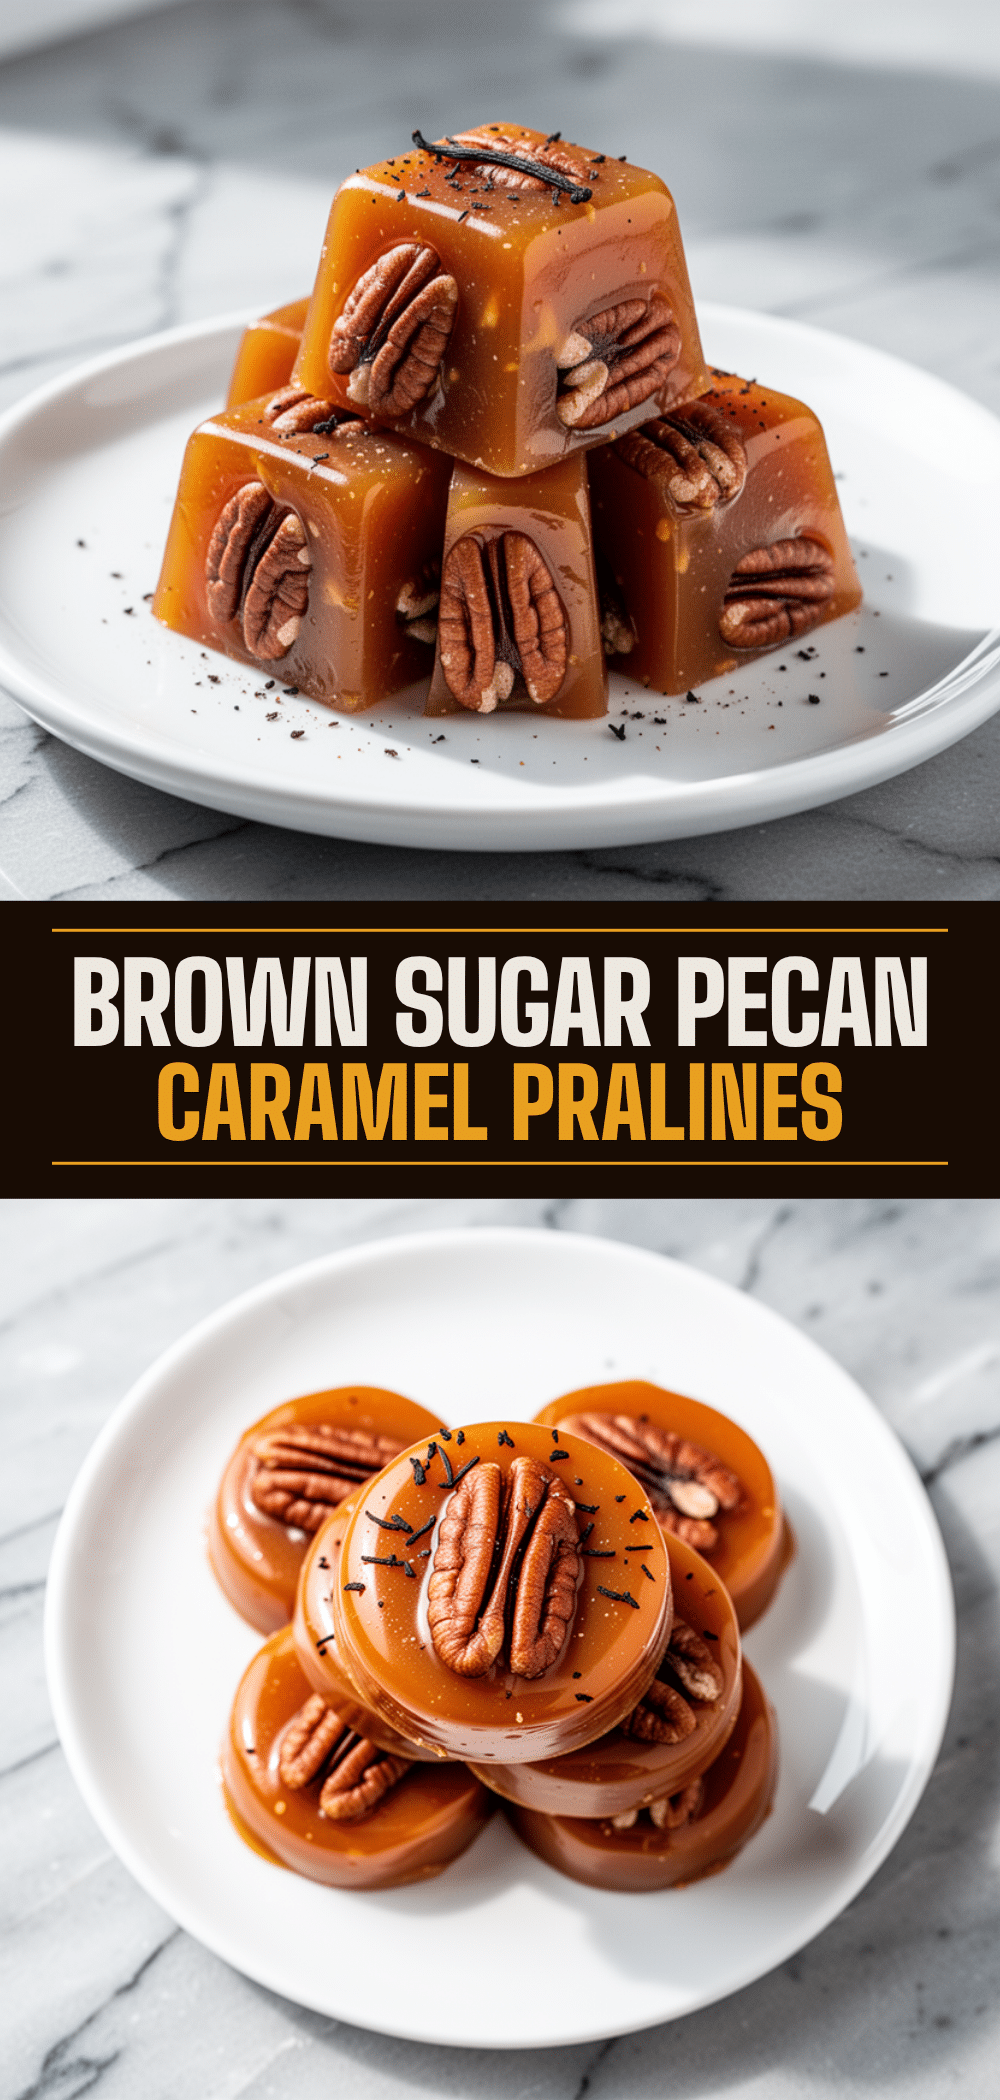
Buttery Brown Sugar Pecan Pralines with Vanilla Bean
- Total Time: 45 minutes
- Yield: Approximately 20-25 pralines 1x
Description
Soft, chewy, and rich homemade pralines made with brown sugar, butter, heavy cream, and vanilla bean. These candies are easier to make than you think and taste better than store-bought versions.
Ingredients
- 1/2 cup (113g) unsalted butter
- 2 cups (400g) dark brown sugar, packed
- 1/2 cup (120ml) heavy cream
- 1 vanilla bean, split and seeds scraped
- 2 cups (200g) pecan halves, toasted
- 1/4 teaspoon salt
- Flaky sea salt for garnish (optional)
Instructions
- Prep your station by lining two baking sheets with parchment paper. Measure out ingredients and scrape the vanilla bean. Toast pecans if desired and let cool.
- In a heavy-bottomed saucepan, combine butter, brown sugar, and heavy cream. Place over medium heat and stir constantly until butter melts and sugar dissolves completely (5-7 minutes).
- Clip on a candy thermometer. Increase heat to medium-high and bring mixture to a boil. Do not stir once boiling; swirl pan gently to prevent sticking. Boil until temperature reaches 234°F to 240°F (soft-ball stage), approximately 10-15 minutes.
- Remove pot from heat when temperature reaches 238°F. Let cool for 5 minutes.
- Stir in vanilla bean seeds. Vigorously beat the mixture with a wooden spoon until it thickens, loses its gloss, and becomes matte (3-5 minutes).
- Fold in toasted pecans until evenly distributed.
- Drop dollops of mixture onto prepared baking sheets using two spoons. Sprinkle with flaky sea salt if using.
- Let cool at room temperature for 30 minutes until firm. Do not refrigerate.
Notes
Ensure your candy thermometer is accurate by testing it in boiling water. Do not stir the mixture once it begins boiling to prevent crystallization. If the mixture sets too quickly before beating, gently reheat on low for 30 seconds. Store in an airtight container at room temperature for up to 2 weeks.
- Prep Time: 10 minutes
- Cook Time: 35 minutes
- Category: Dessert
- Cuisine: American
Nutrition
- Serving Size: 1 praline (approx. 1
- Calories: 85
- Sugar: 8
- Sodium: 15
- Fat: 5
- Saturated Fat: 2
- Carbohydrates: 9
- Fiber: 1
- Protein: 1
Keywords: pralines, brown sugar candy, pecan pralines, vanilla bean candy, homemade candy, southern dessert, holiday gifts, easy candy recipe


