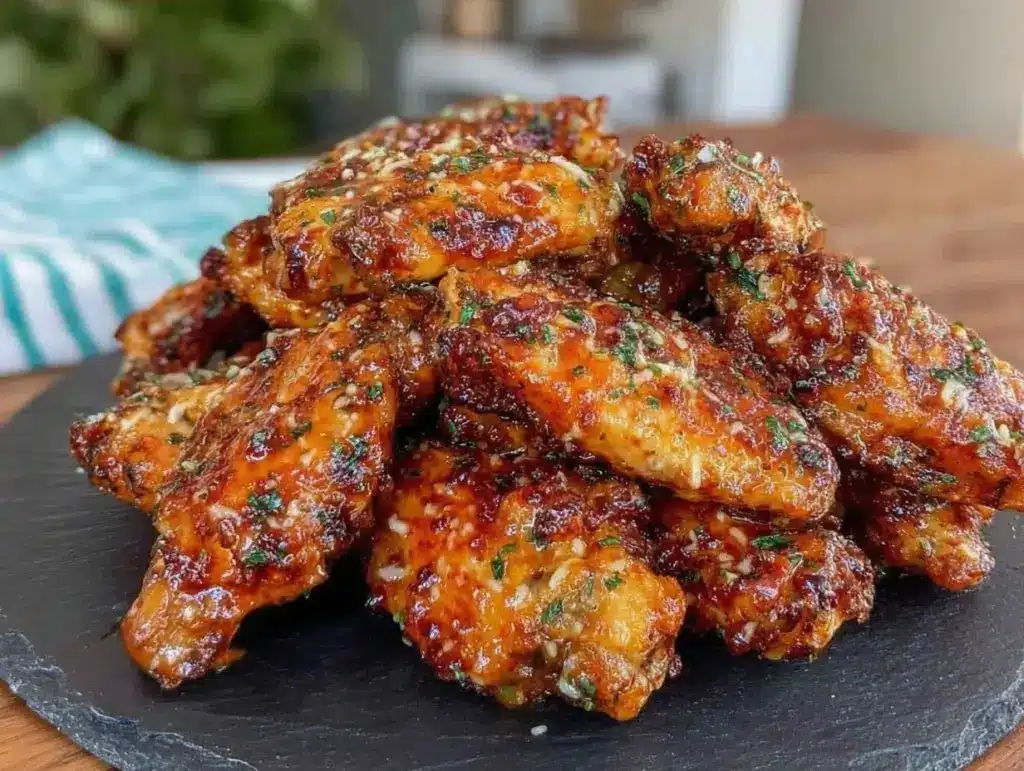
Last February, during a particularly brutal snowstorm that knocked out power for six hours, my husband and I were sitting in the dark with a single candle, trying to figure out what to eat for dinner. The fridge was mostly empty, save for a half-pound of chicken wings and a block of Parmesan cheese that had been sitting there since Thanksgiving. We were cold, hungry, and completely out of ideas. I decided to roast those wings in the oven, hoping for something decent to warm us up. When they came out—golden, crackling, and smelling like heaven—I realized I had accidentally stumbled onto the best appetizer I’d ever made. It wasn’t just good for a “emergency dinner.” It was restaurant-quality. It was game-day essential.
That candlelit meal turned into a obsession. I’ve made these crispy garlic parmesan chicken wings for game day at least twelve times since then, tweaking the seasoning, testing different drying methods, and perfecting the toss. And here’s the thing: most people get it wrong. They boil them first, or they just toss raw wings in sauce and bake them. Neither method gives you that shatteringly crisp skin with a tender, juicy interior. I’ve spent years testing techniques to find the sweet spot, and I’ve finally nailed it down to one specific trick.
This recipe isn’t about complex techniques or expensive equipment. It’s about understanding how moisture and heat interact. If you want wings that actually stay crispy while you watch the game (instead of getting soggy in 10 minutes), you need to pay attention to the drying process. This is hands-down the best way to make wings at home, and once you try them, you’ll never go back to the deep-fried versions from the strip mall place.
Why You’ll Love This Recipe
There are a hundred chicken wing recipes out there, but this crispy garlic parmesan chicken wings for game day version stands out for a few very specific reasons. It’s not just “another snack.” It’s the centerpiece of any party, whether it’s a Super Bowl gathering, a casual Friday night watch party, or just a Tuesday night treat because you deserve it.
- Actually Crispy Skin — Seriously. Most baked wings end up soft or chewy. These get that deep-fried crunch without the oil bath. I’ve tested this with friends who are picky eaters, and even the ones who usually hate baked chicken go back for seconds.
- Lightning Fast Prep — The active time is under 15 minutes. The rest is just waiting. You can have these ready while you’re watching the pre-game show. I make these when I’m tired, and they still taste gourmet.
- Pantry-Friendly Ingredients — You probably have everything you need right now. Garlic powder, onion powder, dried parsley, Parmesan, and butter. No weird sauces or hard-to-find spices.
- Flavor That Sticks — The secret isn’t just the seasoning; it’s the butter-garlic-Parmesan toss. It clings to every nook and cranny. I’ve tried dry rubs, and they just fall off. This coating stays put.
- Makes Amazing Leftovers — Okay, I know, leftovers of crispy wings are tricky. But these actually hold up well for about 24 hours if stored properly. I deliberately make extra for lunch the next day (reheated in the air fryer for 3 minutes).
- Customizable Heat — The base recipe is savory and garlicky. If you want heat, you can add red pepper flakes or swap some butter for hot sauce. It’s your canvas.
This is my go-to when I need to impress people without spending hours in the kitchen. It’s reliable, delicious, and always a crowd-pleaser.
Ingredients You’ll Need
Here’s the best part: you probably have most of this already. I’m particular about three ingredients here, and I’ll tell you exactly why they matter. The rest is standard pantry staples.
For the Wings
Chicken Wings (3 pounds / 1.36 kg) — I use a mix of drumettes and flats. Avoid wings that are heavily injected with broth (check the label). You want dry-plumped wings if possible. If you can’t find them, pat them dry aggressively.
Garlic Powder (2 teaspoons) — Not fresh garlic here. Fresh garlic burns in the oven. Powder gives you that even, savory flavor without the char. I use a good quality brand like McCormick or store brand—it makes no difference.
Onion Powder (1 teaspoon) — Adds depth and sweetness. Don’t skip it. It balances the sharpness of the Parmesan.
Dried Parsley (1 teaspoon) — For color and a hint of earthiness. It makes the wings look green and fresh, not just brown.
Baking Powder (1 tablespoon) — This is the trick. Not baking soda. Aluminum-free baking powder. It raises the pH of the skin, helping it break down collagen and crisp up in the oven. It won’t make them taste like pancakes if you use the right amount.
Salt (1 teaspoon) — Kosher salt is best. It adheres better and distributes evenly.
For the Toss
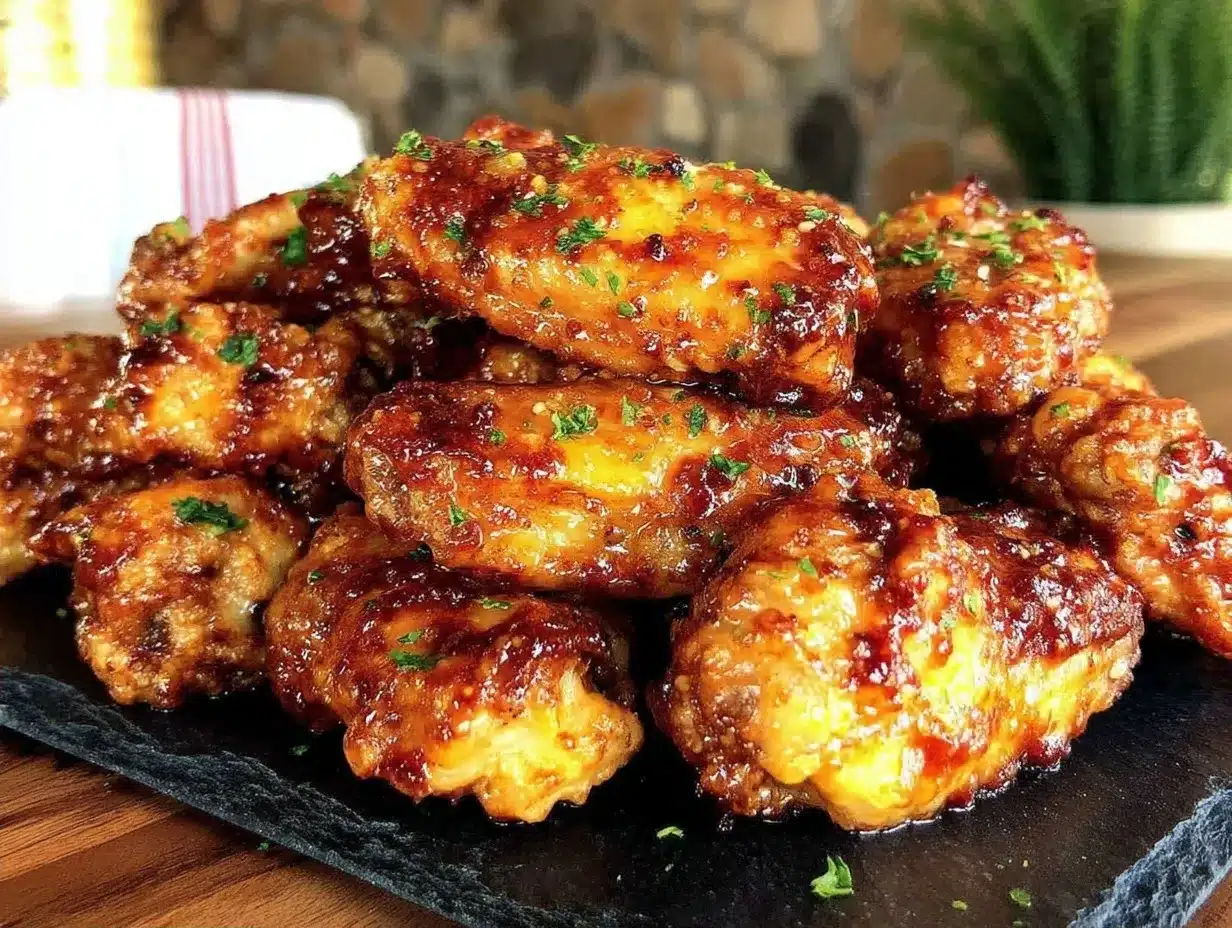
Unsalted Butter (4 tablespoons / 60g) — Melted. Use real butter, not margarine. The fat carries the flavor. If you’re dairy-free, you can use olive oil, but the texture isn’t quite the same.
Minced Garlic (3 cloves) — Yes, fresh garlic here. We’re adding it at the end so it doesn’t burn. Mince it finely so it distributes evenly.
Grated Parmesan Cheese (½ cup / 50g) — Buy a block and grate it yourself. Pre-grated cheese has cellulose that prevents it from melting smoothly. You want that gooey, cheesy coating.
Black Pepper (½ teaspoon) — Freshly cracked. Adds a little bite.
Optional Add-ins: Red pepper flakes (for heat), fresh chives (for garnish), or a splash of hot sauce (like Frank’s RedHot) if you want a kick.
Common Questions
Can I use chicken thighs? You can, but the cooking time will be longer, and the skin won’t crisp the same way. Wings are best for this recipe.
Where do I find baking powder? In the baking aisle, right next to the flour. Make sure it’s baking powder, not baking soda.
Can I make this ahead? Yes! You can prep the wings with the baking powder and refrigerate them for up to 24 hours before baking. This actually helps dry them out further.
Equipment Needed
You don’t need fancy equipment for this. Here’s what I actually use.
Rimmed Baking Sheet — I use a half-sheet pan (18×13 inches). It needs to be big enough to hold all the wings in a single layer. If your pan is too small, the wings will steam instead of roast.
Wire Rack — This is optional but highly recommended. Placing a wire rack on top of the baking sheet allows air to circulate underneath the wings, ensuring even browning. I use a cheap wire rack from the dollar store. If you don’t have one, you can bake directly on the pan, but flip them halfway through.
Large Mixing Bowl — For tossing the wings with the baking powder mixture. Glass or stainless steel works best.
Small Saucepan or Microwave-Safe Bowl — For melting the butter. I use the microwave for speed, but a saucepan gives you more control.
Sharp Knife and Cutting Board — For mincing the garlic. A dull knife makes you cry more—learned this the hard way.
Measuring Spoons — Pretty standard stuff. Dollar store versions work fine.
Whisk — For mixing the dry ingredients with the wings. Or just use your hands. I use my hands because I like to feel when every wing is coated.
Optional but nice:
- Pastry Brush — For brushing the wings with the butter-garlic mixture. Or just toss them in a bowl.
- Candy Thermometer — Not needed for this recipe, but good to have for other projects.
How to Make It: Step-by-Step
Alright, let’s make this! I’m walking you through exactly how I do it, including the little tricks I’ve picked up.
Step 1: Prep Your Oven and Pan (5 minutes)
Preheat your oven to 400°F (200°C). Line a rimmed baking sheet with aluminum foil for easy cleanup, and place a wire rack on top. The rack is crucial for airflow. If you don’t have a rack, line the pan directly with foil, but know that the bottoms might not get as crispy.
Step 2: Dry the Wings (Crucial Step)
Pat the wings dry with paper towels. This is the most important step. Remove as much moisture as possible. Wet wings = steamed wings = soft skin. I spend a good 5 minutes drying them. It’s tedious, but it’s worth it. Once they’re dry, sprinkle the baking powder, garlic powder, onion powder, parsley, and salt over them. Toss until every wing is lightly coated. The baking powder should be invisible.
Step 3: The First Bake (40 minutes)
Arrange the wings on the rack in a single layer. Don’t crowd them! If they’re touching, they’ll steam. Bake for 40 minutes. At the 20-minute mark, flip the wings over. This ensures even browning on both sides. You’ll start to see the skin tightening and browning. It’s a good smell.
Step 4: The Second Bake (10-15 minutes)
After flipping, bake for another 10-15 minutes until the wings are deeply golden and crisp. If you want them darker, you can broil for the last 2 minutes, but watch them closely. Burnt garlic is bitter. You want golden, not black.
Step 5: Make the Toss (5 minutes)
While the wings are baking, melt the butter in a small saucepan or microwave. Once melted, stir in the minced garlic, grated Parmesan, and black pepper. Let it sit for a minute so the garlic infuses the butter. Don’t cook the garlic, just warm it.
Step 6: Toss and Serve (2 minutes)
As soon as the wings come out of the oven, transfer them to a large bowl. Pour the butter-garlic-Parmesan mixture over them. Toss vigorously until every wing is coated. The heat from the wings will melt the Parmesan slightly, creating a sticky, cheesy coating. Serve immediately while they’re hot and crispy.
Total Time:
About 55 minutes (10 minutes active, 45 minutes mostly hands-off)
Built-in Troubleshooting:
- Wings are soggy? You didn’t dry them enough, or they were crowded on the pan. Next time, use a rack and give them space.
- Garlic is burnt? You broiled too long or the oven was too hot. Lower the temp to 375°F if you’re worried about burning.
- Coating is falling off? The wings weren’t hot enough when you tossed them. Serve immediately.
Expert Tips & Tricks
Here’s everything I’ve learned from making this dozens of times. These tips will save you from my mistakes.
The Baking Powder Secret
This is the #1 tip. The baking powder changes the pH of the skin, which helps break down the collagen and creates a crispier texture. It’s not a leavening agent here; it’s a texture enhancer. Make sure it’s aluminum-free, or you’ll get a metallic taste. I’ve tested this with and without, and the difference is night and day.
Dryness is Key
I cannot stress this enough. Wet wings steam. Dry wings roast. If your wings are wet, keep patting them. Use fresh paper towels. It takes 5 minutes, but it’s the difference between soft and crispy.
Don’t Crowd the Pan
If your wings are touching, they’ll steam each other. Use two pans if you have to. Or bake in batches. I’d rather bake two batches than serve soggy wings. Patience pays off.
Fresh Garlic, Not Powder, for the Toss
We use garlic powder for the dry rub, but fresh garlic for the butter toss. Fresh garlic has a brighter, sharper flavor that pairs better with the melted Parmesan. Just make sure it’s minced finely so it doesn’t burn.
Room Temperature Butter
If your butter is too hot, it’ll cook the garlic. If it’s too cold, the Parmesan won’t melt. Aim for warm, melted butter. Let it sit for a minute after melting.
Common Mistakes (and how to avoid them)
- Mistake: Wings are undercooked. Fix: Use a meat thermometer. Internal temp should be 165°F (74°C). If they’re crispy but undercooked, bake for 5 more minutes.
- Mistake: Coating is too thick. Fix: You used too much Parmesan. Use ½ cup, not 1 cup. You want a light coating, not a cheese ball.
- Mistake: Wings are too salty. Fix: Taste your Parmesan. Some brands are very salty. Reduce the added salt if your cheese is sharp.
Pro Tricks I’ve Learned
- For Extra Crisp: Leave the wings on the rack for 10 minutes after baking before tossing. This lets them cool slightly and crisp up more.
- For Extra Flavor: Add a pinch of smoked paprika to the dry rub. It adds a subtle smokiness.
- For Better Texture: Toss the wings in the butter mixture in batches. Don’t dump it all at once. Ensure each wing gets coated.
- Make-Ahead Strategy: Bake the wings up to 2 hours ahead. Keep them warm in the oven at 200°F. Toss with the butter mixture right before serving.
Variations & Substitutions
Once you’ve nailed the basic version, here’s how you can mix it up. I’ve tried all of these.
Spicy Version
Add 1 teaspoon red pepper flakes to the dry rub. Or, mix 2 tablespoons of hot sauce into the butter before tossing. My friend who loves heat requests this version.
Honey Garlic Version
Swap half the butter for honey. Toss the wings with the honey-garlic mixture. It’s sweet and savory. Great for kids.
Lemon Herb Version
Add the zest of 1 lemon to the butter mixture. Swap parsley for thyme. Bright and fresh.
Dietary Modifications
Gluten-Free: This recipe is naturally gluten-free. Just check your baking powder and Parmesan for hidden gluten.
Dairy-Free: Replace butter with olive oil and Parmesan with nutritional yeast. It’s different but still tasty. My lactose-intolerant friend requests this version.
Lower-Fat: Use cooking spray instead of butter. It’s not as rich, but it’s lighter.
Serving & Storage
How to Serve: I usually serve these straight from the bowl at the dinner table. They look rustic and stay warm. But here are other ways I’ve enjoyed them:
- Side Dishes: Celery sticks with blue cheese dressing (classic), carrot sticks with ranch, or iced vanilla chai latte for a warm drink.
- Toppings Bar: When I have guests, I put out extra Parmesan, red pepper flakes, and fresh chives. Everyone customizes their bowl.
- Wine Pairing: Not a wine expert, but my wine-snob friend says a crisp Pinot Grigio or a light Chardonnay works great with this.
Storage Instructions:
Refrigerator: Store in an airtight container for up to 4 days. The wings will lose some crispiness, but they’re still good.
Reheating: Best method: Air fryer at 375°F for 3-4 minutes. Or oven at 400°F for 5-7 minutes. Microwave will make them soggy. Never microwave crispy wings.
Freezing: You can freeze the baked wings (without the toss) for up to 3 months. Reheat in the oven. The toss is best made fresh.
Pro tip: If leftovers are drying out, add a splash of water to the pan when reheating to create steam, then finish under the broiler to crisp up.
Nutrition Information
I’m not a nutritionist, but here’s the breakdown if you’re tracking.
Per Serving (based on 6 servings):
- Calories: 380
- Protein: 25g
- Carbs: 2g
- Fiber: 0g
- Sugar: 0g
- Fat: 30g
- Saturated Fat: 12g
- Cholesterol: 100mg
- Sodium: 450mg
- Calcium: 100mg
What’s Good: High protein, low carb. Great for keto or low-carb diets.
What to Know: Higher in calories and fat from the butter and cheese. But it’s a treat. Enjoy in moderation.
My Take: Look, this is crispy, cheesy, garlicky chicken wings. It’s not a diet recipe. But it’s way better than takeout, costs less, and I know exactly what’s in it. When I want to make it lighter, I use less butter and more herbs. But usually? I just eat a reasonable portion and enjoy it.
Dietary Notes: Contains: dairy. Can be made: gluten-free, vegetarian (without cheese, use nutritional yeast). Not suitable for: vegan (without modifications), dairy-free (without modifications).
Final Thoughts
So that’s my go-to crispy garlic parmesan chicken wings for game day! I’ve probably talked your ear off at this point, but when you make a recipe this often, you have a lot to say about it.
This has saved weeknight dinners and party plans more times than I can count. It’s my answer to “what’s for snack” when I’m tired, don’t want takeout, and still want something that tastes really good. My kids are happy, my husband’s happy, and I’m happy because I’m not stressed about cooking.
Make it yours! Try different add-ins, swap in your favorite herbs, adjust the garlic (though more is always better in my opinion). The best recipes are the ones you adapt to your family’s tastes.
If you make this, drop a comment and let me know what you think! I love hearing how recipes turn out in your kitchen. And if something doesn’t work, tell me that too—I’m here to help troubleshoot.
Happy cooking! And I hope your kitchen smells half as good as mine does right now.
Frequently Asked Questions
Can I use chicken thighs instead of wings?
You can, but the cooking time will be longer, and the skin won’t crisp the same way. Wings are best for this recipe because of their high skin-to-meat ratio. If you use thighs, bake at 375°F for 45-50 minutes, flipping halfway.
Why did my wings turn out soggy?
Usually means you didn’t dry them enough, or you crowded the pan. Wet wings steam. Dry wings roast. Also, if you didn’t use a rack, the bottoms might not get crispy. Next time, pat them dry aggressively and use a wire rack.
Can I make this ahead for a party?
Sort of. Bake the wings up to 2 hours ahead and keep them warm in the oven at 200°F. Toss with the butter-garlic-Parmesan mixture right before serving. If you toss them too early, they’ll get soggy. I do this all the time for parties.
Why did I use baking powder?
The baking powder raises the pH of the skin, which helps break down collagen and creates a crispier texture. It’s not a leavening agent here. Make sure it’s aluminum-free, or you’ll get a metallic taste. I’ve tested this with and without, and the difference is huge.
Can I use fresh garlic in the dry rub?
No. Fresh garlic will burn in the oven. Use garlic powder for the dry rub. Use fresh garlic for the butter toss at the end. This ensures you get the flavor without the char.
How do I reheat leftovers without them getting dry?
Add a splash of water to the pan when reheating to create steam, then finish under the broiler to crisp up. Or use an air fryer at 375°F for 3-4 minutes. Microwave will make them soggy. Never microwave crispy wings.
Can I double this recipe?
Absolutely! Double everything and use two baking sheets. The cooking times stay the same. I do this when I’m meal-prepping or feeding a crowd. Just make sure your oven has room for both pans, and rotate them halfway through for even cooking.
Pin This Recipe!
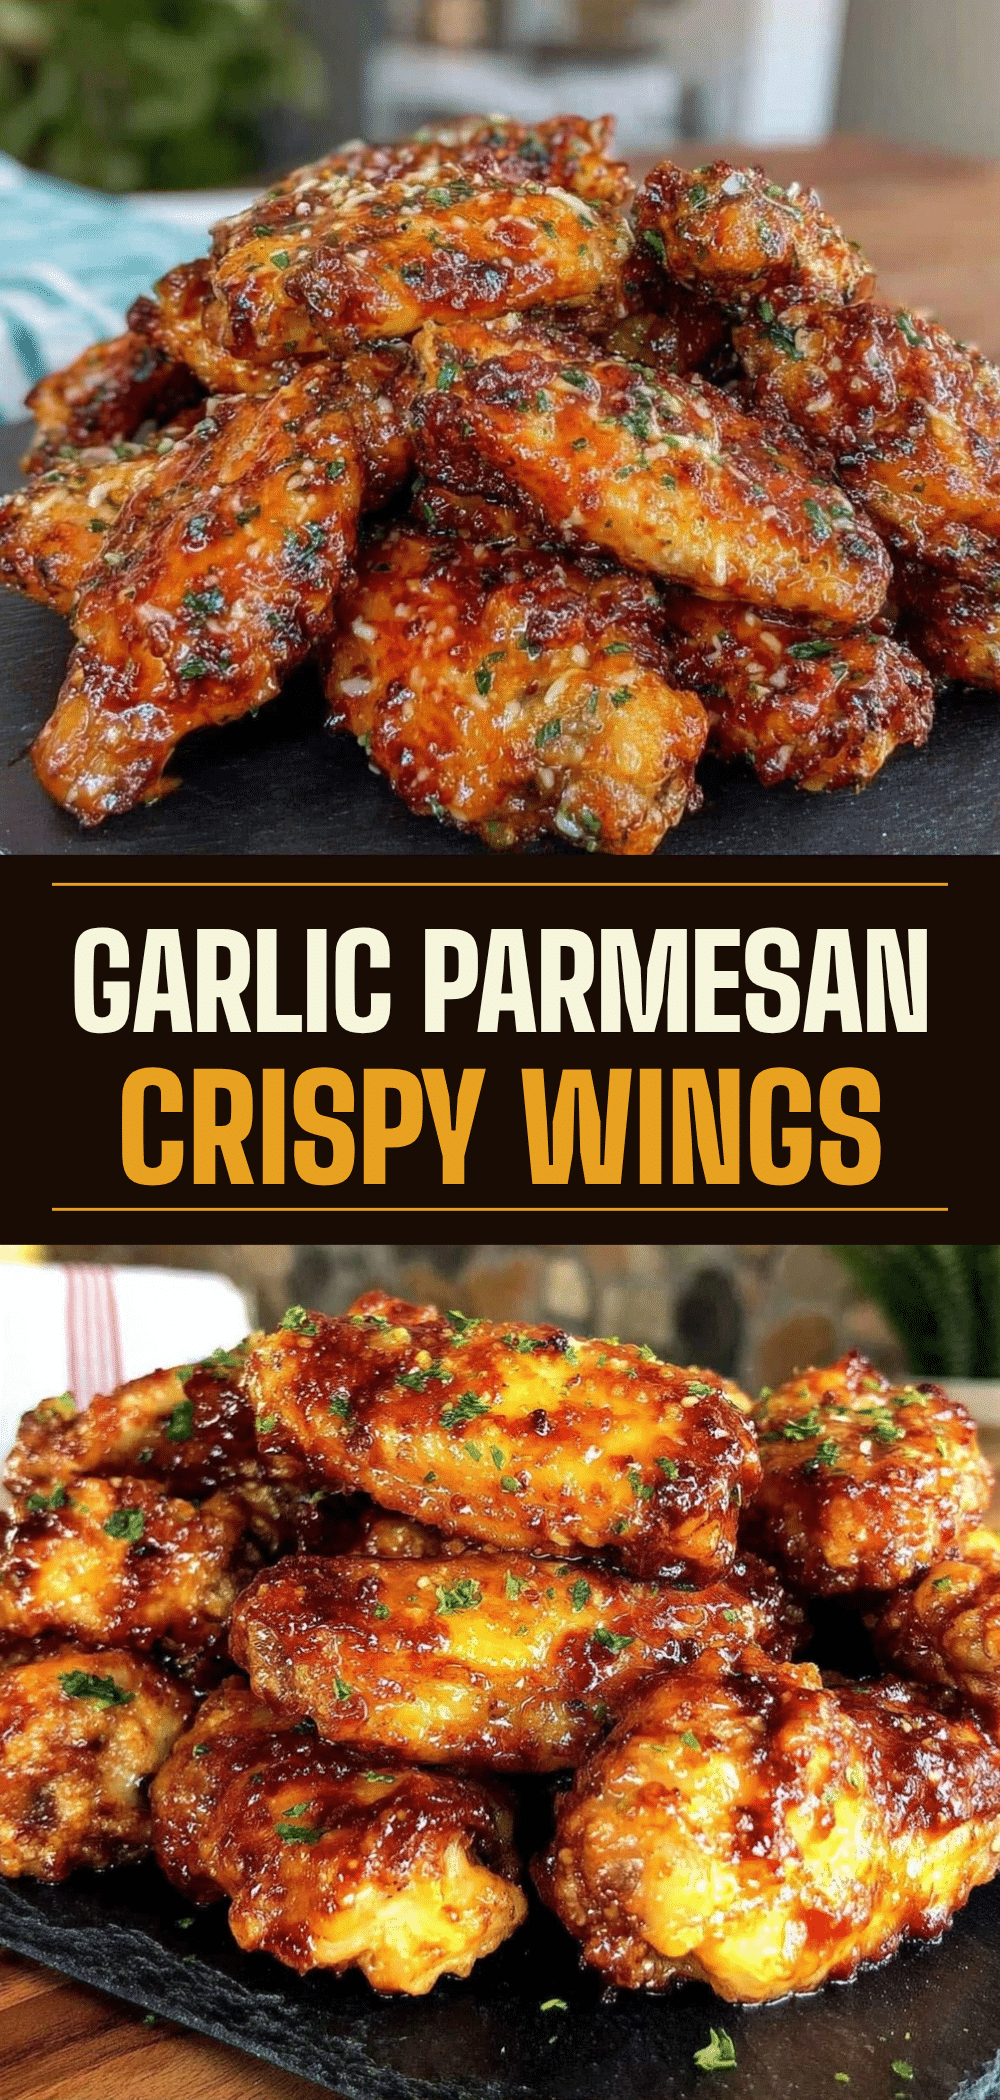

Crispy Garlic Parmesan Chicken Wings: 1 Trick for Game Day
- Total Time: 55 minutes
- Yield: 6 servings 1x
Description
These crispy garlic parmesan chicken wings are the ultimate game day appetizer. Using a baking powder trick and a butter-garlic-Parmesan toss, they achieve a deep-fried crunch without the oil bath.
Ingredients
- 3 pounds chicken wings (mix of drumettes and flats)
- 1 tablespoon aluminum-free baking powder
- 2 teaspoons garlic powder
- 1 teaspoon onion powder
- 1 teaspoon dried parsley
- 1 teaspoon kosher salt
- 4 tablespoons unsalted butter, melted
- 3 cloves garlic, minced
- ½ cup grated Parmesan cheese
- ½ teaspoon freshly cracked black pepper
- Optional: Red pepper flakes, fresh chives, hot sauce
Instructions
- Preheat oven to 400°F (200°C). Line a rimmed baking sheet with foil and place a wire rack on top.
- Pat chicken wings dry thoroughly with paper towels to remove moisture.
- Sprinkle baking powder, garlic powder, onion powder, parsley, and salt over the wings. Toss until every wing is lightly coated.
- Arrange wings in a single layer on the wire rack, ensuring they are not touching.
- Bake for 40 minutes. Flip the wings over at the 20-minute mark.
- Bake for another 10-15 minutes until deeply golden and crisp. Optionally broil for the last 2 minutes for extra color.
- While wings bake, melt butter in a saucepan or microwave. Stir in minced garlic, grated Parmesan, and black pepper. Let sit for a minute to infuse.
- Transfer hot wings to a large bowl. Pour the butter-garlic-Parmesan mixture over them and toss vigorously to coat.
- Serve immediately while hot and crispy.
Notes
The key to crispy wings is drying them thoroughly before seasoning and using a wire rack to allow air circulation. Do not crowd the wings on the pan. Use aluminum-free baking powder to avoid a metallic taste. For leftovers, reheat in an air fryer or oven; never microwave as it makes them soggy.
- Prep Time: 10 minutes
- Cook Time: 45 minutes
- Category: Appetizer
- Cuisine: American
Nutrition
- Serving Size: Approximately 1/6 of
- Calories: 380
- Sodium: 450
- Fat: 30
- Saturated Fat: 12
- Carbohydrates: 2
- Protein: 25
Keywords: chicken wings, game day food, crispy wings, garlic parmesan wings, oven baked wings, appetizer, party food, keto friendly


