It was 4 PM on a Tuesday, the dreaded “witching hour” for parents, when my usual pantry raid yielded absolutely nothing useful. I was staring into the abyss of our vegetable drawer, which contained a sad, limp zucchini that had been hiding behind a jar of pickles for three days. Normally, I’d just toss it in a stir-fry or blend it into a smoothie (guilty pleasure: you can’t taste it), but my kids were demanding something crunchy. Something salty. Something that tasted like the deep-fried, grease-laden chips we get from the takeout place down the street.
I didn’t have time to deep fry anything. And honestly, I didn’t want to spend an hour watching oil temperature. But I did have parmesan cheese, garlic powder, and a craving for that specific crunch that only comes from high heat. So, I threw the zucchini in the oven with a handful of spices and set a timer for ten minutes. I expected soggy vegetable strips. What I got was a crispy, savory, addictive snack that cleared the plate in seconds.
These Crispy Garlic Parmesan Zucchini Chips are not just a healthy alternative; they are a legitimate game-changer. I’ve made them at least twenty times since that Tuesday, and they’ve become my go-to answer for “What’s for snack?” when I’m too tired to cook a full meal but refuse to serve cereal. They’re better than takeout because they’re fast, they don’t leave you feeling heavy, and they actually taste like something I made with love (and a little bit of garlic). If you’ve been looking for a way to sneak more veggies into your kid’s diet—or just want a guilt-free snack that actually satisfies a craving—you need to try this. It’s simpler than soft baked banana oatmeal breakfast cookies, which is saying something because those are pretty hard to mess up.
Why You’ll Love This Zucchini Chip Recipe
Look, I get it. You’ve probably tried “healthy” snacks before that ended up tasting like cardboard or dried leaves. These chips are different. Here’s why they’ve earned a permanent spot in our weekly rotation, right alongside our crispy baked chicken nuggets for school lunches:
- Stupid Simple Prep — Seriously, if you can slice a vegetable, you can make this. I’ve taught my seven-year-old to do it, and he takes immense pride in the “chef’s touch” of sprinkling the parmesan. No complicated techniques, no fancy equipment.
- Lightning Fast — 10 minutes from start to finish. I’m talking active time. The oven does the rest. This is crucial for those evenings when hunger strikes unexpectedly and you have zero time to cook.
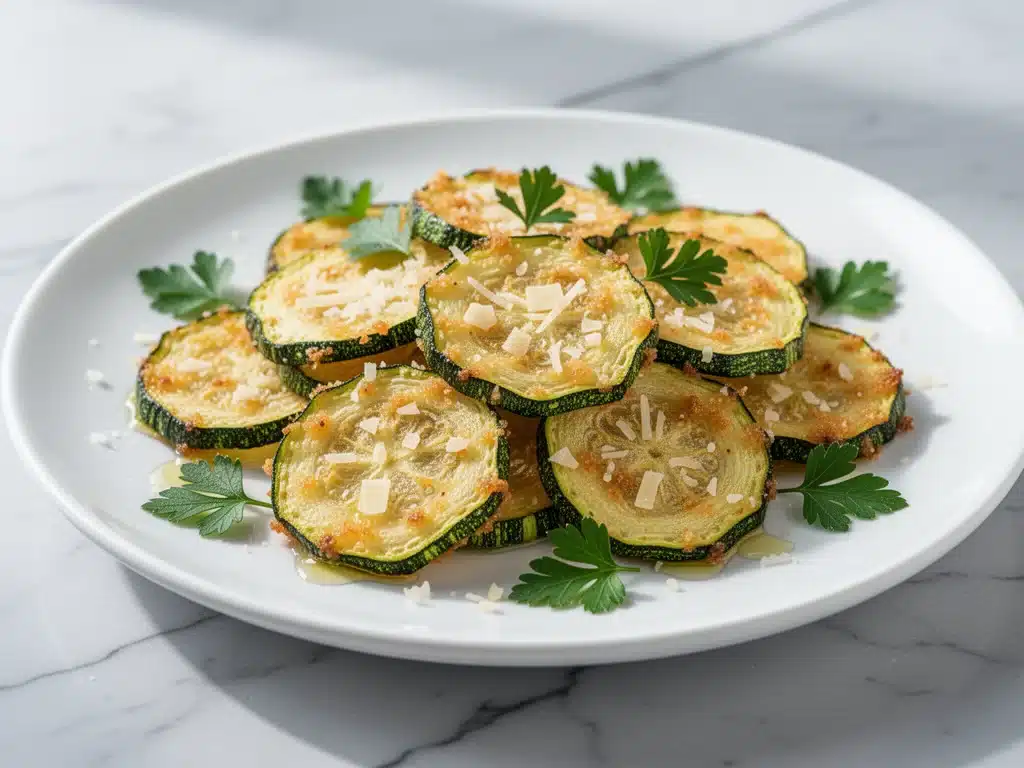
- Crunch Factor — The secret is in the temperature and the coating. These get genuinely crispy, not just “cooked.” The parmesan creates a savory crust that mimics the texture of a fried chip without the oil.
- Pantry Staples — You likely have everything you need right now. Zucchini, parmesan, garlic powder, salt, and oil. No weird ingredients from a specialty store.
- Kid-Approved — This is the ultimate stealth health hack. My kids think they’re eating “cheese chips.” They don’t care that it’s zucchini. By the time they realize, they’ve already eaten three handfuls.
This recipe has saved me from the vending machine aisle more times than I can count. It’s the perfect bridge between “I want junk food” and “I know I should eat better.” Plus, it’s a fantastic way to use up that zucchini before it turns to mush in the fridge.
Ingredients You’ll Need
Here’s the best part: this ingredient list is shorter than most cookie recipes. I’m not exaggerating. You don’t need a pantry full of exotic spices to make this work. Here’s exactly what goes into the bowl, and why I pick each one.
The Star: Zucchini
Large zucchini (2 medium, about 1.5 lbs / 680g) — Look for firm, smooth zucchini with no soft spots. I prefer medium-sized ones because they’re easier to slice evenly. If they’re too big, they can be watery and less flavorful. If they’re tiny, you get too much skin-to-flesh ratio. This is the sweet spot.
The Flavor Bomb
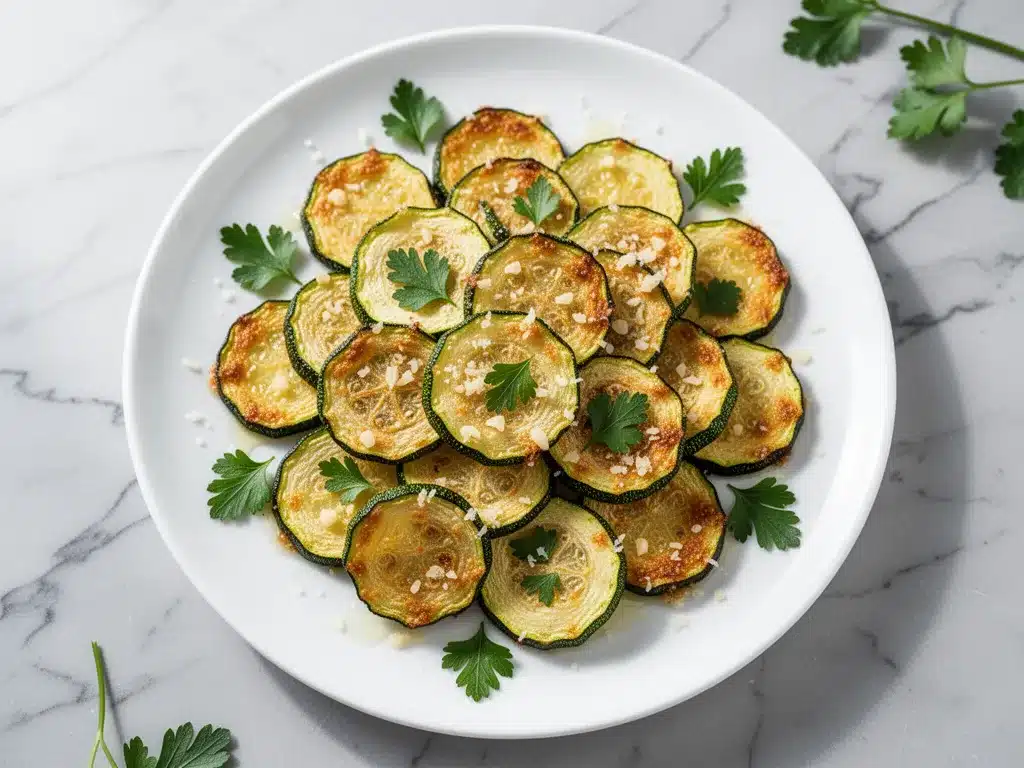
Parmesan cheese (1 cup / 100g, freshly grated) — This is non-negotiable. Do not use the green shaker can stuff. It’s dry, salty, and doesn’t melt or crisp up right. Buy a wedge of Parmigiano-Reggiano or a good Asiago and grate it yourself. It takes two minutes and makes a massive difference in flavor and texture. The cheese creates that golden, crispy crust.
Garlic powder (2 teaspoons) — I use garlic powder, not fresh minced garlic, for the chips themselves. Fresh garlic can burn in the oven and turn bitter. Powder gives you that consistent, savory garlic flavor without the risk of burning. (But don’t worry, I’ll tell you how to use fresh garlic in the dipping sauce later.)
Onion powder (1 teaspoon) — Optional, but I love it. It adds a subtle depth that complements the garlic. If you’re garlic-averse, skip it, but I recommend keeping it.
Italian seasoning (1 teaspoon) — Adds a hint of herbal complexity. If you don’t have it, dried oregano or basil works fine.
The Binder & Crunch
Egg white (1 large, lightly beaten) — This acts as the glue for the cheese and spices. Some people use whole eggs, but I find the white keeps the coating lighter and crispier, rather than dense. If you’re avoiding eggs, you can skip this step and just toss the zucchini in oil and spices, but the cheese won’t stick as well.
Extra virgin olive oil (2 tablespoons) — Just enough to coat the slices lightly. You don’t want them swimming in oil. A light brush or toss is all it takes. Olive oil helps the cheese brown evenly.
Sea salt (to taste) — I use flaky sea salt for the final sprinkle after baking. It gives a nice crunch and visual appeal.
Black pepper (freshly cracked) — A little bit of heat balances the savory cheese.
For the Dipping Sauce (Optional but Recommended)
Ranch dressing (½ cup) — Yes, store-bought is fine. Or mix Greek yogurt with ranch seasoning for a lighter version.
Sriracha or hot sauce (1 teaspoon) — For a kick. I make a “spicy ranch” dip that my kids go crazy for.
Equipment Needed
You don’t need fancy gear for this. Here’s what I actually use on my counter:
Sharp Chef’s Knife — Essential for even slicing. Dull knives slip and make uneven chips, which bake unevenly. I keep my knife sharp because I’ve learned the hard way that jagged edges lead to soggy centers.
Cutting Board — Any size works. I use a large one to have enough room to slice all the zucchini at once.
Baking Sheets — 2 standard half-sheet pans. You need two because you want space between the slices. Crowding the pan steams the zucchini instead of crisping it. If you only have one pan, you’ll need to bake in two batches.
Parchment Paper — I always line my pans. It makes cleanup effortless and prevents the cheese from sticking and burning onto the pan. Worth the tiny cost.
Whisk or Fork — For beating the egg white.
Large Bowl — For tossing the zucchini in the egg and spices.
How to Make Crispy Garlic Parmesan Zucchini Chips
Alright, let’s get cooking. This is quick, so have your ingredients ready before you turn on the oven. I’m walking you through exactly how I do it, including the little tricks I’ve picked up over dozens of batches.
Step 1: Prep the Oven and Pan (2 minutes)
Preheat your oven to 400°F (200°C). This high heat is crucial. Lower temps will dry out the zucchini without crisping it. Line two baking sheets with parchment paper. Set them aside. The key here is preparation—once the oven is hot, we move fast.
Step 2: Slice the Zucchini (5 minutes)
Wash the zucchini and trim off the ends. Now, the slicing technique matters. You want to cut the zucchini on a bias (diagonally) into thin, uniform slices, about 1/8 inch thick. Slicing on a bias creates more surface area, which means more crispy edges. If you slice straight across, you get round coins that are harder to eat and have less surface for the cheese to cling to. Use a sharp knife and be consistent. Uneven slices mean some burn while others stay soggy.
Step 3: The Egg Wash (1 minute)
In a large bowl, lightly beat the egg white with a fork until it’s frothy. Add the sliced zucchini to the bowl. Toss gently to coat every slice in the egg white. You want a thin, even coat. If there are pools of egg, shake them off. Too much egg makes the coating heavy and wet.
Step 4: Season and Coat (2 minutes)
Add the grated parmesan, garlic powder, onion powder, Italian seasoning, and black pepper to the bowl with the zucchini. Toss everything together until the zucchini is evenly coated in cheese and spices. The egg white will help the cheese stick. If you feel like it’s too dry, add a tiny drizzle of olive oil and toss again. The goal is for each slice to have a visible layer of cheese and seasoning.
Step 5: Arrange on Pans (2 minutes)
Place the zucchini slices on the prepared baking sheets in a single layer. Do not overlap them! This is the most common mistake. If slices touch, they steam each other and won’t get crispy. Give them space. If your pans are small, do two batches. I know it’s tempting to cram them in, but trust me—space equals crunch.
Step 6: Bake (10-12 minutes)
Place the pans in the oven. Bake for 10-12 minutes. Keep an eye on them around the 8-minute mark. You want the edges to be golden brown and the cheese to be bubbly and crisp. The zucchini should be tender but not mushy. If your oven runs hot, check at 8 minutes. If it runs cool, go up to 12 minutes. They’re done when they look like little chips, not cooked vegetables.
Step 7: Cool and Serve (2 minutes)
Remove from the oven and let them cool on the pan for 2 minutes. This is important—the cheese is molten hot and will harden as it cools, giving you that final crunch. Sprinkle with a little flaky sea salt if you like. Serve immediately with your favorite dipping sauce.
Total Time: About 20 minutes (5 min prep, 10-12 min bake, 2 min cool)
Expert Tips for Maximum Crunch
Here’s everything I’ve learned from making these dozens of times. These tips will save you from my past mistakes.
Don’t Skip the Parchment — I used to bake directly on the pan and ended up with stuck-on cheese scorch. Parchment paper ensures easy release and even browning. It’s a small step that makes a big difference.
Salt After, Not Before — If you salt the zucchini before baking, it draws out moisture and makes them soggy. Salting after baking adds a nice textural contrast without compromising the crisp.
Use a Food Processor for Cheese — If you’re making a large batch, grating a whole block of parmesan can be tedious. I sometimes pulse pre-shredded parmesan in a food processor to break up clumps, but fresh-grated is still best for flavor. Just make sure it’s fine, not chunky.
Cool Completely for Maximum Crunch — These chips continue to crisp up as they cool. If you eat them straight out of the oven, they might feel slightly soft. Let them sit for 5 minutes, and they’ll be perfectly crisp. I’ve been known to wait, but I won’t judge if you don’t.
Double Batch for Meal Prep — These reheat surprisingly well in an air fryer or toaster oven. I make a double batch on Sunday and keep them in the fridge for quick snacks during the week. They’re not quite as fresh as day-one, but still delicious.
Variations & Substitutions
Once you’ve nailed the basic version, here’s how you can mix it up. I’ve tried all of these, and they’re all winners.
Spicy Version — Add 1/2 teaspoon of cayenne pepper or red pepper flakes to the spice mix. I love this with a spicy ranch dip. It’s like having a loaded nacho chip but with zucchini.
Herb Garden — Swap Italian seasoning for dried dill and chives. This gives a fresher, more delicate flavor that pairs well with a yogurt dip. Great for spring.
Everything Bagel — Skip the Italian seasoning and parmesan, and toss the zucchini in everything bagel seasoning and a little olive oil. Then sprinkle with nutritional yeast instead of cheese for a vegan option. Surprisingly good!
Gluten-Free — This recipe is naturally gluten-free, as long as your parmesan and spices don’t have added wheat fillers. Always check labels if you’re strictly avoiding gluten. Most pure parmesan is safe.
Dairy-Free — Use nutritional yeast instead of parmesan for a cheesy flavor without the dairy. You’ll need to use a bit more oil to help the nutritional yeast stick. The texture won’t be quite as crispy, but it’s still tasty.
Serving & Storage
How to Serve:
I usually serve these straight from the pan, piled high on a platter. They look rustic and inviting. For a party, set up a dipping station with ranch, spicy mayo, and marinara. They’re also great as a side dish for turkey cheddar pinwheels for a complete lunch.
Storage:
Store leftovers in an airtight container in the refrigerator for up to 3 days. They will lose some crispiness in the fridge, which is normal for vegetable chips.
Reheating:
The microwave is the enemy of crunch. Never microwave these. To restore crispness, pop them in an air fryer at 350°F for 2-3 minutes, or in a toaster oven for 5 minutes. They’ll be almost as good as fresh.
Freezing:
I don’t recommend freezing these. The texture changes too much when thawed. They’re best enjoyed fresh or refrigerated for a few days.
Nutrition Information
I’m not a nutritionist, but here’s the breakdown if you’re tracking. Keep in mind that these values are estimates and can vary based on the specific zucchini size and cheese brand used.
Per Serving (based on 4 servings, approx. 12 chips each):
- Calories: 120
- Protein: 7g
- Carbs: 8g
- Fiber: 2g
- Sugar: 3g
- Fat: 7g
- Sodium: 180mg
What’s good? High protein from the cheese, low carb, and packed with veggies. What to know? It’s still high in sodium due to the parmesan, so keep an eye on that if you’re watching salt intake. But compared to potato chips or takeout fries, this is a nutritional win.
Final Thoughts
So that’s my secret weapon for healthy snacking: Crispy Garlic Parmesan Zucchini Chips. I’ve probably talked your ear off at this point, but when you make a recipe this often, you have a lot to say about it. These chips have saved me from the vending machine, delighted my kids, and proven that eating vegetables doesn’t have to be boring.
Make it yours! Try different spices, different dips, or even different vegetables like eggplant or sweet potato (though sweet potato will need longer baking time). The best recipes are the ones you adapt to your family’s tastes.
If you make this, drop a comment and let me know what you think! I love hearing how recipes turn out in your kitchen. And if something doesn’t work, tell me that too—I’m here to help troubleshoot. Happy cooking! And I hope your kitchen smells half as good as mine does right now.
Frequently Asked Questions
Can I use a different cheese?
You can try Pecorino Romano for a sharper taste, or Asiago for a nuttier flavor. Just make sure it’s a hard cheese that grates finely. Soft cheeses like mozzarella won’t crisp up the same way unless you bake them longer, and they might make the chips soggy.
Why are my zucchini chips soggy?
Usually, this happens because the slices were too thick, the pan was overcrowded, or the oven temperature wasn’t high enough. Make sure you slice them thin (1/8 inch), give them space on the pan, and preheat your oven fully. Also, don’t skip the cooling step—the cheese needs to harden to become crisp.
Can I make these in an air fryer?
Absolutely! Air fryers are great for this. Cook at 375°F (190°C) for 6-8 minutes, shaking the basket halfway through. They come out incredibly crispy. Just be careful not to overcrowd the basket.
Do I have to use egg white?
Not strictly, but it helps the cheese stick. If you skip it, you’ll need to toss the zucchini in oil and spices more thoroughly, and the cheese might fall off during baking. If you’re vegan, use a cornstarch slurry or just rely on oil and seasoning, though the texture will be different.
Can I prep these ahead of time?
You can slice and season the zucchini up to 4 hours ahead and store them in the fridge in an airtight container. Just don’t bake them until you’re ready to eat. If you leave them seasoned too long, they might release water, so pat them dry before baking if you prep early.
Are these kid-friendly?
Most kids love them! The savory cheese and crunch appeal to their senses, and they often don’t even realize they’re eating vegetables. If your kids are picky, try serving them with a fun dipping sauce like ranch or ketchup. It helps bridge the gap.
Pin This Recipe!
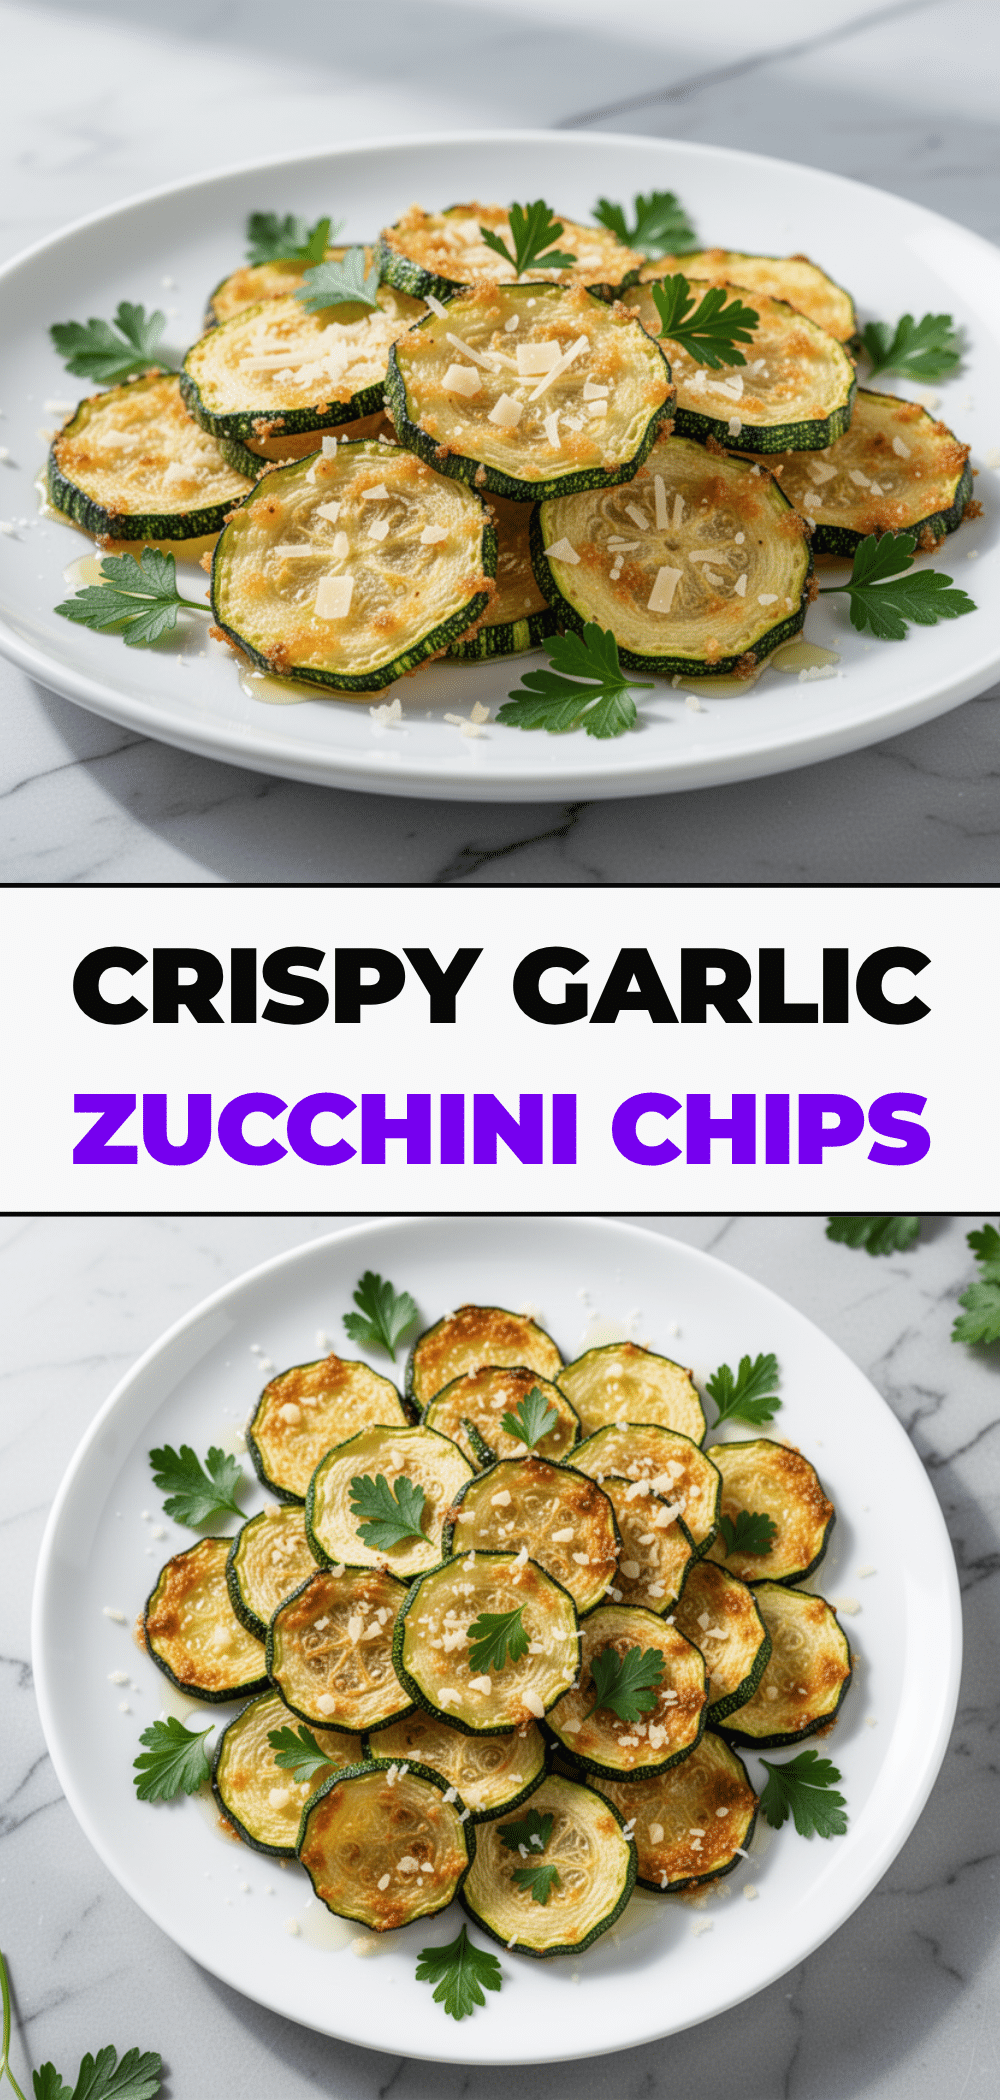
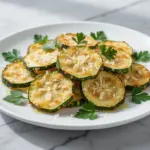
Crispy Garlic Parmesan Zucchini Chips
- Total Time: 20 minutes
- Yield: 4 servings 1x
Description
A quick, healthy, and addictive snack made with zucchini, parmesan cheese, and garlic powder. These baked chips offer a crunchy, savory alternative to traditional potato chips with minimal prep time.
Ingredients
- 2 medium large zucchini (about 1.5 lbs / 680g)
- 1 cup freshly grated Parmesan cheese (100g)
- 2 teaspoons garlic powder
- 1 teaspoon onion powder
- 1 teaspoon Italian seasoning
- 1 large egg white, lightly beaten
- 2 tablespoons extra virgin olive oil
- Sea salt, to taste (for finishing)
- Freshly cracked black pepper, to taste
Instructions
- Preheat oven to 400°F (200°C). Line two baking sheets with parchment paper.
- Wash zucchini and trim ends. Slice diagonally into thin, uniform slices (approx. 1/8 inch thick).
- In a large bowl, lightly beat the egg white. Add zucchini slices and toss to coat evenly in egg white.
- Add parmesan cheese, garlic powder, onion powder, Italian seasoning, and black pepper to the bowl. Toss until zucchini is evenly coated.
- Arrange zucchini slices on prepared baking sheets in a single layer, ensuring slices do not overlap.
- Bake for 10-12 minutes, or until edges are golden brown and cheese is bubbly and crisp.
- Remove from oven and let cool on the pan for 2 minutes to allow cheese to harden.
- Sprinkle with flaky sea salt if desired and serve immediately.
Notes
Do not overcrowd the pan as this causes steaming instead of crisping. Salt after baking to prevent moisture release. For maximum crunch, let chips cool completely. Can be reheated in an air fryer or toaster oven; do not microwave.
- Prep Time: 5 minutes
- Cook Time: 10-12 minutes
- Category: Snack
- Cuisine: American
Nutrition
- Serving Size: Approximately 12 chi
- Calories: 120
- Sugar: 3
- Sodium: 180
- Fat: 7
- Saturated Fat: 3
- Carbohydrates: 8
- Fiber: 2
- Protein: 7
Keywords: zucchini chips, healthy snack, gluten-free snack, parmesan zucchini, quick recipes, kid-friendly snacks, baked vegetables, low carb snack