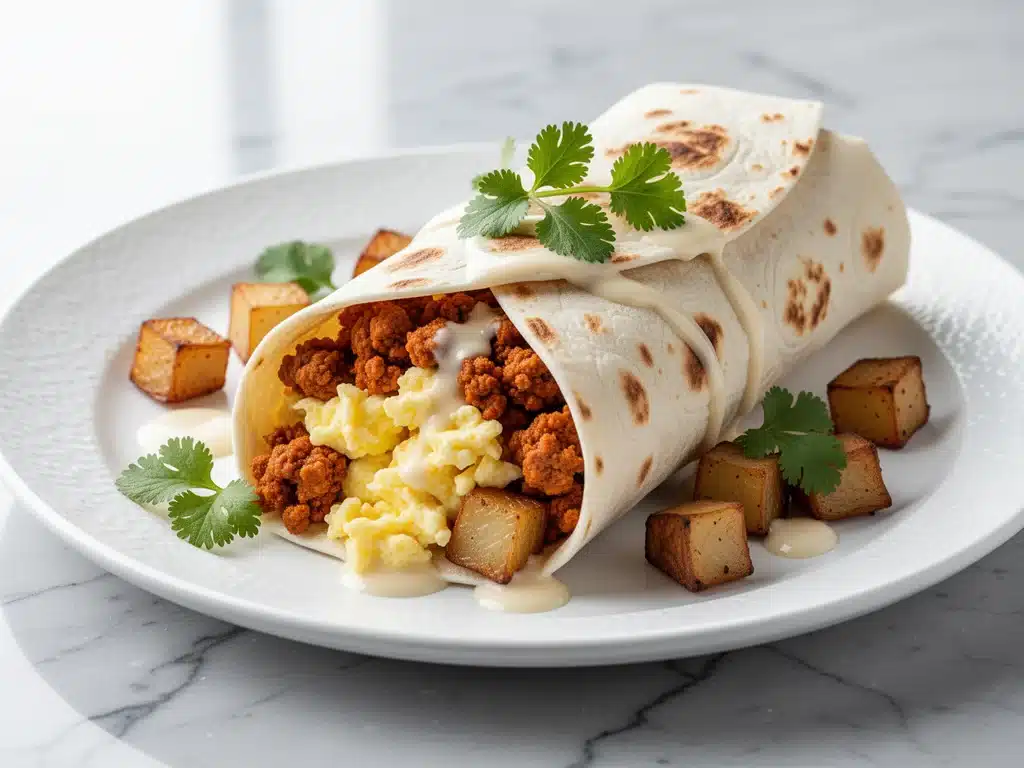
It was 6:45 AM on a Tuesday, and I was running late for a work meeting I didn’t even want to attend. My stomach was growling, my eyes were barely open, and the only option within walking distance was a gas station convenience store. I bought a sad, cold burrito wrapped in foil that tasted like cardboard and regret. I ate it standing up in my car, feeling like a failure as a parent and a human being.
That was the moment I decided enough was enough. I refused to let my mornings be dictated by bad coffee and processed meat. I needed a solution that was fast, cheap, and actually tasted good. That’s when I fell down the rabbit hole of freezer-friendly breakfast burritos. What started as a desperate attempt to survive the morning rush turned into a weekly ritual that my entire family now anticipates.
Here’s the thing about morning routines: they’re fragile. One small thing goes wrong, and the whole day spirals. But having a stash of homemade breakfast burritos in the freezer changes the game. It’s not just about saving time; it’s about reclaiming your morning. It’s about waking up, throwing a frozen burrito in the microwave for two minutes, and having a hot, delicious meal ready without any stress. I’ve made hundreds of these over the last few years, testing different fillings, wrapping techniques, and freezing methods. I’ve learned what works and, more importantly, what doesn’t. This guide is the result of all those experiments. It’s the ultimate batch cooking strategy for busy families who refuse to compromise on taste.
Why You’ll Love This Freezer Breakfast Burrito Strategy
I know what you’re thinking. “I don’t have time to cook breakfast.” I get it. But hear me out. This isn’t about spending hours in the kitchen every day. It’s about spending one Sunday afternoon making a huge batch of freezer-friendly breakfast burritos that will feed your family for two weeks. Once you try this, you’ll never go back to cold toast or skipping breakfast entirely.
- True Meal Prep Magic — Seriously, it’s like magic. You spend 90 minutes on Sunday, and you’re set for the next 14 days. I’ve done this during back-to-school season when my schedule was chaotic. It saved my sanity.
- Customizable for Everyone — My husband wants heavy on the meat. My kids want cheese and eggs. I want veggies and avocado. With this method, everyone gets exactly what they want. No arguing at the table.
- Actually Tastes Good After Freezing — Most freezer meals turn into sad, mushy disasters after a week. Not these. I’ve tested the wrapping and cooling techniques to ensure the texture stays fluffy and the flavors stay bright. They reheat beautifully.
- Budget-Friendly — Buying breakfast sandwiches at a coffee shop costs $6 each. Making these at home costs about $1.50 per burrito. That’s a massive difference over a month.
- Healthy-ish Comfort Food — You control the ingredients. Less sodium, better quality meat, more veggies. It’s still comfort food, but you don’t feel sluggish after eating it.
This is my go-to when I need dinner to just work. No complicated techniques, no weird ingredients, just reliable, delicious food that makes everyone happy. And if you’re looking for other ways to use up your eggs or bread, checking out my breakfast sandwich with fried egg and crispy bacon is a great next step.
Ingredients You’ll Need for Batch Cooking
Here’s the best part: you probably have most of this already. Making freezer-friendly breakfast burritos doesn’t require fancy, hard-to-find ingredients. It relies on simple, pantry staples and fresh basics that you can grab on your way home from work.
For the Wraps
Flour Tortillas (12-inch, 12-16 count) — You need large, flexible tortillas. Smaller ones tear when you freeze and reheat. I recommend Mission or La Tortilla Factory. They hold up best. Avoid the thin, cheap ones; they crack.
Plastic Wrap & Aluminum Foil — This is crucial for the freezing process. You’ll need both to wrap each burrito tightly. Plastic wrap goes first to lock in moisture, foil goes on second for protection and reheating.
For the Filling Base
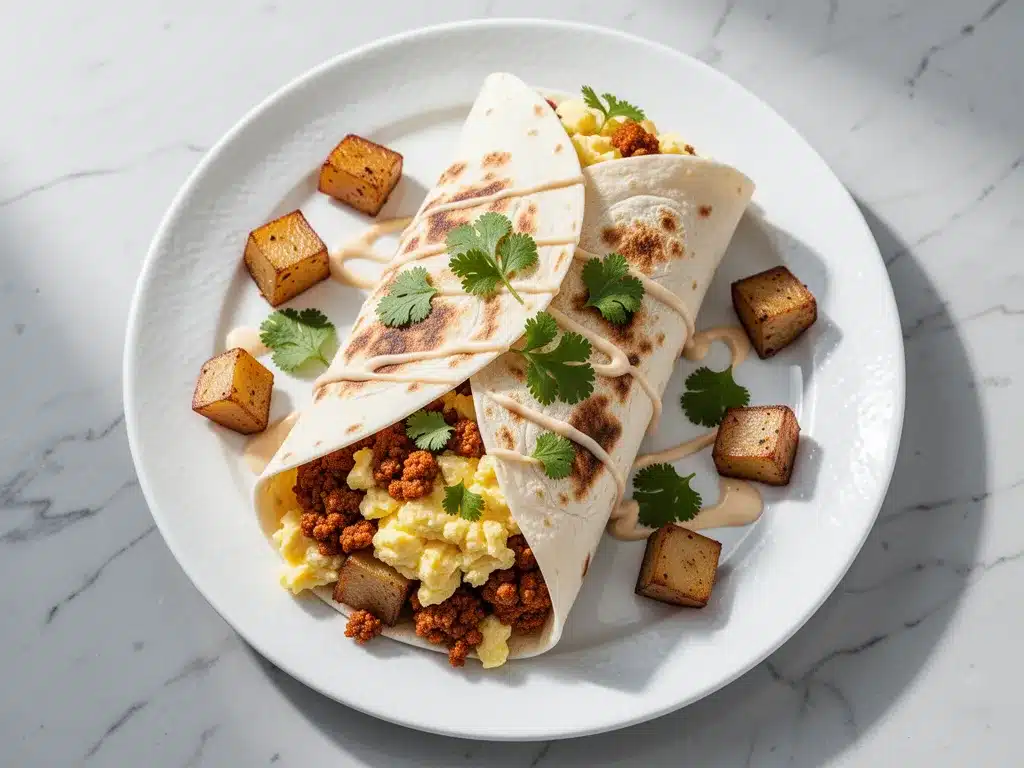
Eggs (12 large) — I use 12 eggs for a batch of 6-8 burritos. Scramble them gently. Don’t overcook them! They should still be slightly runny because they’ll cook again when you reheat. I whisk them with a pinch of salt and pepper before scrambling.
Cheese (2 cups shredded) — Sharp cheddar is my go-to for flavor. Pepper jack if you want heat. Colby jack for mildness. Shred it yourself. Pre-shredded cheese has anti-caking agents that make it clumpy and harder to melt evenly.
For the Flavor Boosters
Breakfast Meat (1 lb) — Crispy bacon, breakfast sausage links (crumbled), or diced ham. Bacon adds smokiness, sausage adds richness. I usually do a mix of both. If you’re vegetarian, skip this or use plant-based crumbles.
Vegetables (1 cup total) — Diced bell peppers, onions, or spinach. For veggies, you MUST sauté them first. Raw veggies release water in the freezer, making your burrito soggy. I sauté onions and peppers until soft, then let them cool completely.
Hot Sauce or Salsa (Optional) — A few dashes of hot sauce or a spoonful of salsa adds brightness. I like Cholula or a chunky tomato salsa. Just be careful with wet salsas; they can make the tortilla soggy if you use too much.
Optional Add-ins
Avocado — Fresh avocado is tricky for freezing because it browns. I recommend adding fresh avocado when you reheat, or using guacamole if you’re in a pinch. Some people freeze it, but the texture changes. It’s still tasty, just not as creamy.
Potatoes — Hash browns or diced roasted potatoes. If using raw potatoes, parboil them first. If using leftover roasted potatoes, let them cool completely before adding. Cold potatoes freeze and reheat better than warm ones.
Beans — Black beans or pinto beans add protein and fiber. Rinse and drain them well. Wet beans = soggy burrito. I add a handful to half my batch for a vegetarian option.
Equipment Needed
You don’t need fancy equipment for this. Here’s what I actually use.
Large Skillet or Non-Stick Pan — For cooking eggs and meat. I use a 12-inch skillet. It needs to be big enough to scramble all the eggs at once.
Large Mixing Bowl — For whisking eggs and holding ingredients.
Measuring Cups and Spoons — Standard stuff. Dollar store versions work fine.
Sharp Knife and Cutting Board — For chopping veggies and slicing meat.
Large Baking Sheet — To cool the cooked ingredients. You need space to spread everything out so it cools quickly. This is key to preventing steam and sogginess.
Plastic Wrap and Foil — As mentioned, you need these. I keep a roll of each in the freezer drawer so they’re always ready.
Freezer-Safe Bags — Optional, but nice for storing the wrapped burritos together. I use gallon-sized Ziploc bags to keep the foil-wrapped burritos organized in the freezer.
Grater — For cheese. Box grater works best. Or food processor if you’re grating lots of cheese.
Wooden Spoon or Silicone Spatula — For stirring eggs. Silicone is easier for scraping the pan clean.
Colander — For draining beans and rinsing veggies.
Small Bowl — For holding the hot sauce or salsa.
How to Make It: Step-by-Step
Alright, let’s make this! I’m walking you through exactly how I do it, including the little tricks I’ve picked up. This process takes about 90 minutes for a batch of 8-10 burritos, but most of that time is hands-off cooking.
Step 1: Prep Your Ingredients (10 minutes)
Before you start cooking, chop your veggies, measure your cheese, and set out your tortillas. I know it seems fussy, but it makes the actual cooking way less stressful. Have everything within arm’s reach. Once you start cooking, things move fast.
Step 2: Cook the Meat (10 minutes)
Heat a large skillet over medium-high heat. Add the breakfast meat (bacon or sausage). Cook until crispy and browned. If using sausage links, slice them into coins or crumble them. If using bacon, chop it into small pieces. Drain excess grease on a paper towel. Spread the meat on a baking sheet to cool completely. This step is critical. Warm meat will steam the tortilla and make it soggy.
Step 3: Sauté the Vegetables (5-8 minutes)
In the same skillet (no need to wash it), add a little oil if needed. Add the diced onions, peppers, or mushrooms. Sauté until soft and translucent. If using spinach, add it at the very end and let it wilt. Drain any liquid from the veggies. Spread them on a separate baking sheet to cool completely. Again, coolness is key.
Step 4: Scramble the Eggs (5 minutes)
Whisk 12 eggs with a pinch of salt and pepper. Heat the skillet over medium-low heat with a little butter or oil. Pour in the eggs. Let them sit for a few seconds, then gently push them around the pan. Cook until they are just barely set but still slightly runny. They will continue to cook when you reheat the burrito. Spread the eggs on a baking sheet to cool. Do not skip this cooling step!
Step 5: Assemble the Burritos (20 minutes)
Once all ingredients are cool, it’s time to assemble. Lay a tortilla flat on a clean surface. Spoon a layer of eggs in the center, leaving a 2-inch border at the bottom. Add a layer of cheese, then the meat, then the veggies. Add a dollop of salsa or hot sauce if using. Be careful not to overfill. If you overfill, the burrito will burst when you freeze and reheat.
Now, the folding technique matters. Fold the bottom corner up over the filling. Fold the left and right corners in. Roll tightly from the bottom up. The roll should be tight enough that it holds its shape but not so tight that the tortilla tears. I practice this once and get it right the second time.
Step 6: Wrap for Freezing (15 minutes)
This is the most important step for freezer-friendly breakfast burritos. Wrap each burrito tightly in plastic wrap. Press out as much air as possible. Then, wrap it tightly in aluminum foil. The foil protects the plastic from tearing and provides a barrier against freezer burn. Label each burrito with the date and filling type using a marker. This helps you rotate stock and know what you’re heating up.
Step 7: Freeze (30 minutes)
Place the wrapped burritos on a baking sheet in the freezer. Freeze for at least 30 minutes until solid. This “flash freezing” prevents them from sticking together. Once solid, you can transfer them to a large freezer bag for easier storage. They will keep in the freezer for up to 3 months.
Total Time: About 90 minutes (including cooling time)
Expert Tips & Tricks
Here’s everything I’ve learned from making this dozens of times. These tips will save you from my mistakes.
Cooling is Non-Negotiable
I cannot stress this enough. If you assemble warm ingredients, you will create steam. Steam makes tortillas soggy and prone to tearing. Let everything cool to room temperature before assembling. I usually cook everything in the morning, let it cool while I do chores, and assemble in the evening.
Don’t Overfill
It’s tempting to pack them full, but you need room for the tortilla to fold. If you overfill, the burrito will burst. Aim for about ½ cup of filling per burrito. It’s better to have a slightly lighter burrito than a messy one.
Use Sharp Cheese
Mild cheese can taste bland after freezing. Sharp cheddar or pepper jack holds its flavor better. Grate your own cheese. Pre-shredded cheese has cornstarch that prevents it from melting smoothly.
Drain Everything
Beans, veggies, meat—drain them well. Any excess moisture will turn into ice crystals in the freezer, which then melts into water when you reheat. This makes a watery burrito. Pat dry with paper towels if needed.
Flash Freeze First
Freeze the wrapped burritos on a sheet before bagging them. This keeps them separate and easy to grab one at a time. If you bag them while soft, they’ll stick together in a frozen clump.
Reheating Methods
Microwave: Remove foil and plastic wrap. Place burrito on a microwave-safe plate. Microwave on high for 2-3 minutes, rotating halfway through. Let it sit for 1 minute before eating (it’s very hot inside!).
Oven: Preheat oven to 350°F. Remove plastic wrap but keep foil. Place burrito on a baking sheet. Bake for 20-25 minutes. This gives a crispier exterior.
Air Fryer: Remove plastic wrap. Wrap in foil. Air fry at 350°F for 10-12 minutes. This is my favorite method for a crispy texture.
Variations & Substitutions
Once you’ve nailed the basic version, here’s how you can mix it up. I’ve tried all of these, and they all work great.
Classic Breakfast
Eggs, cheddar cheese, crispy bacon, and hash browns. Simple, classic, and always a hit. Add a little hot sauce for kick.
Mexican Style
Eggs, pepper jack cheese, black beans, salsa, and avocado. This is my personal favorite. The beans add fiber, and the salsa adds flavor.
Veggie Delight
Eggs, cheddar cheese, spinach, mushrooms, and bell peppers. Use olive oil to sauté the veggies. Add a little feta cheese for tang.
Southwest Chicken
Shredded rotisserie chicken, black beans, corn, cheddar cheese, and chipotle sauce. This is great for using up leftover chicken.
BBQ Bacon & Potato
Eggs, cheddar cheese, crispy bacon, diced potatoes, and a drizzle of BBQ sauce. This is indulgent and delicious.
Dietary Modifications
Gluten-Free: Use gluten-free tortillas. They can be more fragile, so handle gently. I’ve used Siete brand and they work well.
Dairy-Free: Skip the cheese or use a dairy-free cheese alternative. Use coconut oil or olive oil instead of butter. Nutritional yeast can add a cheesy flavor.
Low-Carb: Use low-carb tortillas or wrap the filling in a large lettuce leaf. The lettuce wrap is fresh and crunchy, but it doesn’t freeze well. Make these fresh when you’re ready to eat.
High-Protein: Add extra eggs, use turkey bacon, or add cottage cheese to the egg mixture for extra protein.
Serving & Storage
How to Serve
I usually reheat these in the microwave for a quick breakfast on the go. But here are other ways I’ve enjoyed them:
- With Fresh Salsa: Top the reheated burrito with fresh pico de gallo for a burst of freshness.
- With Guacamole: A dollop of guacamole adds creaminess and healthy fats.
- With Sour Cream: A spoonful of sour cream cools it down and adds richness.
- With Hot Sauce: Drizzle your favorite hot sauce over the top for spice.
Storage Instructions
Refrigerator: If you don’t freeze them, store assembled burritos in an airtight container for up to 3 days. Wrap in plastic wrap first.
Freezer: Store wrapped burritos in the freezer for up to 3 months. Keep them in a freezer-safe bag to save space. Label with the date.
Reheating: Microwave for 2-3 minutes or bake at 350°F for 20-25 minutes. Let it rest for 1 minute before eating.
Meal Prep: Make a batch every Sunday for the next two weeks. This saves time and ensures you always have a healthy breakfast option.
Nutrition Information
I’m not a nutritionist, but here’s the breakdown if you’re tracking. This is per burrito (based on 8 burritos, using classic breakfast filling).
| Nutrient | Amount per Serving |
|---|---|
| Calories | 350 |
| Protein | 18g |
| Carbs | 25g |
| Fiber | 2g |
| Sugar | 2g |
| Fat | 20g |
| Saturated Fat | 8g |
| Cholesterol | 220mg |
| Sodium | 600mg |
What’s Good: High protein from eggs and meat. Good source of calcium from cheese. Can be modified to be vegetarian or gluten-free.
What to Know: Higher in calories due to cheese and tortilla. Sodium can be high if using processed meats. Use low-sodium turkey bacon or ham to reduce sodium.
My Take: Look, this is a hearty breakfast. It’s not a diet food. But it’s way better than a gas station burrito, costs less, and you know exactly what’s in it. When I want to make it lighter, I use egg whites and less cheese. But usually? I just eat one and enjoy it.
Final Thoughts
So that’s my go-to freezer-friendly breakfast burritos strategy! I’ve probably talked your ear off at this point, but when you make a recipe this often, you have a lot to say about it.
This has saved weeknight mornings more times than I can count. It’s my answer to “what’s for breakfast” when I’m tired, don’t want to cook, and still want something that tastes really good. My kids are happy, my husband’s happy, and I’m happy because I’m not stressed about cooking.
Make it yours! Try different fillings, swap in your favorite vegetables, adjust the spice level. The best recipes are the ones you adapt to your family’s tastes. And if you’re looking for more easy breakfast ideas, my spinach and feta egg muffins are a great no-bread alternative.
If you make this, drop a comment and let me know what you think! I love hearing how recipes turn out in your kitchen. And if something doesn’t work, tell me that too—I’m here to help troubleshoot.
Happy cooking! And I hope your kitchen smells half as good as mine does right now.
Frequently Asked Questions
Can I freeze these burritos without plastic wrap?
You can, but I don’t recommend it. Plastic wrap locks in moisture and prevents freezer burn. Without it, the tortilla will dry out and crack. If you’re worried about plastic, you can use beeswax wraps, but they’re not as effective for freezing. Stick with plastic wrap and foil.
Why did my burrito burst in the microwave?
Usually, this means it was overfilled or not wrapped tightly enough. The steam builds up inside and bursts the tortilla. Next time, use less filling and wrap it tighter. Also, let it rest for 1 minute after microwaving to let the steam escape gently.
Can I use whole wheat tortillas?
Yes, but they can be more fragile. Whole wheat tortillas tend to crack when frozen and reheated. If you use them, handle them gently and don’t overfill. I’ve had success with Mission Whole Wheat, but they require a bit more care.
How do I reheat without a microwave?
Use an oven or air fryer. Preheat oven to 350°F. Remove plastic wrap but keep foil. Bake for 20-25 minutes. For air fryer, remove plastic wrap, wrap in foil, and air fry at 350°F for 10-12 minutes. This gives a crispier texture.
Can I make these ahead and refrigerate instead of freezing?
Yes, but they’ll only last 3 days in the fridge. Freezing is better for long-term storage. If you refrigerate, wrap them tightly in plastic wrap and foil to prevent drying out.
Can I add fresh avocado before freezing?
I don’t recommend it. Fresh avocado browns and changes texture when frozen. It’s best to add fresh avocado when you reheat the burrito. If you must freeze it, use guacamole, but the texture will still change.
What’s the best way to thaw these burritos?
You don’t need to thaw them! You can reheat them straight from the freezer. Just add a few extra minutes to the microwave or oven time. Thawing in the fridge overnight works too, but it’s not necessary.
Pin This Recipe!
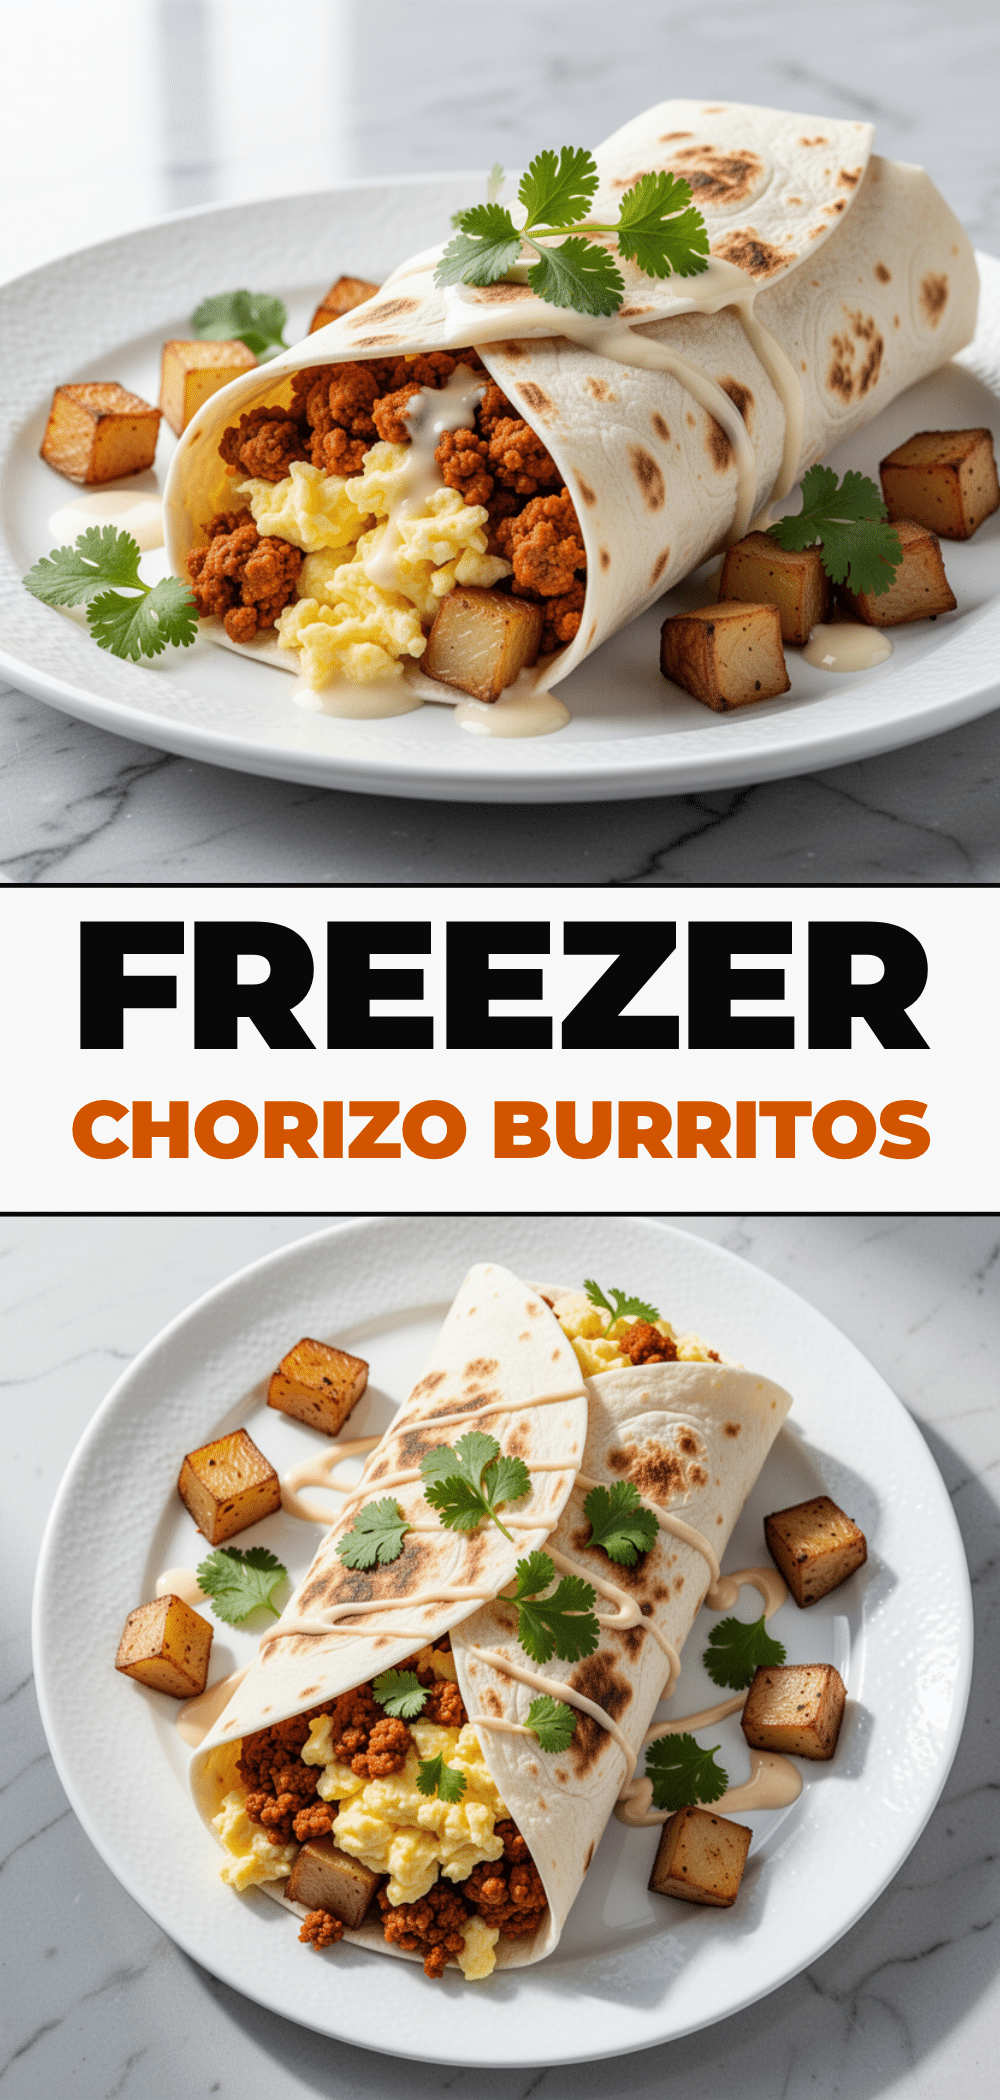
Freezer-Friendly Breakfast Burritos: 5 Easy Batch Cook Recipes
- Total Time: 90 minutes
- Yield: 8 servings 1x
Description
A comprehensive guide to making batch-cooked, freezer-friendly breakfast burritos that save time and money while providing a hot, delicious meal for busy mornings.
Ingredients
- 12 large eggs
- 12–16 count 12-inch flour tortillas
- 2 cups shredded sharp cheddar cheese
- 1 lb breakfast meat (bacon, sausage, or ham)
- 1 cup diced vegetables (bell peppers, onions, spinach)
- Plastic wrap and aluminum foil
- Salt and pepper
- Hot sauce or salsa (optional)
- Avocado (optional, add fresh upon reheating)
- Hash browns or diced roasted potatoes (optional)
- Black beans or pinto beans (optional)
Instructions
- Prep ingredients: Chop veggies, measure cheese, and set out tortillas.
- Cook meat: Heat skillet over medium-high, cook bacon or sausage until crispy, drain grease, and spread on a baking sheet to cool completely.
- Sauté vegetables: In the same skillet, sauté diced onions, peppers, or mushrooms until soft. Drain liquid and spread on a separate baking sheet to cool completely.
- Scramble eggs: Whisk eggs with salt and pepper. Cook in skillet over medium-low heat until barely set but still slightly runny. Spread on a baking sheet to cool completely.
- Assemble burritos: Lay tortilla flat. Add cooled eggs, cheese, meat, and veggies, leaving a 2-inch border. Fold bottom up, sides in, and roll tightly.
- Wrap for freezing: Wrap each burrito tightly in plastic wrap, then in aluminum foil. Label with date and filling type.
- Flash freeze: Place wrapped burritos on a baking sheet in the freezer for at least 30 minutes until solid.
- Store: Transfer solid burritos to freezer-safe bags. They keep for up to 3 months.
Notes
Ensure all ingredients are completely cool before assembling to prevent steam and soggy tortillas. Do not overfill the burritos to prevent bursting during freezing and reheating. Fresh avocado should be added after reheating as it does not freeze well.
- Prep Time: 10 minutes
- Cook Time: 20 minutes
- Category: Breakfast
- Cuisine: American
Nutrition
- Serving Size: 1 burrito
- Calories: 350
- Sugar: 2
- Sodium: 600
- Fat: 20
- Saturated Fat: 8
- Carbohydrates: 25
- Fiber: 2
- Protein: 18
Keywords: freezer breakfast burritos, meal prep, batch cooking, breakfast ideas, easy breakfast, freezer friendly, egg burritos


