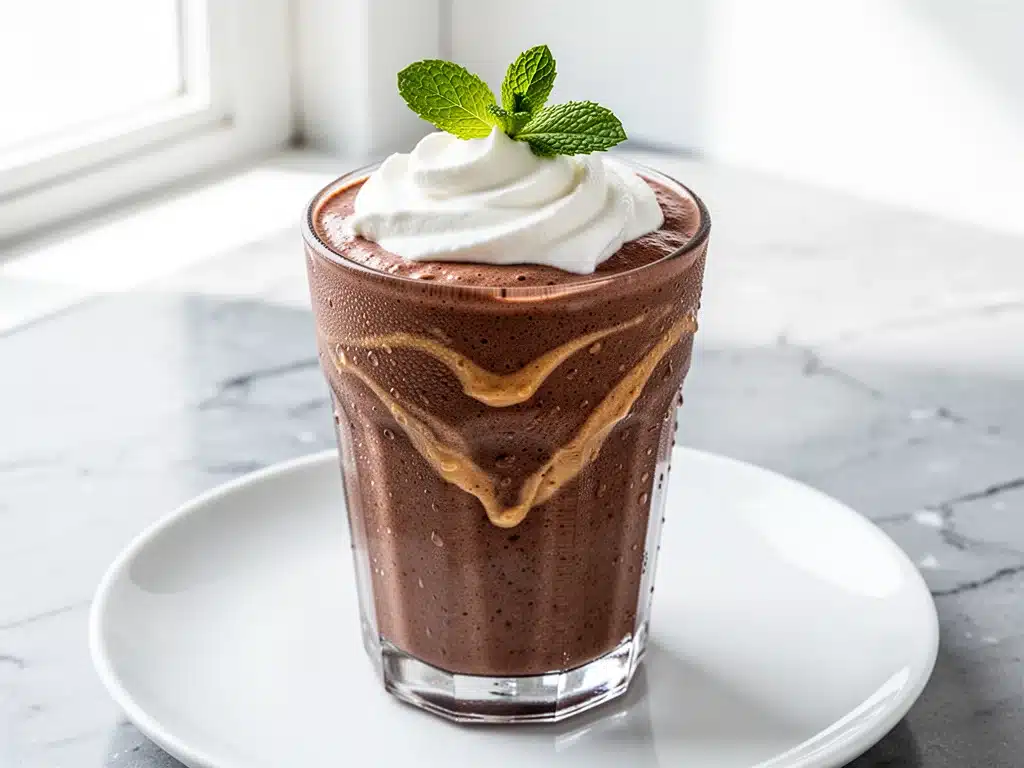
Let’s be real for a second. My morning routine is not exactly the picture of serene mindfulness you see on Pinterest. More often than not, it’s a chaotic scramble for coffee, a frantic search for a clean shirt, and a desperate attempt to find my keys before my brain is even fully online. And if I’m being honest? I usually skip breakfast. Or I grab something sugary that leaves me crashing by 10 AM. That’s exactly how I ended up at 11 AM, staring at my desk, feeling jittery from too much caffeine and starving from zero fuel.
Last month, I decided enough was enough. I didn’t want to eat a sad, dry oatmeal packet, and I definitely didn’t want to buy another overpriced protein shake from the gas station that tasted like chalk and regret. I wanted something that felt like dessert but actually worked like fuel. So, I threw together what I thought would be a weird experiment: chocolate protein powder, natural peanut butter, frozen bananas, and a splash of milk. I blended it up, half-expecting it to separate into an oily mess.
It didn’t. It turned into the thickest, creamiest, most decadent chocolate milkshake you’ve ever tasted. I took one sip and literally stopped breathing for a second because it was that good. But here’s the kicker: it had 35 grams of protein. I drank it, went to work, and didn’t hit the 2 PM slump. In fact, I was still full at lunch.
That was six weeks ago. I’ve made this high-protein chocolate peanut butter smoothie at least twenty times since. It’s become my non-negotiable morning ritual. It’s the only thing that gets me out of bed on days when I’d rather hit snooze for an extra hour. It’s thick, it’s rich, and it tastes like a treat, not a chore. If you’re tired of boring breakfasts or sugary energy crashes, this is the recipe you need. It’s simple, it’s cheap, and it’s going to change your mornings forever.
Why You’ll Love This High-Protein Chocolate Peanut Butter Smoothie
I know there are a million smoothie recipes out there. Pineapple ginger, green goddess, berry blast—I’ve tried them all. But this high-protein chocolate peanut butter smoothie is in a league of its own. It’s not just a drink; it’s a meal replacement that actually tastes like you’re cheating on your diet. Here’s why this specific combination has completely taken over my kitchen:
- Tastes Like a Milkshake, Acts Like Fuel — Seriously. The combination of cocoa powder and peanut butter creates a flavor profile that is incredibly rich and satisfying. You won’t taste the “health food” aspect at all. I’ve served this to my husband, who usually scoffs at “diet food,” and he asks for seconds. It’s that good.
- Keeps You Full for Hours — This isn’t a 150-calorie juice that leaves you hungry twenty minutes later. Between the protein powder, the healthy fats from the peanut butter, and the fiber from the banana, this smoothie keeps my stomach happy until lunch. I’ve gone four hours without snacking, which is a miracle for me.
- Stupid Simple Ingredients — You don’t need a PhD in nutrition to make this. You need protein powder, peanut butter, a banana, cocoa, and milk. That’s it. No weird superfoods you have to order from a specialty store. If you can blend, you can make this.
- Perfect for Meal Prep — I make the dry ingredients in jars on Sunday night. In the morning, I just dump the jar into the blender, add liquid, and go. It takes less than two minutes. I’m talking about faster than making a bowl of cereal.
- Customizable for Any Taste — Hate peanut butter? Use almond butter. Don’t like chocolate? Try vanilla. Want it extra thick? Add more ice. This recipe is a framework, not a rulebook. I’ve tweaked it a dozen times, and it always works.
- Budget-Friendly — Making this at home costs about $2.50. Buying a high-quality protein shake at the store runs you $6 or $7. Over a month, that’s a huge savings. Plus, you control the sugar content.
- Coffee: Swap half the milk for cold brew. Makes it a “mocha” smoothie. Perfect for mornings.
- Medjool Dates: If you like it sweeter, add one pitted date. Natural sweetness.
- Oats: ¼ cup rolled oats. Adds more fiber and makes it even more filling. I do this when I have a long day ahead.
- Reusable Straws — Thick ones that don’t collapse. You’ll want them because this smoothie is thick!
- Shaker Bottle — If you’re taking it to work, a leak-proof bottle is essential. I transfer it from the blender to the bottle.
- Smoothie too thick? Add milk one tablespoon at a time. Don’t dump it all in at once.
- Smoothie too thin? Add ice or freeze the banana longer. You can also add a few oats for thickness.
- Protein powder clumping? Make sure you add liquid first. Whisk the protein powder into the milk slightly before adding the rest.
- With a Side of Fruit — I sometimes add a small apple or orange on the side for extra vitamins.
- With Whole Grain Toast — If I’m really hungry, I have this with a slice of toast with butter.
- Post-Workout — This is my go-to after a gym session. The protein helps recovery, and the carbs refuel my muscles.
- Calories: 380
- Protein: 35g
- Carbs: 45g
- Fiber: 6g
- Sugar: 18g (mostly from banana)
- Fat: 12g
- High protein for muscle recovery and satiety
- Healthy fats from peanut butter
- Fiber from banana and optional oats
- Higher in calories than a juice, but much more filling
- Contains dairy (if using whey/milk) or nuts
- Can adjust sugar by changing protein powder or banana amount
This smoothie has saved me from making bad food choices when I’m rushing out the door. It’s my answer to “what’s for breakfast” when I have zero energy. No complicated techniques, no weird ingredients, just reliable, delicious fuel that makes my day better.
Ingredients You’ll Need for the Best Chocolate Peanut Butter Smoothie
Here’s the best part: you probably have most of this already in your pantry and freezer. I’m not asking you to buy expensive superfoods. This high-protein chocolate peanut butter smoothie relies on basics that are easy to find and affordable. I’m particular about a few things here, and I’ll tell you exactly why they matter.
For the Base:
Frozen Bananas (1 large, peeled and sliced / about 150g) — This is the secret weapon. Fresh bananas make it watery. Frozen bananas make it thick and creamy, like soft-serve ice cream. I slice a bunch of bananas when they’re ripe, freeze them in a bag, and keep them in the freezer specifically for this. If you don’t have frozen ones, use fresh and add a cup of ice, but the texture won’t be as lush.
Protein Powder (1 scoop / 30g) — I use chocolate whey or casein. Whey mixes faster, but casein makes it thicker. You can use plant-based protein too (like pea or soy), but it might change the texture slightly. I always use peanut butter chocolate chip cookie cups as a reference for flavor pairings, and this smoothie hits that same sweet spot. Avoid powders with massive sugar lists.
Milk (1 cup / 240ml) — I use unsweetened almond milk for a lighter option, but oat milk makes it creamier. Whole dairy milk works too if you’re not avoiding dairy. Just don’t use skim milk if you want that rich mouthfeel. The liquid helps the blades spin, so adjust if you want it thicker or thinner.
For the Flavor & Fat:
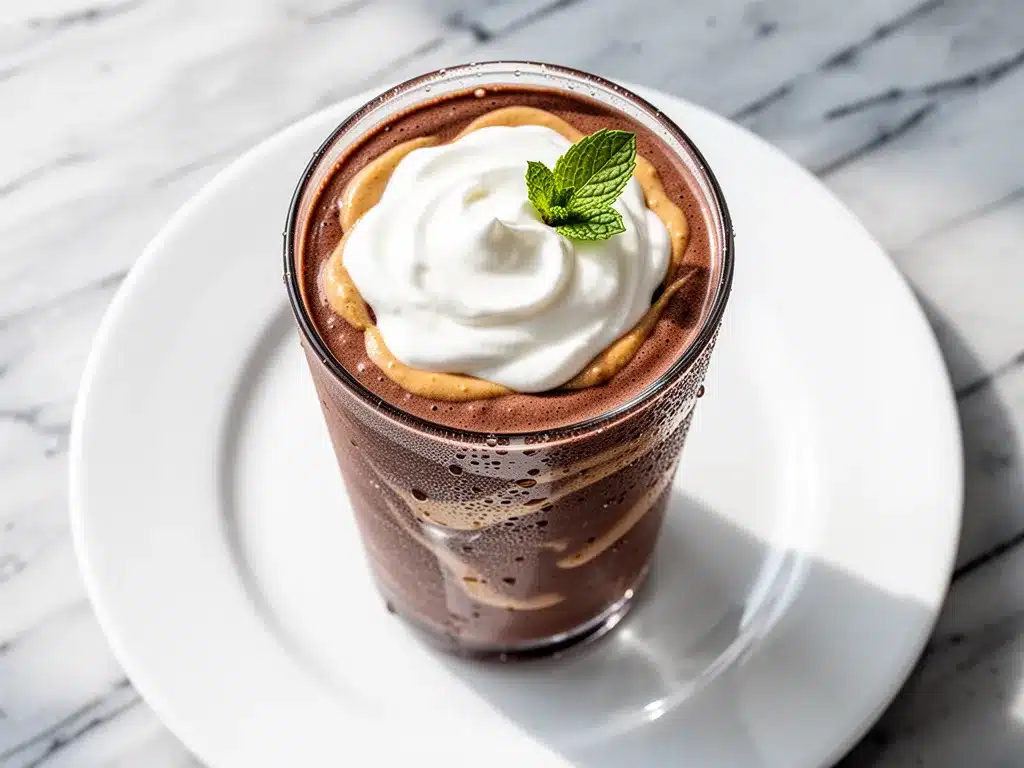
Natural Peanut Butter (2 tablespoons / 32g) — I use creamy natural peanut butter because it blends smoothly. Crunchy can work, but you’ll get little chunks. The key is to use one without added sugar or hydrogenated oils. The oils separating in the jar are normal—just stir it in before scooping. This adds the protein and healthy fats that keep you full.
Unsweetened Cocoa Powder (1 tablespoon / 5g) — This gives it that deep chocolate flavor without the sugar. Make sure it’s unsweetened. If you use sweetened cocoa mix (like Hot Chocolate mix), you’ll need to reduce any other sweeteners. I keep a large tin of Hershey’s Special Dark cocoa in my pantry; it’s cheap and tastes great.
Vanilla Extract (½ teaspoon) — It sounds small, but it rounds out the chocolate flavor. Don’t skip it. It makes the smoothie taste more like a dessert.
For the Boost (Optional but Recommended):
Spinach (1 handful / 30g) — I know, I know. You’re thinking, “I don’t want green smoothie.” Trust me. When you blend spinach with chocolate and peanut butter, you taste absolutely nothing. It just adds nutrients and a little bit of thickness. I do this so I don’t feel guilty about skipping a real salad later.
Chia Seeds (1 teaspoon) — Adds omega-3s and a bit of fiber. They swell up a little, which helps with fullness. If you don’t have them, skip them. No big deal.
Ice (½ cup) — Only needed if your banana isn’t frozen. If you use frozen bananas, you might not need ice at all. I like a little ice to make it extra cold and frosty.
Optional Add-ins:
Equipment Needed
You don’t need fancy equipment for this. Here’s what I actually use.
High-Speed Blender — I use a Vitamix, but you don’t need to spend $500. A standard Ninja or even a hand blender works. The key is that it’s powerful enough to crush frozen fruit. If your blender struggles, let the frozen banana thaw for 5 minutes first. I’m obsessed with my blender from Costco—it’s like $100 and makes life easier.
Measuring Spoons — Pretty standard stuff. Dollar store versions work fine.
Freezer Bags — For prepping the banana slices ahead of time. Ziplock bags are perfect.
Optional but nice:
How to Make It: Step-by-Step
Alright, let’s make this! I’m walking you through exactly how I do it, including the little tricks I’ve picked up. It takes about 5 minutes, but only 2 of those are active.
Step 1: Prep Your Frozen Bananas
If you haven’t already, peel your bananas and slice them into coins. Place them in a freezer bag and freeze for at least 4 hours, preferably overnight. This is crucial for the texture. If you skip this, your smoothie will be thin and watery. I usually keep a bag ready in the back of the freezer.
Step 2: Add Ingredients to Blender
Start with your liquid (milk or coffee) in the blender first. This helps the blades spin freely. Then add your protein powder, cocoa powder, peanut butter, and vanilla. If you’re using spinach or chia seeds, add them now. Finally, add the frozen banana chunks and ice on top. The order doesn’t strictly matter for a good blender, but starting with liquid prevents sticking.
Step 3: Blend Until Smooth
Start on low speed to break up the frozen fruit, then gradually increase to high. Blend for 45-60 seconds. You want it completely smooth with no chunks of frozen banana. If it’s too thick and the blender is struggling, add a splash more milk. If it’s too thin, add a few more ice cubes or another half banana. The goal is a thick, creamy consistency that coats the spoon.
Step 4: Taste and Adjust
Pause the blender and taste it. Does it need more sweetness? Add a date or a teaspoon of honey. Does it need more chocolate? Add a bit more cocoa. Adjust to your liking. This is where you make it yours.
Step 5: Serve Immediately
Pour it into a tall glass or a shaker bottle. It’s best enjoyed right away because it can separate if you let it sit too long. If it does separate, just give it a stir. Top with a sprinkle of cocoa powder or a drizzle of peanut butter if you’re feeling fancy.
Total Time: About 5 minutes (2 minutes active, 3 minutes blending)
Built-in Troubleshooting:
Expert Tips & Tricks
Here’s everything I’ve learned from making this dozens of times. These tips will save you from my mistakes.
Freeze Your Bananas Properly
This is the #1 tip. Ripe bananas turn brown and mushy when they thaw. If you freeze them in a single layer on a baking sheet first, they won’t stick together in a giant clump. You can just grab a handful later. I learned this the hard way with a bag of frozen banana soup.
Don’t Skimp on Protein
If you want this to keep you full, use a high-quality protein powder with at least 20g of protein per scoop. Cheap powders often have fillers and taste chalky. I’ve tried many, and high-protein chicken and broccoli meal prep bowl recipes show that quality ingredients make a difference even in savory dishes, and the same applies here. Look for powders with minimal ingredients.
Natural Peanut Butter Matters
Use natural peanut butter where the only ingredient is peanuts (and maybe salt). The separated oil is good—it adds richness. If you use processed peanut butter with hydrogenated oils, it can taste waxy and less flavorful. Stir the jar well before scooping.
Room Temperature Liquid
If your milk is ice cold, it can make the smoothie too hard to blend. Let it sit out for 10 minutes. Or, use slightly warm milk to help the peanut butter melt faster. I usually just take mine out of the fridge 15 minutes before cooking.
Common Mistakes (and how to avoid them):
Mistake: Sauce is too watery — Fix: Let it simmer longer, or add more cheese. Also, make sure you’re not adding too much pasta water at the end. (Wait, wrong recipe! In smoothies, this means you didn’t use enough frozen fruit. Add more banana or ice.)
Mistake: Protein powder tastes chalky — Fix: Blend longer. Chalkiness is often just unblended powder. Also, using a liquid like oat milk or coconut water can mask the texture better than water.
Mistake: Smoothie is too sweet — Fix: Reduce the amount of peanut butter or skip added sweeteners. Natural peanut butter and unsweetened cocoa should be enough.
Variations & Substitutions
Once you’ve nailed the basic version, here’s how you can mix it up. I’ve tried all of these.
Mocha Version
Swap half the milk for cold brew coffee. Add a teaspoon of instant espresso powder if you want an extra kick. This is my favorite version on weekdays when I need extra energy. It tastes like a liquid Frappuccino but with actual protein.
Almond Butter Swap
Use almond butter instead of peanut butter. It’s slightly more expensive but has a milder, nuttier flavor. Great if you have nut allergies to peanuts but not tree nuts.
Plant-Based Version
Use plant-based protein powder (pea, soy, or rice blend) and almond or oat milk. This is completely vegan. I’ve used Vega protein powder and it works great. Just make sure to blend it well, as plant proteins can be thicker.
Berry Chocolate Twist
Add ½ cup of frozen mixed berries. It adds a nice tartness that cuts through the richness of the peanut butter. It also turns the smoothie a lovely brownish-purple color. My kids love this version because it tastes like a berry shake.
Oatmeal Cookie Smoothie
Add ¼ cup of rolled oats and a dash of cinnamon. It tastes like a warm oatmeal cookie in liquid form. Very filling and great for colder mornings.
Dietary Modifications:
Gluten-Free — Most protein powders are naturally gluten-free, but check the label. Use oats that are certified gluten-free. Everything else is naturally gluten-free.
Dairy-Free — Use plant-based protein powder and almond/oat/soy milk. The rest of the ingredients are dairy-free.
Lower-Carb — Skip the banana and use half an avocado for creaminess. Use unsweetened almond milk and add stevia or monk fruit if you need sweetness. It’s not as sweet, but it’s lower in carbs.
Serving & Storage
How to Serve:
I usually drink this straight from the blender cup or a tall glass. It’s thick enough to eat with a spoon if you want. Here are other ways I’ve enjoyed it:
Pairing Ideas:
Storage Instructions:
Refrigerator: Smoothies are best fresh. If you must store it, keep it in a sealed jar for up to 24 hours. It will separate and turn brownish (oxidation), but it’s still safe to drink. Just shake or stir it well before drinking.
Freezing: You can freeze this smoothie! Pour it into ice cube trays or a freezer-safe bag. Thaw in the fridge overnight and blend again. The texture might be slightly grainier, but it’s convenient for busy mornings.
Meal Prep: I make “smoothie packs” in freezer bags. Put the dry ingredients (protein, cocoa, chia, oats) and the frozen banana in a bag. In the morning, dump it in the blender, add liquid, and blend. It takes 2 minutes and feels like magic.
Nutrition Information
I’m not a nutritionist, but here’s the breakdown if you’re tracking. This is based on my standard recipe with whey protein and almond milk.
Per Serving (1 large smoothie):
What’s Good:
What to Know:
My Take: Look, this is a calorie-dense meal. It’s not a diet drink. But it’s way better than a donut or a sugary cereal. I know exactly what’s in it, and it keeps me energized. When I want to make it lighter, I use less peanut butter and more spinach. But usually? I just enjoy it as a proper breakfast.
Final Thoughts
So that’s my go-to high-protein chocolate peanut butter smoothie! I’ve probably talked your ear off at this point, but when you make a recipe this often, you have a lot to say about it. This has saved me from making bad food choices when I’m rushing out the door. It’s my answer to “what’s for breakfast” when I have zero energy. No complicated techniques, no weird ingredients, just reliable, delicious fuel that makes my day better.
Make it yours! Try different add-ins, swap in your favorite nut butter, adjust the sweetness to your liking. The best recipes are the ones you adapt to your family’s tastes. If you make this, drop a comment and let me know what you think! I love hearing how recipes turn out in your kitchen. And if something doesn’t work, tell me that too—I’m here to help troubleshoot.
Happy blending! And I hope your kitchen smells half as good as mine does right now.
Frequently Asked Questions
Can I use fresh bananas instead of frozen?
You can, but the smoothie will be thinner and less creamy. If you use fresh bananas, you’ll need to add a cup of ice. For the best texture, frozen bananas are essential. They act like ice cream in the blender. I’ve tried fresh many times, and it just doesn’t compare.
My smoothie came out watery—what happened?
Usually means you didn’t use enough frozen fruit or added too much liquid. Let the banana freeze longer, or add less milk. Start with ¾ cup of milk and add more only if needed. The smoothie should be thick enough to eat with a spoon.
Can I make this ahead for work?
Yes! I make smoothie packs in the freezer. Put all the dry ingredients and frozen banana in a bag. In the morning, dump it in the blender, add liquid, and blend. It takes 2 minutes. If you blend it ahead, store it in a sealed jar in the fridge for up to 24 hours. Shake well before drinking.
Why did my smoothie taste chalky?
The protein powder wasn’t fully blended. Blend it longer, or add the liquid first to help the powder dissolve. Also, some protein powders are chalkier than others. Try a different brand or use a high-speed blender.
Can I use plant-based protein powder?
Absolutely. Just make sure it’s chocolate flavored. Plant proteins can be thicker, so you might need a bit more liquid. I’ve used Vega and Orgain powders, and they work great. Just blend well.
How do I reheat leftovers without it getting dry?
Smoothies aren’t really meant to be reheated. They’re best cold. If you must, warm it gently on the stove, but it might separate. It’s better to make a fresh one. If you’re meal prepping, stick to the freezer packs.
Can I double this recipe?
Yes! Just double all ingredients and use a larger blender. The cooking times stay the same. I do this when I’m making smoothies for my family. Just make sure your blender is big enough for the volume.
Pin This Recipe!
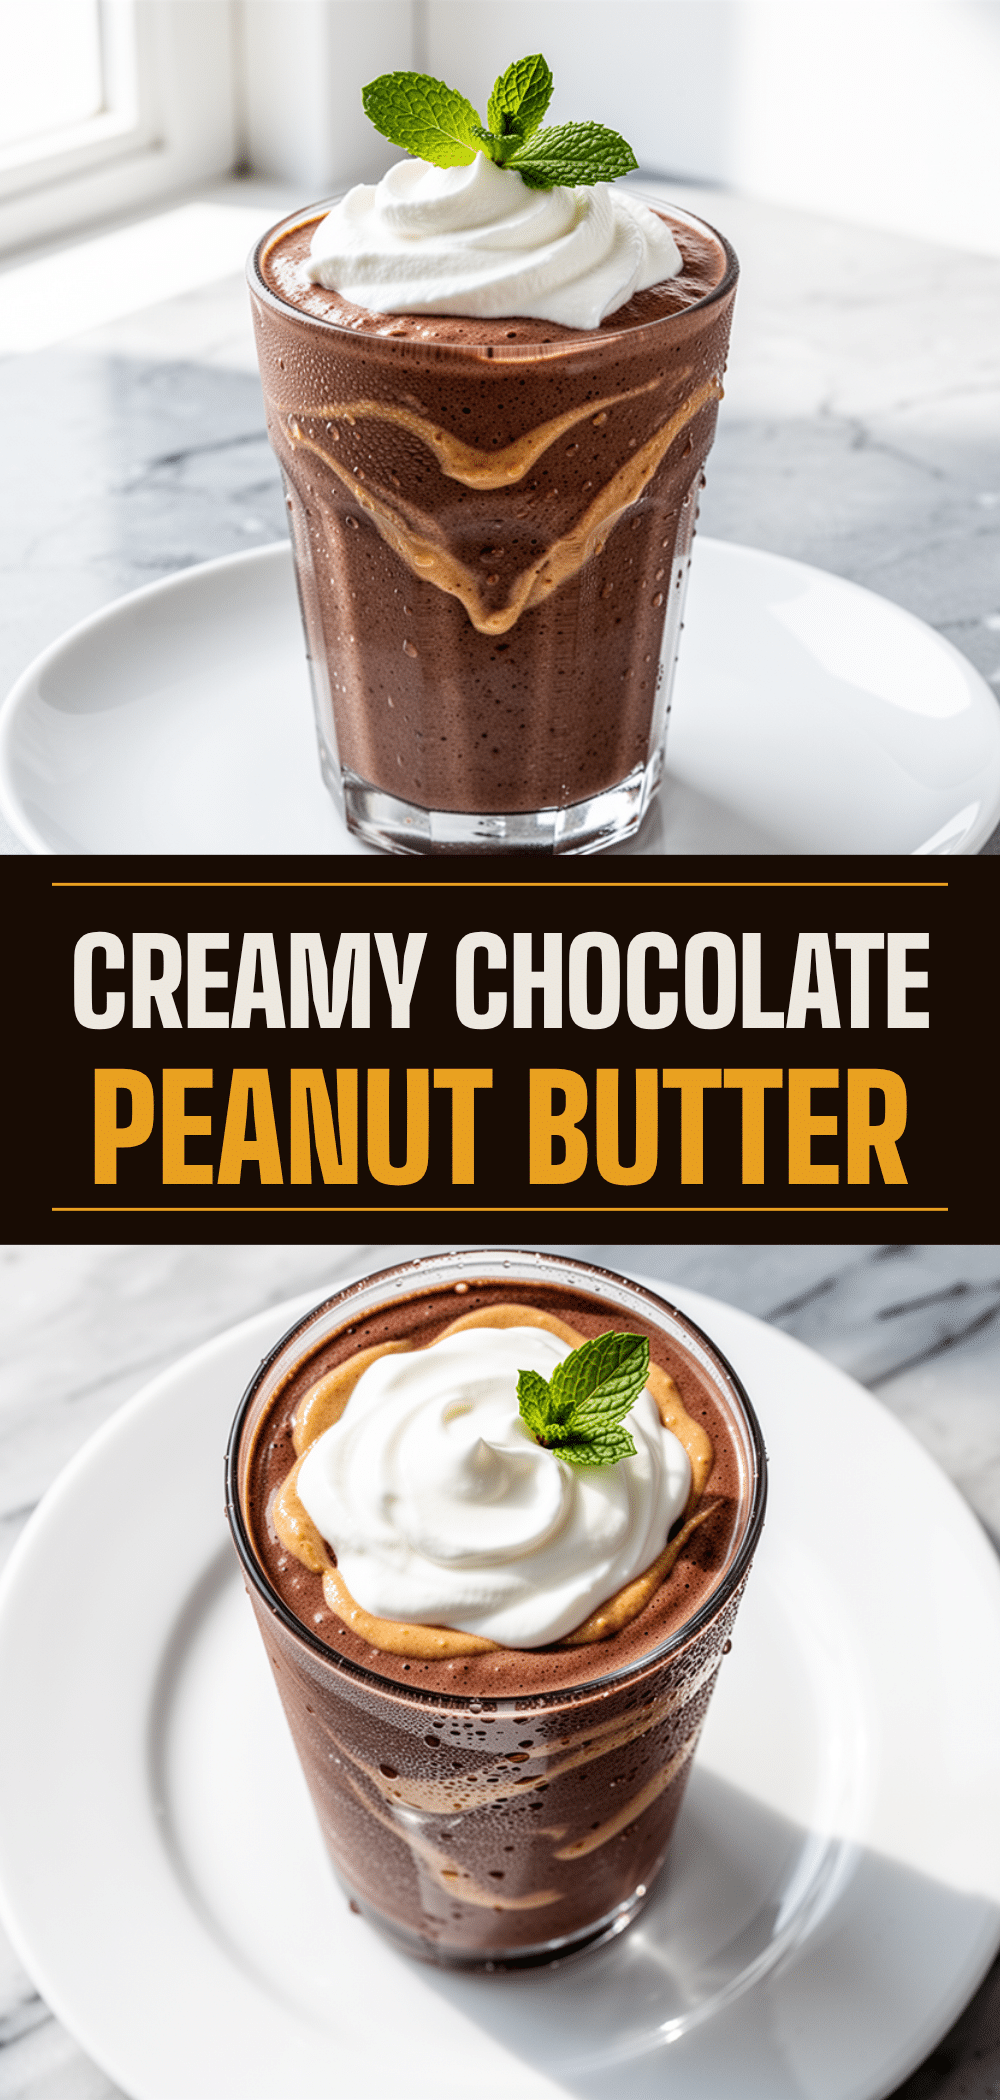
High-Protein Chocolate Peanut Butter Smoothie
- Total Time: 5 minutes
- Yield: 1 serving 1x
Description
A thick, creamy, and decadent smoothie that tastes like a chocolate milkshake but provides 35 grams of protein to keep you full and energized until lunch.
Ingredients
- 1 large frozen banana (peeled, sliced, approx. 150g)
- 1 scoop chocolate protein powder (30g)
- 1 cup milk (unsweetened almond, oat, or dairy)
- 2 tablespoons natural creamy peanut butter (32g)
- 1 tablespoon unsweetened cocoa powder (5g)
- 1/2 teaspoon vanilla extract
- 1 handful spinach (30g, optional)
- 1 teaspoon chia seeds (optional)
- 1/2 cup ice (if bananas are not frozen)
Instructions
- If using fresh bananas, peel and slice them, then freeze for at least 4 hours or overnight.
- Add the liquid (milk or coffee) to the blender first to help the blades spin freely.
- Add the protein powder, cocoa powder, peanut butter, vanilla, spinach, and chia seeds.
- Top with the frozen banana chunks and ice.
- Blend on low speed to break up the fruit, then gradually increase to high speed.
- Blend for 45-60 seconds until completely smooth and creamy.
- Taste and adjust sweetness or thickness by adding more milk, ice, or sweetener if desired.
- Pour into a glass or shaker bottle and serve immediately.
Notes
For best texture, use frozen bananas. If your blender struggles, let the frozen banana thaw for 5 minutes or add more liquid. Natural peanut butter should be stirred before scooping. This recipe is customizable: swap peanut butter for almond butter, or add coffee for a mocha version.
- Prep Time: 2 minutes
- Cook Time: 3 minutes
- Category: Breakfast
- Cuisine: American
Nutrition
- Serving Size: 1 large smoothie
- Calories: 380
- Sugar: 18
- Sodium: 150
- Fat: 12
- Saturated Fat: 3
- Carbohydrates: 45
- Fiber: 6
- Protein: 35
Keywords: high protein smoothie, chocolate peanut butter smoothie, meal replacement, healthy breakfast, post-workout shake, gluten-free, dairy-free option


