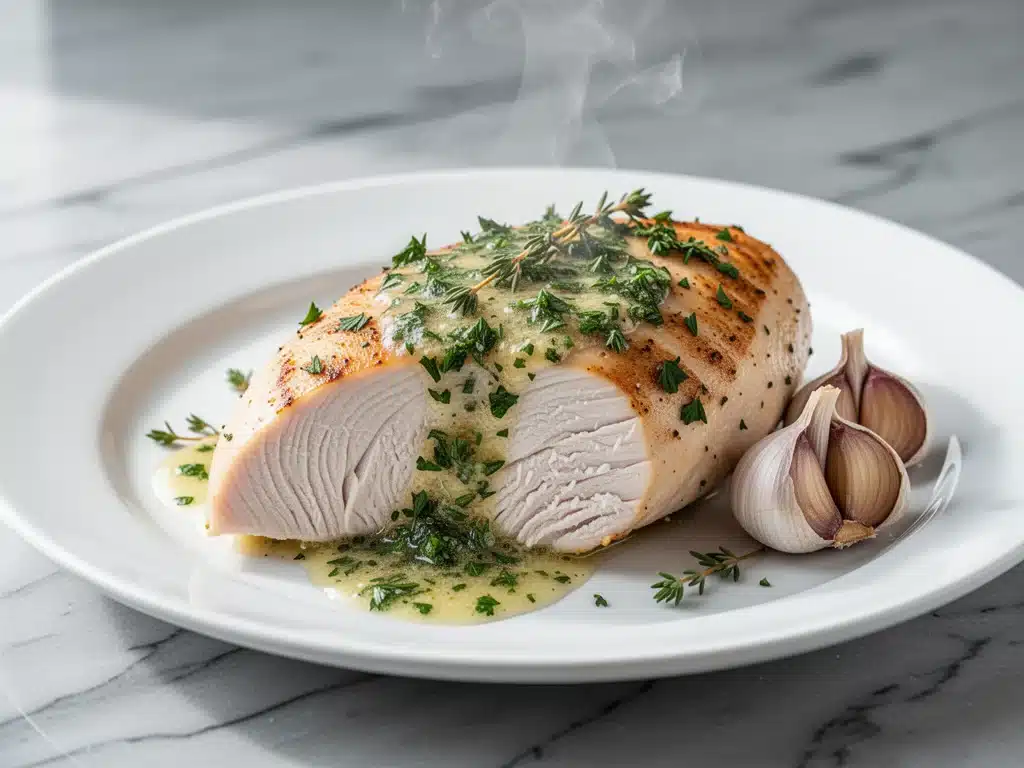
It was a Tuesday night in late October, the kind where the wind is howling outside and the house feels cold no matter how high I crank the thermostat. I was exhausted. My brain was fried from work, and my patience was thinner than the slice of pizza I’d eaten for lunch. I needed dinner. Fast. Healthy-ish. Something that didn’t require a PhD in chemistry or a trip to the grocery store.
I opened the freezer and pulled out two chicken breasts. Simple. Easy, right? Just throw them in the oven with some salt and pepper, wait 20 minutes, and call it a night. I’ve made never-dry oven-baked chicken breast a hundred times, or so I thought. But that night, I made the classic mistake: I threw them in at 400°F and forgot to check them until the timer went off.
I pulled the pan out, feeling proud of my efficiency. I cut into the thickest part. It wasn’t just dry. It was sandpaper. It was a culinary crime scene. My kids looked at me with that specific blend of pity and judgment only children can muster. I ate it anyway. It tasted like regret and overcooked poultry.
That night, I made a promise to myself: I would figure out the perfect method. Not the complicated sous-vide method (I don’t have the equipment), not the brine method that requires planning 24 hours ahead (I don’t have the time). I wanted a method that used simple ingredients, took 5 minutes of prep, and actually worked. After five failed attempts and three different thermometers bought in desperation, I cracked the code. This method yields juicy, tender, flavorful chicken every single time. It’s the only way I bake chicken now. And honestly? It’s changed how I cook weeknight dinners.
Why You’ll Love This Recipe
There are a million chicken recipes out there. But this never-dry oven-baked chicken breast is different. It’s not just “good for chicken breasts.” It’s genuinely delicious. Here’s why this has earned a permanent spot in my weekly rotation:
It’s Actually Juicy — I’m not talking about “moist for baked chicken” juicy. I mean, slice it open and the juices run clear and rich. The low-and-slow-ish method keeps the proteins from tightening up and squeezing out all the goodness.
Five Ingredients Max — Seriously. Olive oil, salt, pepper, garlic powder, and paprika. That’s it. You probably have all of these in your pantry right now. I don’t need to run to the store. I don’t need to buy fancy spices I’ll use once. This is pantry-friendly perfection.
Zero Active Effort — You rub the chicken, put it in the oven, and walk away. While it bakes, I’m usually helping the kids with homework or prepping a side dish like our high-protein chicken and broccoli meal prep bowl. It’s hands-off cooking at its finest.
Perfectly Consistent — I’ve made this for my picky eater husband, my teenage daughter who claims she’s “too cool” for dinner, and my parents who have very specific opinions on poultry. Everyone loves it. It’s a crowd-pleaser that never fails.
Meal Prep Hero — Because the method is so reliable, I make extra every time. It stores beautifully in the fridge for up to 4 days and reheats without turning into rubber. It’s the backbone of my Sunday meal prep.
This recipe is my answer to “what’s for dinner?” when I have zero energy but still want to feed my family something healthy and satisfying. It’s reliable, it’s tasty, and it’s foolproof.
Ingredients You’ll Need
Here’s the best part: you don’t need anything special. This never-dry oven-baked chicken breast relies on simple, accessible ingredients. The magic isn’t in what you add—it’s in how you cook it.
The Chicken
Chicken breasts (2 large or 4 small, about 1.5 lbs / 680g total) — I prefer boneless, skinless breasts because they cook evenly and quickly. If you can find them, look for breasts that are roughly the same thickness. If one is huge and another is tiny, pound the big one down a bit. Uniformity is key for even cooking.
The Seasoning Blend
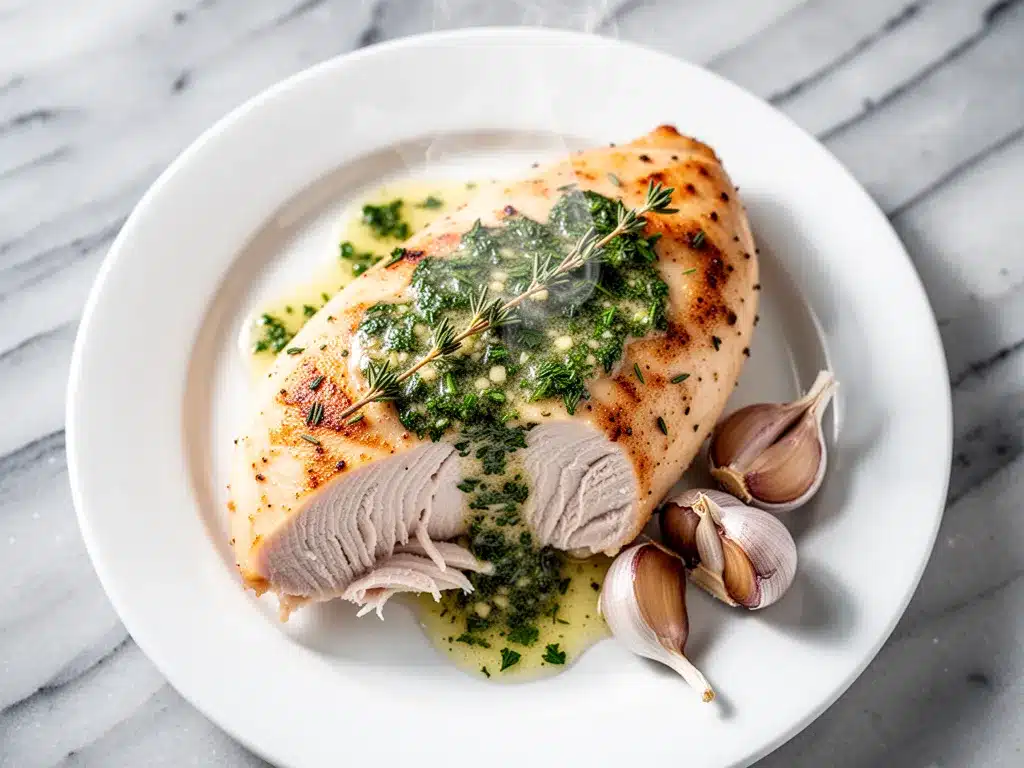
Olive oil (2 tablespoons / 30ml) — Use extra virgin if you have good quality, but regular olive oil works fine too. This helps conduct heat and keeps the surface moist.
Garlic powder (1 teaspoon / 5g) — Not fresh garlic! Fresh garlic burns at high temps and turns bitter. Powder gives you that savory garlic flavor without the risk. I use it generously.
Smoked paprika (1 teaspoon / 2g) — This adds a subtle smokiness that makes the chicken taste roasted, even though it’s just baking. It also gives it a beautiful golden-red color. If you don’t have smoked paprika, regular paprika works, but you lose that depth.
Dried thyme (½ teaspoon / 1g) — Thyme pairs perfectly with chicken. It’s earthy and aromatic. If you don’t have thyme, dried rosemary or Italian seasoning works as a substitute.
Salt (1 teaspoon / 5g, or to taste) — Kosher salt is best because it’s easier to control. I use about a teaspoon for two large breasts. Don’t skip this—salt is what makes the flavor pop.
Black pepper (½ teaspoon / 1g) — Freshly cracked is nice, but pre-ground is fine. It adds a little heat and complexity.
Optional Add-ins
Lemon juice (1 tablespoon / 15ml) — A squeeze of lemon after baking brightens everything up. I like to do this if I’m serving it with a salad.
Butter (1 tablespoon / 14g) — I sometimes add a small pat of butter on top before baking. It adds richness and helps the seasoning stick. It’s not necessary, but it’s a nice touch.
Equipment Needed
You don’t need fancy gadgets for this. Here’s what I actually use:
Baking sheet or rimmed skillet — I use a half-sheet pan. It’s large enough to hold the chicken without crowding. Crowding is the enemy of good texture. If you have a cast-iron skillet, that works too and gives a nice crust.
Parchment paper — I line my pan with parchment. It makes cleanup a breeze. Just lift the chicken out and toss the paper. No scrubbing required.
Meat thermometer — This is non-negotiable. I cannot stress this enough. A cheap instant-read thermometer ($10 at any hardware store) is the only way to guarantee never-dry oven-baked chicken breast results. Guessing leads to overcooked chicken.
Small bowl — For mixing your seasoning blend. Or you can just sprinkle everything on directly, but mixing it first ensures even distribution.
Sharp knife — For trimming any excess fat or tendon from the chicken. It’s a quick step but makes a difference in texture.
How to Make It: Step-by-Step
Alright, let’s make this! I’m walking you through exactly how I do it, including the little tricks I’ve picked up over years of trial and error.
Step 1: Prep the Chicken (5 minutes)
Take your chicken breasts out of the fridge. Let them sit on the counter for 10-15 minutes while you preheat the oven. This takes the chill off, which helps the chicken cook more evenly. If you throw cold chicken into a hot oven, the outside cooks too fast before the inside is done.
Pat the chicken dry with paper towels. This sounds basic, but drying the surface helps the seasoning stick and promotes better browning. Trim any visible white tendons or excess fat with your knife.
Step 2: Mix the Seasoning
In a small bowl, combine the olive oil, garlic powder, smoked paprika, dried thyme, salt, and black pepper. Stir it into a paste. This paste will coat the chicken and create a flavorful crust.
Step 3: Coat the Chicken
Place the chicken breasts on your prepared baking sheet. Rub the seasoning paste all over the chicken, making sure to cover every surface. Use your hands to massage it in. You want a thin, even layer. Don’t skimp on the seasoning—it’s the main flavor source.
If your breasts are unevenly thick, here’s a pro tip: place a second piece of parchment paper on top and gently pound the thicker end with a rolling pin or heavy pan until it’s about the same thickness as the thinner end. This ensures they cook at the same rate.
Step 4: The Bake
Preheat your oven to 375°F (190°C). I’ve tested 400°F, 425°F, and even 350°F. 375°F is the sweet spot. It’s hot enough to brown the outside but gentle enough to cook the inside without drying it out.
Place the chicken in the center of the oven. Bake for 20-25 minutes. Do not open the oven door during the first 15 minutes. Every time you open the door, you lose heat and disrupt the cooking process. Trust the process.
Step 5: Check the Temperature
After 20 minutes, check the internal temperature with your meat thermometer. Insert it into the thickest part of the breast. You want to pull it out at 160°F (71°C). Yes, 160°F, not 165°F. The carryover cooking will raise the temperature 5 degrees while it rests, bringing it to the safe 165°F mark. Pulling it at 165°F guarantees dry chicken.
If the chicken isn’t at 160°F yet, put it back in for 2-3 minutes and check again. Don’t guess. Use the thermometer.
Step 6: Rest the Chicken
This is the most important step. Remove the chicken from the oven and let it rest on the pan for 5-10 minutes. Do not skip this! Resting allows the juices to redistribute throughout the meat. If you cut into it immediately, all those juices run out onto the cutting board, leaving you with dry chicken.
Cover it loosely with foil if you want to keep it warm, but it doesn’t need to be sealed tight. Just let it sit. While it rests, you can prep your sides.
Step 7: Slice and Serve
After 5-10 minutes, slice the chicken against the grain. This cuts through the muscle fibers and makes each bite tender. Serve immediately.
Total time: About 35 minutes (5 minutes prep, 25 minutes bake, 5 minutes rest).
Expert Tips & Tricks
Here’s everything I’ve learned from making this dozens of times. These tips will save you from my mistakes.
The Thermometer is Your Best Friend
I know, I know. It feels like overkill. But it’s the only way to get consistent results. I used to guess for years and ended up with rubbery chicken half the time. Now? Perfect chicken, every time. Buy a cheap instant-read thermometer. It pays for itself in saved meals.
Don’t Crowd the Pan
If you’re baking four breasts, make sure they have space between them. If they’re touching, they’ll steam instead of bake. You want good air circulation. If you have a small oven, bake in two batches.
Room Temperature Matters
I mentioned this earlier, but it’s worth repeating. Cold chicken hits the oven and the temperature drops. Letting it sit out for 10-15 minutes takes the edge off and helps it cook evenly. It’s a small step that makes a big difference.
Resting is Non-Negotiable
I’ve made this mistake multiple times. I pull the chicken out, cut into it, and watch the juices disappear. It’s heartbreaking. Always rest for at least 5 minutes. Ten is better. I usually start prepping the salad or heating up the grains while the chicken rests.
Season Generously
Chicken breast is mild. It needs flavor. Don’t be shy with the salt and spices. The seasoning blend I use is simple but effective. If you like more heat, add a pinch of cayenne. If you like herbs, add more thyme or add some rosemary.
Common Mistakes (and how to avoid them):
Mistake: Chicken is dry. Fix: You overcooked it. Pull it at 160°F, not 165°F. Use a thermometer.
Mistake: Chicken is undercooked. Fix: Check the temperature. If it’s below 160°F, bake for 2-3 more minutes.
Mistake: Chicken is bland. Fix: You didn’t use enough salt or seasoning. Taste your seasoning paste before applying it.
Variations & Substitutions
Once you’ve nailed the basic version, here’s how you can mix it up. I’ve tried all of these.
Herb Crusted
Add 1 tablespoon of fresh chopped parsley or cilantro to the seasoning mix. It adds freshness and color. I love this version with lemon wedges.
Spicy Kick
Add ½ teaspoon of cayenne pepper or red pepper flakes to the seasoning. It gives a nice heat that balances the richness. My husband loves this version.
Lemon Garlic
Add the zest of one lemon to the seasoning paste and a squeeze of juice after baking. It’s bright and tangy. Great for spring and summer.
BBQ Style
Skip the paprika and thyme. Use BBQ rub instead. Or brush with BBQ sauce in the last 5 minutes of baking. It’s a totally different vibe.
Dietary Modifications:
Gluten-Free — This recipe is naturally gluten-free. Just make sure your spices don’t have added flour (rare, but check labels).
Dairy-Free — This recipe is naturally dairy-free. No butter or cheese involved.
Low-Carb — Perfect for low-carb diets. Serve with roasted veggies or a green salad.
Pairing Ideas:
I often serve this with cozy fall butternut squash soup for a complete meal. The sweetness of the squash balances the savory chicken. Or pair it with best cozy fall creamy wild rice and mushroom casserole for a hearty, comforting dinner.
Serving & Storage
How to Serve
I usually serve this straight from the cutting board, sliced, with a side of roasted vegetables or a simple green salad. It’s rustic and inviting. But here are other ways I’ve enjoyed it:
Salads
Slice it cold or warm and toss it over a Caesar salad or a grain bowl. It adds great protein and flavor.
Sandwiches
Use it for sandwiches or wraps. It’s tender and flavorful. Try it with avocado and tomato.
Meal Prep
I make extra every time. It stores beautifully in the fridge for up to 4 days. Reheat gently in the microwave or eat it cold.
Storage Instructions
Refrigerator:
Store in an airtight container for up to 4 days. The chicken will stay juicy if stored properly.
Reheating:
Best method: Reheat in a skillet with a splash of chicken broth over low heat. This adds moisture back in. Microwave method: Heat in 30-second intervals, stirring between. Add a splash of water or broth to prevent drying.
Freezing:
You can freeze baked chicken breast, but the texture changes slightly. It’s still good, just not as tender. Freeze in an airtight container for up to 3 months. Thaw in the fridge overnight before reheating.
Pro tip: If leftovers are drying out, stir in a tablespoon of broth or butter when reheating. Brings back that juicy texture.
Nutrition Information
I’m not a nutritionist, but here’s the breakdown if you’re tracking. These are estimates per serving (based on 2 breasts).
| Nutrient | Amount |
|---|---|
| Calories | 280 |
| Protein | 40g |
| Carbs | 1g |
| Fat | 10g |
| Sodium | 600mg |
What’s Good:
High in protein, low in carbs, healthy fats from olive oil. It’s a solid lean protein source.
What to Know:
Sodium can vary depending on your salt brand. Use low-sodium salt if you’re watching sodium intake. The olive oil adds healthy monounsaturated fats.
My Take:
Look, this is simple, healthy food. It’s not a diet recipe, but it’s nutritious and satisfying. It’s way better than takeout, costs less, and I know exactly what’s in it. When I want to make it lighter, I use less oil. But usually? I just eat a reasonable portion and enjoy it.
Final Thoughts
So that’s my go-to never-dry oven-baked chicken breast! I’ve probably talked your ear off at this point, but when you make a recipe this often, you have a lot to say about it.
This has saved weeknight dinners more times than I can count. It’s my answer to “what’s for dinner?” when I’m tired, don’t want takeout, and still want something that tastes really good. My kids are happy, my husband’s happy, and I’m happy because I’m not stressed about cooking.
Make it yours! Try different spices, swap in your favorite vegetables, adjust the seasoning. The best recipes are the ones you adapt to your family’s tastes.
If you make this, drop a comment and let me know what you think! I love hearing how recipes turn out in your kitchen. And if something doesn’t work, tell me that too—I’m here to help troubleshoot.
Happy cooking! And I hope your kitchen smells half as good as mine does right now.
Frequently Asked Questions
Q: Can I use chicken thighs instead of breasts?
A: Yes! Chicken thighs are even harder to dry out. Use the same method, but cook for 25-30 minutes. They have more fat, so they stay juicier. I love thighs for meal prep.
Q: Why is my chicken dry even though I used a thermometer?
A: Did you pull it at 160°F? If you pulled it at 165°F or higher, it might be overcooked. Also, did you let it rest? Resting is crucial. If you cut it immediately, the juices run out.
Q: Can I marinate the chicken first?
A: Absolutely. You can marinate it for 30 minutes to 4 hours in the fridge. Just pat it dry before seasoning so the spices stick. A simple olive oil, garlic, and lemon marinade works great.
Q: Can I cook this in an air fryer?
A: Yes! Cook at 375°F for 12-15 minutes, flipping halfway through. Check the temperature at 12 minutes. Air fryers vary, so keep an eye on it.
Q: How do I know when the chicken is done without a thermometer?
A: You can cut into the thickest part. The juices should run clear, not pink. The meat should feel firm but not hard. But honestly, a thermometer is so much easier and more reliable. Don’t risk it.
Q: Can I freeze the seasoning paste?
A: Not really. The oil will solidify. Make it fresh each time. It takes 30 seconds.
Q: What sides go well with this chicken?
A: I love roasted vegetables, mashed potatoes, rice, or a simple green salad. It’s versatile. Try it with fall sheet pan sausage and root veggies for a complete one-pan meal idea.
Pin This Recipe!
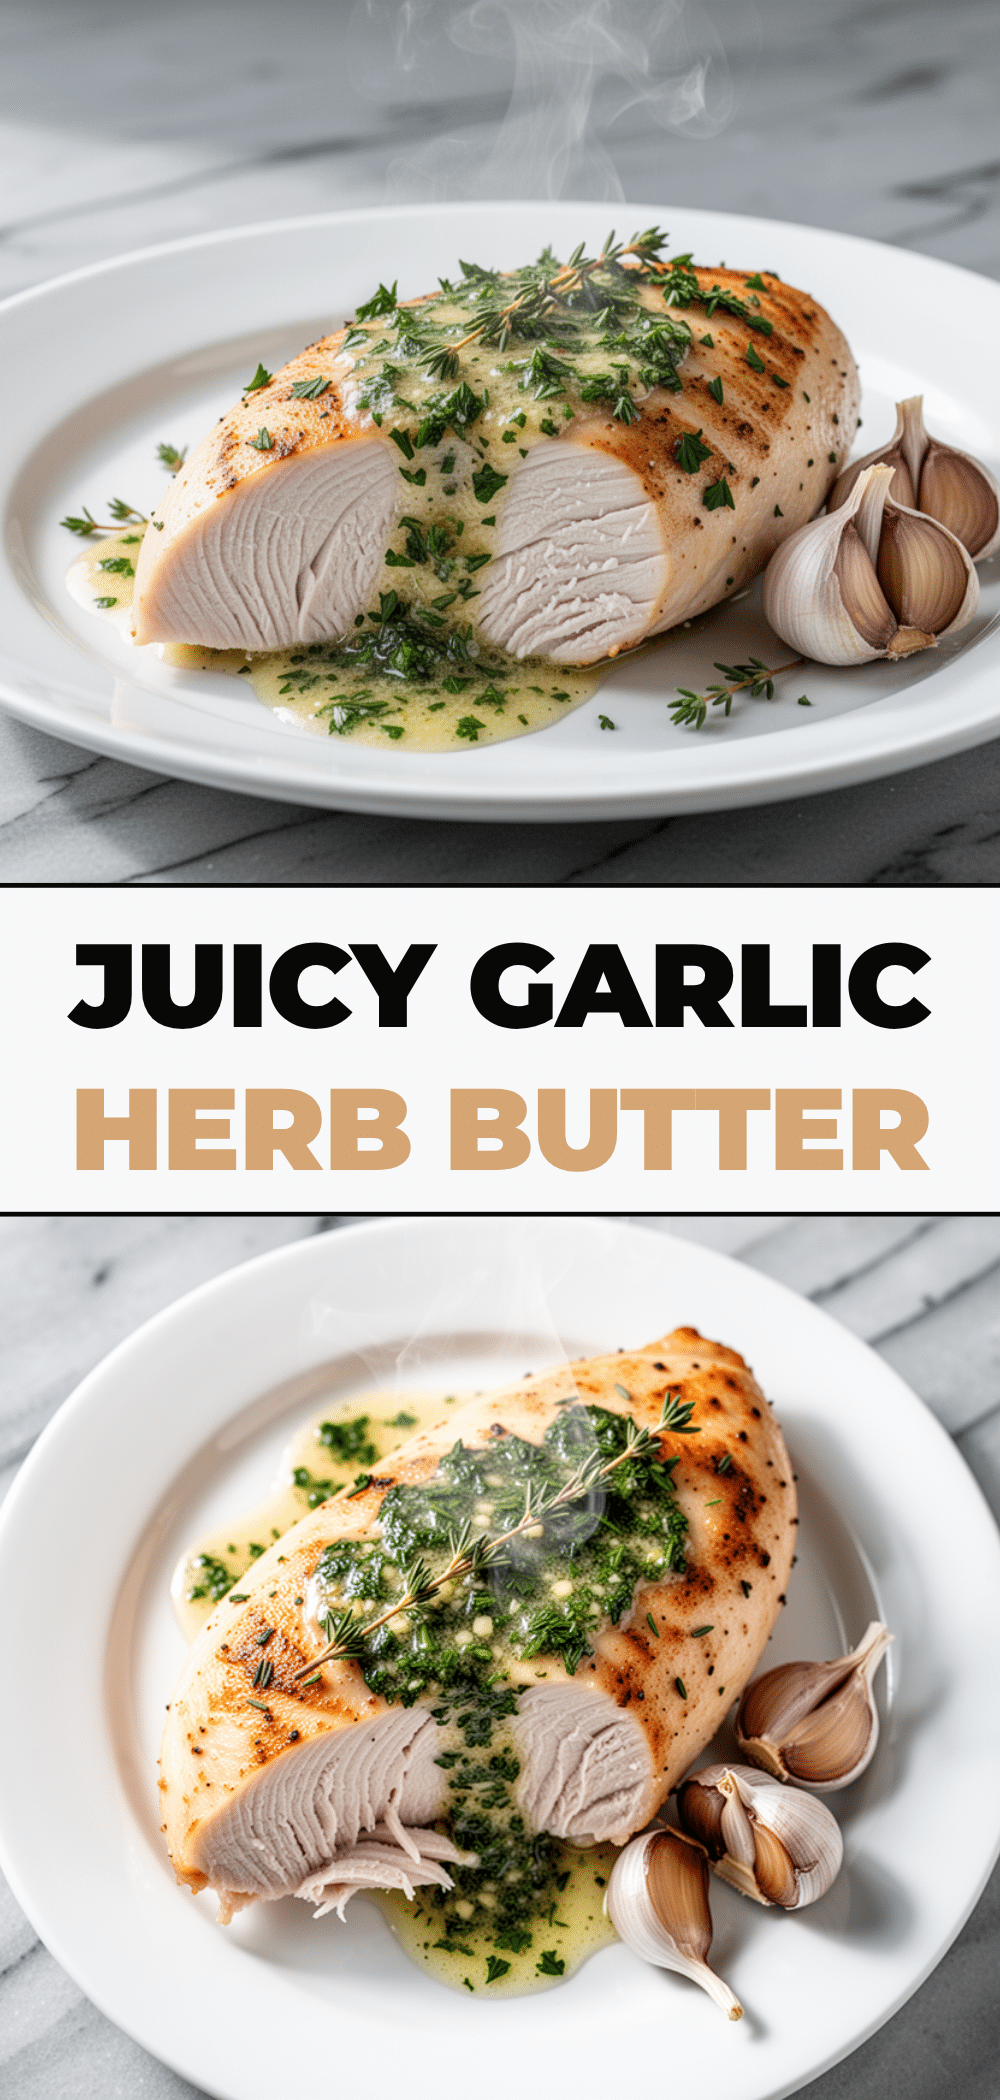
Never-Dry Oven-Baked Chicken Breast: 5 Easy Steps
- Total Time: 35 minutes
- Yield: 2 servings 1x
Description
A foolproof method for baking juicy, tender chicken breasts using simple pantry ingredients and a meat thermometer to ensure perfect results every time.
Ingredients
- 2 large or 4 small boneless, skinless chicken breasts (about 1.5 lbs / 680g total)
- 2 tablespoons olive oil
- 1 teaspoon garlic powder
- 1 teaspoon smoked paprika
- 1/2 teaspoon dried thyme
- 1 teaspoon salt (kosher salt preferred)
- 1/2 teaspoon black pepper
- 1 tablespoon lemon juice (optional)
- 1 tablespoon butter (optional)
Instructions
- Preheat oven to 375°F (190°C).
- Take chicken breasts out of the fridge and let them sit on the counter for 10-15 minutes to take the chill off.
- Pat chicken dry with paper towels and trim any excess fat or tendons.
- In a small bowl, mix olive oil, garlic powder, smoked paprika, dried thyme, salt, and black pepper to form a paste.
- Rub the seasoning paste all over the chicken breasts, ensuring even coverage.
- If breasts are unevenly thick, pound the thicker ends gently to create uniform thickness.
- Place chicken on a parchment-lined baking sheet or rimmed skillet.
- Bake for 20-25 minutes without opening the oven door for the first 15 minutes.
- Check internal temperature with a meat thermometer; remove when it reaches 160°F (71°C).
- Let chicken rest on the pan for 5-10 minutes before slicing to allow juices to redistribute.
- Slice against the grain and serve.
Notes
Do not crowd the pan; ensure air circulation. Letting chicken come to room temperature helps it cook evenly. Resting is crucial to retain juices. Pull chicken at 160°F as carryover cooking will raise it to 165°F.
- Prep Time: 5 minutes
- Cook Time: 25 minutes
- Category: Main Course
- Cuisine: American
Nutrition
- Serving Size: 1 large chicken brea
- Calories: 280
- Sodium: 600
- Fat: 10
- Saturated Fat: 2
- Carbohydrates: 1
- Protein: 40
Keywords: oven-baked chicken, juicy chicken breast, easy dinner, meal prep, healthy chicken, gluten-free, dairy-free, low-carb


