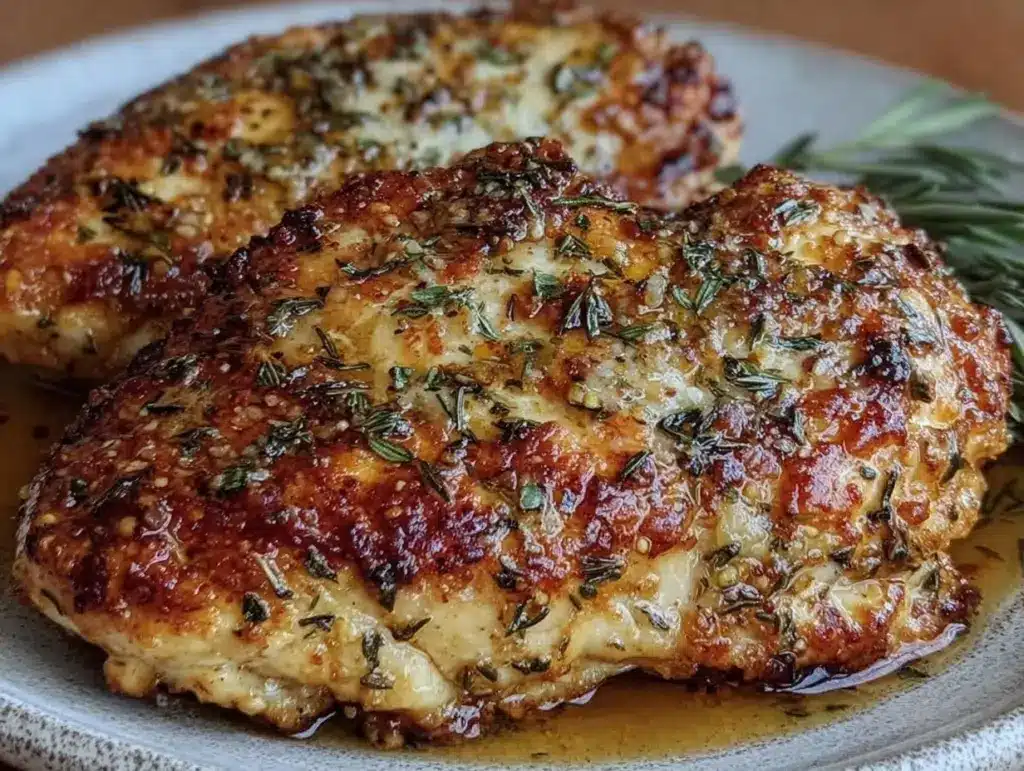
I have a confession to make: for a long time, I was terrified of baking chicken breasts. Not because I hate chicken (my kids eat it like it’s candy), but because I was constantly fighting with rubbery, dry, flavorless discs that made me want to order pizza instead. I’d pull them out of the oven, cut into one, and there it was—that sad, white, chalky ring right in the middle. The kind that makes you wonder if you accidentally bought sandpaper disguised as poultry.
That changed three years ago when I stopped trying to be fancy and started focusing on moisture. I realized that the secret wasn’t a complicated marinade or expensive equipment. It was simple: temperature control and a little bit of fat. Now, this never-dry oven baked chicken breast is the backbone of our weekly meal plan. It’s the go-to when I’m tired, when the kids are hangry, and when I need dinner on the table in under 40 minutes without spending a fortune.
What makes this recipe special is the garlic herb butter. It’s not just for flavor; it’s a moisture barrier that keeps the meat juicy while infusing it with that savory, aromatic goodness we all crave. I’ve tested this method with everything from thin cutlets to thick, heavy breasts, and it works every single time. No more dry chicken. No more wasted money. Just tender, flavorful, budget-friendly dinner that everyone actually wants to eat.
Why You’ll Love This Recipe
There are about a dozen reasons I keep coming back to this method, but if you’re on the fence, here’s the real talk on why this never-dry oven baked chicken breast deserves a spot in your rotation:
Zero Guesswork — Seriously. Most chicken recipes require you to pound them to an even thickness or check internal temps with a thermometer every two minutes. This method is forgiving. You season it, butter it, bake it, and let it rest. Done. I’ve made this while helping my youngest with math homework and it still came out perfect.
Stretches Your Dollar — Chicken breasts are one of the most affordable proteins if you buy them right. By baking them whole and slicing them for salads, sandwiches, or bowls later, you get multiple meals out of one package. I usually buy the family pack on sale, bake half immediately, and freeze the raw halves for later. That’s meal prep for busy parents.
Flavor That Isn’t Bland — Plain baked chicken is boring. This version uses a garlic herb butter blend that creates a crust of flavor without needing expensive sauces or marinades that take hours to soak in. The herbs penetrate the meat during the bake, so every bite tastes like something special.
Kid-Approved — My picky eater, who usually only eats bread and nuggets, asks for this chicken specifically. The buttery topping makes it feel like a treat, but it’s healthy enough for lunchboxes. I slice it up and put it in their bento boxes with rice or crackers. It travels well and doesn’t get dry in the fridge.
One Pan (Mostly) — You’re using a baking sheet. If you line it with foil or parchment (which I always do for easy cleanup), you’re looking at five minutes of washing up. That’s huge on weeknights when the dishwasher is already full.
Ingredients You’ll Need
Here’s the best part: you probably have most of this already. This isn’t a recipe that requires a trip to three different specialty stores. It’s built on pantry staples and basic fridge items.
Chicken Breasts (4 large or 6 medium, boneless, skinless) — This is the star. Try to get them as uniform in size as possible so they cook evenly. If they’re wildly different sizes, pound the thick ends lightly with a rolling pin or the bottom of a heavy pan. I buy the big family packs when they’re on sale and freeze them individually so I can grab exactly what I need.
Unsalted Butter (4 tablespoons / 60g) — This is non-negotiable for the “never-dry” part. The fat coats the chicken. Unsalted lets you control the sodium. If you only have salted, reduce the added salt in the seasoning by half.
Garlic (4-5 cloves, minced) — Fresh garlic is key. I know jarred garlic is convenient, but it has a metallic aftertaste that clashes with the delicate butter. Mince it yourself. If you’re in a rush, press it. Don’t skip this step; the garlic is half the flavor profile.
Dried Herbs (2 teaspoons total) — I use a mix of dried thyme and dried oregano. If you don’t have those, Italian seasoning works great. Fresh herbs are nice, but dried herbs hold up better to the dry heat of the oven without burning. I keep these jars stocked at all times.
Olive Oil (1 tablespoon) — Helps the butter spread more evenly and adds a bit of richness. You can skip this if you’re watching calories, but the flavor is better with it.
Salt and Black Pepper — Kosher salt is my preference because it’s easier to sprinkle evenly. Use about 1 teaspoon of salt and ½ teaspoon of pepper for four breasts. Taste as you go.
Lemon (1, sliced) — Optional but recommended. Squeezing a little juice over the chicken after it comes out of the oven brightens up the richness of the butter. I always keep a lemon in the crisper drawer for this.
Equipment Needed
You don’t need fancy gadgets for this. Here’s what I actually use in my kitchen:
Baking Sheet — A standard half-sheet pan (13×18 inches) is perfect. I use aluminum ones because they conduct heat well and are cheap to replace. Dark metal pans can sometimes brown the butter too quickly, so keep an eye on them.
Parchment Paper or Aluminum Foil — I always line my pan. It saves so much scrubbing time later. If you don’t have parchment, foil works fine, just grease it lightly.
Small Bowl — For mixing the butter and herbs. A ramekin or even a large mug works if you don’t want to use a bowl.
Fork or Whisk — To mash the butter and herbs together into a paste.
Cutting Board and Knife — For slicing the chicken after it rests. A sharp knife makes clean cuts without tearing the meat.
How to Make It: Step-by-Step
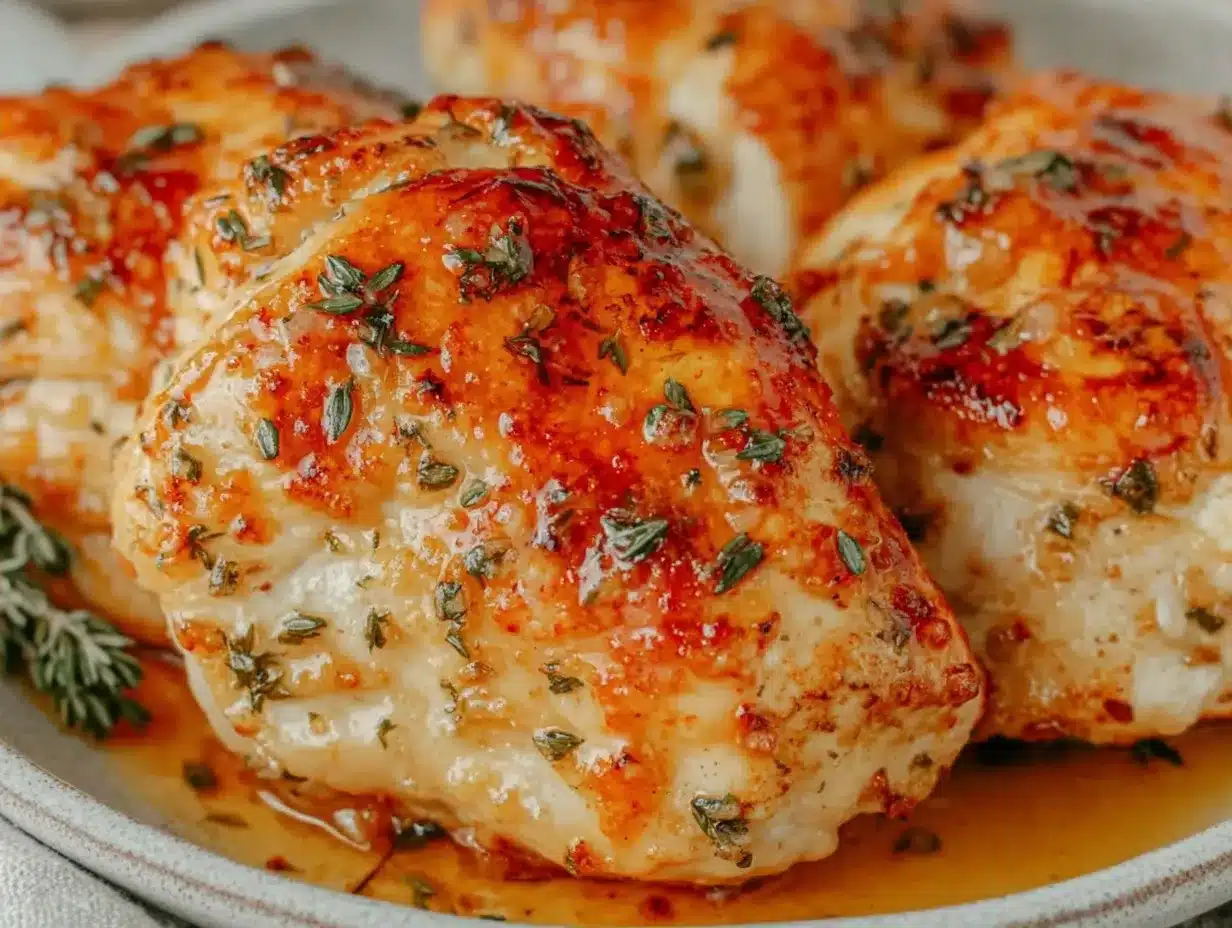
Alright, let’s make this! I’m walking you through exactly how I do it, including the little tricks I’ve picked up over the years.
Step 1: Prep the Oven and Pan (5 minutes)
Preheat your oven to 400°F (200°C). This temperature is the sweet spot. It’s hot enough to cook the chicken quickly so it stays juicy, but not so hot that the outside burns before the inside cooks. Line your baking sheet with parchment paper or foil. Set it aside.
Step 2: Prepare the Chicken (5 minutes)
Pat the chicken breasts dry with paper towels. This seems minor, but removing surface moisture helps the seasoning stick and prevents steaming. If your breasts are very thick, place them between two sheets of plastic wrap and gently pound the thick ends with a rolling pin until they are about ¾-inch thick all the way across. This ensures even cooking. If they’re already uniform, just leave them be.
Step 3: Make the Garlic Herb Butter (3 minutes)
In a small bowl, soften the butter. You can microwave it for 10 seconds or just leave it on the counter for 15 minutes until it’s spreadable. Add the minced garlic, dried herbs, salt, and pepper. Mash it all together with a fork until it forms a fragrant paste. If the butter is too hard, the herbs won’t distribute evenly. You want little green specks in every bite.
Step 4: Season and Top (5 minutes)
Place the chicken breasts on the prepared baking sheet. Drizzle the olive oil over the top and rub it in with your hands. Then, take generous spoonfuls of the garlic herb butter and spread it over the top of each chicken breast. Make sure you cover the entire surface. If you’re worried about drying out, you can also tuck a little bit of the butter underneath, but the top is the most important part.
Step 5: Bake (18-22 minutes)
Place the pan in the preheated oven. Bake for 18 to 22 minutes. Do not open the oven door for the first 15 minutes! Every time you open the door, you lose heat and the cooking time gets longer, which can dry out the chicken. The chicken is done when the internal temperature reaches 165°F (74°C) at the thickest part. If you don’t have a thermometer, cut into the thickest part to check—the juices should run clear, and the meat should be opaque white, not pink.
Step 6: Rest the Chicken (5-10 minutes)
This is the step most people skip, but it’s crucial. Remove the chicken from the oven and transfer it to a clean plate or cutting board. Tent it loosely with foil and let it rest for at least 5 minutes. This allows the juices to redistribute throughout the meat. If you cut into it immediately, all those precious juices will run out onto the plate, leaving you with dry chicken. Patience pays off here.
Step 7: Slice and Serve
Slice the chicken against the grain. This makes each bite more tender. Squeeze a little fresh lemon juice over the top if you like, and serve immediately.
Expert Tips & Tricks
Here’s everything I’ve learned from making this dozens of times. These tips will save you from my mistakes.
Don’t Overcook It — The #1 reason chicken dries out is overcooking. Chicken breasts go from perfect to shoe leather in about 2 minutes. Pull them out when they hit 160°F (71°C). The residual heat will carry them to 165°F while they rest. If you wait until the thermometer says 165°F while it’s still in the oven, it’ll be overcooked by the time you rest it.
Uniform Thickness Matters — If you have one breast that’s 1 inch thick and another that’s 2 inches thick, they will cook at different rates. Pound the thicker ones down. It’s a 30-second task that makes a huge difference in texture.
Butter Temperature — Make sure your butter is soft, not melted. If you melt it, it runs off the chicken and pools on the pan. Soft butter stays on the meat and creates that flavorful crust.
Double the Batch — This recipe scales easily. I often bake 6-8 breasts at once. I eat half that night, and I slice the rest for meal prep. They keep well in the fridge for 4 days. I use them for salads, sandwiches, or even chopped into cassolles like this cozy fall creamy wild rice and mushroom casserole.
Freezing Raw — If you buy a bulk pack, separate them with parchment paper and freeze them flat. When you’re ready to cook, take one out, let it thaw in the fridge overnight, and bake as directed. It’s just as good as fresh.
Variations & Substitutions
Once you’ve nailed the basic version, here’s how you can mix it up. I’ve tried all of these.
Parmesan Crust — Mix ¼ cup grated Parmesan into the herb butter before spreading. It creates a cheesy, crispy top that’s amazing.
Lemon Pepper — Swap the dried herbs for lemon pepper seasoning. Skip the fresh lemon squeeze at the end. This is a crowd-pleaser with kids.
Spicy Kick — Add ½ teaspoon of red pepper flakes or a dash of cayenne to the butter mixture. It adds warmth without overwhelming the garlic.
Herb Garden — If you have fresh herbs growing, use them! Swap 1 teaspoon of dried herbs for 1 tablespoon of fresh chopped parsley, basil, or chives. Add them after you remove the chicken from the oven to keep the color bright.
Gluten-Free — This recipe is naturally gluten-free. Just ensure your butter and spices don’t have any anti-caking agents with wheat (rare, but check labels if you’re celiac).
Serving & Storage
How to Serve: I usually serve this with roasted vegetables, like the ones in this fall sheet pan sausage and root veggies recipe (just swap the sausage for chicken!). It also goes great with mashed potatoes, rice, or a simple green salad. The garlic butter sauce on the pan is liquid gold—don’t throw it away! Spoon it over the chicken or use it to dip bread.
Refrigerator: Store leftover chicken in an airtight container for up to 4 days. The garlic herb butter actually flavors it more as it sits.
Reheating: To reheat, add a splash of chicken broth or water to a skillet and warm gently over low heat. Or microwave it with a damp paper towel over the top to trap moisture. Avoid the microwave without cover—it dries it out fast.
Freezing: You can freeze cooked chicken, but the texture changes slightly. It’s best frozen raw. If you must freeze cooked, slice it first and freeze in a single layer on a baking sheet, then transfer to a bag. Use within 2 months.
Nutrition Information
I’m not a nutritionist, but here’s the breakdown if you’re tracking. This is based on 4 servings, using 4 large chicken breasts.
Per Serving:
- Calories: 280
- Protein: 40g
- Carbs: 1g
- Fat: 12g
- Sodium: 350mg (varies by butter/seasoning)
It’s high protein, low carb, and very affordable. If you’re watching calories, you can reduce the butter to 2 tablespoons and use olive oil instead, but the flavor won’t be as rich. I say enjoy it. It’s a treat, and it’s better than takeout.
Final Thoughts
So that’s my go-to never-dry oven baked chicken breast! It’s simple, it’s reliable, and it saves me from the stress of wondering what to cook on a Tuesday night. I’ve probably talked your ear off at this point, but when you make a recipe this often, you have a lot to say about it.
This has saved weeknight dinners more times than I can count. It’s my answer to “what’s for dinner” when I’m tired, don’t want takeout, and still want something that tastes really good. My kids are happy, my husband’s happy, and I’m happy because I’m not stressed about cooking.
Make it yours! Try different herbs, add some cheese, or serve it with different sides. The best recipes are the ones you adapt to your family’s tastes. If you make this, drop a comment and let me know what you think! I love hearing how recipes turn out in your kitchen. And if something doesn’t work, tell me that too—I’m here to help troubleshoot.
Happy cooking! And I hope your kitchen smells half as good as mine does right now.
Frequently Asked Questions
Can I use frozen chicken breasts?
You can, but it’s not recommended for this specific method. Frozen chicken will release a lot of water and steam instead of bake, leading to uneven cooking. It’s better to thaw it in the fridge overnight. If you’re in a huge rush, you can bake from frozen, but add 10-15 minutes to the cooking time and check the temperature carefully. But for the best results, thaw it first.
Why is my chicken still pink after cooking?
If the internal temperature is 165°F, it’s safe to eat even if it’s slightly pink. This can happen due to the cooking method or the chicken’s diet. However, if it’s pink in the center and the temperature is below 165°F, it needs more time. Put it back in the oven for 2-3 minutes and check again.
Can I bake these at a lower temperature?
Yes, but the timing changes. If you bake at 350°F, it will take about 30-35 minutes. The benefit of 400°F is that it cooks faster, locking in juices. If you use a lower temp, keep a closer eye on it so it doesn’t dry out over the longer cook time.
What sides go well with this?
I love this with roasted asparagus, steamed broccoli, or a simple Caesar salad. It also pairs well with the healthy salmon and asparagus sheet pan dinner concept—just swap the salmon for chicken and adjust the cook time. Mashed potatoes are a classic choice too.
How do I slice it for meal prep?
Always slice against the grain. Look for the direction the muscle fibers run and cut perpendicular to them. This shortens the fibers, making each bite more tender. Slice it into strips for salads or bowls, or keep it whole for sandwiches.
Pin This Recipe!
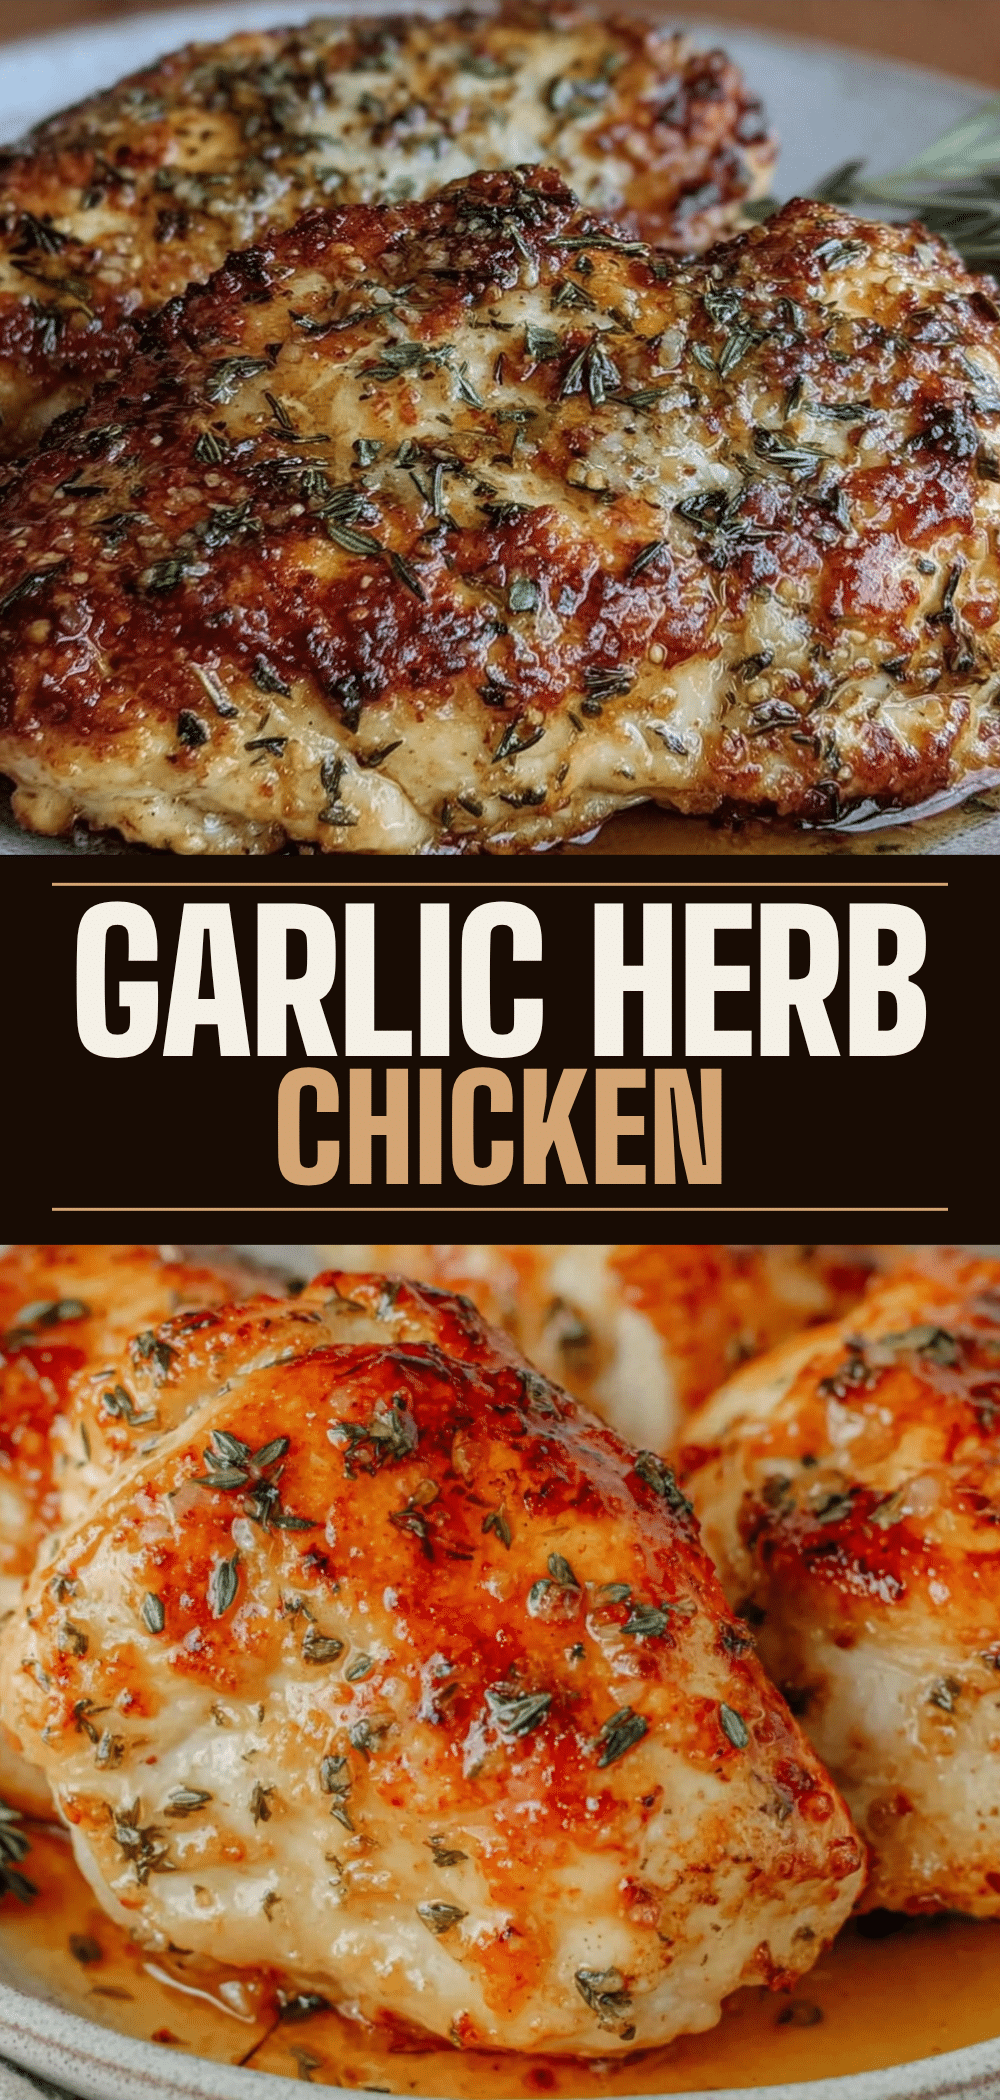
Never-Dry Oven Baked Chicken Breast: Easy Weeknight Meal
- Total Time: 40 minutes
- Yield: 4 servings 1x
Description
A simple, reliable recipe for juicy oven-baked chicken breasts using a garlic herb butter moisture barrier. Perfect for busy weeknights, this method ensures tender, flavorful chicken without the dryness.
Ingredients
- 4 large or 6 medium boneless, skinless chicken breasts
- 4 tablespoons (60g) unsalted butter, softened
- 4–5 cloves garlic, minced
- 2 teaspoons dried herbs (thyme, oregano, or Italian seasoning)
- 1 tablespoon olive oil
- 1 teaspoon kosher salt
- 1/2 teaspoon black pepper
- 1 lemon, sliced (optional)
Instructions
- Preheat oven to 400°F (200°C). Line a baking sheet with parchment paper or foil.
- Pat chicken breasts dry with paper towels. If uneven, pound thick ends to achieve uniform 3/4-inch thickness.
- In a small bowl, mix softened butter, minced garlic, dried herbs, salt, and pepper into a paste.
- Place chicken on the prepared baking sheet. Drizzle with olive oil and rub in. Spread the garlic herb butter generously over the top of each breast.
- Bake for 18-22 minutes without opening the oven door for the first 15 minutes. Chicken is done when internal temperature reaches 165°F (74°C).
- Remove from oven and let rest, tented loosely with foil, for 5-10 minutes to redistribute juices.
- Slice against the grain and serve with fresh lemon juice if desired.
Notes
Do not overcook; remove chicken at 160°F as residual heat will bring it to 165°F during resting. Ensure butter is soft, not melted, to stay on the meat. For meal prep, bake extra breasts and store in the fridge for up to 4 days or freeze raw for later use.
- Prep Time: 15 minutes
- Cook Time: 22 minutes
- Category: Main Course
- Cuisine: American
Nutrition
- Serving Size: 1 chicken breast
- Calories: 280
- Sodium: 350
- Fat: 12
- Saturated Fat: 6
- Carbohydrates: 1
- Protein: 40
Keywords: chicken breast, oven baked chicken, easy dinner, weeknight meal, garlic herb butter, juicy chicken, meal prep, gluten-free


