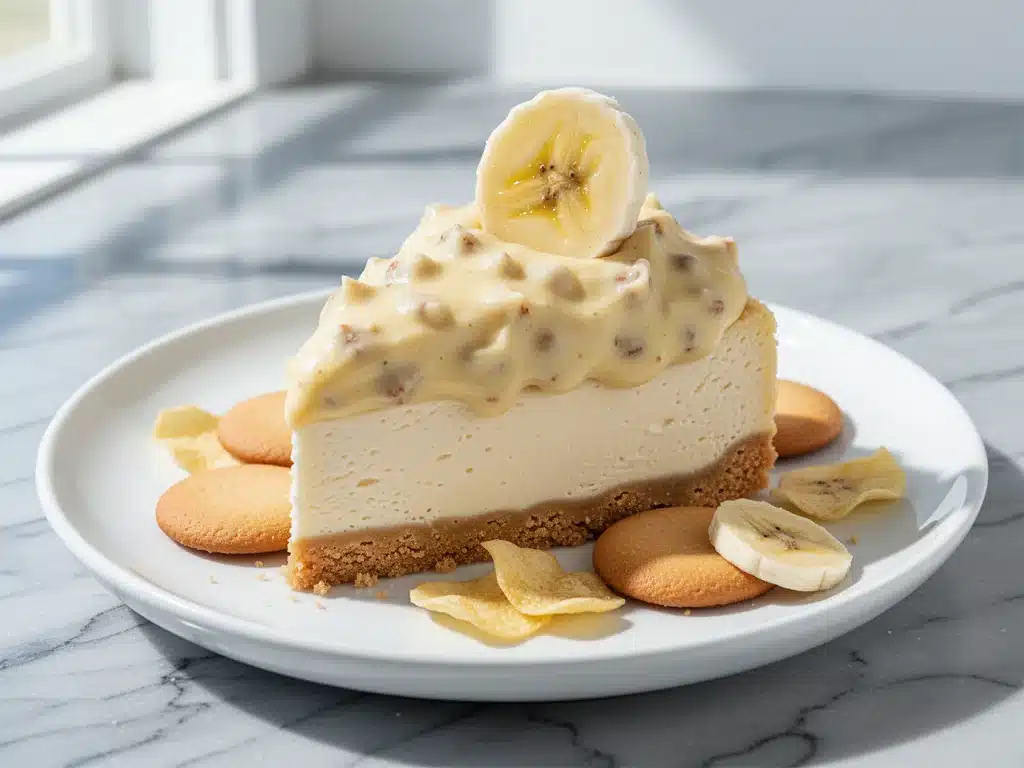
Last July, I stood in my friend Sarah’s kitchen, staring at a dessert table that looked like it had been decorated by someone who really loves their job. There were three different types of cake, two kinds of brownies, a fruit platter that was arranged with actual artistic intent, and a Jell-O mold that I was politely ignoring. Everyone was mingling, the sun was setting, and I was just trying to find a plate that wasn’t covered in glitter.
Then Sarah pulled out the No-Bake Banana Pudding Cheesecake.
It wasn’t fancy. It wasn’t even in a fancy pan. It was in a standard 9-inch springform pan, covered in a crumbly cookie crust, and topped with what looked like a mountain of whipped cream and sliced bananas. But the second people saw it, the conversation stopped. I watched as six different guests queued up, not for the cake, but for this creamy, banana-filled slice. By the time we cut the last piece, there were only three crumbs left on the plate. Sarah looked at me, eyebrows raised, and said, “Okay, I’m stealing that recipe. It’s the only thing that actually sold out.”
That was the moment I realized that for summer gatherings, we don’t need more complicated desserts. We don’t need to turn on the oven and heat up the house. We need something cool, creamy, nostalgic, and easy enough to make while actually enjoying the party. This No-Bake Banana Pudding Cheesecake is exactly that. It’s the bridge between childhood memories of banana pudding and the sophisticated texture of a New York-style cheesecake, but without the stress of baking or the risk of a cracked top.
I’ve made this dessert for beach picnics, backyard barbecues, and even a potluck in August when the temperature was hovering near 95 degrees. It travels well. It holds up in the heat better than most creamy desserts. And the best part? You don’t need any special equipment. Just a mixer, a springform pan, and about 20 minutes of prep time before you let the fridge do the heavy lifting. If you’re looking for a dessert that saves your sanity and wins you applause, this is it.
Why You’ll Love This No-Bake Banana Pudding Cheesecake
There are about ten reasons I keep making this for every summer event, but here are the big ones. This isn’t just a pretty face dessert; it’s practical, delicious, and surprisingly forgiving.
- Zero Oven Required — Seriously. This is the biggest selling point for me. It’s summer. The last thing I want to do is heat up my kitchen. This dessert stays in the fridge, keeping the house cool and my sanity intact. I’ve made it on days when the AC was broken, and it was still the highlight of the evening.
- Two Desserts in One — You get the tangy, rich creaminess of cheesecake and the sweet, vanilla-forward comfort of banana pudding. It’s like marrying two of my favorite things. The layers are distinct but blend together perfectly in the first bite. It’s nostalgic without being childish.
- Make-Ahead Friendly — This is my secret weapon for hosting. I make this cheesecake the night before. Actually, the day before is even better because it gives the flavors time to meld and the texture to set properly. When I pull it out of the fridge, it’s already ready. No last-minute panic while guests are arriving.
- Uses Simple Ingredients — You probably have most of this already. Cream cheese, sour cream, vanilla wafers, bananas, and instant pudding mix. Nothing exotic. Nothing that requires a trip to three different specialty stores. It’s pantry-friendly comfort food.
- Travel-Proof — Unlike mousse or custard, this holds its shape. I’ve carried this in the car on bumpy roads, and it hasn’t once collapsed. It’s sturdy enough for a picnic basket but elegant enough for a dinner party. I’ve also made no-bake peanut butter granola bites for the same trips, and they pair well if you want a smaller snack option.
This is my go-to when I need a dessert that feels special but doesn’t require a culinary degree. It’s reliable, delicious, and always, always a crowd-pleaser.
Ingredients You’ll Need
Here’s the best part: you don’t need to hunt down obscure ingredients for this. Most of this is standard grocery store fare. I’m particular about a few things here, and I’ll tell you exactly why.
For the Crust
Vanilla wafers (2 cups / about 200g, crushed) — This is non-negotiable. Do not use sugar cookies or graham crackers. You want that specific vanilla wafer flavor that tastes like banana pudding. I crush mine in a food processor, but you can put them in a ziplock bag and smash them with a rolling pin if you’re feeling violent.
Unsalted butter (6 tablespoons / 85g, melted) — Just enough to bind the crumbs. Don’t go overboard or it’ll be greasy. Use real butter, not margarine. Your taste buds will thank you.
Granulated sugar (2 tablespoons) — Vanilla wafers are already sweet, so we’re just adding a little bit to balance the tang of the cream cheese. Don’t skip it.
For the Cheesecake Layer
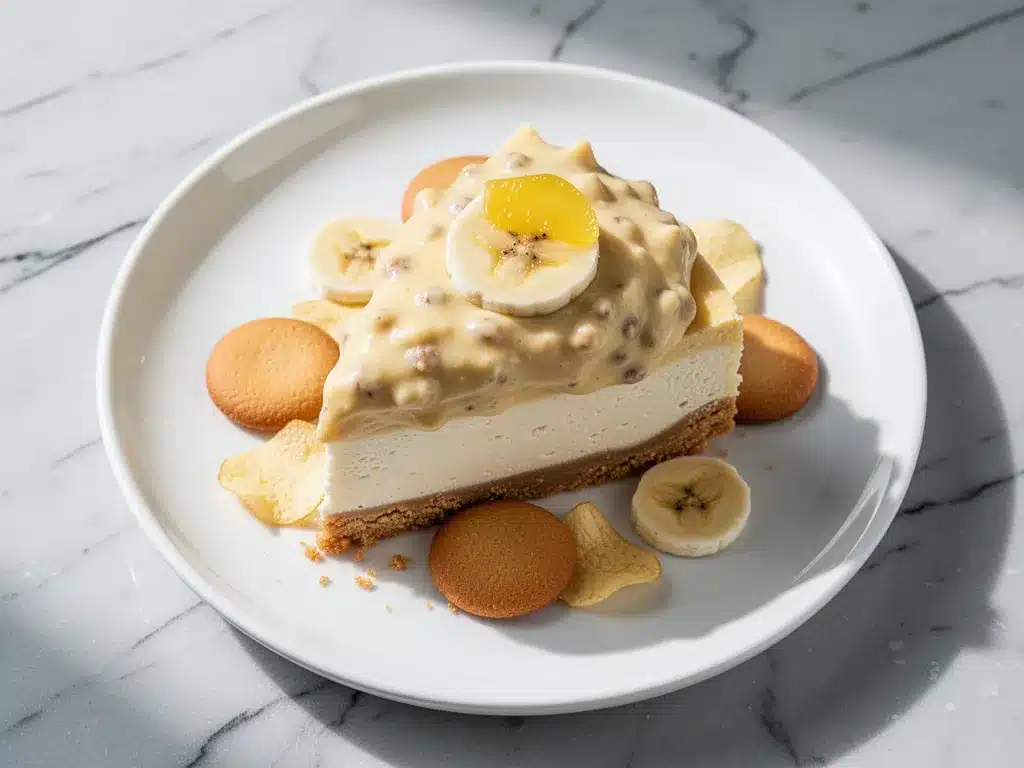
Cream cheese (24 ounces / 680g, full-fat, softened) — This is the base. It must be full-fat. Low-fat cream cheese will make this grainy and sad. Let it sit on the counter for 30 minutes before you start. If it’s cold, you’ll get lumps, and we don’t want lumps.
Sour cream (1 cup / 240g) — This adds that tangy cheesecake flavor and keeps it creamy without being as heavy as extra cream. I use full-fat sour cream. Greek yogurt works in a pinch, but the texture is slightly different.
Heavy whipping cream (1 cup / 240ml, cold) — We’re folding this in to lighten the cheesecake. Make sure it’s cold so it whips properly. If it’s warm, it won’t hold peaks.
Vanilla extract (2 teaspoons) — Use real vanilla. The fake stuff tastes chemical and clashes with the bananas. If you have vanilla bean paste, even better.
Confectioners’ sugar (½ cup / 60g) — Sweetens the cheesecake layer. Sift it if it’s lumpy.
For the Banana Pudding Layer
Instant vanilla pudding mix (2 boxes / 5.1 oz each) — I use Jell-O or a store brand. The instant kind is crucial because it sets quickly. Do not use the “cook and serve” kind. That will never work here.
Whole milk (4 cups / 960ml, divided) — You’ll use 2 cups to make the pudding, and 2 cups to mix with the whipped cream later. Cold milk helps the pudding set faster.
Bananas (4 large, ripe but firm) — This is the star. Use bananas that are yellow with a few brown spots. Too green? Not sweet enough. Too brown? They’ll turn to mush. Slice them just before assembling to prevent browning.
Whipped topping (1 container / 8 oz, thawed) — Cool Whip or similar. This lightens the pudding and adds volume. If you want to make it from scratch, whip 1 cup of heavy cream with 2 tablespoons of sugar until stiff.
Equipment Needed
You don’t need fancy equipment for this. Here’s what I actually use.
9-inch springform pan — Essential for getting the cake out cleanly. Make sure the bottom fits snugly. If it leaks, line the bottom with parchment paper.
Food processor or ziplock bag — For crushing the wafers. A food processor is faster, but the bag method is fun if you have kids helping.
Electric mixer — Handheld or stand mixer. You need this to get the cream cheese smooth and to whip the cream. Doing this by hand is possible but your arms will hurt.
Large mixing bowls — You’ll need at least two, preferably three. One for the cheesecake, one for the pudding, one for the whipped cream.
Spatula — A good silicone spatula is your best friend for folding. You don’t want to deflate the air you just whipped into the cream.
Knife — For slicing the bananas. A sharp knife makes clean slices without bruising the fruit.
How to Make It: Step-by-Step
Alright, let’s make this! I’m walking you through exactly how I do it, including the little tricks I’ve picked up over the years.
Step 1: Prep the Pan and Crust (10 minutes)
First, grease the bottom and sides of your 9-inch springform pan with a little butter or non-stick spray. This helps the crust stick and makes unmolding easier later.
Crush your vanilla wafers into fine crumbs. If you’re using a food processor, pulse until they look like sand. If you’re using a bag, keep smashing until there are no large chunks left. Mix the crumbs with the melted butter and sugar until it looks like wet sand. Press this mixture firmly into the bottom of the pan. Use the bottom of a measuring cup to pack it down tight. A loose crust is a sad crust. Set this aside while you make the filling.
Step 2: Make the Cheesecake Layer (10 minutes)
In a large bowl, beat the softened cream cheese until it is completely smooth and creamy. This takes about 2-3 minutes. Scrape down the sides of the bowl. Add the sour cream, vanilla extract, and confectioners’ sugar. Beat until combined and smooth.
In a separate bowl, whip the cold heavy cream until stiff peaks form. This means when you lift the beaters, the cream stands up straight. Gently fold the whipped cream into the cream cheese mixture. Do this in two additions. Use a spatula and fold gently from the bottom up. You want to keep the air in there. This is what makes the cheesecake light, not dense.
Spread this mixture evenly over the crust. Smooth the top with your spatula. Place this in the fridge for at least 30 minutes to firm up. This step is important because it creates a solid base for the pudding layer.
Step 3: Make the Banana Pudding Layer (10 minutes)
In a large bowl, whisk together the instant vanilla pudding mix and 2 cups of cold milk. Whisk vigorously for 2 minutes until it thickens. It will get thick fast. Don’t panic.
In another bowl, whip the thawed whipped topping until it’s fluffy. If you’re using homemade whipped cream, whip it with a little sugar until stiff.
Gently fold the whipped topping into the pudding mixture. It will lighten the texture and make it airy. Slice your bananas into ¼-inch rounds. Try to keep the slices even so they look pretty.
Remove the cheesecake from the fridge. Spread half of the pudding mixture over the cheesecake layer. Arrange half of the banana slices on top of the pudding. Add the remaining pudding mixture on top of the bananas, spreading it to the edges. Top with the remaining banana slices. You want the bananas to be somewhat covered by the pudding to prevent browning, but you can leave some exposed for looks.
Step 4: Chill and Set (At least 4 hours, ideally overnight)
Cover the pan tightly with plastic wrap or foil. Place it in the fridge for at least 4 hours. Ideally, make this the night before. The longer it chills, the better it slices. The flavors meld, the bananas soften slightly, and the whole thing becomes a cohesive unit.
Step 5: Serve
Remove the springform ring carefully. Slice with a sharp knife wiped clean between cuts for clean slices. Serve chilled. It’s best enjoyed within 24 hours of assembly because the bananas will continue to oxidize and brown slightly over time.
Expert Tips & Tricks
Here’s everything I’ve learned from making this dozens of times. These tips will save you from my mistakes.
Treat the Bananas Right
Bananas turn brown quickly when exposed to air. To keep them looking bright, you can toss them in a little lemon juice before slicing. It doesn’t change the taste, just the color. Also, always layer the bananas between pudding layers. Exposed bananas will brown. Covered bananas stay pretty.
Don’t Rush the Cream Cheese
If your cream cheese isn’t fully softened, you’ll get lumps in your cheesecake layer. These lumps won’t disappear when you fold in the whipped cream. They’ll stay there. Take the time to let it come to room temperature. If you’re short on time, microwave it in 5-second bursts, checking frequently. Don’t melt it.
Fold, Don’t Stir
When combining the whipped cream with the cheesecake, or the whipped topping with the pudding, use a folding motion. Stirring vigorously deflates the air and makes your dessert dense. You want light and airy. Gentle folds are key.
The Crust Must Be Packed
A loose crust crumbles when you cut it. Press it down hard. If it feels crumbly and won’t hold together, add another tablespoon of melted butter. It should feel like damp sand that holds its shape when squeezed.
Storage is Key
This dessert must stay refrigerated. Do not leave it out on the counter for more than 2 hours. The dairy and bananas are a perfect breeding ground for bacteria. Keep it covered to prevent it from absorbing fridge smells. I’ve made the mistake of leaving it uncovered once, and it tasted like leftover onion soup. Don’t be me.
Variations & Substitutions
Once you’ve nailed the basic version, here’s how you can mix it up. I’ve tried all of these.
Chocolate Banana Pudding
Swap the vanilla pudding mix for chocolate pudding mix. It’s rich, decadent, and tastes like a chocolate-covered banana. My kids love this version.
Strawberry Swirl
Add a layer of sliced strawberries between the cheesecake and pudding layers. Or swirl some strawberry jam into the pudding mixture. It adds a nice tartness.
Cookie Crust Variation
If you don’t like vanilla wafers, you can use Nilla Wafers (same thing), or even graham crackers for a slightly more neutral flavor. But vanilla wafers are the authentic choice.
Gluten-Free
Use gluten-free vanilla wafers. Most brands work fine. Make sure your pudding mix is certified gluten-free if you have celiac disease, as some contain wheat starch.
Dairy-Free
This is trickier because of the cream cheese and pudding. Use dairy-free cream cheese, coconut milk pudding mix, and coconut whipped topping. The texture will be slightly different, but it’s still delicious. I’ve made this for my lactose-intolerant friend, and she didn’t miss the dairy.
Lighter Version
Use light cream cheese and low-fat sour cream. Reduce the sugar. The texture will be less rich, but it’s still good. I make this when I’m trying to be “healthy,” though let’s be honest, it’s still a dessert.
Serving & Storage
How to Serve:
I usually serve this straight from the springform pan. It looks rustic and inviting. But here are other ways I’ve enjoyed it:
- Individual Cups — For parties, I sometimes layer this in small glasses or jars. It’s easier to serve and controls portions.
- Side Dishes
This dessert is rich, so it pairs well with lighter sides. I serve it with turkey cheddar pinwheels for a savory contrast, or alongside a simple green salad. - Toppings Bar
When I have guests, I put out a few toppings: crushed vanilla wafers, chocolate shavings, fresh mint leaves. Everyone customizes their slice.
Storage Instructions:
Refrigerator:
Store in an airtight container or covered tightly with plastic wrap for up to 3 days. The bananas will continue to brown slightly, but it won’t affect the taste. After 3 days, the texture starts to break down.
Reheating:
Do not reheat this dessert. It’s meant to be served cold. If you leave it out to warm up slightly, that’s fine, but don’t microwave it. The dairy will separate, and the bananas will get mushy.
Freezing:
Honestly, this doesn’t freeze well. The bananas release water when thawed, making the texture watery. The cream cheese can also become grainy. Make it fresh or store in the fridge for up to 3 days.
Meal Prep:
Make the crust and cheesecake layer ahead. Keep them separate in the fridge. Assemble the pudding and banana layers the day of the party. This ensures the freshest texture.
Nutrition Information
I’m not a nutritionist, but here’s the breakdown if you’re tracking.
Per Serving (based on 12 servings):
- Calories: 380
- Protein: 6g
- Carbs: 42g
- Fiber: 2g
- Sugar: 32g
- Fat: 20g
- Saturated Fat: 12g
- Cholesterol: 60mg
- Sodium: 250mg
What’s Good:
– Decent protein from the cream cheese
– Bananas provide potassium
– No baking means no added fats from butter in the crust (well, there is butter, but it’s minimal)
What to Know:
– Higher in sugar from the pudding mix and bananas
– Contains dairy
– Moderate sodium
My Take:
Look, this is a dessert. It’s sweet, creamy, and indulgent. It’s not a health food. But it’s way better than store-bought cake, and you know exactly what’s in it. When I want to make it lighter, I use the light cream cheese version and reduce the sugar. But usually? I just eat a reasonable slice and enjoy it. Life is short.
Final Thoughts
So that’s my go-to No-Bake Banana Pudding Cheesecake! I’ve probably talked your ear off at this point, but when you make a recipe this often, you have a lot to say about it.
This has saved summer dinners more times than I can count. It’s my answer to “what’s for dessert” when I’m tired, don’t want to bake, and still want something that tastes really good. My family is happy, my friends are happy, and I’m happy because I’m not stressed about cooking.
Make it yours! Try different fruit layers, swap in your favorite cookies, adjust the sweetness. The best recipes are the ones you adapt to your family’s tastes. If you make this, drop a comment and let me know what you think! I love hearing how recipes turn out in your kitchen. And if something doesn’t work, tell me that too—I’m here to help troubleshoot.
Happy cooking! And I hope your kitchen smells half as good as mine does right now.
Frequently Asked Questions
Can I use fresh bananas instead of sliced ones?
You can, but slicing them gives you better distribution. If you mash them, the texture will be very wet and mushy. Slicing allows you to control the layers. If you’re worried about browning, toss the slices in lemon juice as I mentioned above.
Why is my cheesecake layer runny?
This usually means the cream cheese wasn’t fully softened before mixing, or you didn’t whip the heavy cream enough. Make sure your cream cheese is smooth and your whipped cream has stiff peaks. Also, make sure you’re chilling it long enough. It needs at least 4 hours to set properly.
Can I make this ahead for a party?
Yes! This is actually better made ahead. I recommend making it the night before. The flavors meld, and the texture sets perfectly. Just keep it covered in the fridge until you’re ready to serve.
Can I use a different type of cookie for the crust?
You can, but vanilla wafers are the traditional choice for banana pudding. If you use graham crackers, it will taste more like a graham cracker cheesecake. If you use chocolate cookies, it will taste like a chocolate crust. Vanilla wafers provide the authentic banana pudding flavor.
How do I prevent the bananas from turning brown?
Toss them in lemon juice, layer them between pudding layers, and keep the dessert refrigerated until serving. The lemon juice doesn’t add a noticeable lemon flavor, it just preserves the color. Also, serve it within 24 hours for the best appearance.
Can I use Greek yogurt instead of sour cream?
You can, but the texture will be slightly thicker and tangier. Greek yogurt also has less fat, so the cheesecake won’t be as rich. If you use Greek yogurt, make sure it’s full-fat for the best texture. I prefer sour cream for its creamy consistency.
What if I don’t have a springform pan?
You can make this in a regular 9-inch pie dish or a loaf pan. Just line it with parchment paper for easy removal. The texture will be the same, but you won’t get that clean “cheesecake” look. It will still taste delicious.
Pin This Recipe!
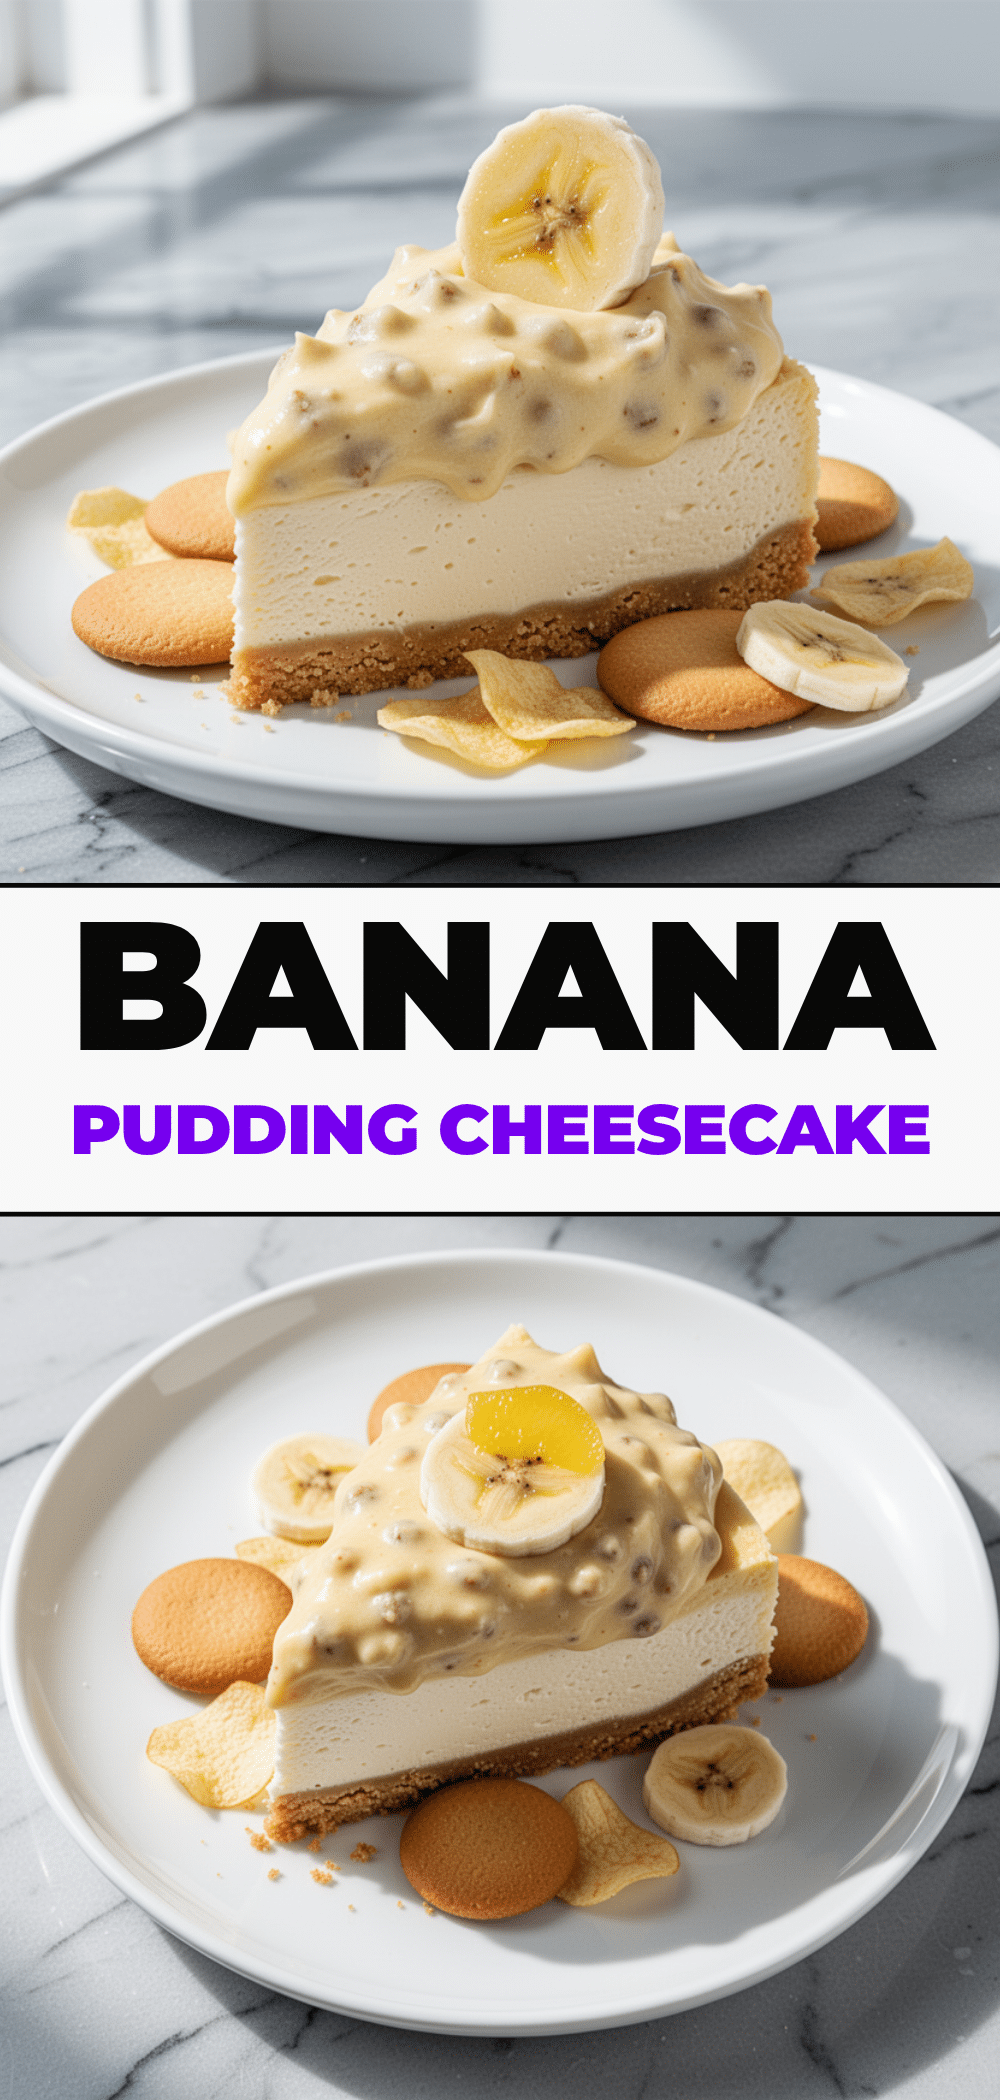
No-Bake Banana Pudding Cheesecake: 3-Step Summer Dessert
- Total Time: 4 hours 20 minutes
- Yield: 12 servings 1x
Description
A creamy, no-bake dessert that combines the tangy richness of New York-style cheesecake with the nostalgic comfort of banana pudding. It features a vanilla wafer crust, a smooth cream cheese layer, and a light banana pudding topping, perfect for summer gatherings.
Ingredients
- 2 cups (200g) vanilla wafers, crushed
- 6 tablespoons (85g) unsalted butter, melted
- 2 tablespoons granulated sugar
- 24 ounces (680g) full-fat cream cheese, softened
- 1 cup (240g) full-fat sour cream
- 1 cup (240ml) heavy whipping cream, cold
- 2 teaspoons vanilla extract
- ½ cup (60g) confectioners’ sugar
- 2 boxes (5.1 oz each) instant vanilla pudding mix
- 4 cups (960ml) whole milk, divided
- 4 large ripe bananas
- 1 container (8 oz) whipped topping, thawed
Instructions
- Grease a 9-inch springform pan. Crush vanilla wafers into fine crumbs and mix with melted butter and sugar. Press firmly into the bottom of the pan and set aside.
- Beat softened cream cheese until smooth. Add sour cream, vanilla extract, and confectioners’ sugar; beat until combined.
- Whip cold heavy cream until stiff peaks form. Gently fold whipped cream into the cream cheese mixture in two additions.
- Spread cheesecake mixture over the crust and refrigerate for at least 30 minutes to firm up.
- Whisk instant vanilla pudding mix with 2 cups of cold milk until thickened. Whip thawed whipped topping until fluffy.
- Fold whipped topping into the pudding mixture. Slice bananas into ¼-inch rounds.
- Remove cheesecake from fridge. Spread half the pudding mixture over the layer, add half the bananas, then remaining pudding, and top with remaining bananas.
- Cover tightly and refrigerate for at least 4 hours, ideally overnight.
- Remove springform ring and slice with a clean knife. Serve chilled.
Notes
Bananas turn brown quickly; toss slices in lemon juice to preserve color and layer them between pudding to prevent exposure. Ensure cream cheese is fully softened to avoid lumps. Do not freeze this dessert as bananas release water and cream cheese becomes grainy. Serve within 24 hours for best appearance.
- Prep Time: 20 minutes
- Cook Time: 0 minutes
- Category: Dessert
- Cuisine: American
Nutrition
- Serving Size: 1 slice
- Calories: 380
- Sugar: 32
- Sodium: 250
- Fat: 20
- Saturated Fat: 12
- Carbohydrates: 42
- Fiber: 2
- Protein: 6
Keywords: no-bake, banana pudding, cheesecake, summer dessert, easy dessert, crowd-pleaser, make-ahead


