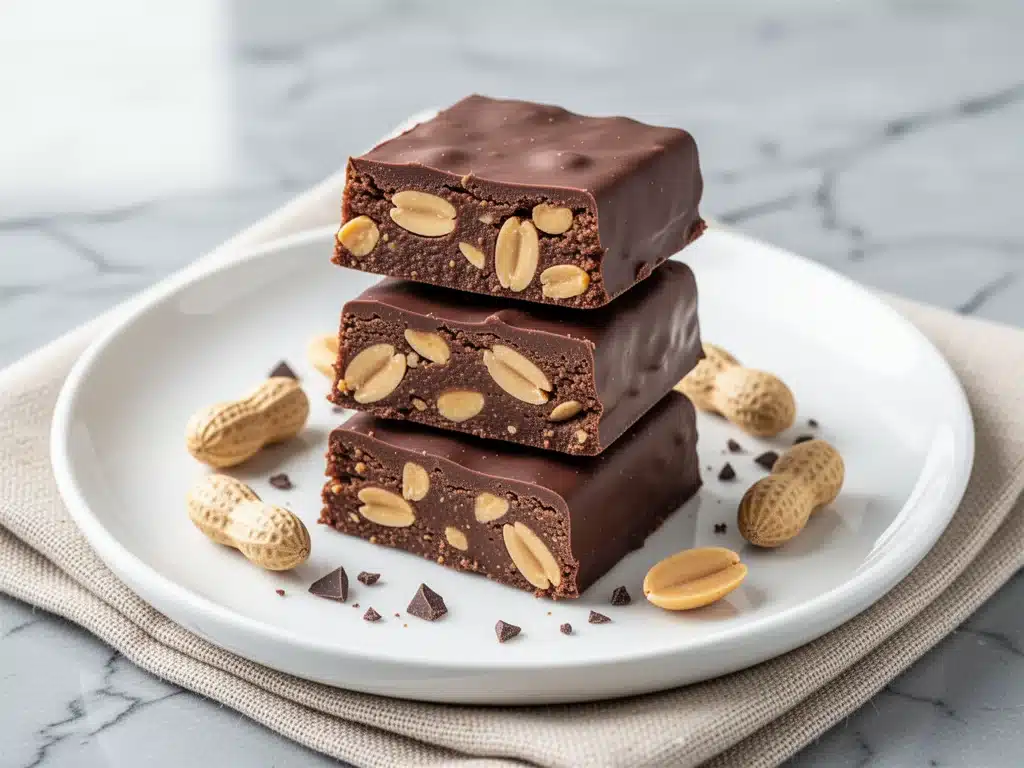
Last Thursday, I stood in front of the pantry at 6:45 PM, staring at a bag of stale pretzels and a jar of peanut butter that had separated into oil and solids. My son’s school started the next morning. The lunchbox was empty. The fridge was mostly empty. And I had exactly zero energy for baking.
We’ve all been there. That specific brand of panic that hits when you realize you need to pack a lunch that is: 1) Not store-bought, 2) Not just fruit and cheese (again), 3) Something your kid will actually eat, and 4) Requires less than ten minutes of active effort because you are exhausted.
That night, I threw together what I thought would be a mediocre, sticky mess. I mixed peanut butter, melted chocolate, and whatever crunchy bits I had lying around. I froze it for twenty minutes, sliced it into squares, and packed them in the lunchbox. I didn’t even tell my son it was homemade. I just hoped it wouldn’t melt by third period.
The next day, he came home and said, “Mom, those bars were the best thing in my lunch all week.”
That was three weeks ago. I have now made these no-bake chocolate peanut butter lunchbox bars at least ten times. They are the reason I’m not buying processed granola bars at the gas station anymore. They’re chewy, they’re rich, they hold up in a lunchbox (mostly), and they taste like a dessert but function like a proper meal. If you’re dreading the back-to-school lunch rush, you need this recipe in your life. Trust me.
Why You’ll Love This No-Bake Chocolate Peanut Butter Lunchbox Bars Recipe
There are about a dozen reasons I keep making these, but let’s be real about the ones that actually matter when you’re trying to survive September.
- Zero Baking Required — Seriously. No oven, no preheating, no waiting for cookies to cool. You mix, you freeze, you slice. If you can stir, you can make these. I’ve made these while holding a toddler and answering work emails. It’s that simple.
- Lunchbox Friendly (Mostly) — I know what you’re thinking: “Chocolate melts.” Yes, but these set firmly in the freezer. If you pack them frozen, they arrive at school still solid. By the time lunch comes around, they’re perfectly soft but not a puddle. I use an insulated lunch bag with a small ice pack, and they survive all day.
- Protein-Packed — These aren’t just sugar and chocolate. The peanut butter and oats give them a solid protein base. They keep my kids full until dinner. I’ve noticed they don’t raid the vending machine as much anymore because they’re actually satiated.
- Pantry Staples — You probably have almost everything you need right now. Peanut butter, chocolate chips, oats, honey. No weird ingredients you have to order online. This is real-food comfort.
- Customizable Chaos — My daughter likes hers with mini M&Ms. My son prefers them with crushed pretzels for crunch. I like them with a sprinkle of sea salt. You can tweak these bars to fit whatever your kids are craving that week.
This has become my go-to when I need dinner to just work—or in this case, lunch to just work. No complicated techniques, no weird ingredients, just reliable, delicious food that makes everyone happy.
Ingredients You’ll Need for the Best No-Bake Chocolate Peanut Butter Lunchbox Bars
Here’s the best part: you probably have most of this already. I’m particular about three ingredients here, and I’ll tell you exactly why. Don’t cut corners on the good stuff.
For the Base:
Creamy Peanut Butter (1 cup / 250g) — This is non-negotiable. I use Jif or Skippy. Natural peanut butter? It’s too oily and doesn’t bind well. You want that processed, stable texture for these bars. If you use natural PB, the bars will be greasy and fall apart. I’ve tested it. Don’t do it.
Oats (1 ½ cups / 150g) — Old-fashioned rolled oats are ideal. They hold their shape. Quick oats turn into mush. If you only have quick oats, pulse them in the blender for 10 seconds to break them up, but rolled is best for that chewy texture.
Honey (½ cup / 150ml) — This acts as the binder. Maple syrup works too, but honey has a better chew. Use raw honey if you have it, but regular golden honey is fine. Don’t use corn syrup; it’s too sweet and sticky.
Butter (2 tablespoons / 30g) — Unsalted is fine. This adds richness and helps everything come together. It’s optional if you’re dairy-free, but it really helps the texture.
For the Chocolate Coating:
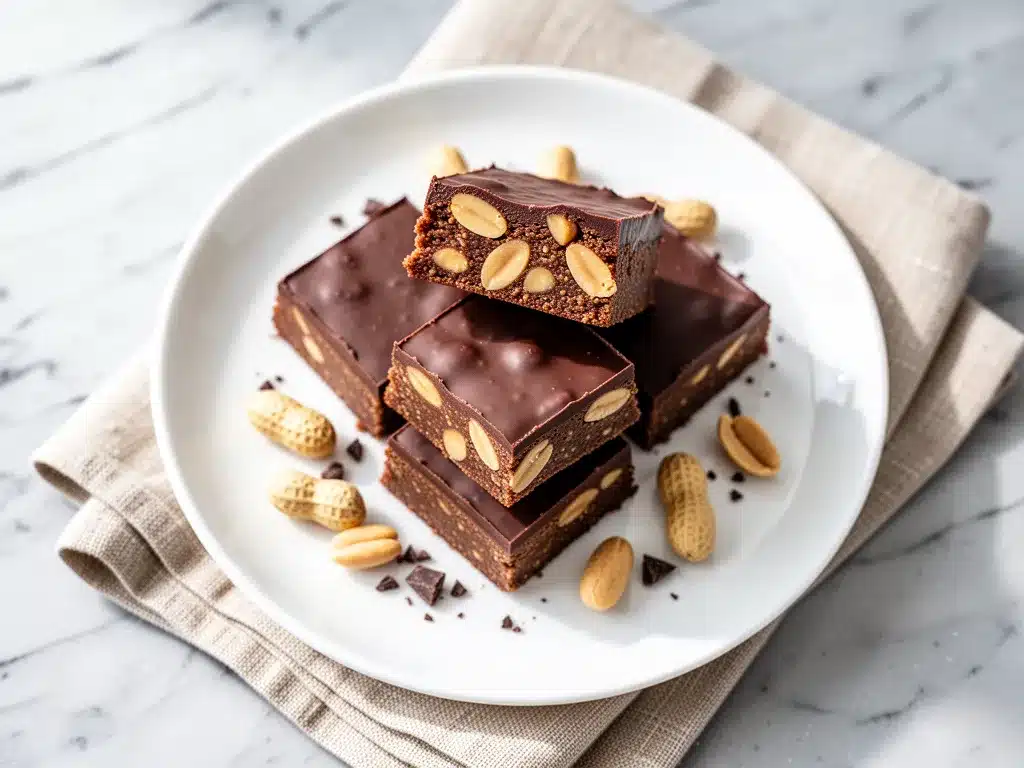
Dark Chocolate Chips (1 ½ cups / 250g) — I use semi-sweet chips. They’re not too sweet and they melt smoothly. Milk chocolate works if you prefer sweeter bars, but dark chocolate holds its shape better in warm lunchboxes. Ghirardelli is my go-to brand.
Coconut Oil (1 tablespoon / 15ml) — This is the secret weapon. It makes the chocolate coating snap and sets firmly in the fridge. Without it, the chocolate stays soft and sticky. Use refined coconut oil so it doesn’t taste like coconut.
Powdered Sugar (2 tablespoons / 15g) — Optional, but it prevents the chocolate from getting too thin. It also adds a slight sweetness that balances the salty pretzels or nuts.
The Mix-Ins (Pick Your Poison):
Pretzels (½ cup, crushed) — For crunch and salt. I crush them in a bag with a rolling pin. They add a savory contrast to the sweet chocolate.
Mini M&Ms (½ cup) — For the kids who just want candy. I use mini size so they don’t overpower the bar.
Chopped Peanuts (½ cup) — For extra crunch and peanut flavor. Double down on the PB theme.
Raisins or Dried Cranberries (½ cup) — For a chewy, fruity twist. Great for a slightly healthier vibe.
Sea Salt Flakes — To sprinkle on top. The salt makes the chocolate flavor pop. It’s the difference between “okay” and “addictive.”
Equipment Needed
You don’t need fancy equipment for this. Here’s what I actually use.
Large Microwave-Safe Bowl — I use a 4-quart glass bowl. It needs to be big because the mixture expands a bit. Pyrex is great because it doesn’t get too hot to touch.
8×8 Inch Baking Pan — Line it with parchment paper. This is crucial. If you don’t line it, you will fight to get the bars out. I use “overhanging” parchment so I can lift the whole block out at once.
Small Microwave-Safe Mug or Bowl — For melting the chocolate. A small vessel makes it easier to stir in small amounts.
Spatula — Silicone is best. You need to scrape every bit of peanut butter mixture out of the bowl.
Rolling Pin — For crushing pretzels. Or just use your hands if you’re feeling aggressive.
Chef’s Knife — For slicing. A serrated knife works too if the bars are firm.
Freezer — Obviously. But make sure you have space in the freezer for a flat 8×8 pan.
How to Make It: Step-by-Step
Alright, let’s make this! I’m walking you through exactly how I do it, including the little tricks I’ve picked up.
Step 1: Prep Your Pan (2 minutes)
Line your 8×8 inch baking pan with parchment paper. Leave an overhang on the long sides so you can lift the bars out later. Spray it lightly with cooking spray if you want extra insurance. This step takes two seconds but saves you five minutes of cleanup later.
Step 2: Mix the Base (3 minutes)
In your large microwave-safe bowl, combine the peanut butter, honey, butter, and oats. Microwave on high for 60-90 seconds. Stir well. The mixture should be warm and glossy. If it’s still too thick to stir, microwave for another 30 seconds. You want it to come together into a sticky, uniform mass. If you see clumps of dry oats, you didn’t heat it long enough.
Step 3: Add Your Mix-Ins (1 minute)
Stir in your chosen mix-ins now. Pretzels, M&Ms, nuts, whatever you’re feeling. Make sure they’re evenly distributed. I usually save a few M&Ms to press on top later for presentation.
Step 4: Press Into Pan (2 minutes)
Transfer the mixture to your prepared pan. Use a spatula or your hands (lightly greased with butter or oil) to press it down firmly. I know it’s tempting to leave it fluffy, but you need to press it tight. If it’s loose, the bars will crumble. Pack it in like you’re trying to trap something in there. Smooth the top with the back of a spoon.
Step 5: Freeze the Base (15-20 minutes)
Place the pan in the freezer. This is crucial. You need the base to set up so the chocolate coating doesn’t sink in and make a mess. 15 minutes is usually enough. If you’re in a rush, 10 minutes works, but 20 is better.
Step 6: Melt the Chocolate (2 minutes)
While the base freezes, melt the chocolate chips and coconut oil in a small microwave-safe bowl. Microwave in 30-second intervals, stirring between each. Stop when there are still a few small chips left, then stir—it will melt from the residual heat. Overheating chocolate makes it seize up and turn grainy. Do not burn it.
Step 7: Pour and Smooth (1 minute)
Take the pan out of the freezer. Pour the melted chocolate over the frozen base. Use a spatula to spread it evenly to the edges. If you have extra M&Ms or pretzel pieces, press them into the top now. This is the fun part.
Step 8: Final Set (30 minutes)
Put the pan back in the freezer for at least 30 minutes. The chocolate needs to harden completely. If you try to cut it while it’s soft, it’ll be a muddy mess. 30 minutes is the sweet spot. Overnight is fine if you’re prepping ahead.
Step 9: Slice and Serve
Lift the block out of the pan using the parchment overhang. Place it on a cutting board. Slice into 12-16 bars. I cut them in half first, then into quarters. Use a sharp knife. If the chocolate cracks, your bars were too cold—let them sit at room temperature for 5 minutes before slicing.
Total Time: About 45 minutes (10 minutes active, 35 minutes freezing)
Expert Tips & Tricks
Here’s everything I’ve learned from making this dozens of times. These tips will save you from my mistakes.
Don’t Skip the Freezing Step
I know it’s tempting to just pour chocolate over warm peanut butter. Don’t. The base will sink, the chocolate will mix with the peanut butter, and you’ll end up with a weird fudge mess. The freeze step creates a barrier. It’s non-negotiable for clean layers.
Use Refined Coconut Oil
If you use unrefined coconut oil, your chocolate bars will taste like coconut. Unless that’s your thing, use refined. It’s flavorless and just does the job of helping the chocolate snap.
Press Firmly
I’ve made these loose before. They fall apart in the lunchbox. Messy. Humiliating. Press that base down hard. Use the bottom of a glass if you need more leverage.
Keep Them Frozen Until Lunch
This is the lunchbox hack. Pack them frozen. They’ll thaw by lunchtime, but they won’t melt into a puddle. If you pack them fresh out of the freezer, they arrive at school still solid. By the time lunch comes around, they’re perfectly soft but not a puddle.
Storage is Key
Store these in the freezer in an airtight container. They keep for up to 3 months. I make a big batch, slice them, and freeze them in portions. Grab-and-go perfection.
Variations & Substitutions
Once you’ve nailed the basic version, here’s how you can mix it up. I’ve tried all of these.
Almond Butter Version
Swap peanut butter for almond butter. It’s a bit nuttier and more sophisticated. My husband loves this version. It’s slightly less sweet, so add an extra tablespoon of honey if you like it sweet.
Trail Mix Style
Use a mix of chocolate chips, dried cranberries, and chopped almonds. It’s like a gourmet granola bar. Great for kids who are bored of the standard recipe.
Vegan Version
Use maple syrup instead of honey, vegan butter, and vegan chocolate chips. The coconut oil stays the same. They hold together just as well. My lactose-intolerant friend requests this version.
Low-Sugar Version
Use sugar-free chocolate chips and replace honey with monk fruit sweetener. It’s a bit less chewy, but still tasty. I make this when I’m trying to be “healthy.”
Gluten-Free
Use certified gluten-free oats and make sure your pretzels are GF. Everything else is naturally GF. I use Bob’s Red Mill GF oats and they work great.
Protein Boost
Add a scoop of vanilla protein powder to the base. It might make it drier, so add a splash of milk if needed. Great for my athletic son who needs post-practice fuel.
Serving & Storage
How to Serve: I usually serve these straight from the freezer. They’re firm and satisfying. But here are other ways I’ve enjoyed them:
- Lunchbox Star: Pack them frozen with an ice pack. They thaw by lunch.
- After-School Snack: Let them sit for 5 minutes to soften. Perfect with a glass of cold milk.
- Party Platter: Cut them into smaller bites for parties. They look elegant and taste like candy.
Storage Instructions:
Freezer: Store in an airtight container for up to 3 months. Layer them with parchment paper so they don’t stick together. This is how I meal-prep for the whole month.
Refrigerator: They can stay in the fridge for up to 1 week, but they’ll be softer. I prefer the freezer texture.
Room Temperature: Not recommended. The chocolate will soften and the bars will get sticky. Unless it’s cold outside, keep them chilled.
Pro tip: If you’re packing them for school, wrap each bar in wax paper before putting them in the container. It keeps them from sticking together and makes them easier to unwrap.
Nutrition Information
I’m not a nutritionist, but here’s the breakdown if you’re tracking.
Per Bar (based on 16 bars):
- Calories: 180
- Protein: 5g
- Carbs: 18g
- Fiber: 2g
- Sugar: 10g
- Fat: 11g
- Saturated Fat: 5g
- Sodium: 90mg
What’s Good: Decent protein from peanut butter and oats. Fiber from the oats. More filling than it looks.
What to Know: Higher in calories from chocolate and peanut butter. Contains dairy (unless vegan version). Moderate sugar.
My Take: Look, this is a treat with chocolate and peanut butter. It’s not a diet recipe. But it’s way better than store-bought granola bars, costs less, and I know exactly what’s in it. When I want to make it lighter, I use less chocolate and more oats. But usually? I just eat a reasonable portion and enjoy it.
Final Thoughts
So that’s my go-to no-bake chocolate peanut butter lunchbox bars! I’ve probably talked your ear off at this point, but when you make a recipe this often, you have a lot to say about it.
This has saved my sanity during back-to-school season. It’s my answer to “what’s for lunch?” when I’m tired, don’t want to buy processed bars, and still want something that tastes really good. My kids are happy, I’m happy because I’m not stressed about cooking, and we’re all happy because we’re eating real food.
Make it yours! Try different mix-ins, swap in your favorite chocolate, adjust the sweetness. The best recipes are the ones you adapt to your family’s tastes. If you make these, drop a comment and let me know what mix-ins you tried! I love hearing how recipes turn out in your kitchen.
Happy packing! And I hope your kids’ lunches smell half as good as mine do right now.
Frequently Asked Questions
Can I use natural peanut butter?
You can, but the bars will be oily and won’t hold together as well. Natural peanut butter separates, and the oil makes the bars greasy. If you must use it, freeze the peanut butter first to solidify the oil, but processed PB is much easier and works better. I’ve tested it. Trust me.
Why did my chocolate coating crack?
The bars were too cold when you poured the chocolate on. If the base is frozen solid, the warm chocolate hits it and cracks. Let the base sit at room temperature for 5-10 minutes before pouring the chocolate. Or, let the chocolate cool slightly before pouring so it’s not too hot.
Can I make these ahead of time?
Absolutely! I make a big batch on Sunday and freeze them for the whole week. They keep in the freezer for up to 3 months. Just slice them and store them in an airtight container. Grab-and-go perfection.
How do I prevent them from melting in the lunchbox?
Pack them frozen. Use an insulated lunch bag with a small ice pack. They’ll thaw by lunchtime, but they won’t melt into a puddle. This is the key to success. I’ve tried packing them fresh, and it’s a disaster.
Can I substitute honey with maple syrup?
Yes, but the bars will be slightly less chewy. Maple syrup is thinner, so you might need to add a bit more oats to bind it. It works, but honey gives that classic bar texture. I prefer honey.
Can I use dark chocolate chips?
Yes! I actually prefer semi-sweet or dark chocolate because it’s not too sweet. Milk chocolate works too, but it’s sweeter and softer. Dark chocolate holds its shape better in warm weather.
How long do these last in the freezer?
Up to 3 months in an airtight container. After that, they might get freezer burn. I usually make enough for 2-3 weeks at a time, so I haven’t tested longer storage.
Pin This Recipe!
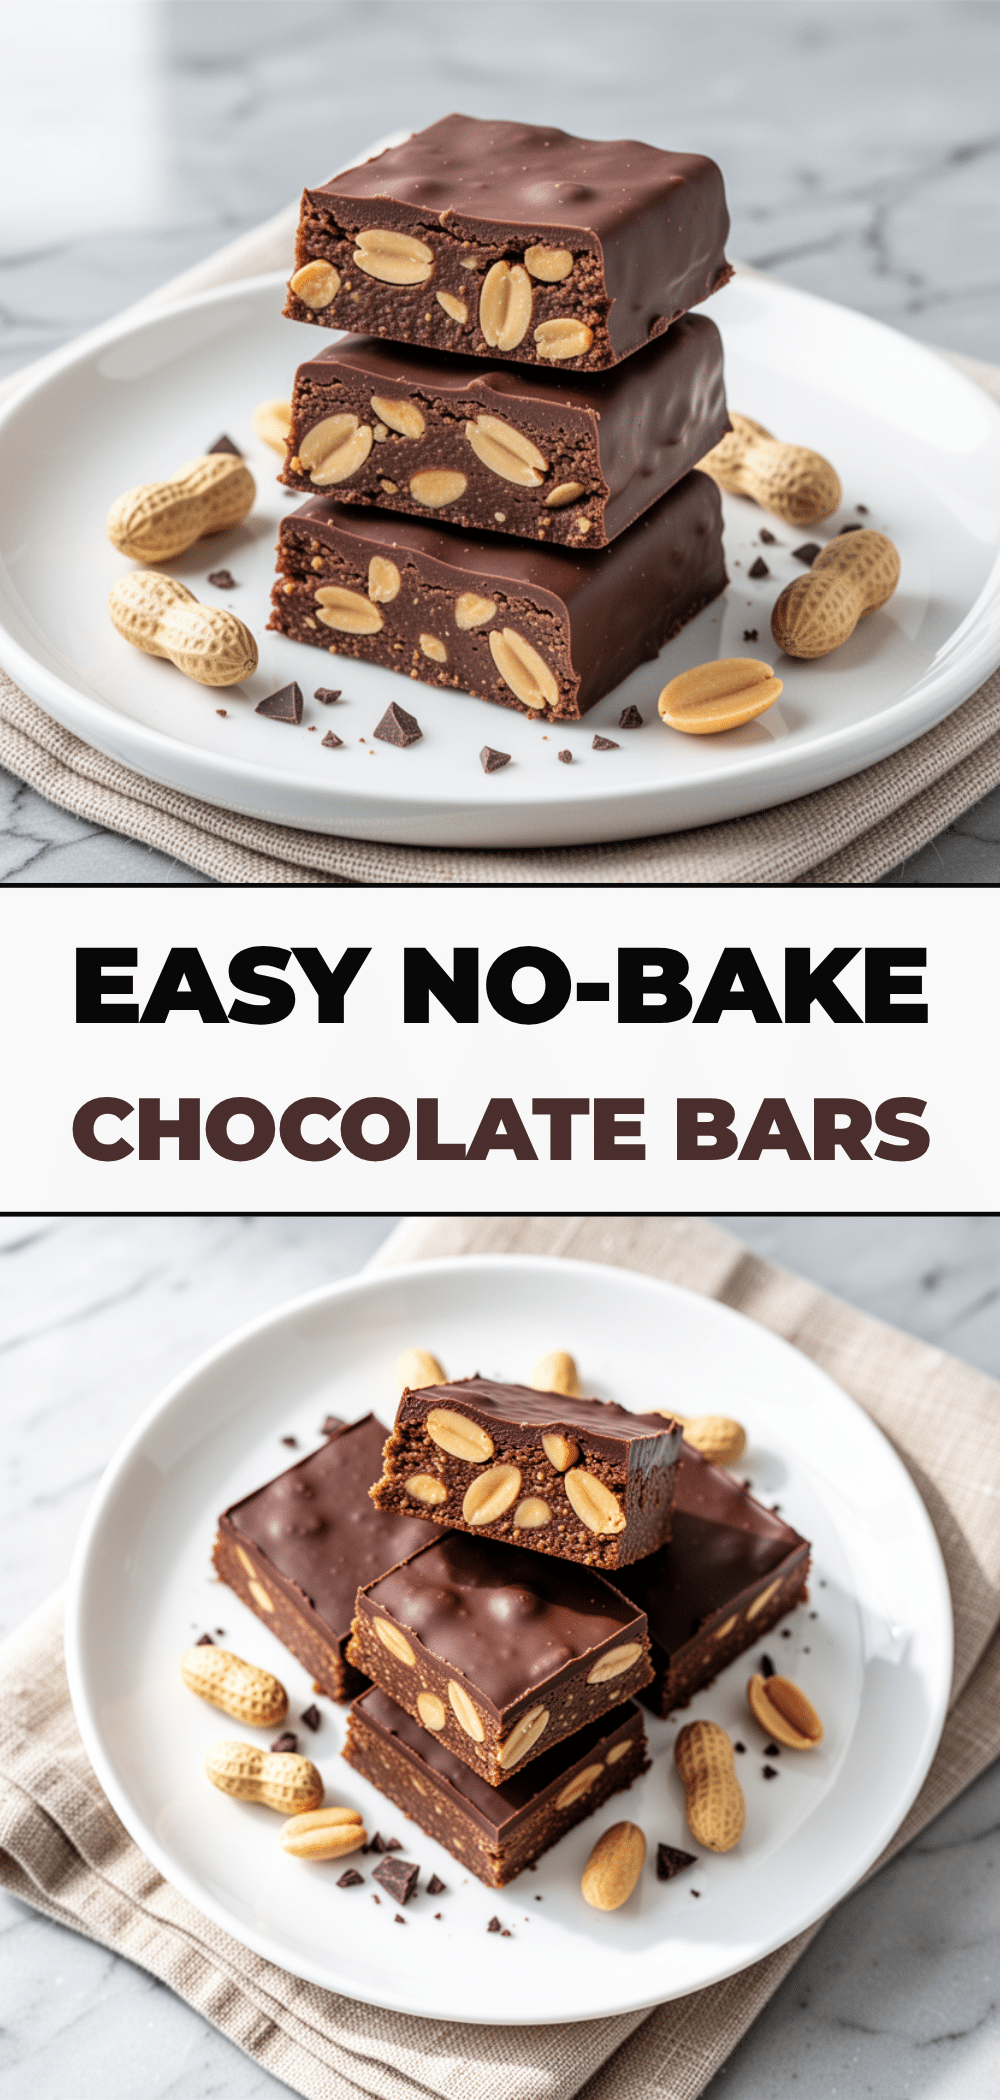
No-Bake Chocolate Peanut Butter Lunchbox Bars
- Total Time: 45 minutes
- Yield: 16 servings 1x
Description
A quick, no-bake snack made with peanut butter, oats, and chocolate, designed to be packed in lunchboxes and hold up without melting.
Ingredients
- 1 cup creamy peanut butter
- 1 ½ cups old-fashioned rolled oats
- ½ cup honey
- 2 tablespoons unsalted butter
- 1 ½ cups dark chocolate chips (semi-sweet)
- 1 tablespoon refined coconut oil
- 2 tablespoons powdered sugar (optional)
- ½ cup mix-ins (pretzels, mini M&Ms, chopped peanuts, or dried fruit)
- Sea salt flakes for topping
Instructions
- Line an 8×8 inch baking pan with parchment paper, leaving an overhang on the long sides.
- In a large microwave-safe bowl, combine peanut butter, honey, butter, and oats. Microwave on high for 60-90 seconds until warm and glossy. Stir well to combine.
- Stir in your chosen mix-ins (pretzels, M&Ms, nuts, etc.) until evenly distributed.
- Transfer the mixture to the prepared pan. Press down firmly and evenly using a spatula or greased hands. Smooth the top.
- Place the pan in the freezer for 15-20 minutes to set the base.
- While the base freezes, melt chocolate chips and coconut oil in a small microwave-safe bowl in 30-second intervals, stirring between each, until smooth.
- Remove the pan from the freezer. Pour the melted chocolate over the frozen base and spread evenly to the edges.
- Press any extra mix-ins into the top if desired.
- Return the pan to the freezer for at least 30 minutes until the chocolate is completely hardened.
- Lift the block out of the pan using the parchment overhang. Slice into 12-16 bars using a sharp knife.
Notes
Use creamy, processed peanut butter for best binding; natural peanut butter may make the bars greasy. Press the base firmly to prevent crumbling. Pack bars frozen in an insulated lunch bag with an ice pack to prevent melting. Store in the freezer for up to 3 months.
- Prep Time: 10 minutes
- Cook Time: 0 minutes
- Category: Snack
- Cuisine: American
Nutrition
- Serving Size: 1 bar
- Calories: 180
- Sugar: 10
- Sodium: 90
- Fat: 11
- Saturated Fat: 5
- Carbohydrates: 18
- Fiber: 2
- Protein: 5
Keywords: no-bake, lunchbox, peanut butter, chocolate, kids snacks, easy recipes, school lunch, gluten-free option


