Let me confess something that might shock my neighbors: I used to be terrified of the oven on weekends. Not because I couldn’t handle the heat, but because I couldn’t handle the cleanup. You know the drill. Flour dusted across every counter, sticky spatulas, dirty mixing bowls, and that lingering smell of burnt sugar that clings to your curtains for days. I loved baking, I really did, but the process often felt more like a chore than a joy.
Then came that rainy Tuesday in November when I was craving something chocolate and peanut butter but absolutely refused to turn on the kitchen appliances. My husband was working late, the kids were arguing over tablets, and I just wanted a slice of dessert that didn’t require a 20-minute bake and a scrub brush. So, I threw together what I thought would be a mediocre, quick fix in the fridge.
I expected a solid snack. What I got was a slice of heaven so rich, so creamy, and so ridiculously easy that my husband walked in five minutes later, took one bite, and asked, “Did you order takeout? Because this tastes like expensive restaurant dessert.” I told him no. I told him it took ten minutes of active work and zero heat. He didn’t believe me until I showed him the empty bag of Oreos in the trash.
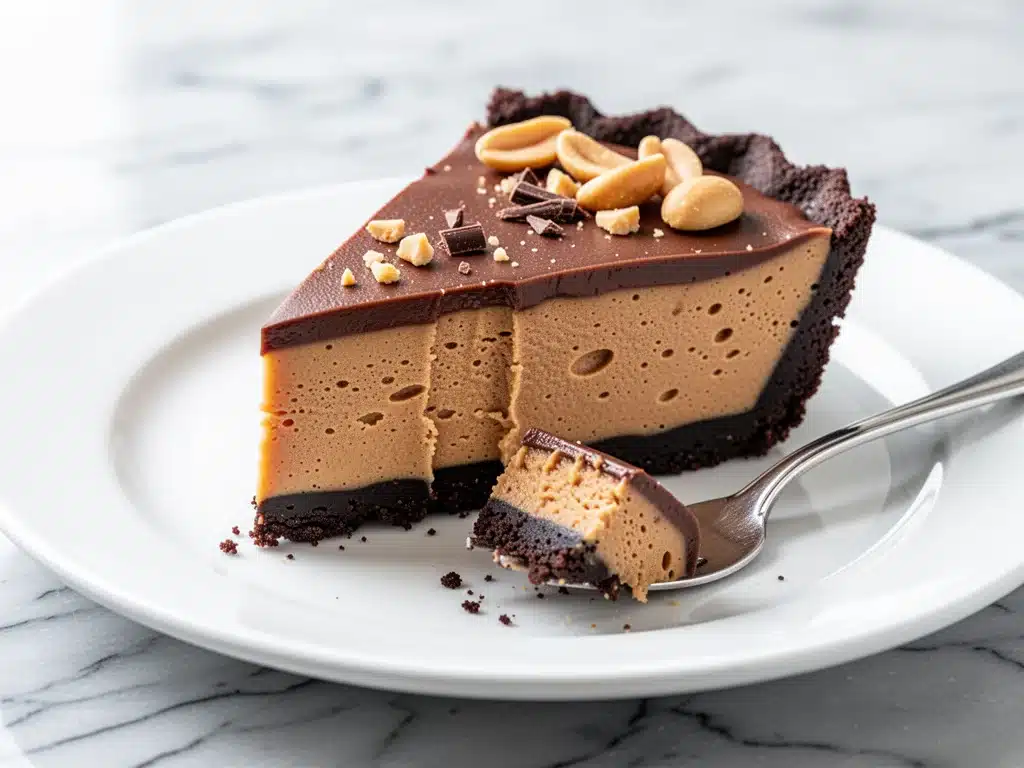
That was the moment I discovered the no-bake chocolate peanut butter pie better than takeout. It’s not just a dessert; it’s a hack for lazy weeknights, last-minute guests, and anyone who loves chocolate but hates the hassle. I’ve made this pie at least a dozen times since then—sometimes for holidays, sometimes just because I was bored on a Wednesday. And every single time, it tastes like I spent hours in the kitchen.
The secret isn’t complicated. It’s actually pretty simple. It’s about combining the right textures and letting the fridge do the heavy lifting. No rolling pins, no water baths, no tempering chocolate. Just smooth, fudgy layers that set up perfectly while you binge-watch your favorite show. If you’ve been looking for a way to impress people without sweating over a stove, this is it. Trust me, once you try this no-bake chocolate peanut butter pie better than takeout, you’ll never go back to complicated recipes again.
Why This Recipe Wins Every Time
There are a million pie recipes out there, so why is this one the one I keep coming back to? Here’s the real talk: it’s foolproof, it’s indulgent, and it’s surprisingly healthy-ish (okay, maybe not diet food, but better than a donut).
- Zero Heat Required — Seriously. I’m talking zero. No oven, no stove, no double boiler. If you can open a can and mix ingredients, you can make this. I’ve made this while watching TV. I’ve made this with one hand while holding a toddler. It works.
- Crust That Actually Stays Together — So many no-bake pies fall apart on the plate. This one? It holds up. The butter and peanut butter bind the crumbs perfectly, creating a crust that’s crunchy on the outside and chewy on the inside. It’s the kind of crust that makes you want to eat it before you even add the filling.
- Rich Without Being Heavy — The filling is creamy, yes, but it’s not cloying. The balance between the salty peanut butter and the sweet chocolate keeps every bite interesting. It’s like a Reese’s Cup exploded into a mousse, but in the best way possible.
- Make-Ahead Friendly — This is the ultimate stress-buster for dinner parties. You can make this pie two days in advance. In fact, it tastes better the next day because the flavors have time to meld. I often make it on Sunday for Friday night cravings.
- Pantry Staples — You probably have most of this already. Chocolate cookies, peanut butter, cream cheese, whipped topping. It’s not like you need to run to the store for exotic ingredients. It’s accessible luxury.
This pie has saved me more times than I can count. It’s my go-to when I need to bring something to a potluck, when I want to treat myself, or when I just need a hug in dessert form. It’s reliable, delicious, and ridiculously easy.
Ingredients You’ll Need
Here’s the best part: this recipe uses ingredients you likely already have in your kitchen. I’m not asking you to buy anything fancy. Just grab these basics and let’s get cooking.
For the Crust
Chocolate Sandwich Cookies (about 30 cookies, crushed) — I use Oreos because they’re the standard, but chocolate wafer cookies work too. If you want to be fancy, use chocolate chip cookies, but Oreos give that classic no-bake pie vibe. Crush them fine—almost like sand. This helps the crust hold together.
Butter (6 tablespoons, melted) — Unsalted butter is best so you can control the salt. Melt it completely. If it’s lukewarm, it’ll mix easier with the crumbs. Don’t use margarine; the texture won’t be right.
Granulated Sugar (2 tablespoons) — This isn’t strictly necessary if your cookies are sweet, but it adds a little crunch and helps bind the crust. I always add it because I like that slight crispness.
For the Filling
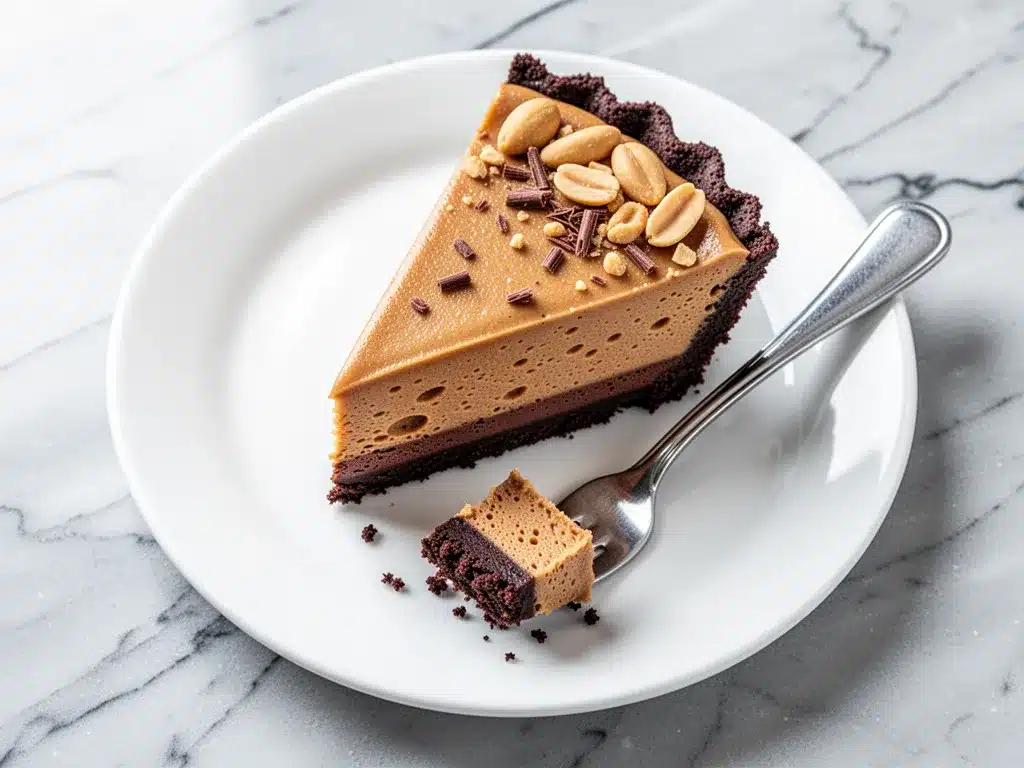
Cream Cheese (8 ounces, softened) — This is the secret to the dense, cheesecake-like texture. It can’t be whipped cream cheese; it has to be the block kind. Soften it in the microwave for 15 seconds or leave it out for an hour. If it’s too cold, you’ll get lumps.
Peanut Butter (½ cup, creamy) — Use standard creamy peanut butter, like Jif or Skippy. Natural peanut butter? Skip it. The oil separation makes the filling runny and weird. You want that smooth, processed texture for stability. If you hate peanut butter, this isn’t for you (but you should try it).
Powdered Sugar (1 cup) — This sweetens the filling and helps thicken it. Don’t skip it, or it’ll taste too tart. Sift it if it’s lumpy, though I usually just whisk it in.
Whipped Topping (8 ounces, thawed) — Cool Whip or a generic brand. This lightens the filling and gives it that airy mousse texture. Make sure it’s thawed but still cold. If it’s melted, your pie will be soup.
Mini Chocolate Chips (½ cup) — Stir these in at the end for little bursts of chocolate. You can use semi-sweet or milk chocolate. I like semi-sweet because it cuts the sweetness.
Equipment You’ll Need
You don’t need a fancy kitchen for this. Here’s what I actually use:
Food Processor or Ziploc Bag — To crush the cookies. A food processor is fastest (10 seconds), but a rolling pin and a heavy-duty bag work just as well if you don’t want to dirty the machine.
9-Inch Pie Dish — Glass or ceramic works best. Metal works too, but glass lets you see the crust if you’re worried about it sticking. I use a glass dish because it’s easy to clean.
Electric Mixer — Hand mixer or stand mixer. You need to whip the cream cheese and peanut butter until smooth. Doing this by hand is possible but tedious. I’m not proud of how many times I’ve done it by hand when the mixer was broken. Don’t be like me.
Spatula — A rubber spatula is essential for folding in the whipped topping. You want to keep the air in the mixture, so gentle folds are key.
Measuring Cups and Spoons — Standard stuff. Accuracy matters here because the ratio of fat to sugar affects the texture.
How to Make It: Step-by-Step
Alright, let’s make this! I’m walking you through exactly how I do it, including the little tricks I’ve picked up over the years.
Step 1: Crush the Cookies (5 minutes)
Take your chocolate sandwich cookies and crush them into fine crumbs. If using a food processor, pulse until they look like wet sand. If using a bag, roll over them with a rolling pin until they’re dusty. Don’t worry about big chunks; they’ll melt in your mouth later, but fine crumbs make a better crust.
Step 2: Make the Crust (3 minutes)
In a medium bowl, mix the cookie crumbs, melted butter, and sugar. Stir until it looks like damp sand. Press this mixture firmly into the bottom and up the sides of your 9-inch pie dish. Use the bottom of a measuring cup to pack it down tight. If it’s loose, the pie will fall apart. Chill this in the fridge for 15 minutes while you make the filling. This step is crucial for setting the crust.
Step 3: Whip the Base (5 minutes)
In a large bowl, beat the softened cream cheese and peanut butter together until completely smooth. This is the most important step. If you see lumps of cream cheese, keep beating. It should be silky. Add the powdered sugar and beat until combined. The mixture will be thick and dense. This is normal.
Step 4: Fold in the Whipped Topping (3 minutes)
Gently fold in the thawed whipped topping. Use a spatula and cut down the middle, scoop over the top, and turn. Don’t stir vigorously, or you’ll deflate the air and lose the fluffy texture. You want a light, airy mixture. Once combined, fold in the mini chocolate chips.
Step 5: Assemble and Chill (4+ hours)
Pour the filling into the chilled crust. Smooth the top with your spatula. Cover loosely with plastic wrap (don’t let it touch the filling) and refrigerate for at least 4 hours, preferably overnight. The longer it chills, the firmer it sets. I usually make it the night before so it’s ready for the next day.
Step 6: Serve
Slice with a sharp knife dipped in hot water for clean cuts. Top with whipped cream, extra chocolate chips, or crushed peanuts if you want to be fancy. But honestly? It’s perfect on its own.
Expert Tips & Tricks
Here’s everything I’ve learned from making this dozens of times. These tips will save you from my mistakes.
Don’t Skip the Chilling
I know it’s tempting to eat it right away. Resist. The filling needs time to set. If you cut it too soon, it’ll be a mess. Four hours is the minimum. Overnight is ideal.
Softened Cream Cheese is Non-Negotiable
If your cream cheese is cold, you’ll get lumps. If you’re in a rush, microwave it in 5-second bursts. Check it often. You want it soft, not melted.
Use Creamy, Not Natural, Peanut Butter
Natural peanut butter separates. That oil will make your filling greasy. Use the kind with stabilizers. It’s not as “healthy,” but it’s necessary for the texture.
Thaw Whipped Topping Properly
If your Cool Whip is still icy, fold it in gently and it might stay grainy. Let it thaw in the fridge overnight. If you’re in a hurry, leave it on the counter for 30 minutes.
Crust Crumb Size Matters
If your crumbs are too big, the crust will be crumbly. Fine crumbs = cohesive crust. If you’re using a bag, keep rolling until it’s dusty.
Variations & Substitutions
Once you’ve nailed the basic version, here’s how you can mix it up. I’ve tried all of these.
Gluten-Free Version
Use gluten-free chocolate sandwich cookies. They crush the same way and taste just as good. Make sure your peanut butter and chocolate chips are also certified GF if you’re cross-contaminated.
Peanut Butter Free
Swap the peanut butter for almond butter or sunflower seed butter. Almond butter gives a similar nutty flavor. Sunflower seed butter is a good option for nut-free schools, though the taste is different.
Chocolate Lovers
Add ½ cup of cocoa powder to the cream cheese mixture before adding the whipped topping. This makes it a double-chocolate pie. Reduce the powdered sugar to ½ cup so it’s not too sweet.
Strawberry Swirl
Mix ½ cup of strawberry jam into the whipped topping before folding it in. Swirl it gently for a marbled effect. It’s sweet and tangy.
Mini Pie Cups
Press the crust into a muffin tin and fill with 2-3 tablespoons of filling. Bake (no, chill) for 2 hours. These are perfect for parties and portion control.
Serving & Storage
How to Serve:
I usually serve this straight from the fridge. It tastes best cold. Pair it with a cup of coffee or tea. The bitterness of the coffee cuts the sweetness perfectly. I also like it with a splash of cold milk.
Side Dishes:
This pie is rich enough to stand alone. But if you want sides, try fresh berries (strawberries or raspberries) on top. The acidity balances the fat. Or serve with a simple green salad if you’re doing a full dinner (which I don’t recommend, but it’s an option).
Storage Instructions:
Store in the fridge in an airtight container or covered with plastic wrap for up to 5 days. It actually gets firmer and tastier after day 2. Don’t freeze it. The whipped topping will separate and become grainy when thawed. It’s not worth the risk.
Reheating:
Do not reheat this pie. It’s a no-bake dessert. Eat it cold. If it’s too hard to cut, let it sit on the counter for 10 minutes to soften slightly.
Nutrition Information
I’m not a nutritionist, but here’s the breakdown if you’re tracking. This is a rich dessert, so portion control is key.
Per Slice (based on 8 slices):
– Calories: 380
– Protein: 6g
– Carbs: 35g
– Fiber: 2g
– Sugar: 28g
– Fat: 24g
– Saturated Fat: 12g
– Cholesterol: 35mg
– Sodium: 220mg
What’s Good:
– Decent fat content keeps you full
– Protein from cream cheese and peanut butter
– Easy to make gluten-free or nut-free
What to Know:
– High in sugar from cookies and powdered sugar
– High in saturated fat
– Not suitable for low-sugar diets
My Take:
Look, this is a treat. It’s not a health food. But it’s homemade, so you know exactly what’s in it. When I make it, I eat one slice and enjoy it. It’s better than store-bought because it’s fresh and doesn’t have preservatives. If you want to lighten it up, use reduced-fat cream cheese and light whipped topping, but the texture won’t be as luxurious.
Final Thoughts
So that’s my go-to no-bake chocolate peanut butter pie better than takeout! I’ve probably talked your ear off at this point, but when you make a recipe this often, you have a lot to say about it.
This has saved weeknight desserts more times than I can count. It’s my answer to “what’s for dessert” when I’m tired, don’t want to bake, and still want something that tastes really good. My kids are happy, my husband’s happy, and I’m happy because I’m not stressed about cooking.
Make it yours! Try different toppings, swap the cookies, or add a layer of caramel. The best recipes are the ones you adapt to your family’s tastes.
If you make this, drop a comment and let me know what you think! I love hearing how recipes turn out in your kitchen. And if something doesn’t work, tell me that too—I’m here to help troubleshoot.
Happy baking! (Or should I say, happy no-baking?)
Frequently Asked Questions
Can I use a pre-made crust?
You can, but I don’t recommend it. The homemade crust is the best part of this pie. It’s crunchy and buttery, and it takes only 5 minutes to make. A store-bought crust is often soggy or too sweet. If you’re in a huge rush, you can try it, but the homemade one is worth the extra effort.
Why is my pie runny?
This usually happens for two reasons: either the cream cheese wasn’t fully softened before mixing (causing lumps that didn’t incorporate), or the whipped topping was too warm when folded in. Make sure your cream cheese is smooth and your whipped topping is cold and stable. Also, don’t skip the chilling time. It needs at least 4 hours to set.
Can I freeze this pie?
I don’t recommend it. The whipped topping and cream cheese don’t freeze well. When thawed, the texture becomes grainy and watery. It’s best eaten fresh from the fridge. If you need to make it ahead, make it 2-3 days in advance and store it in the fridge.
Can I use crunchy peanut butter?
You can, but the texture will be different. The chunks might sink to the bottom or make the filling uneven. Creamy peanut butter gives that smooth, cheesecake-like consistency. If you love crunch, add chopped peanuts on top after the pie is set.
How long does this pie last?
It lasts up to 5 days in the fridge. After that, the crust might get soggy, and the filling might lose its freshness. I usually eat it within 3 days because it’s that good.
Can I substitute the Oreos?
Yes! Chocolate wafer cookies, chocolate chip cookies, or even graham crackers (for a lighter version) work well. Just adjust the sugar in the crust accordingly. If using less sweet cookies, add an extra tablespoon of sugar.
Is this pie too sweet?
It’s sweet, but the salty peanut butter balances it out. If you find it too sweet, use semi-sweet chocolate chips and reduce the powdered sugar to ¾ cup. You can also add a pinch of sea salt on top before serving to enhance the flavors.
For more easy, no-fuss recipes, check out these no-bake peanut butter granola bites for a healthier snack, or try these soft-baked banana oatmeal breakfast cookies for a quick morning treat. And if you need a lunch idea, these turkey cheddar pinwheels are a lifesaver.
Pin This Recipe!
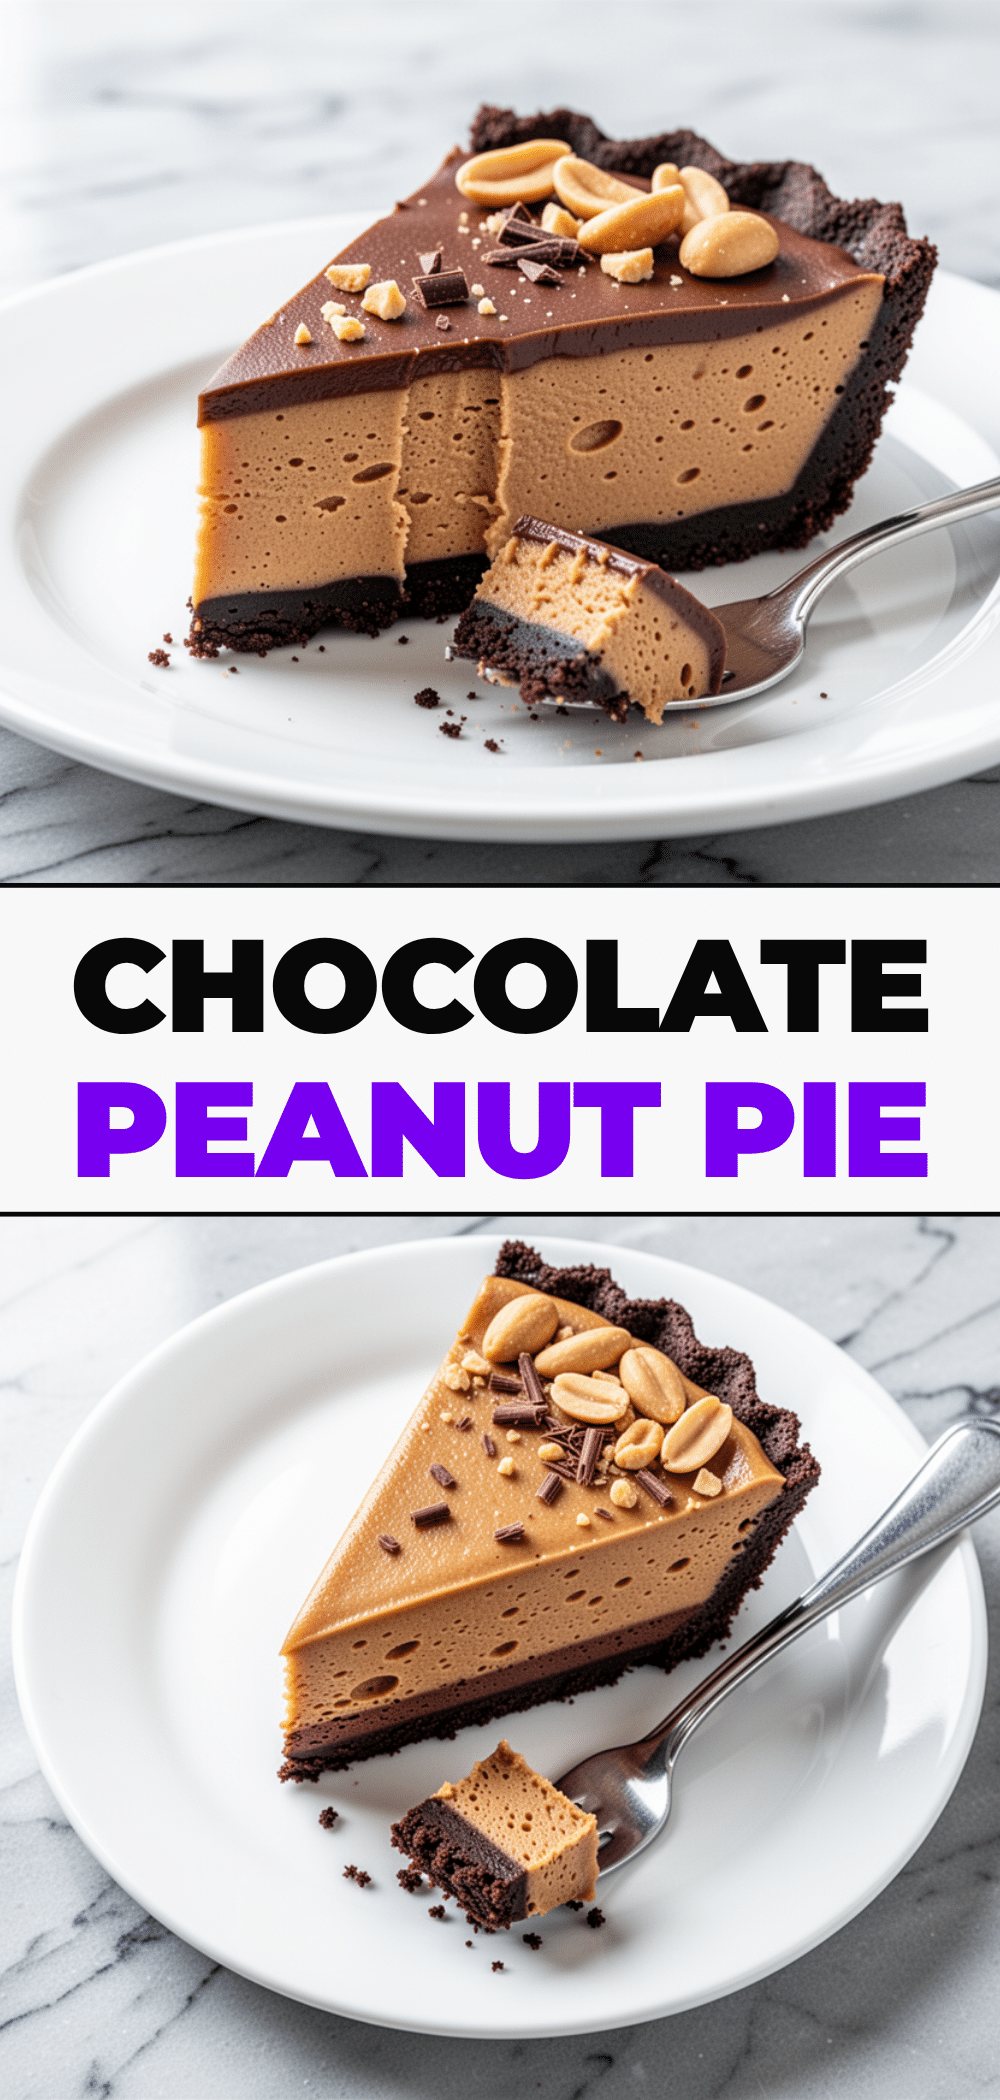
No-Bake Chocolate Peanut Butter Pie: 5-Ingredient Easy Dessert
- Total Time: 4 hours 15 minutes
- Yield: 8 servings 1x
Description
A rich, creamy, and foolproof no-bake dessert that requires zero heat. This pie combines a crunchy chocolate cookie crust with a dense, cheesecake-like peanut butter filling, making it perfect for lazy weeknights or last-minute guests.
Ingredients
- 30 chocolate sandwich cookies (such as Oreos), crushed into fine crumbs
- 6 tablespoons unsalted butter, melted
- 2 tablespoons granulated sugar
- 8 ounces cream cheese, softened
- 1/2 cup creamy peanut butter (standard processed brand)
- 1 cup powdered sugar
- 8 ounces whipped topping (such as Cool Whip), thawed
- 1/2 cup mini chocolate chips (semi-sweet or milk)
Instructions
- Crush the chocolate sandwich cookies into fine crumbs using a food processor or a heavy-duty zip-top bag with a rolling pin.
- In a medium bowl, mix the cookie crumbs, melted butter, and granulated sugar until the mixture resembles damp sand.
- Press the crust mixture firmly into the bottom and up the sides of a 9-inch pie dish. Use the bottom of a measuring cup to pack it tight. Chill in the fridge for 15 minutes.
- In a large bowl, beat the softened cream cheese and peanut butter together with an electric mixer until completely smooth and silky.
- Add the powdered sugar and beat until combined. The mixture will be thick and dense.
- Gently fold in the thawed whipped topping using a rubber spatula to maintain airiness. Fold in the mini chocolate chips.
- Pour the filling into the chilled crust and smooth the top.
- Cover loosely with plastic wrap and refrigerate for at least 4 hours, preferably overnight, until firm.
- Slice with a sharp knife dipped in hot water for clean cuts. Serve cold.
Notes
Ensure cream cheese is fully softened to avoid lumps. Use standard creamy peanut butter, not natural, to prevent a greasy texture. The pie must chill for at least 4 hours to set properly. Do not freeze, as the whipped topping will become grainy upon thawing.
- Prep Time: 15 minutes
- Cook Time: 0 minutes
- Category: Dessert
- Cuisine: American
Nutrition
- Serving Size: 1 slice
- Calories: 380
- Sugar: 28
- Sodium: 220
- Fat: 24
- Saturated Fat: 12
- Carbohydrates: 35
- Fiber: 2
- Protein: 6
Keywords: no-bake, chocolate peanut butter pie, easy dessert, 5-ingredient recipe, make-ahead dessert, gluten-free option, quick dessert


