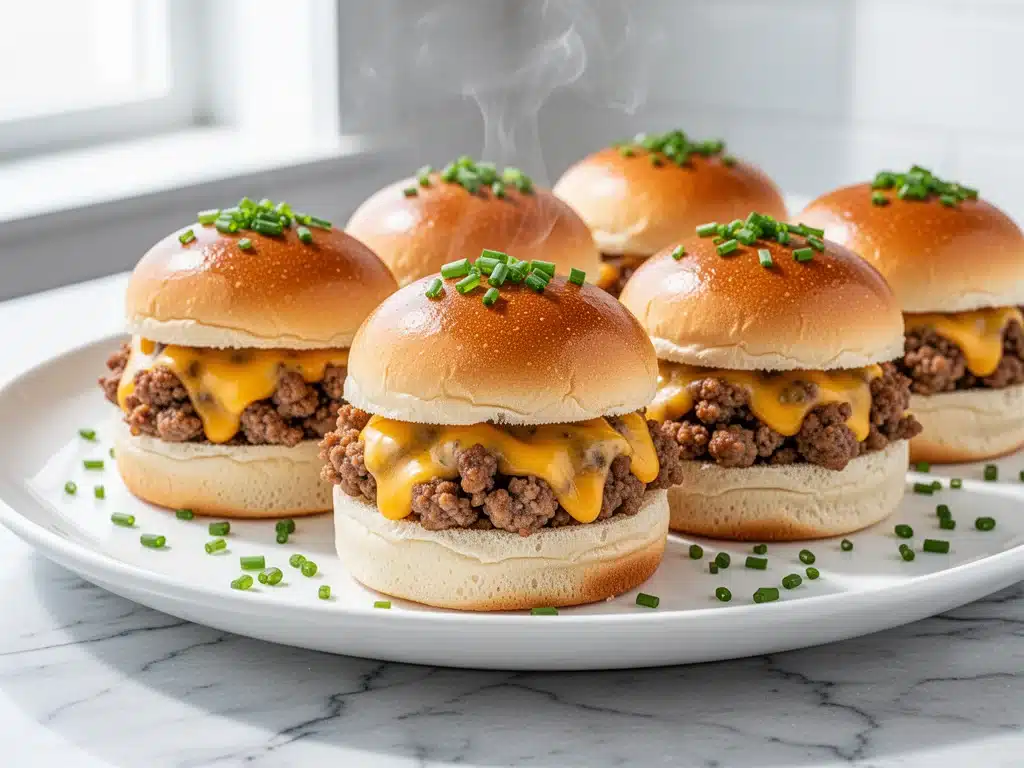
It was 6:45 AM on a Tuesday. The house was quiet, which usually means either everyone is sleeping soundly or something is wrong. In my house, it usually means I’m running on three hours of sleep and a cup of coffee that’s already gone cold. My kids were still in their pajamas, but their stomachs were roaring louder than the lawnmower next door. I needed breakfast. I needed it fast. And I needed it to be something they wouldn’t immediately complain about.
I stared into the fridge. Half a package of breakfast sausage. A block of sharp cheddar. And a pack of dinner rolls that were starting to look a little dry. Most people would have thrown that together into a sad, cold sandwich and called it a day. But I was feeling stubborn. I didn’t want cold sandwiches. I wanted warm, melty, savory comfort that tasted like a weekend brunch but took five minutes to make.
That’s when I remembered the concept of sliders. Small, manageable, and infinitely more fun than a regular sandwich. I sliced the rolls, layered the sausage and cheese, threw them under the broiler for two minutes, and walked into the kitchen like I’d just won the lottery. My kids devoured them. My husband asked if I was trying to fatten him up (he’s been happy ever since). And honestly? I was hooked.
These Sausage and Cheddar Breakfast Sliders have become my secret weapon for chaotic mornings. They’re not just “easy”—they’re a game-changer. I’ve made them for school drop-offs, for early practice pickups, and for lazy Sunday mornings when I want to feel fancy without actually doing any work. If you’re tired of dry toast or sad cereal, you need to try this. It’s hands-down the best way to use up leftover breakfast meat, and the smell alone will wake up the entire neighborhood.
I’ve tested this recipe probably fifty times in the last six months. I’ve tried different rolls, different cheeses, different sausages. This specific combination? It’s the winner. It’s sticky, it’s cheesy, it’s salty, and it disappears so fast you’ll be making a second batch before you’ve finished your coffee. Let me show you exactly how to pull this off without stressing yourself out.
Why You’ll Love This Recipe
Look, I get it. Breakfast is the most stressful meal of the day. You’re tired, you’re rushing, and you’re trying to keep humans from melting down before 8 AM. This recipe fixes all of that. Here’s why these sliders have taken over our morning routine:
- Stupid Simple — Seriously, if you can slice a roll and stack ingredients, you can make this. I’ve made these while holding a baby, while answering work emails, and while watching my kid’s soccer game on my phone. It requires zero culinary skill.
- Lightning Fast — From fridge to oven to table in under 15 minutes. The active prep time is maybe 5 minutes. The rest is just waiting for the cheese to melt. I make these on days when I have exactly zero minutes to spare.
- Pantry-Friendly — You probably have most of this already. Breakfast sausage (even pre-cooked links), cheddar cheese, and dinner rolls are staples I keep stocked. If you have no-bake peanut butter granola bites in your rotation for quick snacks, these sliders are the savory version of that same convenience.
- Crowd-Pleaser — My picky 8-year-old who only eats white bread and chicken nuggets loves these. My teenager who claims “breakfast food is gross” asks for seconds. Even my coffee-snob friend tried one at a brunch and asked for the recipe.
- Makes Amazing Leftovers — Okay, full disclosure: they rarely last until the next day. But if they do, they reheat beautifully in the microwave for 30 seconds. The cheese stays melty, the bread stays soft. It’s like eating them fresh.
- Budget-Smart — Feeds 6-8 people (or 3 people with big appetites) for under $10. That’s cheaper than buying breakfast at a drive-thru, and way healthier. Plus, you’re using up leftover sausage, which is basically free money.
This is my go-to when I need dinner—or breakfast—to just work. No complicated techniques, no weird ingredients, just reliable, delicious food that makes everyone happy. It’s the kind of meal that makes you feel like a genius parent or a thoughtful host, even though you barely lifted a finger.
Ingredients You’ll Need
Here’s the best part: you probably have most of this already in your fridge or pantry. I’m particular about three ingredients here, and I’ll tell you exactly why. Don’t skip the tips—I learned this the hard way with dry, sad sliders.
For the Sliders:
Dinner rolls (12 rolls / 1 pack) — This is the foundation. I use Hawaiian rolls or kaiser rolls. Hawaiian rolls are sweeter, which balances the salty sausage perfectly. Kaiser rolls are chewier and hold up better if you’re making these ahead. Avoid thin sandwich rolls—they get soggy too fast. I buy the pre-cut packs from the bakery section; it saves so much time.
Breakfast sausage (1 pound / 450g) — You can use links or patties. Links are easier to crumble. If you’re buying pre-cooked sausage (which I do when I’m lazy), make sure it’s fully cooked and drained of excess grease. Greasy sliders are sad sliders. I usually buy Johnsonville or a store-brand pork sausage. If you’re doing vegetarian, a plant-based crumble works too, though the texture is different.
Sharp cheddar cheese (2 cups / 200g, shredded) — Buy the block and grate it yourself. Pre-shredded cheese has cellulose (anti-caking agent) that prevents it from melting smoothly. You want that gooey, stretchy cheese pull. Sharp cheddar has more flavor than mild, which cuts through the richness of the sausage. If you’re a fan of turkey cheddar pinwheels, you already know that sharp cheddar is the star of any savory snack.
Egg (optional) (2 large) — For the “egg in a slider” version, whisk these with a pinch of salt and pepper. I scramble them lightly and mix them into the sausage before assembling. If you’re skipping eggs, just stick to sausage and cheese. Both versions are delicious.
Butter (2 tablespoons / 30g, melted) — This is for the topping. It gives the rolls that golden, crispy top and adds richness. I use unsalted butter so I can control the salt. If you’re out, you can use olive oil, but butter tastes better here.
Garlic powder (1 teaspoon) — A little savory kick that elevates the whole thing. Don’t skip it. It sounds minor, but it makes a huge difference.
Poppy seeds (1 teaspoon, optional) — Classic slider topping. Adds a nice crunch and looks fancy. I usually have a jar in my spice cabinet from making everything bagel seasoning. If you don’t have them, sesame seeds or just plain butter work fine.
Salt and black pepper — To taste. Remember, the sausage is already salty, so go easy on the salt. Freshly cracked pepper adds a nice bite.
Hot sauce or mustard (optional) — For serving. I like a drizzle of hot sauce on mine. My kids prefer a little yellow mustard. Keep it simple.
Equipment Needed
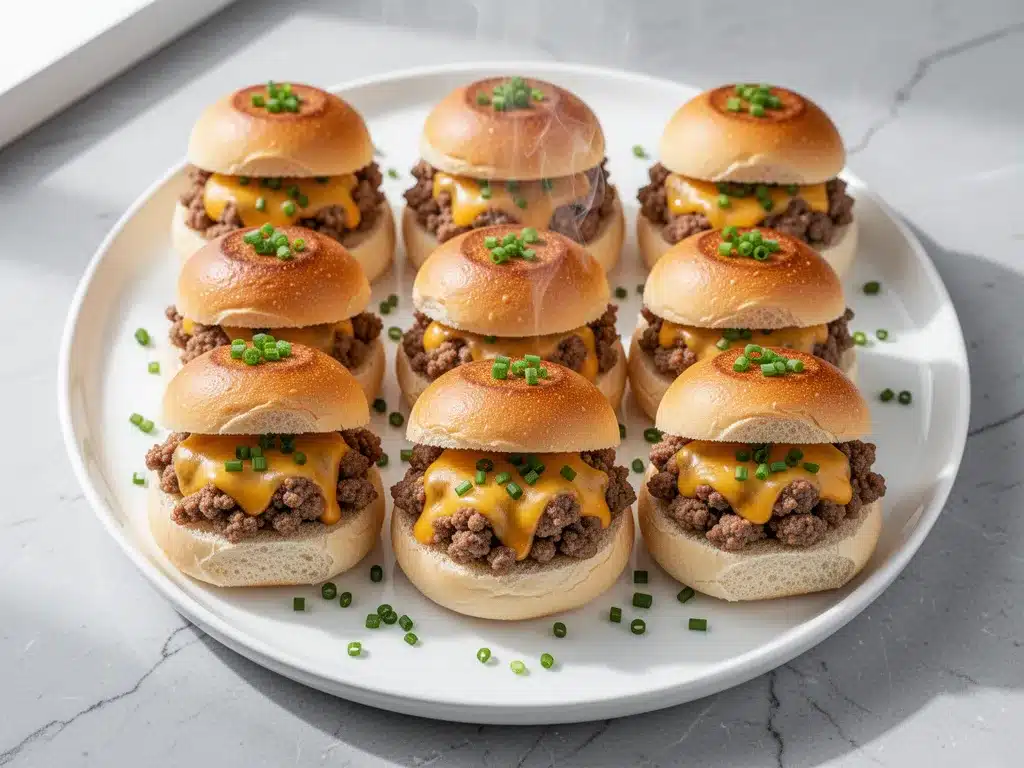
You don’t need fancy equipment for this. Here’s what I actually use:
Baking sheet — I use a standard 13×9 inch baking sheet. A rimmed sheet pan is best so the butter doesn’t drip everywhere. I line it with parchment paper for easy cleanup. If you don’t have parchment, just grease the pan well.
Serrated knife — For slicing the rolls. A serrated knife cuts through the soft bread without squishing it. I learned this the hard way with a dull butter knife that turned my rolls into mush.
Skillet — For cooking the sausage. A 12-inch skillet works best. If you’re using pre-cooked sausage, you can skip this step. Cast iron is great for even heating, but any heavy skillet works.
Small bowl — For melting the butter and mixing the garlic powder. A ramekin or small mixing bowl works.
Grater — For the cheese. Box grater is fine. If you have a food processor, you can shred the cheese in seconds, but hand-grating takes less time for just one block.
Oven — Obviously. Preheat to 350°F (175°C). Make sure your oven is actually at the right temperature; an oven thermometer is cheap and helps avoid burnt sliders.
Spatula — For flipping or adjusting sliders if needed. Silicone works best so you don’t scratch the pan.
Optional but nice:
– Pastry brush — For brushing the butter on top. Makes it easier than pouring.
– Rolling pin — If you want to flatten the rolls slightly for a tighter slider.
How to Make It: Step-by-Step
Alright, let’s make this! I’m walking you through exactly how I do it, including the little tricks I’ve picked up over dozens of batches.
Step 1: Prep Your Oven and Pan (2 minutes)
Preheat your oven to 350°F (175°C). Line a 13×9 inch baking sheet with parchment paper or lightly grease it with non-stick spray. This step is crucial because the butter will drip and caramelize. If you don’t line the pan, you’ll be scrubbing for 20 minutes later. I learned that lesson on my first attempt.
Step 2: Slice the Rolls (3 minutes)
Take your pack of dinner rolls. If they’re connected in a sheet, slice horizontally through the middle to create a top and bottom layer. If they’re individual rolls, slice each one in half horizontally. Be gentle! You don’t want to tear the bread. Set the top halves aside. The bottom halves will hold the filling.
Step 3: Cook the Sausage (5 minutes)
Heat your skillet over medium heat. Add the breakfast sausage. If using links, crumble them with a spatula as they cook. If using patties, break them up. Cook until browned and cooked through, about 5 minutes. Drain any excess grease on a paper towel. Greasy sausage makes soggy sliders. If you’re adding eggs, scramble them in the same skillet now and mix them into the sausage.
Step 4: Assemble the Sliders (3 minutes)
Place the bottom halves of the rolls on the baking sheet, keeping them close together. Sprinkle a layer of shredded cheddar cheese over the bread. Then, add a generous scoop of the sausage mixture. Top with another sprinkle of cheese. The cheese acts as glue, helping the slider hold together. If you’re doing the egg version, layer the egg mixture now.
Step 5: Add the Topping (2 minutes)
Melt the butter in a small bowl or microwave. Stir in the garlic powder and poppy seeds. Brush this mixture generously over the top halves of the rolls. Don’t skimp on the butter—it’s what makes the tops golden and flavorful. Place the top halves on the sliders. They might look a little messy. That’s fine.
Step 6: Bake (8-10 minutes)
Place the baking sheet in the preheated oven. Bake for 8-10 minutes, or until the cheese is bubbly and the tops are golden brown. Keep an eye on them! Ovens vary. You want the cheese melted and the bread toasted, not burnt. If you like them extra crispy, broil for the last 1-2 minutes, but watch closely.
Step 7: Cool and Serve (2 minutes)
Remove from the oven and let them cool for 2-3 minutes. They’re extremely hot and the cheese will be molten lava. Letting them sit helps them set slightly so they don’t fall apart when you pick them up. Serve warm with hot sauce, mustard, or just plain. Enjoy!
Total Time: About 15 minutes (5 minutes active, 10 minutes baking)
Built-in Troubleshooting:
– Soggy bottoms? You didn’t drain the sausage grease, or you didn’t let them cool. Drain well and wait 2 minutes.
– Burnt tops? Your oven is too hot, or you broiled too long. Check at 8 minutes.
– Falling apart? You didn’t use enough cheese as glue, or you sliced the rolls too thin. Use hearty rolls.
Expert Tips & Tricks
Here’s everything I’ve learned from making this dozens of times. These tips will save you from my mistakes.
Don’t Skip the Butter
This is the #1 tip. The butter mixture is what transforms plain rolls into golden, savory sliders. I tried making them without it once to save time. They were dry and boring. Now I always melt the butter. It takes 30 seconds and makes a huge difference.
Drain the Grease
Breakfast sausage is fatty. If you don’t drain it, your sliders will be oily and the bread will get soggy. I use a paper towel to blot the sausage after cooking. It’s worth the extra 30 seconds.
Use Sharp Cheddar
Mild cheddar is too bland for this. Sharp cheddar has a tangy punch that balances the sweet rolls and salty sausage. I’ve tried both, and sharp wins every time. My husband can taste the difference.
Keep Them Close
When assembling, keep the rolls close together on the pan. They’ll spread slightly, but keeping them tight helps them hold together and makes them easier to pull apart after baking.
Make-Ahead Strategy
You can assemble these the night before, cover with foil, and refrigerate. Bake them straight from the fridge, adding 2-3 minutes to the cook time. This is my favorite trick for busy mornings. I prep them Sunday night, and they’re ready to go in the morning.
Pro Trick for Crispy Tops
If you like extra crispy tops, broil for the last 1-2 minutes. But watch them like a hawk! Butter burns fast.
Variations & Substitutions
Once you’ve nailed the basic version, here’s how you can mix it up. I’ve tried all of these.
Bacon and Egg Sliders
Swap sausage for crispy bacon bits. Add scrambled eggs. Top with avocado slices. This is my favorite weekend version.
Spicy Jalapeño Sliders
Add diced jalapeños to the sausage mixture. Use pepper jack cheese instead of cheddar. Add a drizzle of hot sauce. For the heat lovers in your family.
Vegetarian Version
Use plant-based sausage crumbles. Add sautéed mushrooms and spinach. Top with vegan cheese. My vegetarian friend loves this version.
Hash Brown Sliders
Add a layer of shredded hash browns under the sausage. Crispy, starchy, and delicious. Use frozen hash browns, thawed and squeezed dry.
Bagel Sliders
Use everything bagel cream cheese on the bottom half, then add sausage and cheddar. No baking needed. Just toast the bagels. This is my quick no-bake option.
Dietary Modifications:
– Gluten-Free — Use gluten-free dinner rolls. Check the cheese and sausage for hidden gluten.
– Dairy-Free — Use dairy-free butter and cheese. The texture will be different, but it works.
– Lower-Carb — Use low-carb buns or lettuce wraps. Not as fun, but fits the macros.
Serving & Storage
How to Serve:
I usually serve these straight from the baking sheet at the breakfast table. They’re rustic and easy to grab. But here are other ways I’ve enjoyed them:
Side Dishes:
– Fresh fruit salad (balances the heaviness)
– Crisp apples or grapes
– A simple green salad with vinaigrette
– soft-baked banana oatmeal breakfast cookies if you want something sweet on the side
Storage Instructions:
Store leftovers in an airtight container in the fridge for up to 3 days. They reheat well in the microwave for 30-60 seconds. Or in the oven at 350°F for 5 minutes to crisp up the tops.
Freezing:
You can freeze assembled (unbaked) sliders for up to 2 months. Bake from frozen, adding 5 minutes to the cook time. I do this for meal prep. Just thaw slightly before baking.
Nutrition Information
I’m not a nutritionist, but here’s the breakdown if you’re tracking. Per slider (based on 12 sliders):
Calories: 280
Protein: 12g
Carbs: 24g
Fat: 14g
Sodium: 520mg
What’s Good: Decent protein from sausage and cheese. Calcium from the cheese. Can add veggies to boost nutrition.
What to Know: Higher in sodium and saturated fat. Use low-sodium sausage and part-skim cheese to reduce. It’s comfort food, so enjoy in moderation.
Final Thoughts
So that’s my go-to Sausage and Cheddar Breakfast Sliders! I’ve probably talked your ear off at this point, but when you make a recipe this often, you have a lot to say about it. This has saved my mornings more times than I can count. It’s my answer to “what’s for breakfast” when I’m tired, don’t want takeout, and still want something that tastes really good. My kids are happy, my husband’s happy, and I’m happy because I’m not stressed about cooking.
Make it yours! Try different cheeses, add veggies, swap the meat. The best recipes are the ones you adapt to your family’s tastes. If you make this, drop a comment and let me know what you think! I love hearing how recipes turn out in your kitchen. And if something doesn’t work, tell me that too—I’m here to help troubleshoot.
Happy cooking! And I hope your kitchen smells half as good as mine does right now.
Frequently Asked Questions
Can I use pre-cooked sausage?
Yes! Just drain the grease well. I use pre-cooked links when I’m in a rush. It saves 5 minutes of cooking time. Just make sure it’s fully cooked and heated through.
Why did my sliders fall apart?
Usually means you didn’t use enough cheese as glue, or you sliced the rolls too thin. Use hearty rolls like Hawaiian or Kaiser, and layer cheese on the bottom and top of the sausage. Also, let them cool for 2 minutes after baking so they set.
Can I make these ahead for a party?
Absolutely. Assemble them the night before, cover with foil, and refrigerate. Bake them the next morning, adding 2-3 minutes to the cook time. They’re perfect for brunches or potlucks. Just keep them warm in a low oven (200°F) until serving.
Can I freeze the baked sliders?
You can, but the texture changes. The bread might get a little soft. I prefer to freeze them unbaked. Bake from frozen, adding 5 minutes to the cook time. This keeps the bread fresher.
What cheese works best?
Sharp cheddar is my favorite for flavor. But you can use pepper jack for spice, Monterey Jack for meltiness, or Swiss for a milder taste. Avoid pre-shredded cheese—it won’t melt as smoothly.
Can I use brioche buns instead of dinner rolls?
Yes! Brioche is richer and sweeter, which works well. Just be gentle when slicing, as brioche is softer. You might need to toast them lightly first to prevent sogginess.
How do I reheat leftovers without them getting dry?
Microwave for 30-60 seconds with a damp paper towel over them. Or reheat in the oven at 350°F for 5 minutes. Avoid the microwave for too long, or the bread gets tough.
Pin This Recipe!
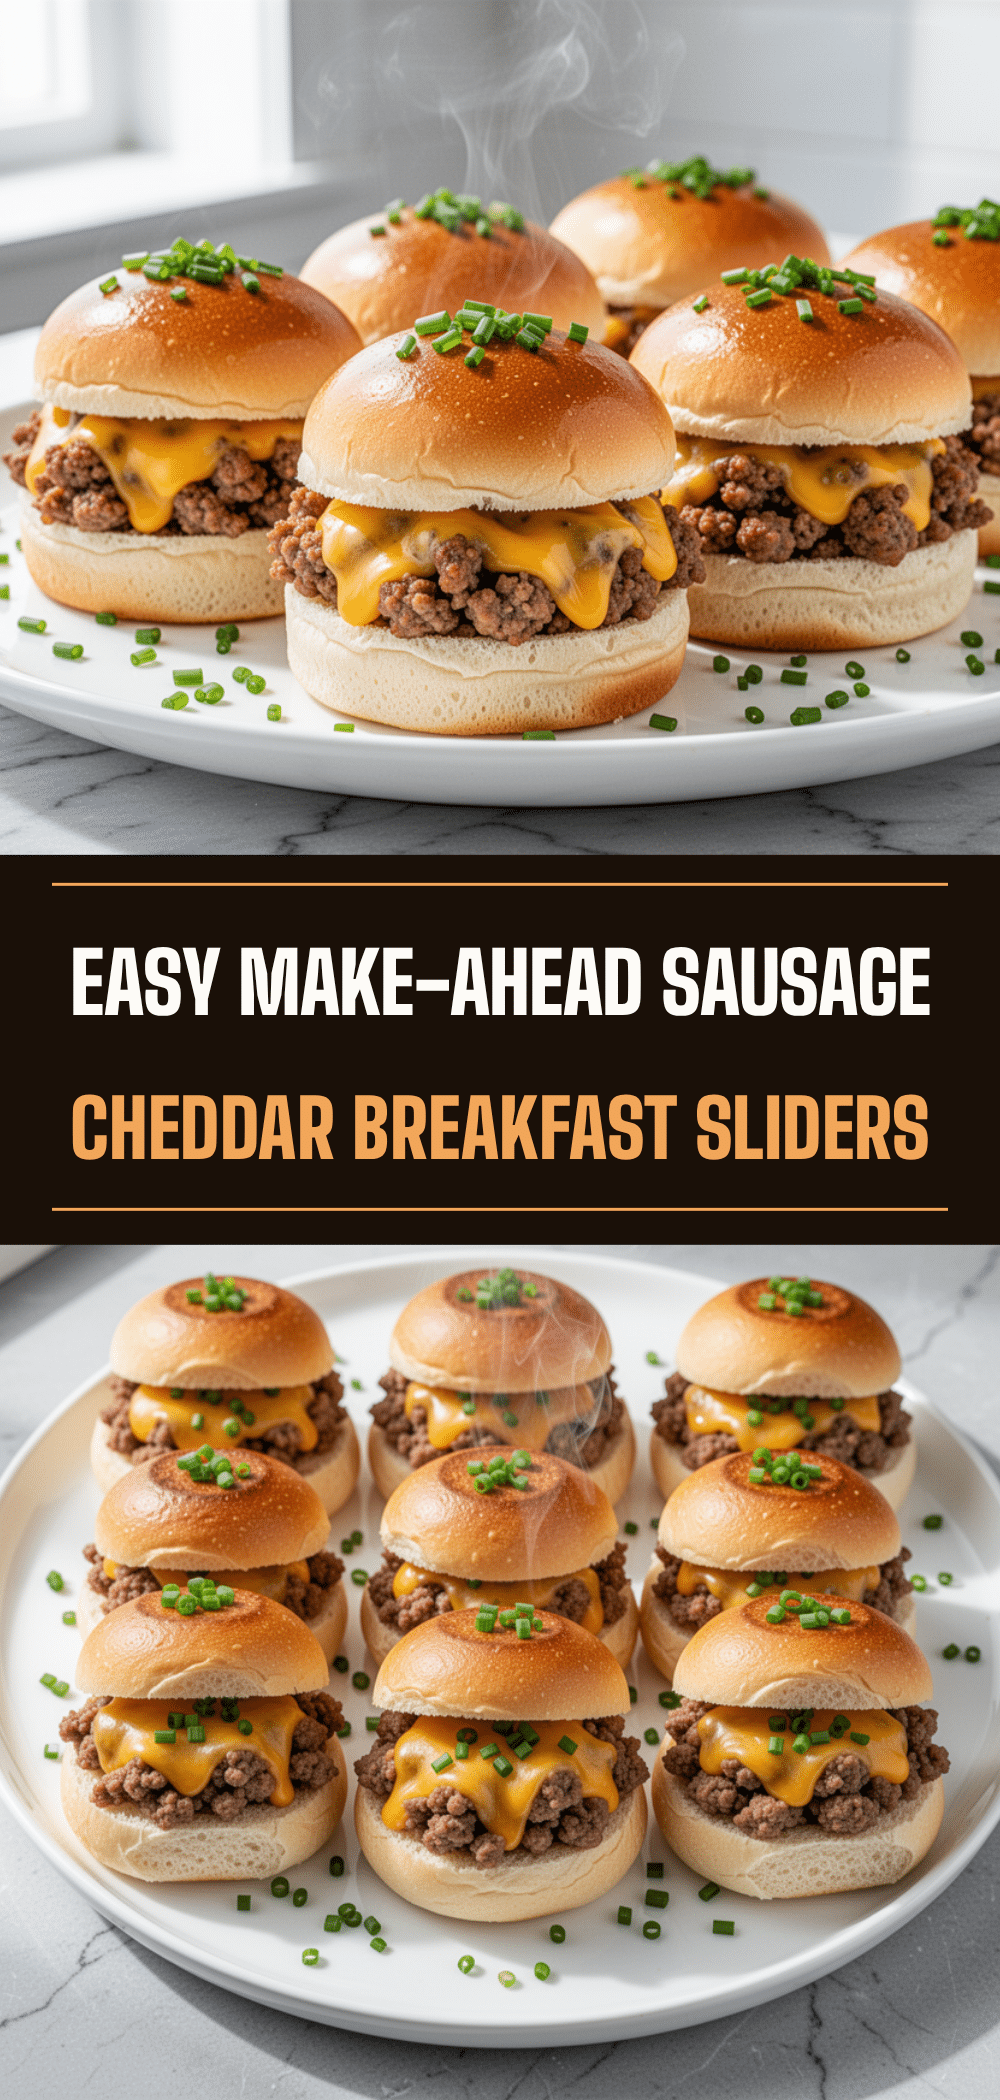

Sausage and Cheddar Breakfast Sliders: 5-Minute Easy Morning Bites
- Total Time: 15 minutes
- Yield: 12 servings 1x
Description
These Sausage and Cheddar Breakfast Sliders are a quick, savory, and melty breakfast solution that takes only 15 minutes to make. Perfect for busy mornings, they use simple pantry staples like dinner rolls, breakfast sausage, and sharp cheddar cheese.
Ingredients
- 12 dinner rolls (Hawaiian or Kaiser rolls recommended)
- 1 pound (450g) breakfast sausage (links or patties)
- 2 cups (200g) sharp cheddar cheese, shredded
- 2 tablespoons (30g) butter, melted
- 1 teaspoon garlic powder
- 1 teaspoon poppy seeds (optional)
- Salt and black pepper to taste
- 2 large eggs (optional, for egg version)
- Hot sauce or mustard (optional, for serving)
Instructions
- Preheat oven to 350°F (175°C). Line a 13×9 inch baking sheet with parchment paper or grease lightly.
- Slice the dinner rolls horizontally to create top and bottom layers. If using individual rolls, slice each in half.
- Heat a skillet over medium heat and cook the breakfast sausage until browned and cooked through, about 5 minutes. Drain excess grease on a paper towel. If using eggs, scramble them lightly and mix into the sausage.
- Place the bottom halves of the rolls on the baking sheet. Sprinkle a layer of shredded cheddar cheese over the bread.
- Add a generous scoop of the sausage mixture on top of the cheese. Top with another sprinkle of cheese to act as glue.
- In a small bowl, mix the melted butter with garlic powder and poppy seeds. Brush this mixture generously over the top halves of the rolls.
- Place the top halves on the sliders.
- Bake for 8-10 minutes until the cheese is bubbly and the tops are golden brown. For extra crispiness, broil for the last 1-2 minutes, watching closely.
- Remove from oven and let cool for 2-3 minutes to allow the cheese to set. Serve warm with hot sauce or mustard.
Notes
Drain grease from sausage to prevent soggy sliders. Use sharp cheddar for better flavor and melting. Let sliders cool for 2 minutes after baking to help them hold together. Can be assembled ahead and refrigerated overnight; add 2-3 minutes to bake time if baking from cold.
- Prep Time: 5 minutes
- Cook Time: 10 minutes
- Category: Breakfast
- Cuisine: American
Nutrition
- Serving Size: 1 slider
- Calories: 280
- Sugar: 4
- Sodium: 520
- Fat: 14
- Saturated Fat: 7
- Carbohydrates: 24
- Fiber: 1
- Protein: 12
Keywords: breakfast sliders, sausage and cheese, quick breakfast, easy morning recipe, dinner rolls, cheddar cheese, family breakfast, meal prep