Last July, I stood in a humid park parking lot, staring at a wicker basket that had clearly seen better days. We had spent hours preparing for this “perfect” summer picnic. I had made a potato salad that was slightly too mayo-heavy, a pasta salad that had gone sad and dry in the sun, and a charcuterie board that looked great in photos but tasted like cardboard by noon. Then, my husband opened the cooler.
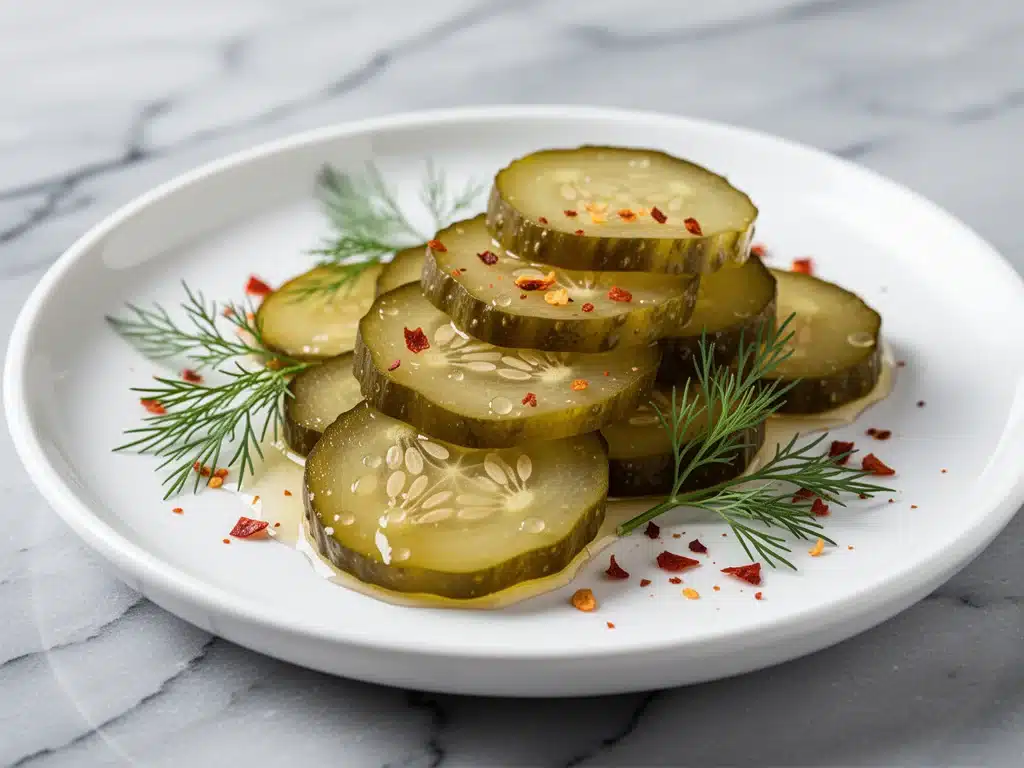
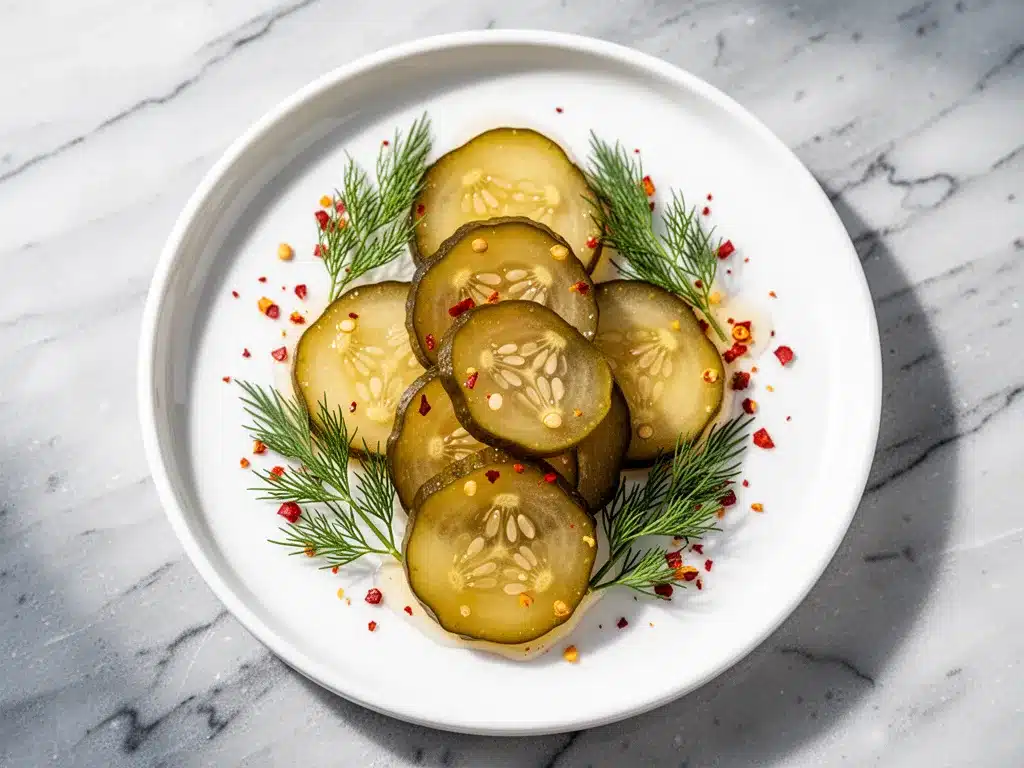
There they were: a mason jar of bright, amber-colored pickles. I popped the lid, grabbed a crisp slice, and bit down. The crunch was audible. The sweet vinegar hit first, followed by that slow-building heat from the ginger and mustard seeds, and finally, the fresh snap of the cucumber. It was electric. It cut through the richness of the cheese and meat. It woke everyone up. That jar of sweet and spicy bread and butter pickles became the star of the afternoon. People asked for the recipe before they even asked for the main dish.
That was three summers ago. Since then, I’ve made this pickle recipe at least once a month during the growing season. I’ve tweaked the spice level, adjusted the sweetness, and learned exactly how to keep these pickles crunchy for months. They are no longer just a side dish; they are my secret weapon for any summer gathering, backyard BBQ, or lunchbox.
There is something deeply satisfying about canning your own food. It feels like a skill from a different era, but honestly? It’s just cooking with patience. You don’t need a fancy kitchen or expensive equipment. You just need cucumbers, vinegar, sugar, and a little bit of courage to try something new. Once you taste these, you’ll never go back to store-bought jars again. Store-bought pickles are often mushy, overly salty, and lack that complex sweet-spicy flavor profile that makes bread and butter pickles so addictive.
I’ve tested this recipe with different types of cucumbers, different sugar levels, and even different types of vinegar to get the balance just right. The result is a pickle that is tangy, sweet, slightly spicy, and incredibly crisp. Whether you’re packing crispy baked chicken nuggets for school lunches or hosting a summer barbecue, these pickles are the perfect accompaniment. They add a bright, acidic punch that balances rich, heavy foods. Trust me, once you make this easy summer picnic recipe, your table will never be the same.
Why You’ll Love This Sweet and Spicy Bread and Butter Pickle Recipe
Let’s be real: making pickles at home sounds intimidating. It sounds like chemistry class. But this recipe is actually one of the easiest things you’ll make all summer. Here’s why these pickles have earned a permanent spot in my rotation:
- Stupid Simple Ingredients — You probably have most of these in your pantry right now. Vinegar, sugar, salt, oil, and spices. No weird, hard-to-find items. I keep a jar of mustard seeds and turmeric specifically for this because it’s so good.
- Perfect Crunch — The biggest complaint about homemade pickles is that they get soft. Not this one. By salting the cucumbers first and using a specific vinegar-to-sugar ratio, these stay crisp for months. I’ve had jars in my pantry for 6 months, and they still snap when you bite them.
- Customizable Heat — This is the “spicy” part of sweet and spicy. You control the heat. Add more red pepper flakes for a kick, or leave them out for a milder, sweeter pickle. I usually add a pinch for my husband, but keep it mild for the kids.
- Budget-Friendly — Cucumbers are incredibly cheap in the summer. You can make a massive batch of pickles for less than $10. Compare that to a small jar of artisanal pickles at the grocery store for $8, and it’s a no-brainer.
- Make-Ahead Magic — These pickles taste better after sitting for a week. They develop deeper flavor and the colors meld together. I make a big batch in July, and by August, they are perfect. It’s the ultimate low-effort, high-reward project.
- Versatile Pairings — These aren’t just for burgers. I eat them with sandwiches, chop them up into potato salad, or eat them straight out of the jar with a fork while I’m cooking dinner. They are like candy for adults.
This recipe has saved me more than once when I forgot to buy a side dish for a last-minute gathering. A jar of these pickles, some cheese, and some crackers is a complete snack plate. It’s reliable, delicious, and always a crowd-pleaser. My friends always ask, “Did you buy those?” and I get to say, “Nope, made them myself.” There’s a special pride in that.
Ingredients You’ll Need
Here’s the best part: this bread and butter pickle recipe relies on pantry staples. You don’t need to go out of your way for specialty items. However, quality matters, especially with the cucumbers.
For the Pickles:
Small Cucumbers (4 pounds / 1.8kg) — This is the most important ingredient. You need pickling cucumbers (also called Persian or English cucumbers). They have thinner skins and fewer seeds. Regular slicing cucumbers work too, but you’ll need to peel them and scoop out the seeds, or they might get mushy. Look for firm, dark green cucumbers. Avoid yellowing ones—they’re too old.
Coarse Kosher Salt (½ cup / 75g) — This is for drawing out the water from the cucumbers before pickling. It helps them stay crunchy. Do not use table salt; it has anti-caking agents and will make the brine cloudy. Diamond Crystal or Morton’s are my go-tos.
Ice Water (4 cups / 1 liter) — Used to rinse and crisp up the cucumbers after salting. If you don’t have enough ice, use cold tap water, but ice is better for that initial shock to keep them firm.
For the Brine:
White Distilled Vinegar (3 cups / 720ml) — The acid backbone. Do not use apple cider vinegar or white wine vinegar here; they change the flavor profile too much. You want that sharp, clean tang. I use regular 5% acidity vinegar from the grocery store.
Granulated Sugar (1½ cups / 300g) — This is what makes them “bread and butter” pickles. The sugar balances the acidity. If you prefer less sweet, reduce to 1 cup, but I recommend sticking to the original for that classic taste.
Yellow Onion (2 medium, thinly sliced / about 300g) — Onions add sweetness and texture. Thin slices are key so they pickle evenly. I use a mandoline if I’m feeling fancy, but a sharp knife works fine.
Vegetable Oil (2 tablespoons / 30ml) — This helps emulsify the brine slightly and gives it a glossy look. It also carries the flavor of the spices. Any neutral oil works.
Turmeric (1 teaspoon) — This is what gives the pickles their beautiful bright yellow color. It also adds a subtle earthy flavor. Don’t skip it! It’s not the same without the turmeric.
Mustard Seeds (1 tablespoon) — These add a nice pop of texture and a mild, nutty heat. You can buy them whole or crush them slightly for more flavor.
Ginger (1 teaspoon, ground) — Fresh ginger is amazing, but ground works perfectly here and is easier to find. It adds that warm, spicy note that pairs with the heat.
Red Pepper Flakes (½ teaspoon) — For the “spicy” kick. Adjust to taste. I like a gentle warmth, so I use half a teaspoon. If you want them hot, use a full teaspoon or more.
Black Pepper (1 teaspoon) — Just a little bit to round out the flavors.
Optional Add-ins:
I sometimes throw in a few slices of fresh jalapeño if I want extra heat, or a sprig of fresh dill for a different aroma. But the classic bread and butter profile doesn’t need them.
Equipment Needed
You don’t need a professional canning setup, but you do need the right tools to ensure safety and quality.
Large Non-Reactive Pot — I use a 6-quart stainless steel pot. Avoid aluminum or cast iron, as the acid in the vinegar can react with those metals and give your pickles a metallic taste. A heavy-bottomed pot prevents burning.
Canning Jars — I use half-pint mason jars (8 oz). They’re the perfect size for individual servings. Make sure they are clean and free of chips. I always wash them in the dishwasher before use.
Lid Bands and Lids — Use new two-piece canning lids (flat discs and bands) every time. The sealing compound needs to be fresh to create a vacuum seal. Bands can be reused.
Large Bowl — For salting and rinsing the cucumbers. A big mixing bowl or even a clean sink works.
Mandoline or Sharp Knife — For slicing cucumbers and onions thinly. Uniform slices ensure even pickling.
Funnel — Makes filling the jars much easier and keeps the rims clean, which is crucial for a good seal.
Ladle — For pouring the hot brine into the jars.
Bubble Remover or Chopstick — To release air bubbles from the jars. Trapped air can affect the seal and quality.
How to Make It: Step-by-Step
Alright, let’s make these sweet and spicy bread and butter pickles! I’m walking you through exactly how I do it, including the little tricks that keep them crunchy.
Step 1: Prep and Salt the Cucumbers (20 minutes + 2 hours resting)
Wash your cucumbers thoroughly. If you’re using slicing cucumbers, peel them and scoop out the seeds with a spoon. For Persian cucumbers, just wash and trim the ends. Slice them into uniform rounds, about ¼-inch thick. You want them thin enough to pickle quickly but thick enough to have substance.
Place the cucumber slices in a large bowl. Sprinkle the kosher salt over them and toss well. The salt will draw out moisture. Add the ice water and let this sit for 2 hours. This is the secret to crunch. The cucumbers will release a lot of water and become limp. Don’t panic—that’s what’s supposed to happen.
Step 2: Rinse and Drain (10 minutes)
After 2 hours, drain the cucumbers in a colander. Rinse them thoroughly under cold running water to remove excess salt. Drain well. I usually press down on them with a clean towel to squeeze out as much water as possible. The drier they are, the better they’ll absorb the brine.
Step 3: Slice the Onions
While the cucumbers are salting, thinly slice your onions. Aim for similar thickness to the cucumbers so they pickle at the same rate. If you’re using a mandoline, be careful! It’s sharp, but it gives you perfect, uniform slices.
Step 4: Make the Brine (10 minutes)
In your large non-reactive pot, combine the vinegar, sugar, oil, turmeric, mustard seeds, ground ginger, red pepper flakes, and black pepper. Stir well to dissolve the sugar. Place the pot over medium-high heat and bring to a boil, stirring occasionally.
Once it boils, reduce the heat and let it simmer for 5 minutes. This melds the flavors. The kitchen will start to smell tangy and spicy. Add the drained cucumbers and sliced onions to the pot. Stir to combine. Let this mixture simmer for another 5 minutes. The vegetables will soften slightly but should still retain some crunch.
Step 5: Pack the Jars (15 minutes)
While the vegetable mixture is simmering, prepare your jars. Wash them in hot soapy water or run them through the dishwasher. Keep them hot until you’re ready to fill them. Hot jars help prevent cracking when you pour the hot brine.
Using a funnel, pack the hot cucumber and onion mixture tightly into the hot jars, leaving ½ inch of headspace at the top. Use a bubble remover or chopstick to release any air pockets. Wipe the rims of the jars with a clean, damp cloth. This is crucial for a good seal. Any residue on the rim will prevent the lid from sealing properly.
Place the flat lids on the jars and screw on the bands until fingertip-tight. Don’t overtighten; you want to be able to twist the lid off later.
Step 6: Process the Jars (10 minutes)
Bring a large pot of water to a boil. You need a boiling water bath canner, or just a large stockpot with a rack at the bottom. Lower the jars into the water, ensuring they are covered by at least 1 inch of water. Process for 10 minutes. Start timing once the water returns to a full boil.
This step kills any bacteria and creates the vacuum seal. If you’re at a high altitude (over 1,000 feet), add an extra minute for every 1,000 feet.
Step 7: Cool and Store
After 10 minutes, turn off the heat and let the jars sit in the water for 5 minutes. Then, remove them with a jar lifter and place them on a towel-lined counter. Do not touch them for 12-24 hours. You’ll hear a “ping” sound as they seal. If a lid doesn’t seal (it flexes when you press the center), refrigerate that jar and eat it within a few weeks.
Once cooled, remove the bands. Store the jars in the pantry for up to 1 year. For best flavor, wait 2-4 weeks before opening. The flavors need time to meld.
Expert Tips & Tricks
Here’s everything I’ve learned from making these pickles dozens of times. These tips will save you from common mistakes.
Don’t Skip the Salting Step
I know it’s an extra step, but it’s non-negotiable for crunch. If you skip salting, your pickles will be soft and soggy. The salt draws out water, concentrating the flavor and firming up the cell walls of the cucumber.
Use Fresh Spices
Old turmeric and mustard seeds lose their potency. If your spices are from last year, your pickles might look pale or lack flavor. Check your expiration dates. Fresh spices make a huge difference in color and taste.
Watch the Heat
When boiling the brine, keep it at a gentle boil. A rolling boil can cook the cucumbers too quickly, making them mushy. You want them to heat through, not turn into mush.
Test the Seal
After cooling, press the center of the lid. If it doesn’t move, it’s sealed. If it pops, it’s not. Refrigerate unsealed jars and eat them first. Never try to re-process a jar that hasn’t sealed; the safety risk is too high.
Be Patient
I know you want to open them immediately. Resist the urge. The pickles are edible after a few days, but they are bland and sharp. Wait two weeks. The flavors will mellow and blend into something truly special.
Variations & Substitutions
Once you’ve nailed the basic version, here’s how you can mix it up. I’ve tried all of these.
Milder Version
Reduce the red pepper flakes to ¼ teaspoon or omit entirely. Add a pinch of cinnamon for a warmer, sweeter profile. Great for kids or those sensitive to heat.
Spicy Jalapeño Version
Add 2-3 sliced fresh jalapeños to each jar before pouring the brine. This adds a fresh, vegetal heat that complements the sweet brine. My husband’s favorite.
Dill Twist
Add a sprig of fresh dill and a clove of garlic to each jar. It’s still a bread and butter style, but with a dill aroma. Good for pairing with grilled meats.
Gluten-Free
This recipe is naturally gluten-free, but always check your vinegar and spice blends. Most are safe, but some processed spices might have anti-caking agents with gluten.
Sugar-Free Option
Use a sugar substitute like erythritol or monk fruit. It won’t taste exactly the same, but it reduces the calories. I haven’t tested this extensively, but it works for diabetic diets.
Serving & Storage
How to Serve
I serve these pickles straight from the jar as a snack. They are also perfect alongside sandwiches, burgers, and hot dogs. I chop them up and mix them into potato salad or egg salad for a tangy twist. They pair wonderfully with turkey cheddar pinwheels for a party appetizer.
Storage
Unopened jars last in the pantry for up to 1 year. Once opened, refrigerate and eat within 3-4 months. The flavor stays best if kept cold.
Reheating
No need to reheat. Serve chilled or at room temperature. They taste best cold.
Nutrition Information
I’m not a nutritionist, but here’s the breakdown per serving (based on 1/4 cup pickle).
| Calories | 45 |
| Protein | 0g |
| Carbs | 10g |
| Fiber | 1g |
| Sugar | 8g |
| Fat | 1g |
| Sodium | 350mg |
What’s Good: Low calorie, good source of vitamin K from cucumbers.
What to Know: Higher in sugar and sodium due to the brine. Use in moderation if you’re watching your intake. The spices add antioxidants.
Final Thoughts
So that’s my go-to sweet and spicy bread and butter pickle recipe! I’ve probably talked your ear off at this point, but when you make a recipe this often, you have a lot to say about it.
This has saved summer picnics more times than I can count. It’s my answer to “what’s a good side dish?” when I’m tired, don’t want takeout, and still want something that tastes really good. My kids are happy, my husband’s happy, and I’m happy because I’m not stressed about cooking.
Make it yours! Try different spice levels, swap in your favorite vegetables, or adjust the sweetness. The best recipes are the ones you adapt to your family’s tastes.
If you make this, drop a comment and let me know what you think! I love hearing how recipes turn out in your kitchen. And if something doesn’t work, tell me that too—I’m here to help troubleshoot.
Happy pickling! And I hope your summer is filled with good food and great company.
Frequently Asked Questions
Q: Can I use regular table salt instead of kosher salt?
A: I don’t recommend it. Table salt has anti-caking agents that can make the brine cloudy and it’s much saltier by volume. You’ll likely over-salt the pickles. Kosher salt dissolves more evenly and has a cleaner taste.
Q: Why did my lids not seal?
A: Common reasons: the rims weren’t wiped clean, the jars weren’t hot enough, or the lids were reused (the sealing compound needs to be new). Also, if you tightened the bands too much, steam couldn’t escape during processing. Try again with new lids and ensure rims are spotless.
Q: Can I skip the boiling water bath and just refrigerate?
A: Yes! This is called “refrigerator pickles.” Skip steps 6 and 7. Just pack the hot vegetables into clean jars, pour the hot brine over them, let them cool, and refrigerate. They will last 2-3 months in the fridge. They won’t have the same shelf stability, but they taste just as good.
Q: How spicy are these pickles?
A: With ½ teaspoon of red pepper flakes, they have a mild, gentle warmth. If you want them hot, increase to 1 teaspoon or add fresh jalapeños. The heat infuses into the brine, so even the cucumbers will have a little kick.
Q: Can I freeze these pickles?
A: No. Freezing will make them mushy and soft. They are best stored at room temperature (if sealed) or in the fridge.
Q: Can I use lemon juice instead of vinegar?
A: No. Vinegar provides the necessary acidity for safe canning. Lemon juice is not acidic enough to prevent bacterial growth in this type of pickle. Stick to white distilled vinegar for safety.
Q: How do I know if my pickles have gone bad?
A: If the jar is unsealed, smells bad, or the pickles are slimy or discolored, throw them out. If the lid is sealed and they look normal, they are safe to eat for up to a year.
Pin This Recipe!
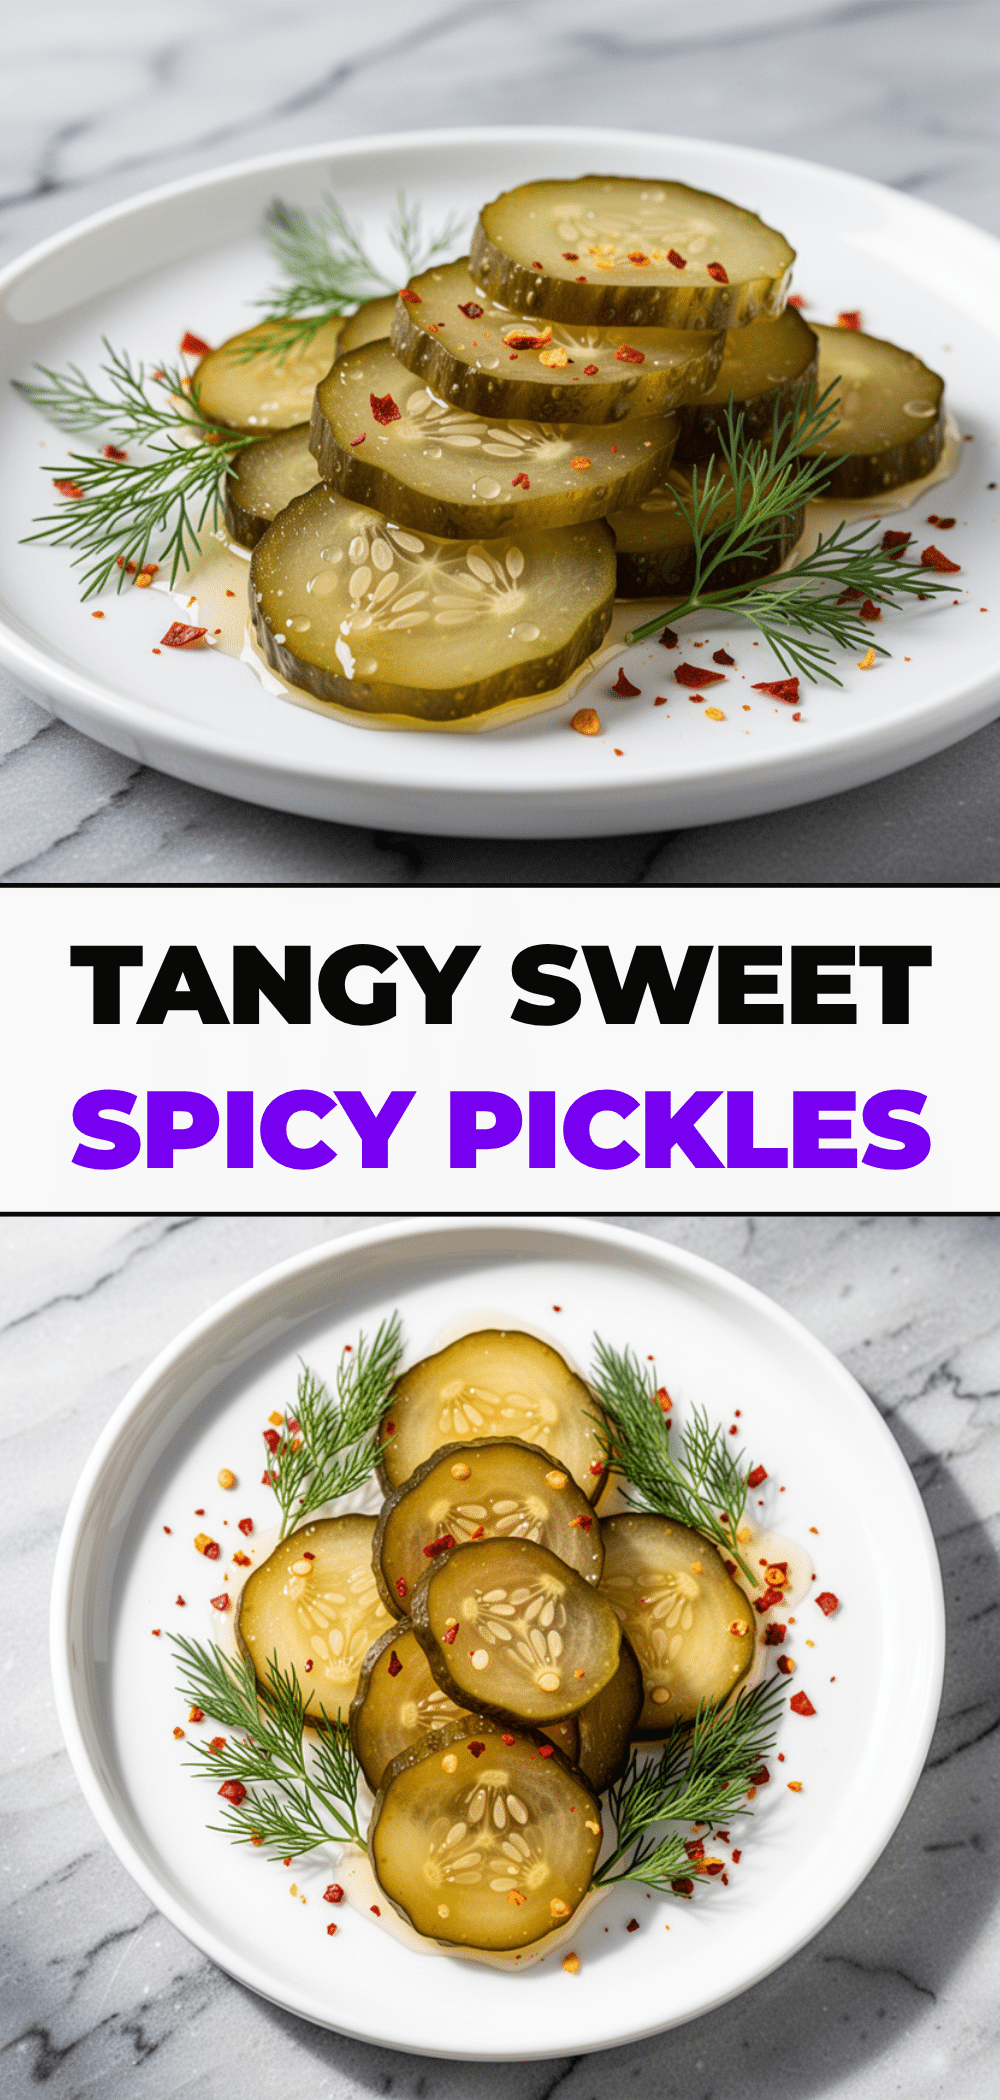
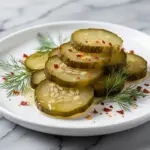
Sweet and Spicy Bread and Butter Pickles: Easy Summer Picnic Recipe
- Total Time: 50 minutes
- Yield: 8 servings 1x
Description
Crisp, tangy, and slightly spicy homemade pickles that are perfect for summer picnics, BBQs, and sandwiches. This easy canning recipe uses pantry staples to create a crunchy, flavorful condiment.
Ingredients
- 4 pounds small cucumbers (pickling, Persian, or English), sliced into ¼-inch rounds
- ½ cup coarse kosher salt
- 4 cups ice water
- 3 cups white distilled vinegar
- 1½ cups granulated sugar
- 2 medium yellow onions, thinly sliced
- 2 tablespoons vegetable oil
- 1 teaspoon turmeric
- 1 tablespoon mustard seeds
- 1 teaspoon ground ginger
- ½ teaspoon red pepper flakes
- 1 teaspoon black pepper
Instructions
- Wash cucumbers and slice into ¼-inch rounds. Place in a large bowl, sprinkle with kosher salt, and toss to coat.
- Add ice water to the bowl and let sit for 2 hours to draw out moisture.
- Drain cucumbers in a colander and rinse thoroughly under cold water. Press dry with a clean towel to remove excess water.
- Thinly slice the yellow onions.
- In a large non-reactive pot, combine vinegar, sugar, oil, turmeric, mustard seeds, ginger, red pepper flakes, and black pepper. Stir to dissolve sugar.
- Bring the mixture to a boil over medium-high heat, then reduce heat and simmer for 5 minutes.
- Add the drained cucumbers and sliced onions to the pot. Simmer for another 5 minutes until vegetables are slightly softened but still crisp.
- Pack the hot vegetable mixture tightly into hot, sterilized half-pint mason jars, leaving ½ inch of headspace.
- Remove air bubbles with a bubble remover or chopstick. Wipe jar rims clean with a damp cloth.
- Place flat lids on jars and screw on bands until fingertip-tight.
- Process jars in a boiling water bath canner for 10 minutes (adjust for altitude if necessary).
- Remove jars from water and let cool undisturbed for 12-24 hours. Check seals and store in the pantry for up to 1 year.
- Wait 2-4 weeks before opening for best flavor development.
Notes
Do not skip the salting step as it is crucial for crunch. Use fresh spices for best color and flavor. Ensure jar rims are clean for a proper seal. If lids do not seal after cooling, refrigerate and consume within a few weeks. For a milder version, reduce red pepper flakes. For extra heat, add fresh jalapeño slices.
- Prep Time: 30 minutes
- Cook Time: 20 minutes
- Category: Condiments
- Cuisine: American
Nutrition
- Serving Size: 1/4 cup
- Calories: 45
- Sugar: 8
- Sodium: 350
- Fat: 1
- Carbohydrates: 10
- Fiber: 1
Keywords: bread and butter pickles, sweet and spicy pickles, summer picnic recipe, homemade pickles, canning recipe, easy pickle recipe, vegetarian side dish