There is a specific kind of anxiety that comes with making a pie crust. You know the one. You’re staring at a ball of dough, sweating slightly, wondering if it’s too warm, if you’ve added enough butter, if it’s going to shrink into a tiny, sad disc in the oven. I’ve been there. I’ve had dough tear in my hands. I’ve had fillings leak out and burn onto the oven rack, creating a smoke alarm symphony that ruined my entire evening.
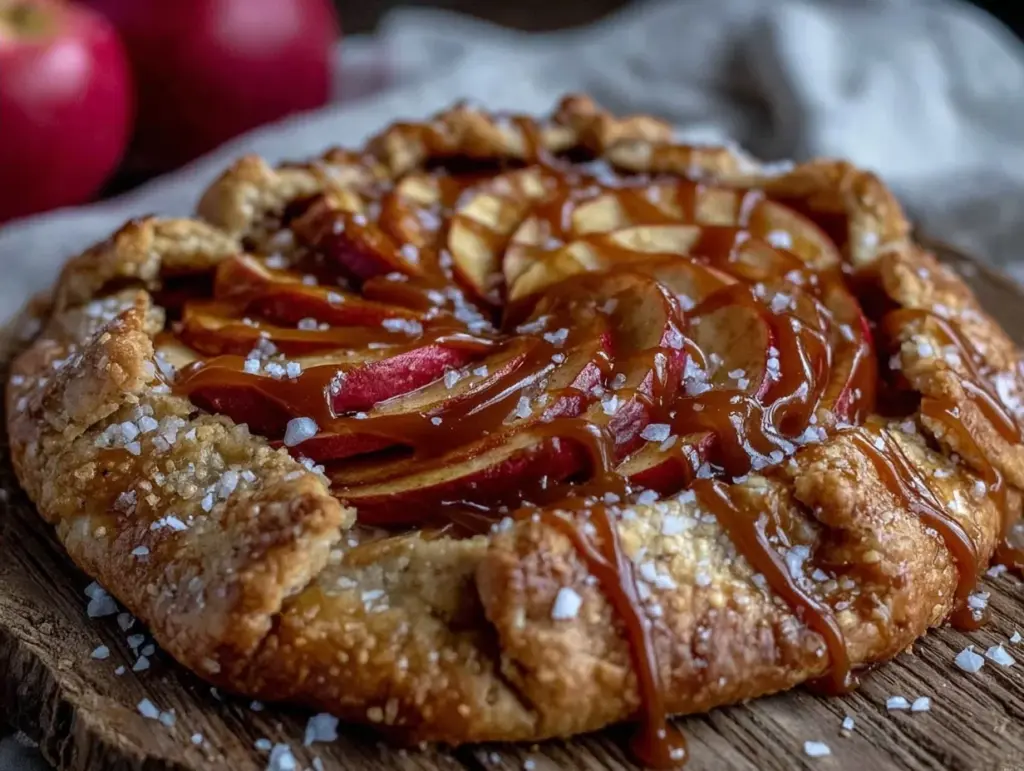
Then, I discovered the galette. It’s French for “tart,” but honestly, I think of it as “lazy tart” or “happy accident tart.” It’s the dessert equivalent of wearing sweatpants to the grocery store—comfortable, effortless, and surprisingly stylish. This apple dessert galette with cinnamon caramel drizzle doesn’t care if your edges are uneven. In fact, uneven edges look rustic and homemade, which is exactly what we’re going for. It doesn’t require a pie dish. It doesn’t require a rolling pin if you’re feeling particularly lazy (though one helps). It just requires apples, butter, sugar, and a willingness to let go of perfection.
I made this for a casual Tuesday night because I had apples in the fridge that were starting to look a bit wrinkly. I didn’t plan it. I didn’t invite anyone over. But when the smell of cinnamon and caramel hit the kitchen, my husband wandered in, asked what was happening, and then ate three slices before dinner was even served. That’s the power of this recipe. It’s forgiving, it’s delicious, and it’s going to become your go-to fall dessert because you really can’t mess it up.
Why You’ll Love This Recipe
There are plenty of apple desserts out there. There’s apple cinnamon baked oatmeal for breakfast, and there’s roasted apples with chicken thighs for dinner. But for a dessert that feels fancy but takes five minutes of prep? This galette is the winner. Here’s why it’s earned a permanent spot in my rotation:
- Zero Crust Stress — Pie crusts are finicky. Galette dough is forgiving. You roll it out, it’s fine if it cracks. You fold it over, it’s fine if it’s lopsided. The rustic look is the whole point. I’ve made this with store-bought pie crusts when I was feeling extra lazy, and it still tasted incredible.
- Minimal Cleanup — Everything happens on one sheet pan. One bowl for mixing, one pan for baking. No double crusts, no lattice work, no fancy tongs. Just dump, fold, bake, and drizzle. If you can use a fork, you can make this.
- The Caramel Drizzle — This isn’t just baked apples. It’s baked apples with a salted cinnamon caramel sauce poured over the top. It’s sweet, salty, spiced, and gooey. It turns a simple fruit tart into something that looks like it came from a high-end bakery (but costs half the price).
- Beginner-Proof — I’ve walked my teenage niece through this recipe over the phone. She has zero baking experience, and she made a beautiful galette. The dough doesn’t need to be perfect. The apples don’t need to be sliced uniformly. It just needs to be in the oven.
- Better Than Store-Bought — Grocery store apple desserts are often mushy, overly sweet, and lack texture. This has flaky crust, tender-but-chewy apples, and a crisp edge. It’s superior in every way.
So basically, if you want a dessert that feels special but doesn’t require a degree in pastry arts, this is it. It’s the “if you can only make one thing, make this” of fall baking.
Ingredients You’ll Need
Here’s the best part: you probably have most of this already. This isn’t a recipe that requires a trip to three different specialty stores. It’s pantry staples and fresh fruit. I’m particular about three things here, and I’ll tell you why.
For the Crust
Pre-made pie crusts (2 sheets / 210g) — I’m going to be honest. I buy the refrigerated tubes. It’s not cheating; it’s efficiency. Pillsbury or any store brand works fine. If you want to make your own, use a standard double-crust recipe, but honestly, the store-bought version saves you 45 minutes of frustration. Thaw them in the fridge for 30 minutes before rolling.
Butter (2 tablespoons / 30g) — Unsalted is best so you control the salt. Cut this into small cubes. It goes on top of the apples before baking to create those crispy, golden edges.
For the Filling
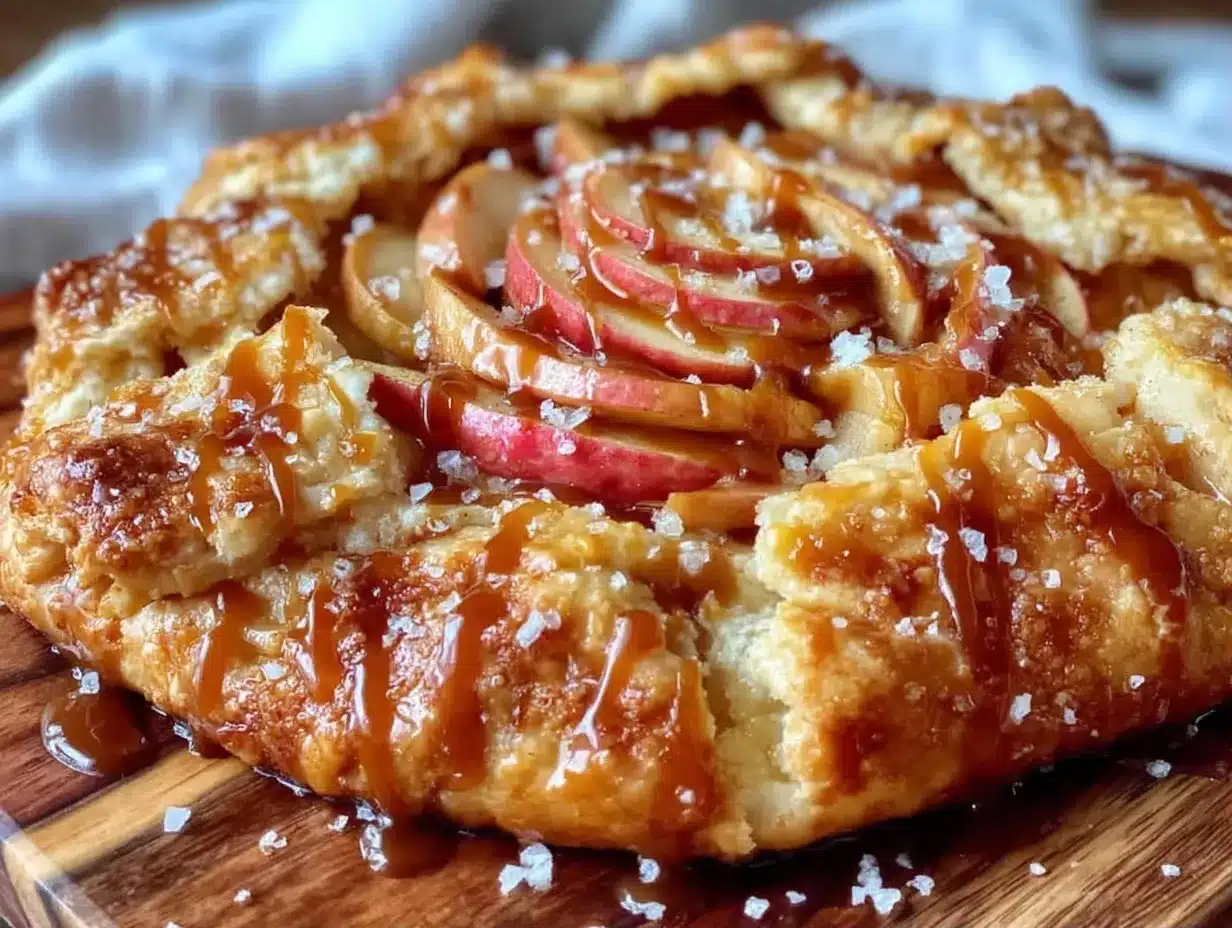
Apples (4 medium / about 600g) — This is where you need to pay attention. You want baking apples that hold their shape. Honeycrisp, Fuji, or Granny Smith are my top picks. Avoid Red Delicious—they turn to mush. Avoid McIntosh unless you like applesauce. You want slices that stay distinct.
Sugar (½ cup / 100g) — Granulated white sugar works best. It caramelizes nicely. You can use half brown sugar for a deeper molasses flavor, but I stick to white for that classic crunch.
Cinnamon (1 teaspoon / 2g) — Ground cinnamon. Not the sticks. Don’t skimp on this. The spice is what makes it smell like fall.
Lemon Juice (1 tablespoon / 15ml) — Freshly squeezed. This prevents the apples from browning while you’re prepping and adds a little brightness to cut the sweetness.
Cornstarch (1 tablespoon / 8g) — This is the secret weapon. Apples release a lot of water. The cornstarch thickens that juice into a syrup instead of a puddle. Without it, your galette gets soggy. With it, it’s perfect.
For the Cinnamon Caramel Drizzle
Heavy Cream (½ cup / 120ml) — Full fat only. Half-and-half will split. Whole milk will be too thin. You need the fat content for that rich, glossy sauce.
Brown Sugar (½ cup / 110g) — Packed. Light or dark works, but dark has a stronger molasses taste which pairs beautifully with the cinnamon.
Butter (4 tablespoons / 60g) — Unsalted. This gives the sauce body and richness.
Salt (½ teaspoon) — Flaky sea salt if you have it, but table salt works. The salt is crucial—it makes the caramel taste like caramel, not just sugar syrup.
Cinnamon (½ teaspoon) — Just a little kick in the sauce.
Equipment Needed
You don’t need fancy gadgets. Here’s what I actually use:
Sheet Pan — A standard 13×18 inch baking sheet. Line it with parchment paper. Do not skip the parchment. The caramel will bubble over and stick to the pan. Parchment saves your sanity.
Large Bowl — For tossing the apples. A mixing bowl is fine.
Small Saucepan — For the caramel. A 1-quart saucepan works well. Don’t use a tiny pan; the sugar will boil up and make a mess.
Pastry Brush — Optional, but helpful for brushing the crust edges with milk or egg wash for that golden color. I use a regular fork if I’m being lazy.
Rolling Pin — Or just use your hands. Galettes are rustic. If you don’t have one, you can stretch the dough with your fingers.
Whisk — For the caramel sauce to keep it smooth.
How to Make It: Step-by-Step
Alright, let’s make this! I’m walking you through exactly how I do it. It’s simpler than you think.
Step 1: Prep Your Apples (5 minutes)
Peel, core, and slice your apples. I like them about ¼ inch thick. Too thin, and they vanish. Too thick, and they’re raw in the middle. Toss them in a bowl with the lemon juice, granulated sugar, cinnamon, and cornstarch. Mix it well until every slice is coated. Let them sit while you roll out the dough. The sugar will start to draw out some juices, which is good.
Step 2: Roll Out the Dough (5 minutes)
Take your thawed pie crusts. If you’re using one crust, roll it into a large circle, about 12 inches across. If you’re using two (which I recommend for a fuller galette), roll each into a 10-inch circle. Place them on your parchment-lined sheet pan. This is important: you can fold the dough later, so keep it on the pan. Don’t move it to a plate.
Step 3: Pile On the Apples (3 minutes)
Arrange the apple slices in the center of the dough, leaving a 2-inch border around the edges. You don’t need to layer them perfectly. Just pile them up. It’s okay if they overlap. The border is where you’ll fold the dough, so keep it clean of apple juice if possible (wipe the rim with a damp paper towel if it gets messy).
Step 4: Fold the Crust (2 minutes)
This is the fun part. Take the edge of the dough and fold it over the apples, pleating it as you go. Think of it like a flower petal. You’re creating a rustic border. You don’t need to seal it tight. Just drape it over the fruit. It’s supposed to look handmade. Brush the folded edges with a little milk or beaten egg for a golden finish.
Step 5: Add the Butter Cubes (1 minute)
Dot the top of the apples and the crust edges with the cold butter cubes. This helps the crust brown and the apples caramelize. Pop the whole sheet pan into a preheated 400°F (200°C) oven.
Step 6: Bake (35-40 minutes)
Bake until the crust is deep golden brown and the apples are tender. You’ll see bubbles of syrup coming through the folds. If the edges are browning too fast, tent them with foil. Mine usually take about 38 minutes. Trust your eyes, not the clock.
Step 7: Make the Caramel Drizzle (While Baking)
While the galette bakes, make the sauce. In your saucepan, combine the butter, brown sugar, heavy cream, salt, and cinnamon. Heat over medium heat, whisking constantly. Wait for it to bubble. Once it bubbles, let it simmer for 2 minutes. It will thicken slightly. Remove from heat. It should be glossy and pourable.
Step 8: Assemble and Serve
Take the galette out of the oven. Let it cool for 10 minutes (the filling is lava hot). Then, drizzle the warm caramel sauce all over the top. Slice it into wedges and serve warm. If you have no-churn vanilla bean ice cream in the freezer, this is the moment to use it. A scoop of cold ice cream on hot galette is a game-changer.
Expert Tips & Tricks
Here’s everything I’ve learned from making this dozens of times. These tips will save you from my mistakes.
Don’t Overfill — It’s tempting to pile every apple on the tray. Resist. If you overfill, the dough can’t fold over, and the juice will leak out onto the pan and burn. Less is more. A moderate pile bakes better.
Cornstarch is Non-Negotiable — I’ve tried this without cornstarch once. The result was a soupy bottom crust. It was sad. Use the cornstarch. It binds the apple juices into a delicious syrup.
Keep the Butter Cold — If your dough gets warm while you’re working, put it back in the fridge for 10 minutes. Warm dough tears. Cold dough folds. It’s that simple.
The Caramel Timing — When making the caramel, don’t walk away. Sugar boils over quickly. Once it hits a boil, set a timer for 2 minutes. That’s all you need. Longer, and it gets too thick and hardens like candy. Shorter, and it’s too runny.
Serving Warm — This galette is best served warm, not hot and not cold. If you let it cool completely, the caramel hardens into a shell. Warm caramel is gooey and perfect.
Variations & Substitutions
Once you’ve nailed the basic version, here’s how you can mix it up. I’ve tried all of these.
Pear Galette — Substitute pears for apples. Bartlett or Bosc pears work well. Reduce the cinnamon slightly; pears like nutmeg better.
Stone Fruit Galette — In summer, use peaches, nectarines, or plums. Slice them thin. They release less water, so you might only need ½ tablespoon of cornstarch.
Walnut Crunch — Sprinkle chopped walnuts or pecans over the apples before folding the crust. Adds a nice crunch and earthy flavor.
Gluten-Free — Use a gluten-free pie crust. Most store-bought GF crusts work fine, though they can be more fragile. Handle gently.
Vegan — Use a vegan pie crust (many brands make them now), swap butter for vegan butter, and use coconut cream instead of heavy cream for the caramel. The flavor is slightly different but still delicious.
Spice It Up — Add a pinch of cardamom or allspice to the apple mixture. It adds complexity without changing the vibe.
Serving & Storage
How to Serve: I usually serve this straight from the sheet pan, slicing it right on the parchment. It looks rustic and stays warm. But here are other ways I’ve enjoyed it:
- With Ice Cream — Vanilla bean is classic. Salted caramel ice cream doubles down on the flavor.
- With Whipped Cream — If you don’t have ice cream, fresh whipped cream with a little powdered sugar works.
- With Coffee — This pairs beautifully with a dark roast coffee. It’s a perfect afternoon snack.
Storage: Store leftovers in an airtight container at room temperature for up to 2 days. The crust might soften a bit, but it’s still good. Reheat in the oven at 350°F for 10 minutes to crisp it back up. Don’t microwave it unless you want a soggy crust.
Freezing: You can freeze the unbaked galette. Wrap it tightly in plastic wrap and foil. Bake from frozen, adding 10-15 minutes to the baking time. Do not freeze the baked galette with the caramel drizzle—the sauce separates when thawed. Drizzle fresh after reheating.
Nutrition Information
I’m not a nutritionist, but here’s the breakdown if you’re tracking. This is a dessert, so expect it to be indulgent.
Per Serving (based on 8 slices):
- Calories: 380
- Protein: 3g
- Carbs: 52g
- Fiber: 3g
- Sugar: 32g
- Fat: 18g
- Saturated Fat: 10g
- Cholesterol: 45mg
- Sodium: 280mg
What’s Good: It has fiber from the apples and crust. It’s a single-serving dessert, so portion control is built-in.
What to Know: It’s high in sugar from the caramel and apples. Use less sugar in the filling if you prefer less sweetness. The cornstarch adds a little carb, but it’s negligible.
My Take: Look, this is a treat. It’s not a health food. But it’s made with real fruit and real butter. It’s better than a processed bar cake. When I make this, I enjoy a slice and feel good about it. No guilt needed.
Final Thoughts
So that’s my go-to apple dessert galette with cinnamon caramel drizzle! I’ve probably talked your ear off at this point, but when you make a recipe this often, you have a lot to say about it.
This has saved me more times than I can count. It’s my answer to “what’s for dessert” when I want something homemade but don’t have the energy for a complex bake. My family is happy, my guests are impressed, and I’m happy because I didn’t spend hours in the kitchen.
Make it yours! Try different apples, add nuts, change the spice. The best recipes are the ones you adapt to your tastes. The galette format is so flexible that you can’t go wrong.
If you make this, drop a comment and let me know what you think! I love hearing how recipes turn out in your kitchen. And if something doesn’t work, tell me that too—I’m here to help troubleshoot.
Happy baking! And I hope your kitchen smells half as good as mine does right now.
Frequently Asked Questions
Q: Can I use frozen pie crust?
A: Yes, but you need to thaw it properly. Let it sit in the fridge for a few hours, then let it come to room temperature for 15 minutes. If it’s too cold and brittle, it will crack when you roll it. If it’s too warm, it will stick. Aim for pliable but cool.
Q: Why did my galette leak juice onto the pan?
A: Usually, this means you overfilled it or didn’t use enough cornstarch. The sugar from the apples melts and turns to liquid. If it leaks, it burns. Next time, use less fruit and add that tablespoon of cornstarch. It binds the liquid so it stays in the galette.
Q: Can I make the caramel sauce ahead?
A: You can, but it will thicken as it cools. Reheat it gently in the microwave or on the stove with a splash of extra cream to loosen it up. It’s best made fresh, though, for that gooey drizzle.
Q: Why did my crust get soggy?
A: This happens if the apples release too much water and the crust isn’t baked long enough. Make sure your oven is fully preheated. 400°F is hot enough to set the crust quickly. Also, ensure you’re using cornstarch to absorb the juices.
Q: Can I use a different fruit?
A: Absolutely. Peaches, pears, plums, and cherries all work. Adjust the sugar slightly depending on the fruit’s natural sweetness. Stone fruits need less sugar than apples.
Q: How do I reheat leftovers?
A: The oven is best. 350°F for 10-15 minutes. This crisps the crust back up. The microwave makes the crust chewy and soft, which I don’t love for a galette.
Q: Can I double the recipe?
A: You can make two smaller galettes. Just use two sheet pans or bake one at a time. Don’t overcrowd the oven. Two galettes on one pan might work if they’re small, but keep an eye on the baking time.
Pin This Recipe!
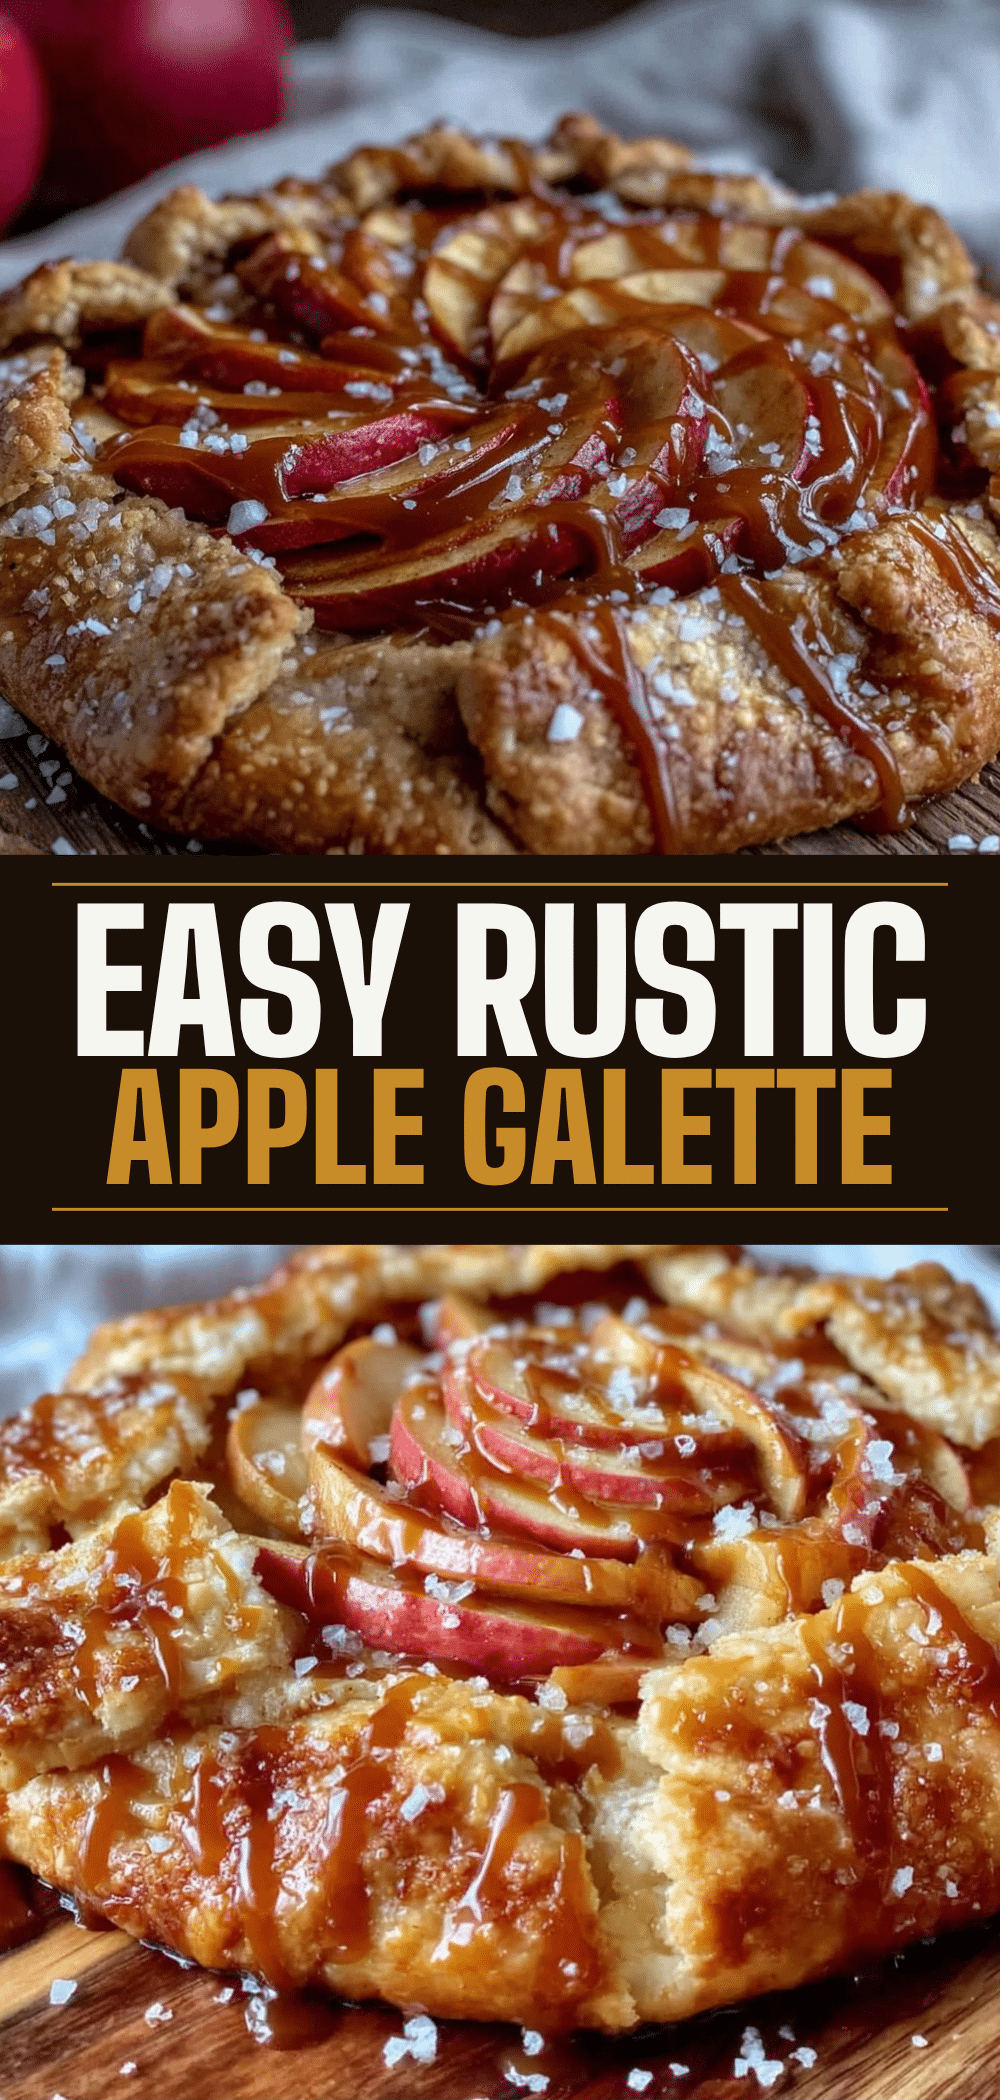

Apple Galette: Easy Caramel Dessert You Cant Mess Up
- Total Time: 55 minutes
- Yield: 8 servings 1x
Description
A forgiving, rustic apple dessert featuring a flaky crust, tender apples, and a rich salted cinnamon caramel drizzle. Perfect for beginners who want a fancy-looking fall treat without the stress of pie crusts.
Ingredients
- 2 sheets pre-made pie crusts (210g), thawed
- 4 medium baking apples (Honeycrisp, Fuji, or Granny Smith), peeled, cored, and sliced ¼ inch thick (approx. 600g)
- 1 tablespoon lemon juice
- ½ cup granulated white sugar
- 1 teaspoon ground cinnamon
- 1 tablespoon cornstarch
- 2 tablespoons unsalted butter, cut into small cubes
- ½ cup heavy cream
- ½ cup packed brown sugar
- 4 tablespoons unsalted butter
- ½ teaspoon salt
- ½ teaspoon ground cinnamon
Instructions
- Preheat oven to 400°F (200°C). Line a standard 13×18 inch baking sheet with parchment paper.
- In a large bowl, toss sliced apples with lemon juice, granulated sugar, 1 teaspoon cinnamon, and cornstarch until evenly coated. Let sit while preparing dough.
- Roll out pie crust(s) into circles (10-12 inches) and place on the parchment-lined sheet pan.
- Arrange apple slices in the center of the dough, leaving a 2-inch border. Pile them up; overlapping is fine.
- Fold the edge of the dough over the apples, pleating as you go to create a rustic border. Brush folded edges with milk or egg wash for browning.
- Dot the top of the apples and crust edges with the 2 tablespoons of cold butter cubes.
- Bake for 35-40 minutes until the crust is deep golden brown and apples are tender. Tent edges with foil if browning too quickly.
- While baking, make the caramel: In a small saucepan over medium heat, combine heavy cream, brown sugar, 4 tablespoons butter, salt, and ½ teaspoon cinnamon. Whisk constantly until bubbling, then simmer for 2 minutes until slightly thickened. Remove from heat.
- Remove galette from oven and let cool for 10 minutes.
- Drizzle warm caramel sauce over the galette. Slice into wedges and serve warm.
Notes
Use baking apples that hold their shape (Honeycrisp, Fuji, Granny Smith). Avoid Red Delicious or McIntosh. Cornstarch is essential to prevent a soggy crust by thickening apple juices. Keep dough cold to prevent tearing. Caramel sauce should be made fresh for best texture; it hardens if cooled completely.
- Prep Time: 15 minutes
- Cook Time: 40 minutes
- Category: Dessert
- Cuisine: French
Nutrition
- Serving Size: 1 slice (1/8 of gale
- Calories: 380
- Sugar: 32
- Sodium: 280
- Fat: 18
- Saturated Fat: 10
- Carbohydrates: 52
- Fiber: 3
- Protein: 3
Keywords: apple galette, caramel dessert, fall baking, easy pie crust, rustic tart, cinnamon caramel, beginner baking


