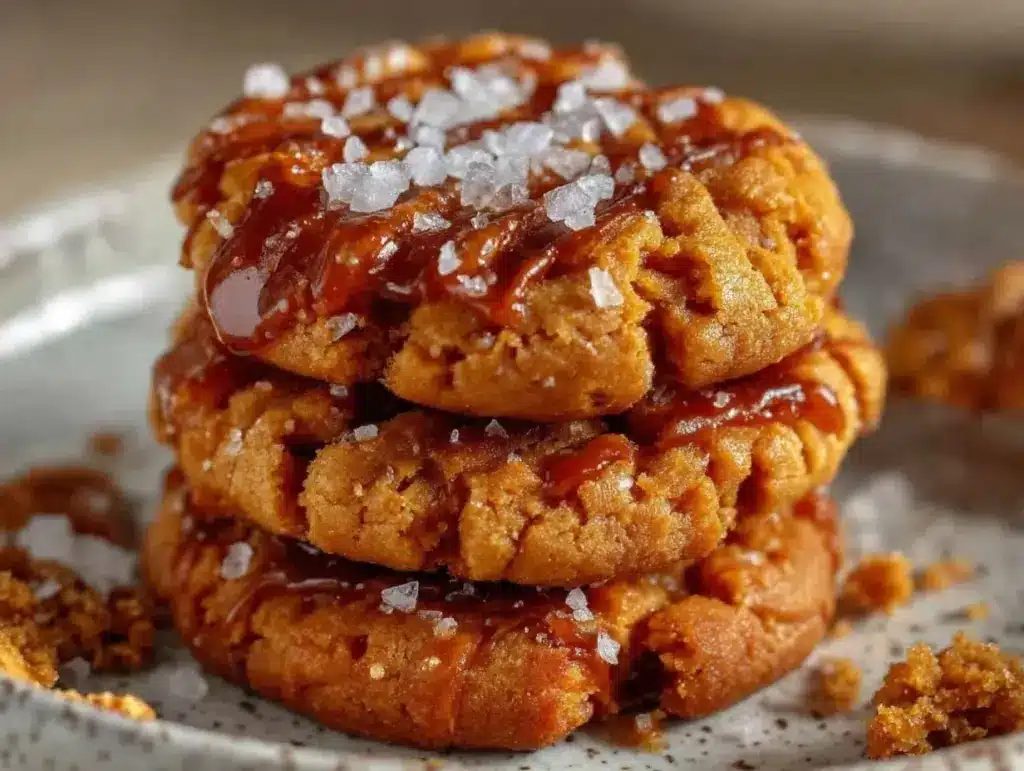
I have a confession to make. I used to think peanut butter cookies were boring. You know the ones—the flat, crisscross-patterned discs that taste like they were made in 1954 and haven’t evolved since. I’d pick them up at a bake sale, take one bite, and politely put them back on the plate. They were dry. They were too sweet. They were just… there.
Then, about six months ago, I found myself staring at a jar of creamy peanut butter and a bag of brown sugar, feeling completely uninspired. I wanted something that felt like a treat but didn’t require a dozen bowls or an hour of cleaning up. I wanted something that would make my kids stop complaining about dinner and actually ask for seconds. So I threw together a batch of what I thought would be just another peanut butter cookie.
I was wrong. So wrong.
The first one I pulled out of the oven was still warm. I bit into it and stopped mid-chew. The edges were crisp and caramelized, shattering slightly under my teeth. The center was chewy, almost soft, with that intense, roasted peanut flavor that isn’t watered down by too much flour. And then came the salt. That flaky sea salt on top? It hit my tongue and made my eyes close. It wasn’t just a cookie. It was the perfect balance of sweet, salty, crunchy, and chewy.
That was the moment my relationship with peanut butter cookies changed. I’ve made these crispy chewy peanut butter cookies with sea salt at least a dozen times since then. Sometimes for Tuesday night snacks. Sometimes when I need to cheer myself up. Sometimes because I just really, really like them. And every single time, the result is the same: perfect, reliable, and absolutely delicious.
Here’s the thing about this recipe: it’s beginner-proof. You don’t need to cream butter and sugar to perfection. You don’t need to fold in egg whites. You don’t need to chill the dough for three hours. You just mix, scoop, and bake. If you can mix these ingredients together, you can make these cookies. Seriously. I’ve made them while half-asleep. I’ve made them with different brands of peanut butter. I’ve even made them when I forgot the salt (don’t do that, though—it’s the secret weapon).
This isn’t just a recipe. It’s a habit. It’s the go-to bake when I need something quick, easy, and guaranteed to be loved. It’s the cookie you make when you want to feel like a pro without doing any real work. And once you try them, you’ll be making them on repeat, too.
Why You’ll Love This Crispy Chewy Peanut Butter Cookie Recipe
There are a lot of cookie recipes out there. I’ve tried them all. Some are complicated. Some require ingredients I have to drive 20 minutes to get. Some taste great but look like sad little hockey pucks. This recipe is different. It’s the one I come back to when I want something that just works. Here’s why these crispy chewy peanut butter cookies with sea salt have taken over my kitchen (and my heart):
Stupid Simple Ingredients — You probably have everything you need already. Peanut butter, butter, sugars, an egg, flour, baking soda, and salt. That’s it. No exotic flours, no weird extracts, no fancy chocolates. Just real, simple ingredients that come together in one bowl. If you can make creamy no-churn vanilla bean ice cream, you can make these cookies.
The Perfect Texture Combo — This is the big one. Most peanut butter cookies are either too cakey or too dry. These hit that sweet spot. The edges get thin and crisp, almost like a chip, while the center stays soft and chewy. It’s the kind of texture that makes you take another bite before you’ve even finished the first one. I’ve tested the timing on my oven a dozen times to get this right, and it’s foolproof.
One-Bowl Wonder — Cleanup is the worst part of baking for me. With this recipe, I use one mixing bowl and one spoon. That’s it. No stand mixer required. No multiple bowls. Just stir, scoop, bake. It’s the easiest bake I own, and I’m proud of it. It’s also why I make these when I don’t feel like dealing with a mess.
Beginner-Proof — I’ve walked my teenage niece through this recipe over the phone. She’s never baked before. She didn’t burn the kitchen down. She didn’t ruin the cookies. She made a perfect batch. This recipe is forgiving. If you add a little more flour, they’re still good. If you bake them for a minute longer, they’re still delicious. You really can’t mess this up.
Customizable — Once you have the base down, you can play. Add chocolate chips. Add sprinkles. Swirl in some caramel. But honestly? The simple version with just sea salt is my favorite. It lets the peanut flavor shine. It’s classic for a reason.
This is my go-to when I want to bake something that feels special but doesn’t require special effort. It’s reliable. It’s delicious. And it’s always a hit.
Ingredients You’ll Need
Here’s the best part: this ingredient list is short. Like, really short. I’m not going to make you buy a new spice rack for these cookies. You likely have most of this in your pantry right now. I’m particular about a few things, so pay attention to the notes, but don’t stress if you don’t have everything exactly right. These cookies are forgiving.
Unsalted Butter (1/2 cup / 113g, softened) — Softened means room temperature. Not melted! If you melt it, your cookies will spread too much and get greasy. If you’re in a rush, cut it into cubes and microwave for 10 seconds at a time until it’s soft to the touch. I like unsalted because it lets me control the saltiness, especially since we’re adding sea salt on top.
Creamy Peanut Butter (1 cup / 250g) — This is the star. Use a standard brand like Jif or Skippy. Natural peanut butter (the kind where you have to stir the oil) can make these cookies dry or crumbly because the oil separates. Stick to the processed stuff for this recipe. It keeps them chewy and consistent. I’ve tried natural peanut butter once, and while they tasted fine, the texture was off. Stick to creamy for best results.
Granulated White Sugar (1/2 cup / 100g) — This helps with the crisp edges. It caramelizes in the oven. Don’t skip it for all-brown sugar, or they’ll be too cakey. The white sugar gives them that nice snap on the outside.
Brown Sugar (1/2 cup / 115g, packed) — This is what makes them chewy. It adds moisture and a hint of caramel flavor. Pack it tightly into your measuring cup. If you don’t pack it, you’ll have less sugar, and your cookies might be too dry. I use light brown sugar, but dark works too if you like a deeper molasses taste.
Egg (1 large) — This binds everything together. Room temperature eggs mix easier, but cold eggs work fine here. Just make sure it’s fully incorporated. Don’t crack it directly into the bowl if you’re nervous—crack it into a small cup first to check for shells.
Vanilla Extract (1 teaspoon) — Just a splash to round out the flavors. Pure vanilla is best, but imitation works in a pinch. It doesn’t overpower the peanut butter, so don’t worry if yours is a bit weak.
All-Purpose Flour (1 cup / 125g) — Keep it simple. Don’t go for whole wheat or almond flour unless you want to change the recipe entirely. All-purpose gives the right structure. Spoon it into your measuring cup and level it off. Don’t scoop straight from the bag, or you’ll pack it down and end up with too much flour. Too much flour = dry cookies.
Baking Soda (1/2 teaspoon) — This helps them spread and brown. Make sure it’s not expired. If your baking soda is old, it won’t do its job, and your cookies will be dense. Test it by dropping a little in vinegar—it should fizz. If it doesn’t, toss it and get a new can.
Salt (1/4 teaspoon) — This is crucial. Even though we’re using unsalted butter and sweet sugars, a little salt in the dough balances everything out. It makes the peanut flavor taste more like peanut and less like sugar.
Flaky Sea Salt (for topping) — This is the magic touch. Maldon sea salt is great, but any flaky salt works. Sprinkle it on right after they come out of the oven. The heat melts it slightly, so it sticks and dissolves just a little into the cookie. It’s the contrast that makes these cookies addictive.
Optional: Chocolate Chips (1/2 cup) — If you want to get fancy, fold these in at the end. They’re delicious, but I usually skip them to let the peanut butter shine. If you do add them, use semi-sweet to balance the sweetness.
Equipment Needed
You don’t need fancy gadgets for this. Here’s what I actually use. If you don’t have one of these, don’t worry—there’s probably a substitute.
Large Mixing Bowl — I use a 4-quart stainless steel bowl. It’s big enough to mix everything without making a mess. Any large bowl works, just make sure it’s deep enough to handle the thick dough.
Electric Hand Mixer or Wooden Spoon — I prefer a hand mixer for the first part to cream the butter and sugars. It takes 2 minutes and makes the texture lighter. But honestly? A wooden spoon works fine. You’ll just need to arm workout. If you’re using a spoon, mix vigorously until it’s smooth.
Measuring Cups and Spoons — Standard stuff. Dollar store versions work fine. Just make sure your 1-cup measure is actually 1 cup. I’ve had cheap ones that are slightly off, which can throw off the ratio.
Baking Sheets — I use two half-sheet pans. Light-colored aluminum pans are best because they don’t over-brown the bottoms. Dark pans can burn the edges. If you only have one pan, you’ll need to bake in batches.
Parchment Paper — Line your baking sheets. This is non-negotiable for easy cleanup and even baking. It also prevents sticking. I don’t grease the parchment; the butter in the dough is enough.
Cookie Scoop — I use a 1.5-tablespoon scoop. It makes them all the same size, so they bake evenly. If you don’t have a scoop, use a tablespoon. Just try to make them uniform. Irregular sizes mean some burn while others are raw.
Wire Cooling Rack — Essential. Don’t let them cool on the hot pan, or they’ll keep cooking and get dry. Move them to a rack after 5 minutes. I use a cheap wire rack from IKEA, and it’s held up great.
How to Make It: Step-by-Step
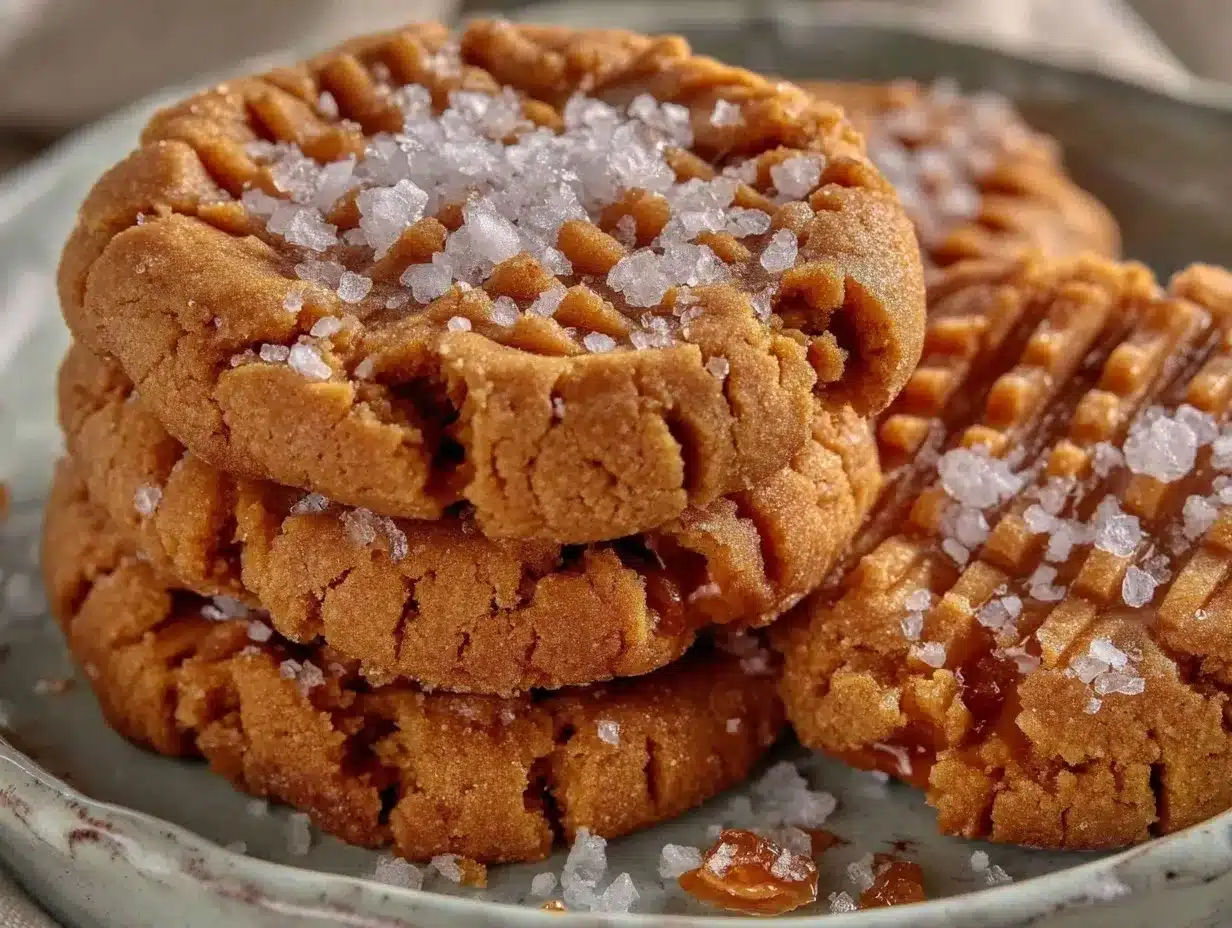
Alright, let’s make these cookies! I’m walking you through exactly how I do it, including the little tricks that keep them crispy and chewy. It’s simple, so don’t overthink it.
Step 1: Prep Your Oven and Pans (2 minutes)
Preheat your oven to 350°F (175°C). This is crucial. If your oven is too cool, the cookies will spread too much and stay flat. If it’s too hot, they’ll burn on the outside before cooking inside. Get that oven hot before you start mixing. Line your baking sheets with parchment paper. This saves you from scrubbing pans later.
Step 2: Cream the Butter and Sugars (3 minutes)
In your large bowl, combine the softened unsalted butter, granulated sugar, and brown sugar. If you’re using a hand mixer, beat this on medium-high for about 2-3 minutes until it’s light, fluffy, and pale. If you’re using a wooden spoon, mix vigorously until there are no lumps of sugar left. This step incorporates air, which helps the cookies rise slightly and get that tender crumb. Don’t skip it.
Step 3: Add Wet Ingredients (2 minutes)
Add the creamy peanut butter, egg, and vanilla extract to the butter mixture. Mix until fully combined. The dough will look a bit curdled at first—that’s normal. Just keep mixing until it comes together into a smooth, thick paste. Scrape down the sides of the bowl with a spatula to make sure everything is incorporated. You don’t want pockets of plain egg or peanut butter.
Step 4: Mix in Dry Ingredients (2 minutes)
Add the all-purpose flour, baking soda, and salt. Mix on low speed (or stir by hand) just until the flour disappears. This is the most important part: do not overmix. Once the flour is gone, stop. Overmixing develops gluten, which makes cookies tough. You want tender, chewy cookies, not bread. The dough will be thick and stiff. If it seems too dry, add a teaspoon of milk. If it’s too sticky, add a tablespoon of flour.
Step 5: Scoop the Dough (5 minutes)
Use your cookie scoop to portion the dough onto the prepared baking sheets. Leave about 2 inches between each cookie because they will spread. If you don’t have a scoop, roll them into balls with your hands. Make them uniform in size. I usually get about 24 cookies from this batch. Press them down slightly with your palm—this helps them bake evenly and get that classic cookie shape.
Step 6: Bake (10-12 minutes)
Place the pans in the preheated oven. Bake for 10-12 minutes. Here’s the key: they should look set around the edges but still soft in the center. They will NOT look fully cooked when you take them out. That’s intentional. They finish cooking on the hot pan after you remove them. If they look hard and dry in the oven, they’ll be rock-hard when they cool. Aim for a light golden color on the edges.
Step 7: Add Sea Salt and Cool (15 minutes)
As soon as you take the pans out of the oven, sprinkle each cookie with flaky sea salt. The heat will help it stick. Then, let them cool on the baking sheet for 5 minutes. This is when they firm up. After 5 minutes, transfer them to a wire rack to cool completely. If you try to move them too soon, they’ll break. Be patient. Trust the process.
Total Time: About 30 minutes (5 minutes prep, 20 minutes baking/cooling)
Expert Tips & Tricks
Here’s everything I’ve learned from making these dozens of times. These tips will save you from my mistakes and guarantee perfect cookies every time.
Don’t Overbake — This is the #1 mistake. People see soft centers and panic. Don’t. They continue to cook on the hot pan. Take them out when they look slightly underdone. They’ll firm up as they cool. If you wait until they look done in the oven, they’ll be dry.
Softened Butter, Not Melted — I’ve made this mistake twice. Melted butter makes the cookies spread into flat circles that are greasy and crisp all the way through. You want that chewy center. So, let your butter sit out for 30 minutes before you start. It should be soft enough to indent with your finger but not oily.
Use Creamy, Not Natural, Peanut Butter — I tried natural peanut butter once. The oil separated, and the cookies turned out crumbly and dry. Standard creamy peanut butter has emulsifiers that keep the dough stable. Stick to Jif, Skippy, or similar brands for the best texture.
Measure Flour Correctly — Too much flour = dry cookies. Spoon the flour into your measuring cup and level it off with a knife. Don’t scoop the cup into the bag. That packs the flour down, and you’ll end up with way more than you need.
Let Them Cool Completely — I know, it’s hard. But if you eat them warm, they’ll be too soft and might fall apart. Let them cool on the rack for at least 15 minutes. The flavor develops as they cool, and the texture sets. Patience pays off.
Store Properly — Keep them in an airtight container at room temperature for up to 5 days. They stay chewy if you keep them sealed. If they start to dry out, add a slice of bread to the container—the cookies will absorb the moisture from the bread. It’s an old baker’s trick that actually works.
Variations & Substitutions
Once you’ve nailed the basic version, here’s how you can mix it up. I’ve tried all of these, and they’re all good.
Chocolate Chip Peanut Butter Cookies — Fold in 1/2 cup of semi-sweet chocolate chips after mixing the dough. The chocolate and peanut butter combo is classic. I add these sometimes when I want something extra special.
Reese’s Cups — Press half a mini Reese’s Cup into the top of each cookie before baking. It looks fancy and tastes incredible. This is my go-to for holidays or when I’m feeling indulgent.
Gluten-Free Version — Use a 1-to-1 gluten-free flour blend. Make sure it contains xanthan gum, or add 1/2 teaspoon. The texture is slightly different but still delicious. I’ve used Bob’s Red Mill, and it works well.
Vegan Version — Use vegan butter (like Miyoko’s or Earth Balance) and a flax egg (1 tablespoon ground flaxseed mixed with 3 tablespoons water, let sit for 5 minutes). Use vegan chocolate chips if adding those. They’re surprisingly good, though the texture is slightly denser.
Salted Caramel Swirl — After scooping the dough, drizzle a teaspoon of salted caramel sauce on top and swirl it in with a toothpick. It’s fancy and delicious. This pairs well with the sea salt topping.
No Peanut Butter Allergy? — You can substitute sunflower seed butter or soy nut butter, but the flavor will be different. Sunflower seed butter can turn green in the dough (harmless but weird-looking), so maybe skip that one. Soy nut butter is a decent substitute.
Serving & Storage
These cookies are best served at room temperature. They’re soft, chewy, and full of flavor. I usually serve them with a cold glass of milk—it’s the classic combo for a reason.
How to Store:
Keep them in an airtight container at room temperature for up to 5 days. If your kitchen is hot or humid, they might get sticky, so you can refrigerate them, but let them come to room temperature before eating for the best texture.
Reheating:
If you want them warm, microwave one for 10-15 seconds. They’ll be soft and gooey. But honestly? They’re best fresh. They don’t really re-crisp well, so eat them while they’re good.
Freezing:
You can freeze the baked cookies for up to 3 months. Let them thaw at room temperature. Or, you can freeze the dough balls! Scoop the dough, freeze them on a baking sheet until solid, then transfer to a freezer bag. Bake from frozen, adding 1-2 minutes to the baking time. This is great for meal prep—have cookie dough ready to go anytime.
Pro Tip:
If you’re making these for a party, make them the day before. They’ll taste even better the next day as the flavors meld. Just keep them sealed tight so they don’t dry out.
Nutrition Information
I’m not a nutritionist, but here’s the breakdown if you’re tracking. These are treat cookies, so enjoy them as such!
Per Cookie (makes 24):
- Calories: 140
- Protein: 3g
- Carbs: 16g
- Fat: 8g
- Sugar: 10g
- Sodium: 90mg
They’re relatively moderate in calories compared to other cookies, thanks to the protein and fat from the peanut butter. They’re filling, so one or two is usually enough. I like to pair them with a piece of fruit or a yogurt to balance the meal.
Final Thoughts
So that’s my go-to crispy chewy peanut butter cookies with sea salt recipe. I’ve probably talked your ear off at this point, but when you make a recipe this often, you have a lot to say about it.
This has saved my dessert game more times than I can count. It’s my answer to “what should I bake?” when I want something simple, delicious, and guaranteed to be loved. My kids are happy, my husband is happy, and I’m happy because I didn’t have to stress about complicated techniques or weird ingredients.
Make it yours! Try different add-ins, swap in your favorite chocolates, or just enjoy the simple version. The best recipes are the ones you adapt to your family’s tastes. And if you make these, drop a comment and let me know what you think! I love hearing how recipes turn out in your kitchen. And if something doesn’t work, tell me that too—I’m here to help troubleshoot.
Happy baking! And I hope your kitchen smells half as good as mine does right now.
Frequently Asked Questions
Can I use natural peanut butter?
I don’t recommend it for this recipe. Natural peanut butter has separated oils, which can make the cookies dry or crumbly. The emulsifiers in standard creamy peanut butter (like Jif or Skippy) help keep the dough stable and the cookies chewy. If you must use natural, stir it very well before measuring, but expect a slightly different texture.
Why did my cookies spread too much?
This usually happens if the butter was too warm or melted. Make sure your butter is softened but still firm. Also, check your baking soda—if it’s old, it won’t help the cookies hold their shape. Another reason is over-measuring flour. Spoon and level your flour, don’t scoop it. If your cookies still spread, chill the dough for 15 minutes before baking.
Can I double this recipe?
Absolutely! Double everything and use your biggest bowl. The mixing time might be slightly longer. I do this when I’m meal-prepping or feeding a crowd. Just make sure you have enough parchment paper and baking sheets. You’ll need to bake in batches.
How do I keep them chewy?
Don’t overbake! Take them out when they look slightly underdone in the center. They’ll finish cooking on the hot pan. Also, using brown sugar helps with chewiness. If you want them extra chewy, you can increase the brown sugar ratio slightly, but the current ratio works well.
Can I make the dough ahead?
Yes! You can refrigerate the dough for up to 3 days. Let it come to room temperature for 15 minutes before scooping and baking. Or, freeze the dough balls for up to 3 months. Bake from frozen, adding 1-2 minutes to the baking time. This is perfect for having cookie dough ready on hand.
Why do I need sea salt on top?
The sea salt isn’t just for decoration. It provides a crunch and a burst of salty flavor that contrasts with the sweet dough. It enhances the peanut flavor and makes the cookie more complex. Without it, the cookies taste one-dimensional. Flakey salt like Maldon is best because it doesn’t dissolve completely, giving you those little salty crunches.
Pin This Recipe!
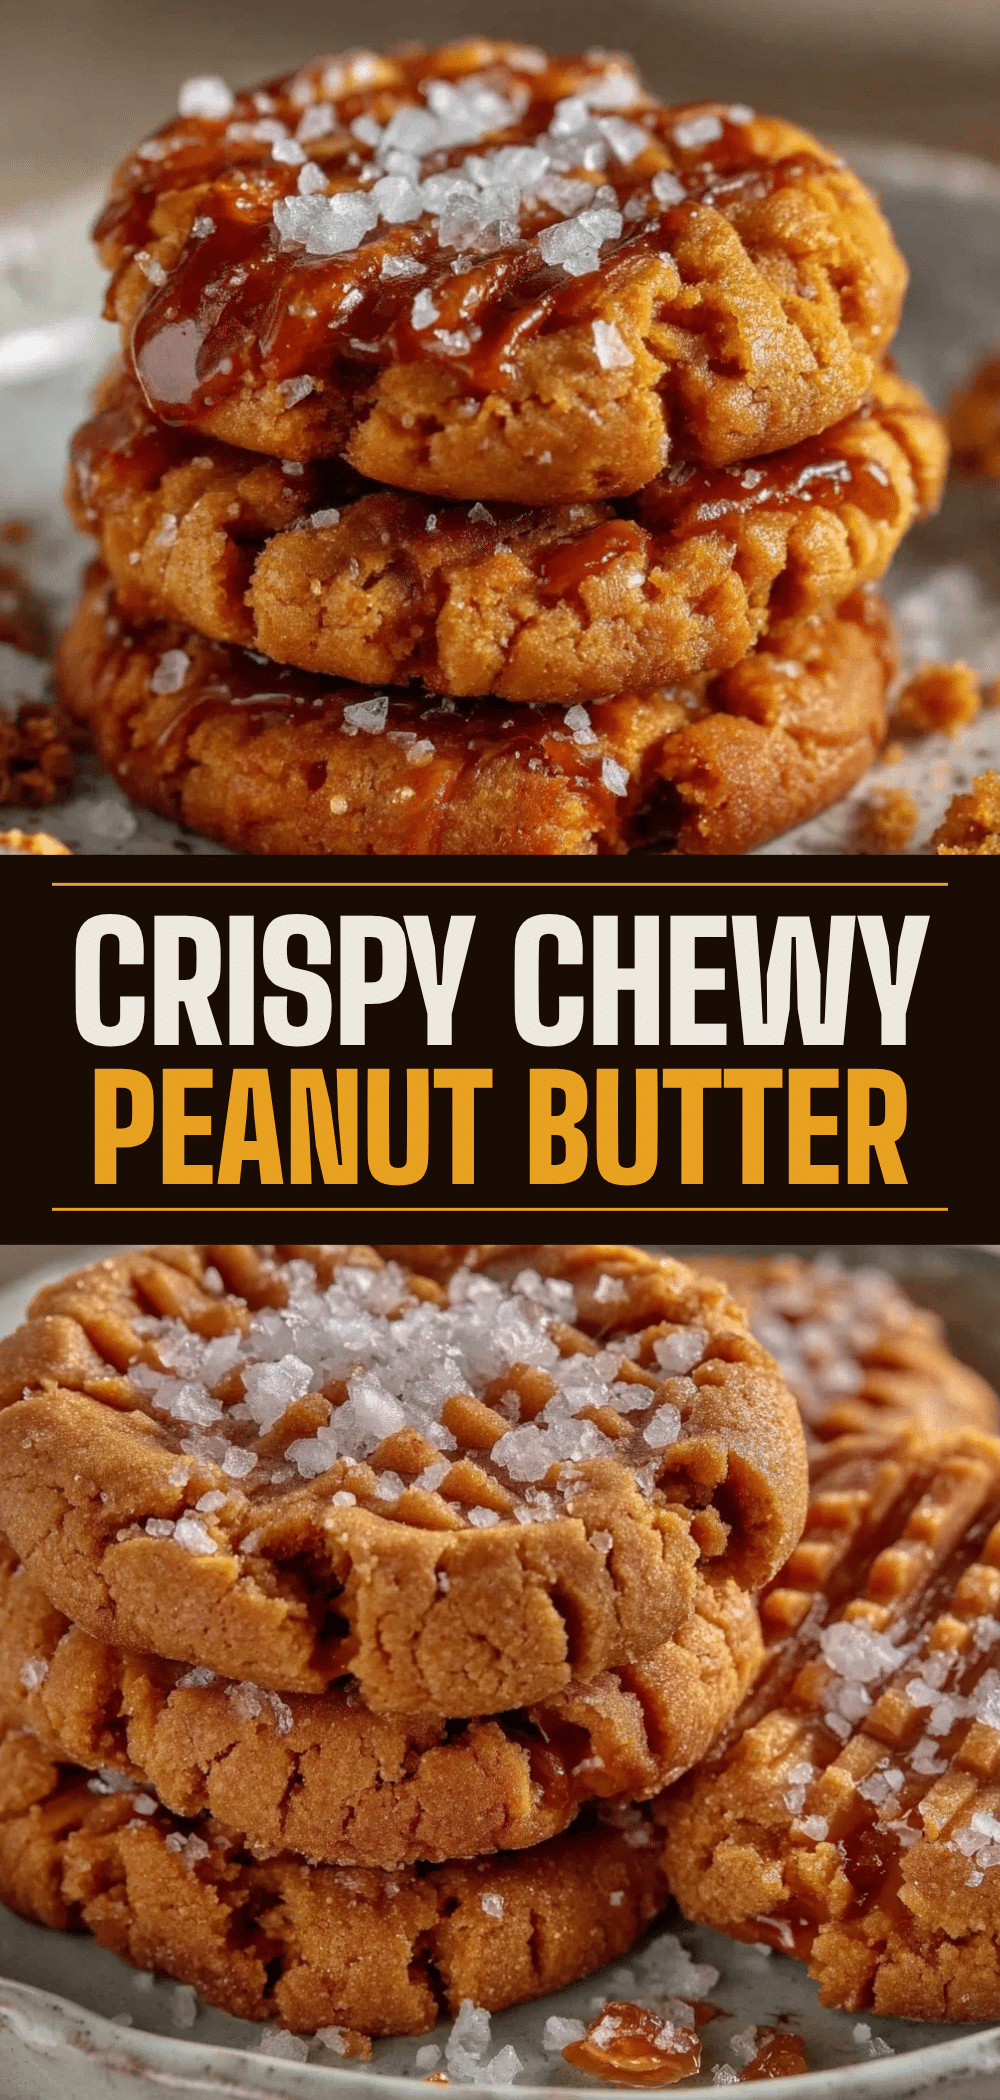

Crispy Chewy Peanut Butter Cookies with Sea Salt
- Total Time: 30 minutes
- Yield: 24 servings 1x
Description
These beginner-proof peanut butter cookies feature crisp caramelized edges and a soft, chewy center. Made with simple ingredients in one bowl, they are topped with flaky sea salt for the perfect sweet and salty balance.
Ingredients
- 1/2 cup (113g) unsalted butter, softened
- 1 cup (250g) creamy peanut butter
- 1/2 cup (100g) granulated white sugar
- 1/2 cup (115g) packed brown sugar
- 1 large egg
- 1 teaspoon vanilla extract
- 1 cup (125g) all-purpose flour
- 1/2 teaspoon baking soda
- 1/4 teaspoon salt
- Flaky sea salt, for topping
- Optional: 1/2 cup semi-sweet chocolate chips
Instructions
- Preheat oven to 350°F (175°C) and line baking sheets with parchment paper.
- In a large bowl, cream together the softened butter, granulated sugar, and brown sugar until light and fluffy (about 2-3 minutes with a mixer).
- Add the creamy peanut butter, egg, and vanilla extract. Mix until fully combined and smooth.
- Add the flour, baking soda, and salt. Mix on low speed or stir by hand just until the flour disappears. Do not overmix.
- Scoop dough onto prepared baking sheets, leaving 2 inches between cookies. Press down slightly with your palm.
- Bake for 10-12 minutes until edges are set but centers still look soft.
- Immediately sprinkle with flaky sea salt while cookies are hot.
- Let cookies cool on the baking sheet for 5 minutes, then transfer to a wire rack to cool completely.
Notes
Use creamy peanut butter (like Jif or Skippy) rather than natural peanut butter to ensure the right texture. Ensure butter is softened, not melted. Do not overbake; cookies will firm up as they cool. Store in an airtight container at room temperature for up to 5 days.
- Prep Time: 5 minutes
- Cook Time: 10-12 minutes
- Category: Dessert
- Cuisine: American
Nutrition
- Serving Size: 1 cookie
- Calories: 140
- Sugar: 10
- Sodium: 90
- Fat: 8
- Saturated Fat: 3
- Carbohydrates: 16
- Fiber: 1
- Protein: 3
Keywords: peanut butter cookies, crispy chewy cookies, sea salt cookies, easy baking, beginner recipes, one bowl cookies