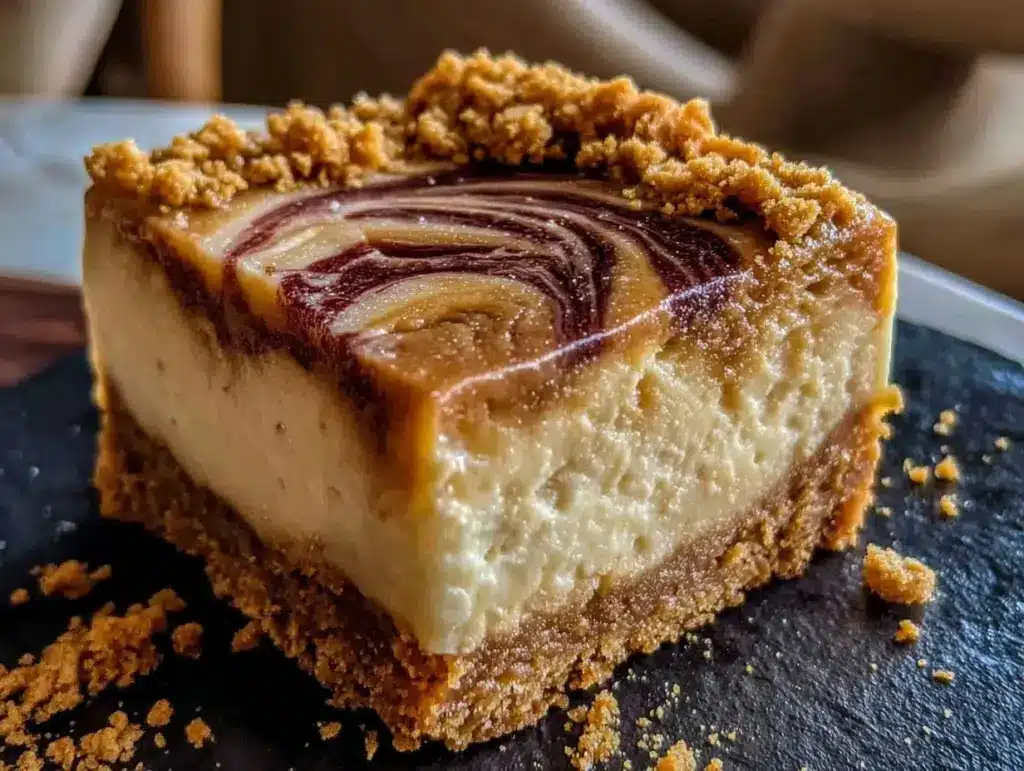
It was 11 PM on a Tuesday, and my kitchen looked like a bakery exploded. Flour everywhere, a bowl of whipped cream that had gone from fluffy to soup in about thirty seconds, and me, staring at the fridge wondering if I could survive on just eating Biscoff spread straight from the jar.
I’d actually planned to bake something. A proper cheesecake. You know the kind—the one that requires a water bath, a springform pan that leaks if you look at it wrong, and three hours of chilling time you don’t have when you’re exhausted. But then I looked at the clock, looked at my kids who were still begging for a “special treat,” and realized I didn’t have the energy for drama. I just wanted that caramelized cookie flavor. That creamy, tangy cheesecake texture. I wanted something that tasted like a fancy dessert but took less effort than making a sandwich.
So I threw together what I thought would be a mediocre no-bake bar. I used whatever I had on hand. And honestly? It was the best thing I made all week. Better than the planned cheesecake, even. It was rich, it was cool, and it set up perfectly in the fridge while I finally collapsed on the couch.
That night sparked a habit. Now, no-bake Biscoff cheesecake bars are my go-to when I need to impress guests without spending four hours in the kitchen. They’re incredibly popular with my friends, mostly because they look complicated (they don’t) and taste like heaven (they do). And here’s the best part: I’ve figured out three easy swaps that make this recipe adaptable for different diets without losing that signature Biscoff magic. Whether you’re avoiding gluten, cutting out dairy, or just want a lighter version, this recipe is proof that you don’t need to compromise on flavor.
If you’re a fan of other easy, crowd-pleasing treats, you might also enjoy these peanut butter chocolate chip cookie cups or these cherry almond crumble bars. But today? Today we’re talking about Biscoff. Lots of it.
Why You’ll Love This Recipe
I’ve made these bars for everything from casual weeknight desserts to office potlucks and last-minute dinner party hostess gifts. Here’s why they keep showing up in my rotation:
Zero Oven Required — Seriously. If you have a fridge, you can make this. No heating up the kitchen in the middle of summer. No waiting for an oven to preheat. No risk of cracks in your cheesecake. It’s just mixing and chilling. I’ve made this while helping my kid with homework. It’s that low-stress.
That Biscoff Flavor — Let’s be real: most people don’t eat Biscoff cookies plain anymore. They eat them because they like the spread. This recipe doubles down on that flavor. The crust is crunchy and buttery. The filling is creamy and caramelized. It hits all the right notes for someone who loves fall flavors year-round.
Make-Ahead Friendly — These bars get better with time. I usually make them the day before I need them. They sit in the fridge, firm up, and the flavors meld together. When I pull them out, they’re perfectly set. It’s my secret weapon for stress-free entertaining.
Three Easy Swaps — This is where it gets interesting. I’ve tested this recipe with gluten-free crusts, dairy-free cream cheese alternatives, and even a lighter yogurt version. Each swap works beautifully. You’re not eating “diet” food; you’re eating the same delicious dessert, just tweaked for your needs. It’s flexible enough for any kitchen.
Crowd-Pleaser Status — I’ve served these to people who claim they “don’t like cheesecake” and they ask for the recipe. I’ve served them to people with gluten allergies, and they couldn’t tell the difference. It’s a win-win. Everyone leaves happy, and you look like a genius.
This is my answer to “what’s for dessert?” when I want something special but don’t want to spend my evening at the stove. It’s reliable, it’s delicious, and it’s surprisingly easy to customize.
Ingredients You’ll Need
Here’s the thing about no-bake cheesecake: the ingredients list is short, but quality matters. You don’t need fancy gadgets, just good basics. I’m particular about a few things here, so let’s break it down.
For the Crust:
Biscoff cookies (2 cups / about 250g) — I use the original Lotus Biscoff cookies. They’re crunchy and have that spiced caramel flavor. You can use gluten-free Biscoff-style cookies if you need, but make sure they’re sturdy enough to form a crust. If you can’t find Biscoff cookies, shortbread cookies work as a backup, but you’ll miss the spice.
Unsalted butter (½ cup / 115g) — Melted. I use real butter for the best flavor and texture. If you’re dairy-free, use a high-quality plant-based butter stick (not tub margarine). Coconut oil works too, but it can make the crust a bit softer. Real butter gives it that crisp snap.
Salt (¼ teaspoon) — Just a pinch. It balances the sweetness of the cookies and butter. Don’t skip it.
For the Filling:
Cream cheese (16 oz / 450g) — Full-fat, block cream cheese. This is crucial. The tub stuff has too much water and won’t set properly. Let it sit on the counter for 30 minutes before you start. Softened cream cheese mixes smoothly; cold cream cheese creates lumps. I’ve learned this the hard way.
Biscoff spread (1 cup / 250g) — This is the star. Use smooth, creamy Biscoff spread. If you have crunchy, you can use it, but smooth blends better into the filling. I always keep a jar in my pantry specifically for desserts like this.
Heavy cream (1 cup / 240ml) — Cold, heavy whipping cream. It needs to be cold to whip up properly. If you’re looking for a lighter option, I’ll show you how to swap this for Greek yogurt in the variations section. But for the classic version, heavy cream gives that airy, rich texture.
Powdered sugar (½ cup / 60g) — Sifted. I sift it because lumps of powdered sugar are the worst. They don’t dissolve in the cream cheese, and you end up with gritty bites. It’s a small step that makes a big difference.
Vanilla extract (1 teaspoon) — Pure vanilla. I know it’s expensive, but fake vanilla tastes chemical in a no-bake dessert where there’s no baking to mask it. Use the good stuff.
For the Topping (Optional but recommended):
Biscoff spread (2-3 tablespoons) — Warmed slightly so it’s drizzle-able. Drizzle it over the top before serving. It looks pretty and adds an extra hit of flavor.
Crushed Biscoff cookies — For garnish. Adds texture and makes it look professional.
Quick note on substitutions: If you’re dairy-free, use plant-based cream cheese and butter. If you’re gluten-free, use GF cookies. If you’re watching sugar, use a powdered erythritol blend. I’ll detail these swaps below because they work really well.
Equipment Needed
You don’t need a fancy mixer or a dozen bowls. Here’s what I actually use, and what you can skip.
9×9 inch baking pan — I use a metal pan. Glass or ceramic pans can make the crust soggy at the bottom if you’re not careful. Line it with parchment paper for easy removal. I leave an overhang on two sides so I can lift the bars out like a slab.
Food processor or zip-top bag — To crush the cookies. A food processor is faster and more even. If you don’t have one, put the cookies in a heavy-duty zip-top bag and crush them with a rolling pin. It’s a workout, but it works.
Mixer — Stand mixer or hand mixer. You need to whip the cream cheese and cream until fluffy. Doing this by hand is possible but tiring. I’ve done it, and my arms hurt for days. Use a mixer.
Spatula — A flexible silicone spatula is best for folding the whipped cream into the cream cheese mixture. You want to keep the air in there.
Measuring cups and spoons — Standard stuff. Level off your dry ingredients.
Refrigerator — Obviously. But make sure you have space for a 9×9 pan. These need at least 4 hours to set, preferably overnight.
Knife — A sharp chef’s knife for cutting. Wipe the blade between cuts for clean edges. I also like using a serrated knife for cleaner slices on chilled desserts.
How to Make It: Step-by-Step
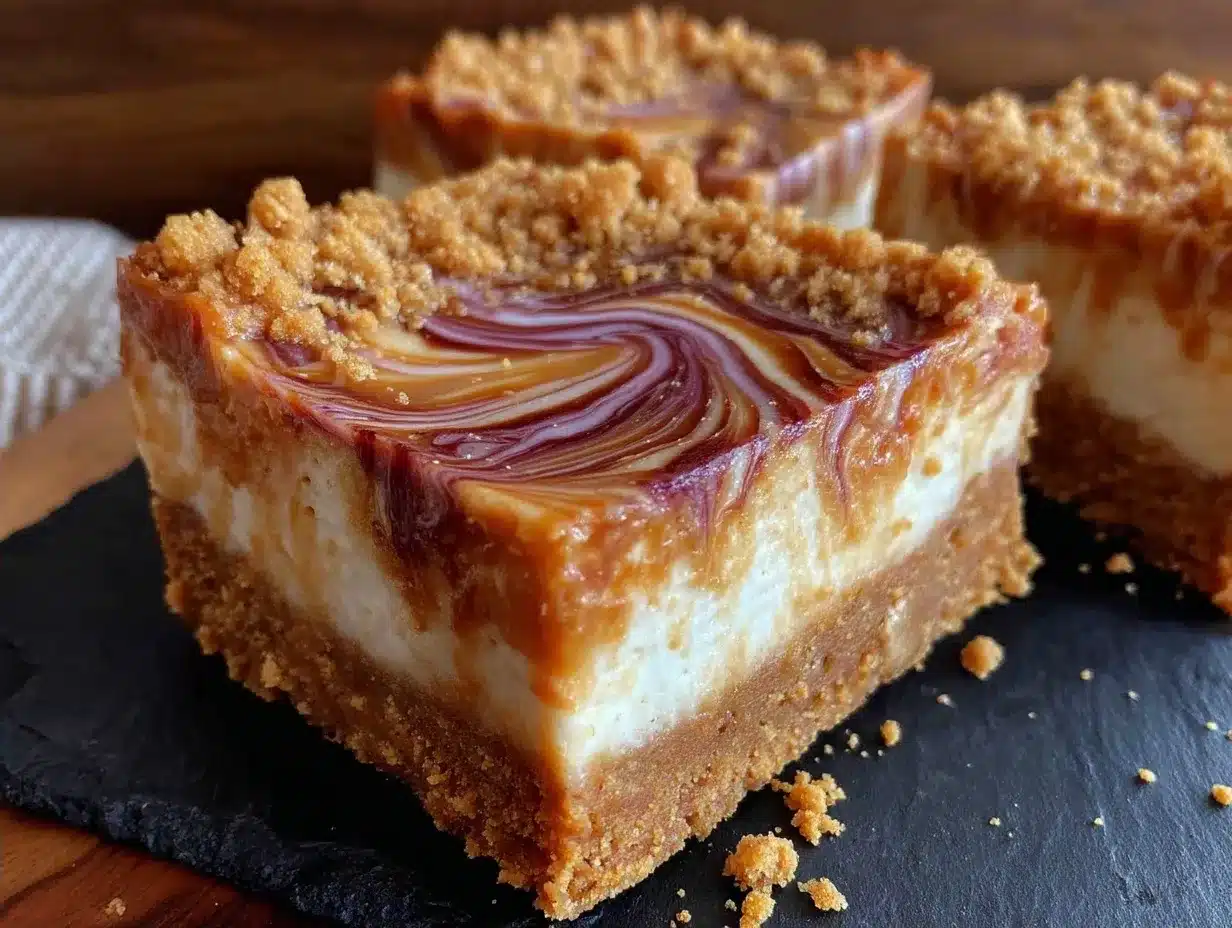
Alright, let’s make this! It’s super straightforward, but there are a few tricks to getting that perfect texture. I’m walking you through exactly how I do it.
Step 1: Prep Your Pan
Line your 9×9 inch baking pan with parchment paper. I do a cross-hatch, leaving an overhang on all sides. This is your lift-out tool. Without it, you’ll be digging out stubborn bars with a spoon. Trust me, the parchment makes cleanup and serving so much easier.
Step 2: Make the Crust
Crush your Biscoff cookies into fine crumbs. You want them fine, like sand. If there are big chunks, your crust will be uneven. Transfer the crumbs to a bowl. Add the melted butter and salt. Stir until it looks like wet sand. Press this mixture firmly into the bottom of your prepared pan. Use the bottom of a measuring cup or a flat glass to pack it down tight. A loose crust = crumbly bars. You want it compact. Place the pan in the fridge while you make the filling. This helps it set faster.
Step 3: Whip the Cream
In a large bowl, whip the cold heavy cream until you form stiff peaks. This means when you lift the beaters, the cream stands up straight. Don’t over-whip it into butter, just stop when it’s firm. Set this aside. This is what gives the cheesecake its light, airy texture.
Step 4: Mix the Cream Cheese
In a separate large bowl, beat the softened cream cheese, powdered sugar, vanilla, and Biscoff spread until smooth and creamy. This should take about 2-3 minutes. Scrape down the sides of the bowl. Make sure there are no lumps of cream cheese or sugar. If you rush this, you’ll get lumpy bars. Patience pays off here.
Step 5: Fold It Together
Gently fold the whipped cream into the cream cheese mixture. Use your spatula. Cut down through the middle, scoop along the bottom, and flip over. Rotate the bowl. Do this until just combined. You don’t want to deflate all the air you worked so hard to create. It should look fluffy and uniform.
Step 6: Assemble and Chill
Pour the filling over the chilled crust. Spread it out evenly. Tap the pan gently on the counter to release any air bubbles. Cover with plastic wrap or a lid. Refrigerate for at least 4 hours, but ideally overnight. The longer it chills, the firmer it sets and the better the flavors meld.
Step 7: Slice and Serve
Lift the bars out of the pan using the parchment paper. Place on a cutting board. Use a sharp knife to cut into squares. Wipe the knife clean between cuts for neat edges. Drizzle with warmed Biscoff spread and sprinkle with crushed cookies if you’re feeling fancy. Serve and enjoy.
Total Time: About 20 minutes active, plus 4+ hours chilling.
Expert Tips & Tricks
Here’s everything I’ve learned from making these dozens of times. These tips will save you from my mistakes.
Cream Cheese Temperature is Key
I can’t stress this enough. If your cream cheese is cold, it will not mix smoothly. You’ll get lumps. If you’re in a hurry, you can microwave it in 5-second bursts, but check it frequently. It should be soft to the touch, not melted. Room temperature is best.
Don’t Skip the Sifting
Powdered sugar clumps. It’s a fact of life. If you skip sifting, you’ll have little white pockets of sugar in your bars. It’s annoying and affects the texture. Take the extra 30 seconds to sift it.
Press the Crust Hard
A loose crust crumbles. Press it down firmly. I use a flat-bottomed glass to pack it. If you can see gaps or it looks sandy, press more. You want a solid base.
Fold, Don’t Stir
When combining the cream and cream cheese, gentle folding is essential. Stirring vigorously knocks out the air and makes the filling dense. Fold gently to keep it light.
Chill the Knife
If you want super clean cuts, chill your knife in the freezer for 10 minutes before slicing. The cold blade cuts through the chilled bars cleanly without squishing them. It’s a small trick that makes a big difference in presentation.
Common Mistakes (and how to avoid them):
Mistake: Bars are too soft — Fix: You didn’t chill them long enough. Or your cream cheese wasn’t cold enough when you whipped the cream. Make sure everything is cold and chill for at least 4 hours.
Mistake: Lumpy filling — Fix: Cream cheese wasn’t softened enough. Beat it longer before adding the cream. Or you over-mixed the cream cheese, incorporating too much air that collapsed.
Mistake: Crust is soggy — Fix: Your pan wasn’t lined properly, or you didn’t press the crust tight enough. Moisture from the filling can seep into a loose crust.
Variations & Substitutions
Once you’ve nailed the basic version, here’s how you can mix it up. I’ve tested these swaps, and they work well.
Dairy-Free Version
Swap the butter for plant-based butter sticks. Use a high-quality plant-based cream cheese (like Kite Hill or Miyoko’s). Use coconut cream instead of heavy cream (chill the can overnight and scoop out the solid part). It’s richer but still delicious. My dairy-free friends love this version.
Gluten-Free Version
Use gluten-free Biscoff-style cookies or shortbread cookies. Make sure they’re certified gluten-free. The rest of the ingredients are naturally gluten-free. I’ve used Kinnikinnick cookies and they work great.
Lighter Version
Replace the heavy cream with full-fat Greek yogurt. You’ll lose some of the airiness, but it’s tangier and lighter. Use half cream cheese and half Greek yogurt in the filling. It’s a good compromise if you’re watching calories but don’t want to give up flavor.
Lower Sugar Version
Use a powdered erythritol or monk fruit blend instead of sugar. Biscoff spread is already sweet, so you might not need as much. Taste the mixture before chilling and adjust sweetness to your preference.
Flavor Variations
Chocolate Biscoff: Add ¼ cup cocoa powder to the filling. It’s rich and indulgent.
Strawberry Biscoff: Swirl in ½ cup strawberry puree before chilling. It looks pretty and adds a fruity twist.
Peanut Butter Biscoff: Add ¼ cup peanut butter to the filling. The peanut and caramel flavors go together surprisingly well.
Serving & Storage
How to Serve:
I usually serve these straight from the fridge. They’re best cold. I cut them into 12-16 squares, depending on how hungry everyone is. They’re rich, so a little goes a long way. I like to serve them with a cup of coffee or tea to balance the sweetness.
Side Dishes:
These bars are dessert, so they don’t need much. Maybe some fresh berries on the side for color. Or a dollop of whipped cream if you want to go all out.
Storage Instructions:
Refrigerator: Store in an airtight container for up to 5 days. They actually taste better after a day or two as the flavors meld. Just keep them covered so they don’t absorb fridge odors.
Freezing: Yes, you can freeze these! Wrap individual bars in plastic wrap, then place them in a freezer-safe bag. They’ll last for up to 2 months. Thaw in the fridge overnight. The texture might be slightly softer, but they’re still delicious.
Pro tip: If you’re making these for a party, make them the day before. They’ll be perfectly set and ready to go. No last-minute stress.
Nutrition Information
I’m not a nutritionist, but here’s the breakdown if you’re tracking. Keep in mind, these are estimates based on standard ingredients.
Per Serving (based on 12 bars):
- Calories: 320
- Protein: 4g
- Carbs: 35g
- Fiber: 1g
- Sugar: 22g
- Fat: 18g
- Saturated Fat: 11g
- Sodium: 180mg
What’s Good:
- Decent amount of fat from the cream cheese and butter, which helps keep you full.
- Simple ingredients, nothing overly processed.
- Easy to customize for dietary needs.
What to Know:
- High in sugar and saturated fat. It’s a treat, so enjoy in moderation.
- Contains gluten, dairy, and eggs (if using egg whites in some variations, though this recipe doesn’t).
- Easy to reduce sugar by swapping the sweetener.
My Take:
Look, this is a dessert. It’s sweet, rich, and delicious. It’s not a health food. But it’s way better than store-bought bars, and you know exactly what’s in it. When I want to make it lighter, I use the Greek yogurt version. But usually? I just eat a square or two and enjoy it. Life’s too short for bland desserts.
Final Thoughts
So that’s my no-bake Biscoff cheesecake bars! I’ve probably talked your ear off at this point, but when you make a recipe this often, you have a lot to say about it. These bars have saved me more times than I can count. They’re my answer to “what’s for dessert?” when I want something special but don’t want to stress.
My kids are happy, my friends are happy, and I’m happy because I’m not stressed about cooking. Make it yours! Try different swaps, adjust the sweetness, or add your favorite mix-ins. The best recipes are the ones you adapt to your tastes.
If you make this, drop a comment and let me know what you think! I love hearing how recipes turn out in your kitchen. And if something doesn’t work, tell me that too—I’m here to help troubleshoot.
Happy baking (or rather, no-baking)! And I hope your kitchen smells half as good as mine does right now.
Frequently Asked Questions
Can I use a different cookie for the crust?
Yes! Shortbread cookies work well. Ginger snaps add spice. Graham crackers are a classic choice, though you’ll lose the Biscoff flavor in the crust. If you use a different cookie, you might want to add a little more Biscoff spread to the filling to compensate.
Why did my bars fall apart when I cut them?
This usually means the crust wasn’t pressed down tightly enough, or the bars weren’t chilled long enough. Make sure to pack the crust firmly and chill for at least 4 hours. Also, use a sharp knife and wipe it between cuts.
Can I make this in a different size pan?
You can, but the thickness will change. A 9×13 pan will give you thinner bars, so you’ll need less filling. A square pan might be too deep. Stick with 9×9 for the best results. If you use a different pan, adjust the chilling time accordingly.
How long do these bars last?
They last up to 5 days in the fridge. They actually taste better after a day or two. If you need to store them longer, freeze them for up to 2 months.
Can I use whipped topping instead of heavy cream?
You can, but the texture will be different. Whipped topping is lighter and less rich. It might not set as firmly. If you’re using it, make sure to chill the bars longer. I prefer heavy cream for the best texture.
Is there a way to make this vegan?
Yes! Use plant-based butter, plant-based cream cheese, and coconut cream. Use vegan Biscoff cookies (check the label, as some contain honey). The result is surprisingly close to the original.
Can I add chocolate chips?
Absolutely! Fold ½ cup of chocolate chips into the filling before pouring it over the crust. It adds a nice crunch and extra flavor. Chocolate and Biscoff go really well together.
Pin This Recipe!
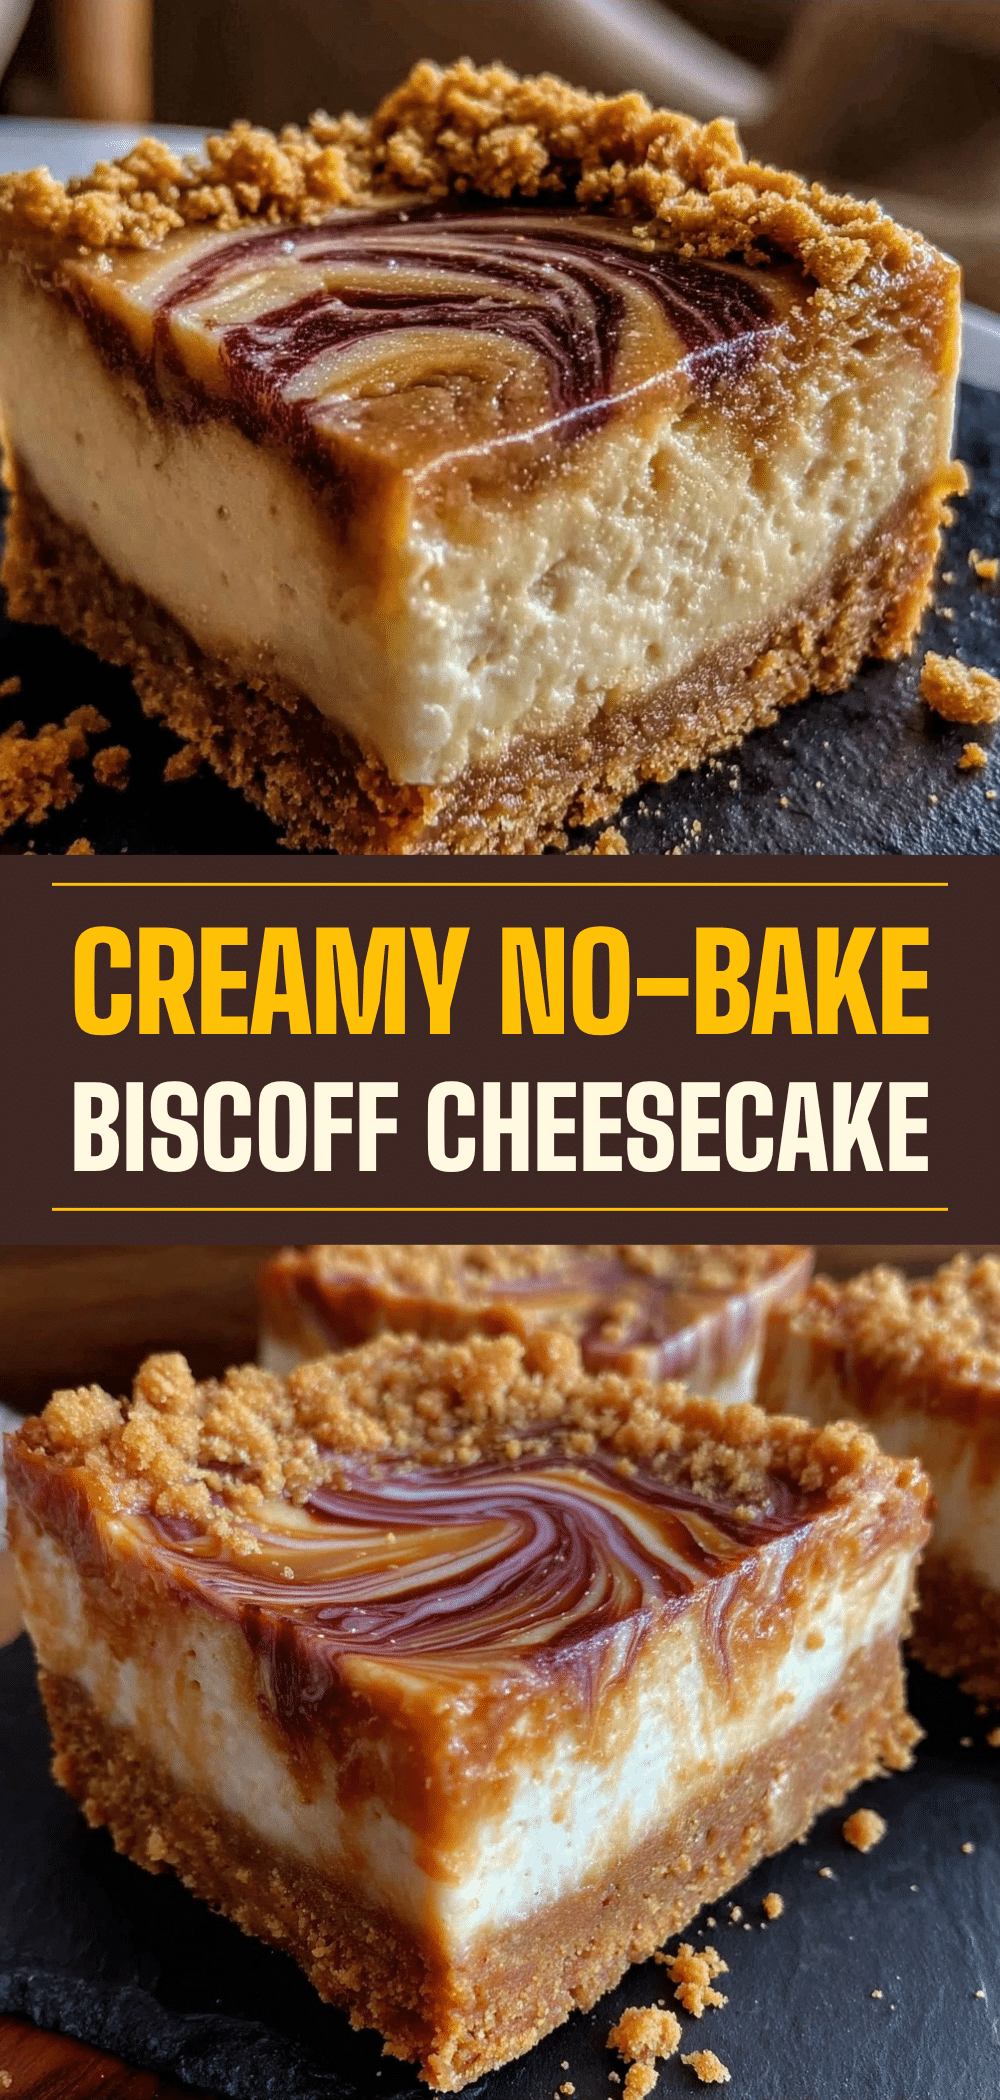
No-Bake Biscoff Cheesecake Bars: 3 Easy Swaps
- Total Time: 4 hours 20 minutes
- Yield: 12 servings 1x
Description
Rich, creamy, and caramel-flavored no-bake cheesecake bars that require zero oven time. This adaptable recipe includes easy swaps for gluten-free, dairy-free, and lighter versions without compromising on taste.
Ingredients
- 2 cups (about 250g) Biscoff cookies
- ½ cup (115g) unsalted butter, melted
- ¼ teaspoon salt
- 16 oz (450g) full-fat block cream cheese, softened
- 1 cup (250g) smooth Biscoff spread
- 1 cup (240ml) cold heavy whipping cream
- ½ cup (60g) powdered sugar, sifted
- 1 teaspoon pure vanilla extract
- 2–3 tablespoons Biscoff spread, warmed (for topping)
- Crushed Biscoff cookies (for garnish)
Instructions
- Line a 9×9 inch baking pan with parchment paper, leaving an overhang on two sides for easy removal.
- Crush Biscoff cookies into fine crumbs using a food processor or zip-top bag. Mix with melted butter and salt until resembling wet sand.
- Press the crust mixture firmly and evenly into the bottom of the prepared pan. Refrigerate while making the filling.
- In a large bowl, whip the cold heavy cream until stiff peaks form. Set aside.
- In a separate large bowl, beat the softened cream cheese, powdered sugar, vanilla extract, and Biscoff spread until smooth and creamy (about 2-3 minutes).
- Gently fold the whipped cream into the cream cheese mixture using a spatula until just combined and fluffy.
- Pour the filling over the chilled crust and spread evenly. Tap the pan gently to release air bubbles.
- Cover and refrigerate for at least 4 hours, preferably overnight, until firm.
- Lift the bars out of the pan using the parchment paper. Cut into squares using a sharp knife, wiping the blade between cuts.
- Drizzle with warmed Biscoff spread and sprinkle with crushed cookies before serving.
Notes
Ensure cream cheese is fully softened to avoid lumps. Sift powdered sugar for a smooth texture. Press the crust firmly to prevent crumbling. Chill the knife before slicing for clean cuts. Can be stored in the fridge for up to 5 days or frozen for up to 2 months.
- Prep Time: 20 minutes
- Cook Time: 0 minutes
- Category: Dessert
- Cuisine: American
Nutrition
- Serving Size: 1 bar
- Calories: 320
- Sugar: 22
- Sodium: 180
- Fat: 18
- Saturated Fat: 11
- Carbohydrates: 35
- Fiber: 1
- Protein: 4
Keywords: no-bake cheesecake, Biscoff bars, Lotus Biscoff, easy dessert, make-ahead dessert, gluten-free dessert, dairy-free dessert, crowd-pleaser


