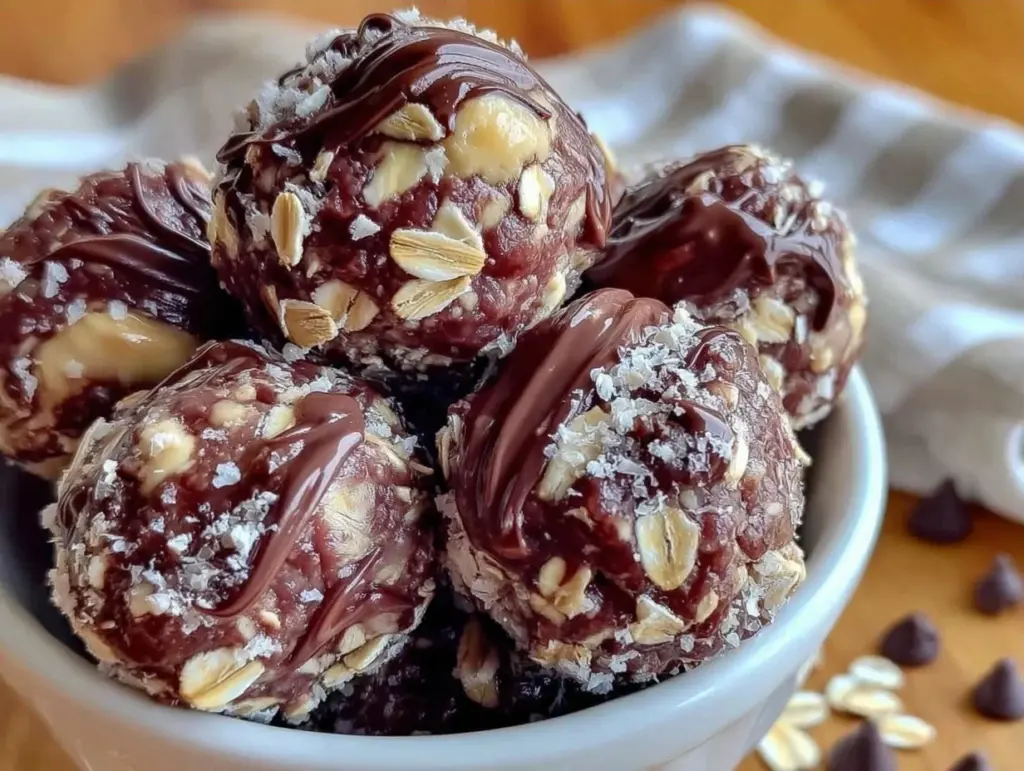
Let me tell you about last Tuesday. It was 7:30 PM, my brain was completely fried from a day of back-to-back Zoom calls, and I was staring into the fridge like it owed me money. I wanted something sweet, but I also wanted to feel like I hadn’t completely abandoned my nutrition goals. I didn’t have the energy to bake, and I definitely didn’t have the patience to wash a bunch of dishes. So, I did what any organized meal-prepper would do: I reached for the ingredients I’d prepped on Sunday morning.
Those no-bake chocolate peanut butter protein balls were waiting in the freezer, neatly portioned and ready to go. I grabbed two, threw them in the microwave for ten seconds, and just like that, my afternoon slump was gone. No sugar crash, no guilt, just solid fuel that tasted like a dessert but worked like a snack.
This isn’t just a recipe; it’s my secret weapon for staying on track when life gets chaotic. I’ve made these protein balls in every variation imaginable, but this specific batch-prep method is the one that actually sticks. It’s efficient, it’s delicious, and it requires zero cooking skills. If you’re trying to get ahead of your week, this is the single most impactful thing you can do for your snack game.
Why You’ll Love This Batch Prep Strategy
There are about ten reasons I keep making these protein balls, but let’s be real: it’s mostly because they solve the “what do I eat when I’m tired?” problem without making me feel like a toddler. Here’s why this specific batch-prep method works so well for my weekly routine.
- Zero Cooking Required — Seriously. No oven, no stove, no standing over a pot. You mix, you roll, you chill. It’s about as simple as it gets. I make these while listening to a podcast, and I barely even pay attention.
- True Grab-and-Go Fuel — Once they’re set, I portion them into a large container. When I’m rushing out the door or need a 3 PM pick-me-up, I just grab one. No unwrapping, no waiting. They stay firm in the fridge and soft in the freezer, so they’re always the right texture.
- High Protein, Low Cleanup — Each ball packs about 5-7 grams of protein thanks to the peanut butter and protein powder. That’s crucial for keeping me full until dinner. And the cleanup? One mixing bowl and a spoon. That’s it. My husband jokes that I’m trying to prove I can cook with minimal effort, and honestly, he’s not wrong.
- Freezer-Ready for the Long Haul — This is the big one. These freeze beautifully for up to three months. I make a massive batch on Sunday, and I have snacks ready for the entire week (and then some). It’s the ultimate “make it once, eat it four times this week” strategy.
- Customizable to Your Taste — Hate chocolate chips? Use M&Ms. Want more crunch? Add chopped nuts. I’ve made these with everything from espresso powder to dried cranberries. It’s a blank canvas for your favorite flavors.
This is my go-to when I need to ensure I’m eating well without spending my evening at the stove. It’s reliable, it’s delicious, and it fits perfectly into a busy schedule.
Ingredients You’ll Need for the Perfect Batch
Here’s the best part: you probably have most of this already. I’m particular about three ingredients here, and I’ll tell you exactly why. For a standard batch that yields about 20-24 balls, you’ll need:
For the Base:
Oats (2 cups / 160g) — I use old-fashioned rolled oats. Quick oats get too mushy, and steel-cut oats are way too hard. If you’re gluten-sensitive, make sure your oats are certified gluten-free. I keep a big bag of Bob’s Red Mill on hand because they’re consistent.
Peanut Butter (1 cup / 250g) — This is the binder. Use natural, creamy peanut butter. The kind with just peanuts and salt is best. If your PB is super oily, just stir it well before measuring. Avoid the ones with added sugar if you’re watching your intake, but honestly, a little sugar helps the binding.
Protein Powder (1 scoop / 30g) — I use vanilla whey or plant-based protein. Chocolate protein powder works too, but you’ll need to reduce any added chocolate chips. I prefer high-protein meal prep in general, and this fits right into that philosophy. Don’t use casein; it gets too chalky. Whey or a pea/rice blend is your best bet.
Honey or Maple Syrup (1/3 cup / 110g) — This adds sweetness and helps bind everything together. Honey gives a richer flavor, while maple syrup keeps it vegan. I stick to honey for that classic taste. Warm it up slightly if it’s crystallized.
Milk (2-4 tablespoons / 30-60ml) — Dairy or non-dairy, whatever you have. I use almond milk. This is what helps the mixture come together if it’s too dry. Add it slowly; you don’t want it soupy.
For the Flavor:
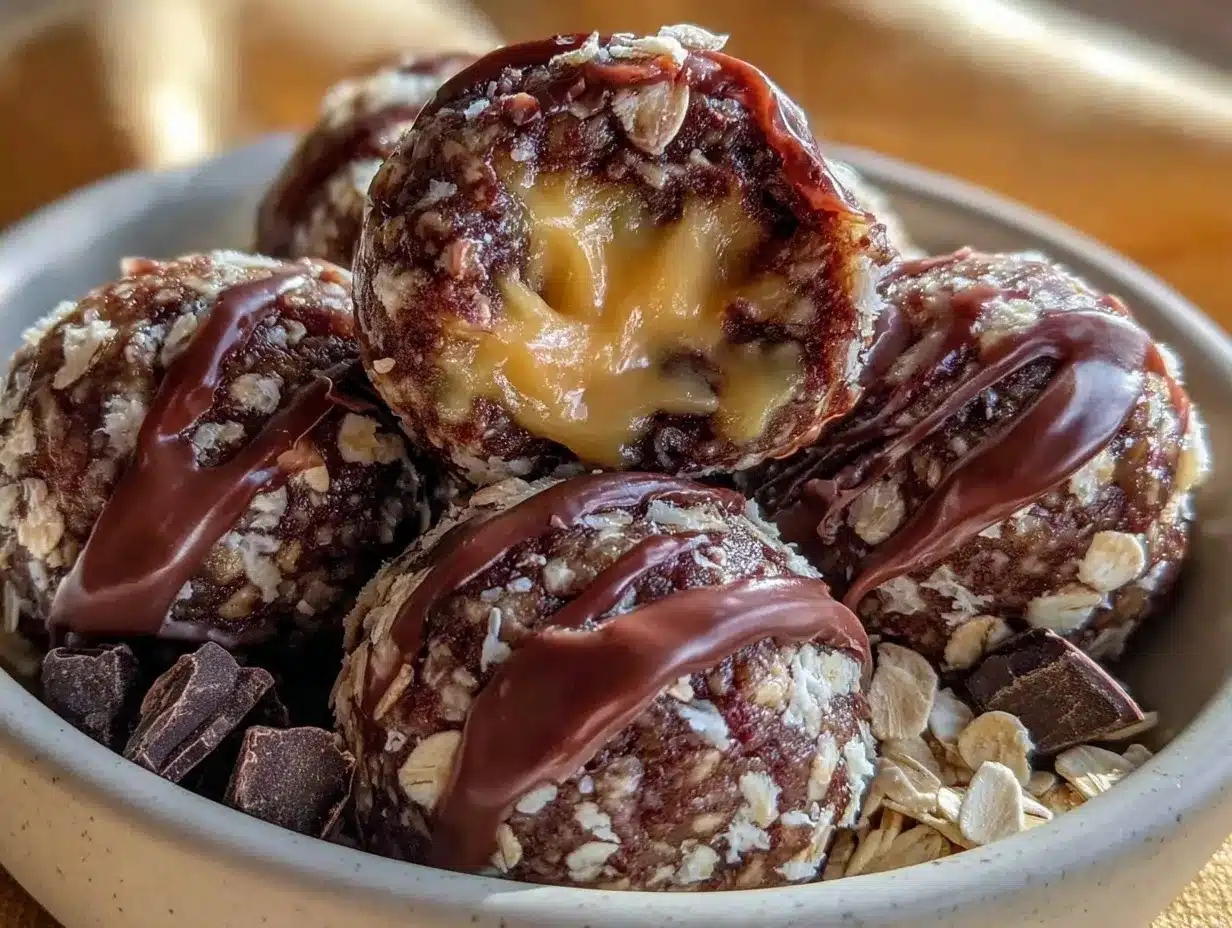
Dark Chocolate Chips (1/2 cup / 85g) — Semi-sweet or dark chocolate. I like the contrast of the bitter chocolate against the sweet peanut butter. Mini chips distribute better, but regular chips give you those big gooey bites.
Flaxseed Meal (2 tablespoons / 15g) — Optional, but I add it for extra fiber and omega-3s. It doesn’t change the taste much, just boosts the nutritional profile. You can skip it if you’re in a rush.
Salt (1/4 teaspoon) — Crucial. It balances the sweetness. Don’t skip this, or they’ll taste flat.
Vanilla Extract (1 teaspoon) — Just a splash to round out the flavor. It makes them taste more like a dessert.
Coating (Optional):
Extra Peanut Butter — For dipping the tops. Looks fancy, tastes amazing. I do this when I’m feeling extra indulgent.
Sea Salt Flakes — A tiny sprinkle on top right before they set. It elevates the flavor profile significantly. I learned this trick from making peanut butter chocolate chip cookie cups, and it works just as well here.
Equipment Needed
You don’t need fancy equipment for this. Here’s what I actually use:
Large Mixing Bowl — I use a 4-quart stainless steel bowl. It needs to be big enough to mix everything by hand without making a mess. Glass works too, but I prefer metal for easy cleanup.
Spatula — A sturdy silicone spatula is essential for folding the mixture together. You need to get every bit of peanut butter out of the bowl.
Measuring Cups and Spoons — Standard stuff. Dollar store versions work fine. Accuracy matters here because the ratio of wet to dry ingredients affects the texture.
Baking Sheet or Tray — Line it with parchment paper or a silicone mat. I use a large rimmed baking sheet so I can fit all the balls at once for freezing.
Small Microwave-Safe Bowl — Only if you need to warm up the honey or peanut butter. Not strictly necessary, but helpful if your ingredients are cold.
Airtight Containers — For storage. I use large plastic containers with locking lids. They stack well in the fridge and freezer.
How to Make It: Step-by-Step Batch Prep
Alright, let’s make this! I’m walking you through exactly how I do it, including the little tricks I’ve picked up over dozens of batches. This process takes about 20 minutes of active time, plus chilling.
Step 1: Prep Your Station (2 minutes)
Line your baking sheet with parchment paper. This is non-negotiable for easy cleanup and preventing sticking. Have your mixing bowl and spatula ready. I like to have all my ingredients measured out before I start, just to keep things flowing smoothly.
Step 2: Mix the Dry Ingredients (2 minutes)
In your large bowl, combine the oats, protein powder, flaxseed meal, and salt. Whisk them together with a fork or whisk to break up any clumps in the protein powder. This ensures an even distribution of flavor in every ball. If you’re using chocolate chips, add them now so they get coated in the dry mix.
Step 3: Add the Wet Ingredients (3 minutes)
Add the peanut butter, honey, vanilla extract, and milk to the dry mixture. If your peanut butter or honey is stiff, microwave them for 15-20 seconds to soften. Stir everything together with your spatula. It will look crumbly at first. Don’t panic. Keep mixing. It should start to come together into a thick, dough-like consistency.
Step 4: Check the Consistency (1 minute)
This is the most important step. Pinch off a small amount of the mixture and roll it in your hands. If it holds together easily, you’re good. If it’s too dry and crumbles apart, add milk one tablespoon at a time until it binds. If it’s too sticky and won’t hold its shape, add a little more oats or protein powder. Aim for a texture like playdough—firm but pliable.
Step 5: Roll the Balls (10 minutes)
Using a cookie scoop or your hands, portion the mixture into equal-sized balls. I aim for about 1.5 tablespoons per ball, which gives you roughly 20-24 balls. Roll them between your palms to make them smooth and round. If the mixture gets too sticky, wet your hands slightly with water. Place them on the prepared baking sheet, leaving a little space between them.
Step 6: Chill or Freeze (30 minutes to 24 hours)
Place the baking sheet in the refrigerator for at least 30 minutes to set. For faster setting, put them in the freezer for 15-20 minutes. Once firm, you can transfer them to an airtight container. If you’re planning to store them long-term, freeze them on the sheet first, then transfer to a freezer bag. This prevents them from sticking together.
Step 7: Portion and Store
Once set, transfer the balls to airtight containers. I portion them into daily serving sizes—usually 3-4 balls per day. Label the container with the date. They’ll last in the fridge for up to two weeks or in the freezer for up to three months.
Expert Tips & Tricks for Perfect Texture
Here’s everything I’ve learned from making this dozens of times. These tips will save you from my mistakes.
Don’t Overmix the Protein Powder
Protein powder can get clumpy if you don’t break it up first. I always whisk it with the oats before adding wet ingredients. This ensures a smooth texture throughout.
Use Room Temperature Ingredients
Cold peanut butter is stiff and hard to mix. Let it sit out for 10 minutes before you start. It makes the mixing process much easier and ensures a consistent texture.
Freeze for Better Storage
While you can store these in the fridge, freezing is the best option for meal prep. They thaw quickly at room temperature, and the texture stays perfect. I freeze them in individual portions for grab-and-go convenience.
Adjust Sweetness to Taste
Protein powders vary wildly in sweetness. Taste your mixture before rolling. If it’s too bland, add a little more honey. If it’s too sweet, add a pinch more salt or a splash of cocoa powder.
Variations & Substitutions
Once you’ve nailed the basic version, here’s how you can mix it up. I’ve tried all of these.
Almond Butter Version
Swap peanut butter for almond butter. It’s slightly drier, so you might need an extra tablespoon of milk. Tastes like an Almond Joy.
Chocolate Chip Cookie Dough
Add 1/2 cup of mini chocolate chips and 1/4 cup of chopped walnuts. Use vanilla protein powder. It tastes exactly like cookie dough.
Espresso Kick
Add 1 tablespoon of instant espresso powder to the dry mix. Great for morning snacks or pre-workout fuel.
Gluten-Free
Use certified gluten-free oats. Everything else is naturally gluten-free. I’ve used Bob’s Red Mill GF oats and they work great.
Dairy-Free
Use plant-based protein powder and maple syrup instead of honey. Use almond milk. These are naturally dairy-free if you choose the right ingredients.
Lower Sugar
Reduce honey to 2 tablespoons and use unsweetened chocolate chips. The protein powder adds enough sweetness. I make this version when I’m trying to cut back.
Serving & Storage
How to Serve:
I usually serve these straight from the fridge for a firm bite, or from the freezer for a ice-cream-like texture. They’re perfect for:
- Post-workout snack
- Afternoon pick-me-up
- Healthy dessert option
- Breakfast on the go
Side Dishes:
Pair with a piece of fruit or a handful of nuts for a more substantial snack. I often eat them with a glass of milk or a iced vanilla chai latte for a cozy treat.
Storage Instructions:
Refrigerator: Store in an airtight container for up to 2 weeks. They will firm up in the cold.
Freezer: Store in a freezer-safe bag or container for up to 3 months. Thaw at room temperature for 10 minutes before eating.
Reheating: You don’t need to reheat these. But if you want a softer texture, microwave for 10 seconds.
Nutrition Information
I’m not a nutritionist, but here’s the breakdown if you’re tracking. Per ball (based on 20 balls, using vanilla whey protein and honey):
| Nutrient | Amount |
|---|---|
| Calories | 140 |
| Protein | 6g |
| Carbs | 15g |
| Fiber | 2g |
| Sugar | 8g |
| Fat | 7g |
What’s Good:
- High protein for a snack
- Fiber from oats and flax
- Healthy fats from peanut butter
What to Know:
- Calories vary based on protein powder and sweetener used
- Contains dairy if using whey protein
- Can be made vegan with plant-based ingredients
Final Thoughts
So that’s my go-to no-bake chocolate peanut butter protein ball recipe! I’ve probably talked your ear off at this point, but when you make a recipe this often, you have a lot to say about it.
This has saved my weeknight snacking routine more times than I can count. It’s my answer to “I’m tired and want something sweet” when I don’t want to bake or order takeout. My kids are happy, my husband is happy, and I’m happy because I’m not stressed about finding a healthy snack.
Make it yours! Try different add-ins, swap in your favorite nut butter, adjust the sweetness. The best recipes are the ones you adapt to your family’s tastes.
If you make this, drop a comment and let me know what you think! I love hearing how recipes turn out in your kitchen. And if something doesn’t work, tell me that too—I’m here to help troubleshoot.
Happy cooking! And I hope your kitchen smells half as good as mine does right now.
Frequently Asked Questions
Can I use different nut butter?
Absolutely. Almond butter, cashew butter, or sunflower seed butter all work. Keep in mind that some nut butters are drier than peanut butter, so you may need to add a little extra milk or honey to get the right consistency.
Why did my balls fall apart?
This usually means the mixture was too dry. Add more sticky binder—honey, maple syrup, or a splash of milk. Mix it in thoroughly and test the consistency again. If it’s still crumbly, keep adding liquid until it holds together when pressed.
Can I make these ahead for a party?
Yes! These are perfect for parties. Make them 24 hours ahead so they’re fully set. Keep them in the fridge until serving. They hold up well for several hours at room temperature, but the fridge is safer.
Why did my balls get hard?
If they’re too hard, you might have used too much protein powder or not enough wet ingredients. Next time, add a little more honey or milk. Also, ensure your protein powder is finely ground; clumpy powder can make the texture gritty.
Can I use mini chocolate chips?
Yes! Mini chips distribute more evenly throughout the ball, giving you a bit of chocolate in every bite. Regular chips work too, but you’ll get bigger chunks.
How do I store them for long-term meal prep?
Freeze them! Portion them into daily serving sizes in freezer bags or containers. They’ll last up to 3 months. Thaw in the fridge overnight or eat them straight from the freezer for a frozen treat.
Can I double this recipe?
Yes! Double everything and use a larger mixing bowl. The process is the same. I often double this recipe on Sundays to ensure I have enough for the whole week. Just make sure your baking sheet is big enough to fit all the balls for initial freezing.
Pin This Recipe!
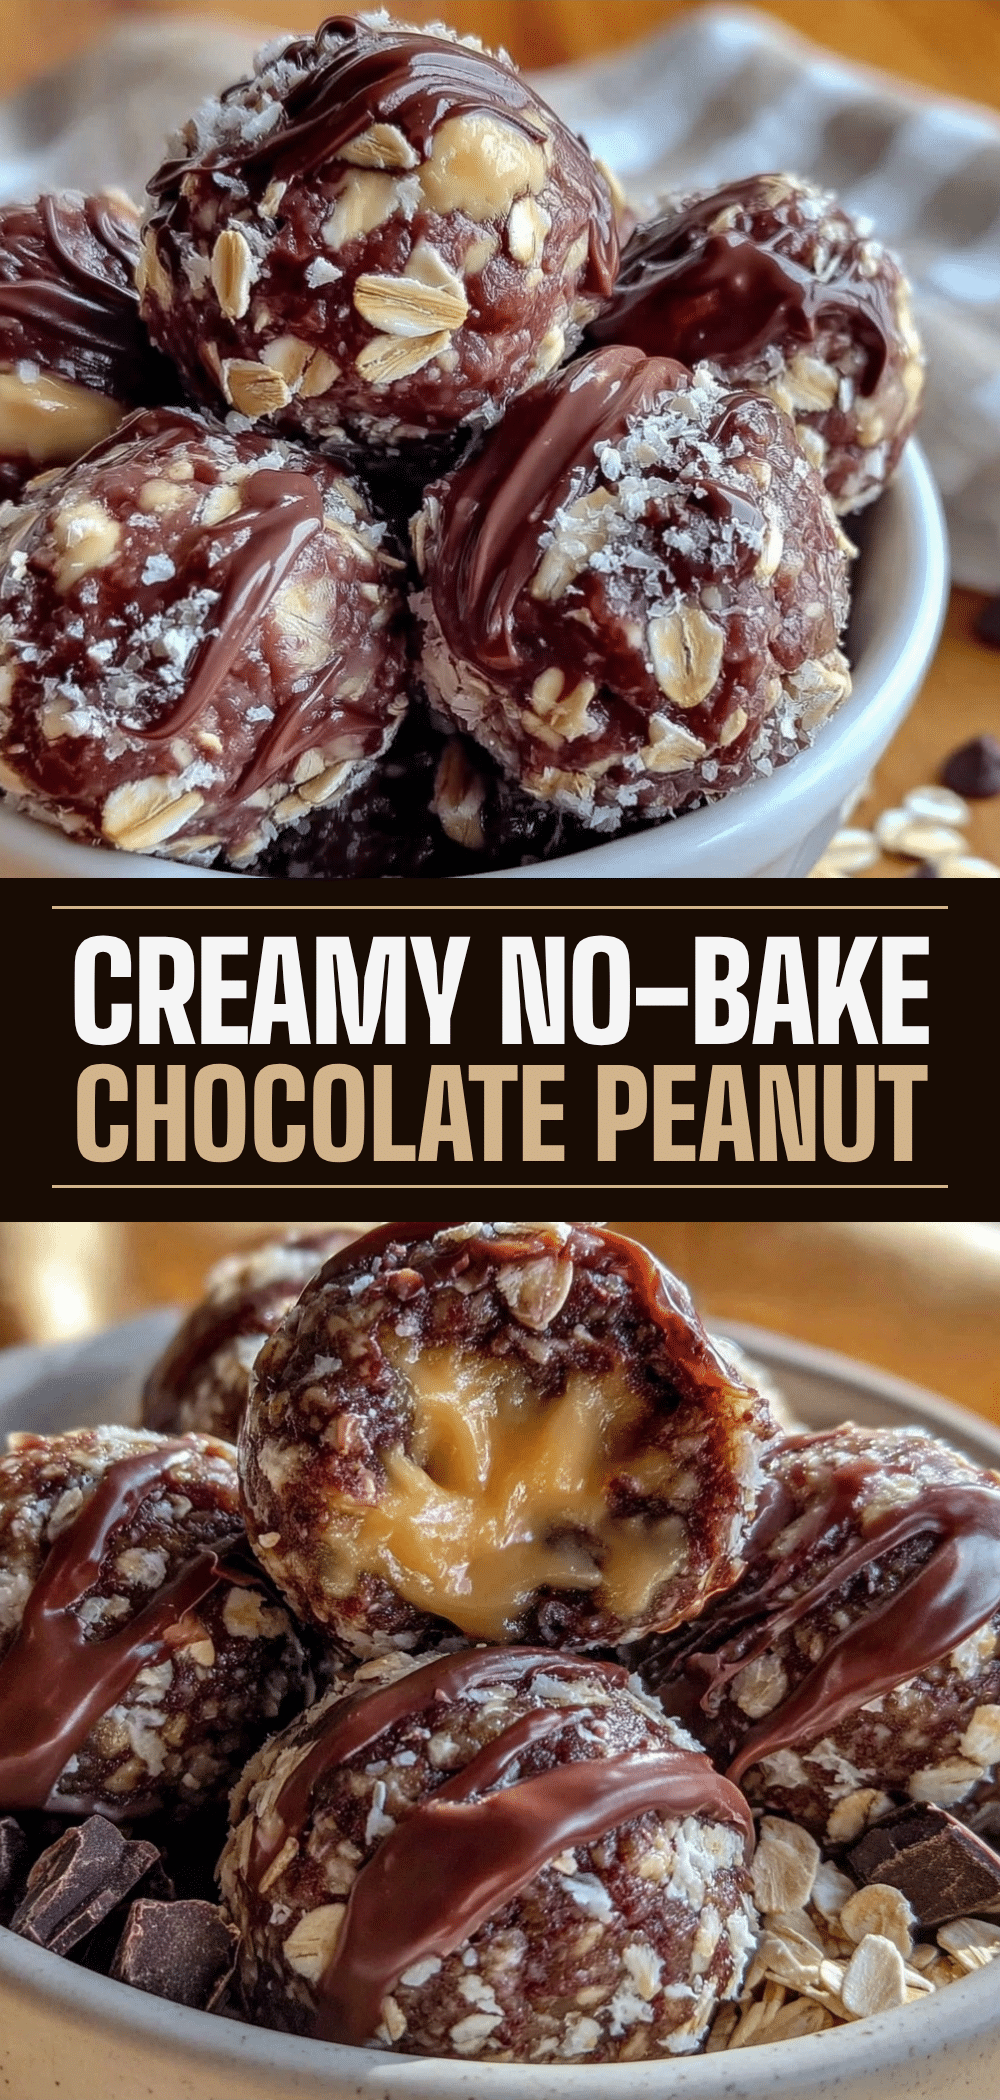
No-Bake Chocolate Peanut Butter Protein Balls: Batch Prep
- Total Time: 50 minutes
- Yield: 20-24 servings 1x
Description
These no-bake chocolate peanut butter protein balls are a high-protein, low-cleanup snack perfect for busy weeknights. They require zero cooking, freeze beautifully for up to three months, and provide grab-and-go fuel to keep you on track with your nutrition goals.
Ingredients
- 2 cups (160g) old-fashioned rolled oats
- 1 cup (250g) natural creamy peanut butter
- 1 scoop (30g) vanilla whey or plant-based protein powder
- 1/3 cup (110g) honey or maple syrup
- 2–4 tablespoons (30-60ml) milk (dairy or non-dairy)
- 1/2 cup (85g) dark chocolate chips
- 2 tablespoons (15g) flaxseed meal
- 1/4 teaspoon salt
- 1 teaspoon vanilla extract
Instructions
- Line a large baking sheet with parchment paper.
- In a large mixing bowl, combine the oats, protein powder, flaxseed meal, and salt. Whisk to break up clumps.
- Add the peanut butter, honey, vanilla extract, and milk to the dry mixture. If ingredients are stiff, microwave for 15-20 seconds to soften.
- Stir everything together with a spatula until it forms a thick, dough-like consistency. If too dry, add milk one tablespoon at a time. If too sticky, add more oats.
- Portion the mixture into equal-sized balls (approx. 1.5 tablespoons each) and roll between palms to smooth.
- Place balls on the prepared baking sheet, leaving space between them.
- Chill in the refrigerator for at least 30 minutes or in the freezer for 15-20 minutes until firm.
- Transfer to airtight containers for storage.
Notes
Ensure oats are certified gluten-free if needed. Use natural peanut butter without added sugar for best results. If the mixture is too dry, add milk gradually. If too sticky, add more oats. These freeze well for up to three months.
- Prep Time: 20 minutes
- Cook Time: 0 minutes
- Category: Snack
- Cuisine: American
Nutrition
- Serving Size: 1 ball
- Calories: 140
- Sugar: 8
- Sodium: 150
- Fat: 7
- Saturated Fat: 3
- Carbohydrates: 15
- Fiber: 2
- Protein: 6
Keywords: no-bake, protein balls, peanut butter, chocolate, meal prep, healthy snack, high protein, gluten-free option, vegan option


