Let’s be honest for a second. I love cooking, but I don’t love the daily grind of figuring out dinner while my brain is still half-asleep. For years, I tried to wing it. I’d come home, stare into the fridge, and hope something would happen. Spoiler alert: it usually didn’t. I ended up ordering takeout more often than I care to admit.
Then I discovered the magic of the “Sunday Setup.” It’s not just about cooking; it’s about creating a system. I started planning my entire week on Sunday afternoon, and everything changed. But there was one problem: side dishes are usually the most boring part of a meal-prep plan. Steamed broccoli? Bland. Plain rice? Forgettable. I needed a side that felt special, that added flavor to everything, and that actually got better as the days went on.
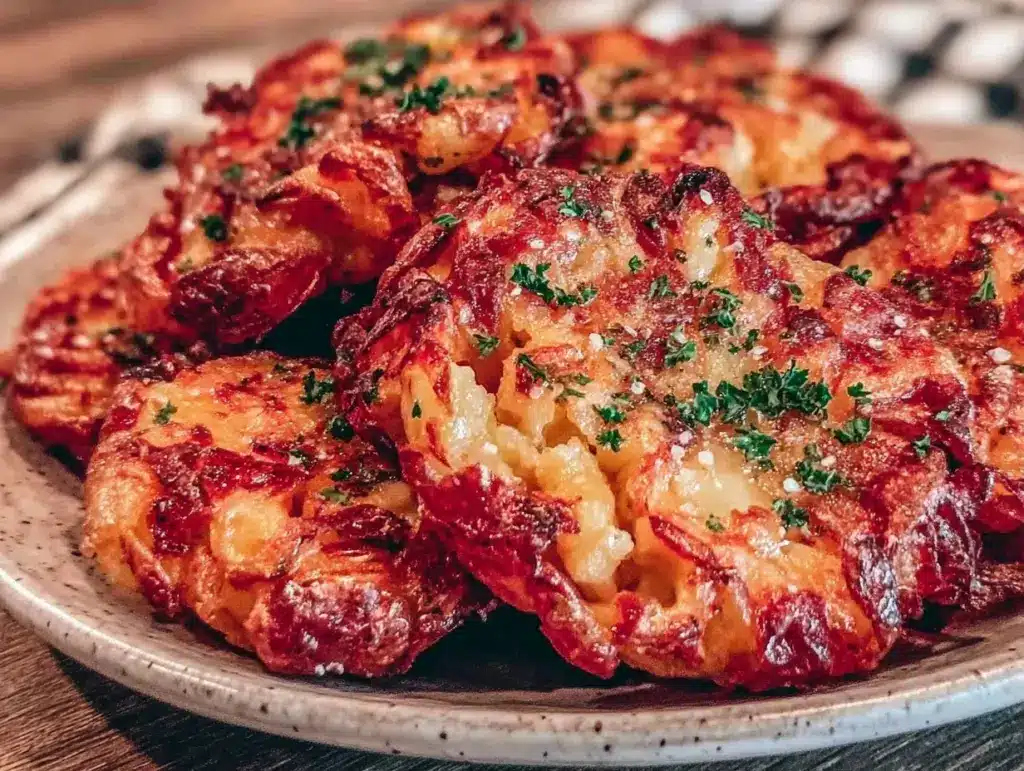
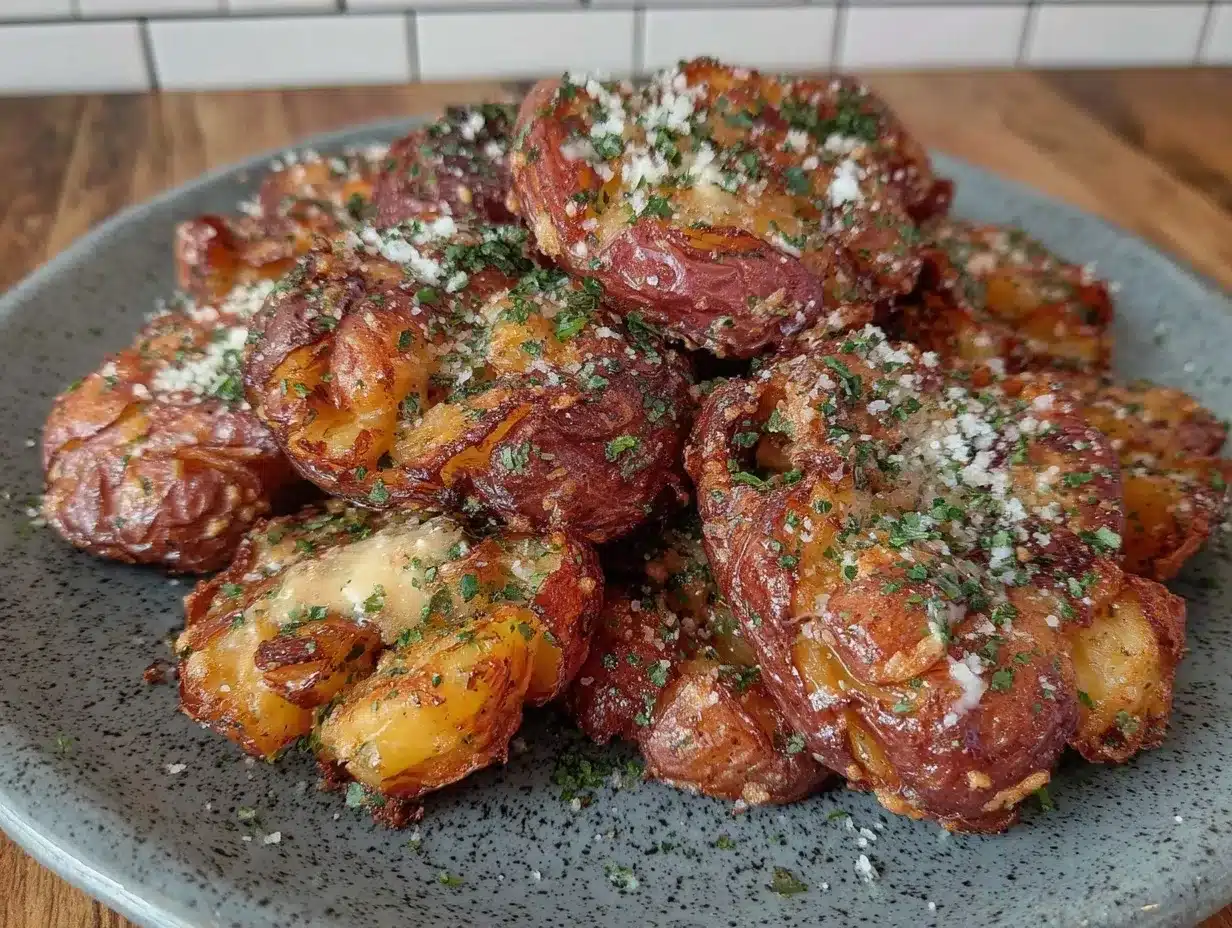
That’s when I stumbled on the crispy smashed potato method. I’ve tested this Crispy Smashed Potatoes with Garlic Herb Butter recipe at least a dozen times over the last few months, tweaking the herb ratios and butter temperatures until it was perfect. The result? Potatoes that are shatteringly crisp on the outside, fluffy on the inside, and coated in a garlic-herb butter that makes you want to lick the baking sheet. They reheat beautifully in the air fryer or oven, keeping their crunch. They freeze surprisingly well for a potato dish. And they pair with literally everything on my meal prep menu.
This isn’t just a side dish. It’s my secret weapon for making healthy eating feel indulgent. I make one big batch on Sunday, portion them out, and suddenly, my grilled chicken from the maple dijon roasted chicken or my high-protein chicken and broccoli meal prep bowl feels like a restaurant meal. If you’re tired of boring meal prep sides, you need to try this. Trust me.
Why You’ll Love This Recipe
I know what you’re thinking. “Potatoes? Really?” But hear me out. These aren’t your average roasted spuds. This Crispy Smashed Potatoes with Garlic Herb Butter is the ultimate meal-prep side for three specific reasons. I’ve built my entire Sunday routine around them, and here’s why they stick.
- They Actually Reheat Well — Most potatoes turn soggy and sad by Wednesday. Not these. Because they’re smashed thin and cooked in high heat, they retain their structure. When I reheat mine in the air fryer at 375°F for 5 minutes, they come out just as crispy as when they left the oven. This is huge for meal prep.
- Garlic Herb Butter is a Flavor Bomb — Plain potatoes are boring. This garlic herb butter mixture (parsley, garlic, lemon zest, and real butter) adds so much flavor that you don’t need heavy sauces or dressings on your main protein. It keeps your meals lighter but still satisfying.
- Super Versatile Pairing — I’ve served these with mediterranean salmon bowls, simple grilled steak, roasted veggies, and even alongside my cozy fall butternut squash soup. They work with breakfast, lunch, and dinner. One prep step, four different meals.
Bottom line? These potatoes save me time, they save me money, and most importantly, they make me actually look forward to eating my prepped lunches. If you’re trying to eat better without eating cardboard, this is your new best friend.
Ingredients You’ll Need
Here’s the good news: you probably have 90% of these ingredients in your pantry already. I’m not asking you to buy five different spices you’ll use once. Just a few staples, and you’re golden. I’m particular about the potatoes here—smaller is better for smashing.
For the Potatoes
Small Yukon Gold Potatoes (2 pounds / 900g) — I love Yukon Golds because they have a naturally buttery flavor and creamy texture. Red potatoes work too, but they can be a bit waxier. Avoid Russets; they fall apart too easily when you smash them. Look for small potatoes, about the size of a golf ball. They cook faster and are easier to handle.
High Smoke-Point Oil (3 tablespoons / 45ml) — I use avocado oil or grapeseed oil. Olive oil burns at high temps, and we want those potatoes to crisp up, not burn. You need a good amount of oil for that crunch.
Sea Salt (1 teaspoon) — Essential for flavor. Don’t skip this.
Black Pepper (½ teaspoon) — Freshly cracked is best.
For the Garlic Herb Butter
Unsalted Butter (4 tablespoons / 60g) — I use high-quality European-style butter if I can find it. It has a richer flavor. Make sure it’s softened, not melted, for mixing the herbs.
Garlic (4 cloves, minced / about 1 tablespoon) — Yes, four cloves. This is a garlic herb butter, after all. Use fresh garlic. Jarred garlic has a metallic taste that clashes with the fresh herbs.
Fresh Parsley (2 tablespoons, chopped) — Flat-leaf parsley is my go-to. It has a cleaner, brighter flavor than curly parsley. If you can’t find it, dried parsley works in a pinch (use 1 teaspoon), but fresh is much better.
Fresh Lemon Zest (1 teaspoon) — This is the secret ingredient. The citrus cuts through the richness of the butter and potatoes. It makes the dish taste lighter and more complex. Use a microplane for the finest zest.
Garlic Powder (½ teaspoon) — Just a little bit to amplify the garlic flavor without adding more raw garlic bits.
Red Pepper Flakes (¼ teaspoon) — Optional, but I add them for a tiny kick. It balances the richness perfectly.
Equipment You’ll Need
You don’t need fancy gear for this. I keep it simple so I can prep quickly on Sundays.
Baking Sheet — I use a large rimmed baking sheet. A half-sheet pan (18×13 inches) is perfect. It gives the potatoes enough room to spread out without overcrowding.
Mason Jar Lid or Small Glass — This is your smashing tool. I keep a clean mason jar lid in my drawer specifically for this. It’s the perfect size for pressing down on small potatoes. A heavy-bottomed glass works too.
Air Fryer (Optional) — I highly recommend an air fryer for reheating. It restores the crispness better than a microwave. If you don’t have one, a toaster oven or conventional oven works fine.
Small Mixing Bowl — For whisking the herb butter.
Parchment Paper — I line my baking sheet with parchment for easy cleanup. It also prevents sticking, which is crucial when you’re smashing potatoes.
How to Make It: Step-by-Step
Alright, let’s get this done. I aim to have these prepped and in the oven within 45 minutes total. Here’s exactly how I do it, step by step.
Step 1: Boil the Potatoes (20 minutes)
Start by washing your potatoes thoroughly. You don’t need to peel them—the skin adds texture and nutrients. Place them in a large pot and cover with cold water by about an inch. Add a generous pinch of salt. Bring to a boil, then reduce to a simmer. Cook for 15-20 minutes, or until the potatoes are fork-tender. You should be able to pierce the center with a fork with no resistance. Drain them well and let them sit in the colander for 5 minutes to steam off excess moisture. Dry potatoes = crispy potatoes.
Step 2: Preheat and Prep (5 minutes)
While the potatoes boil, preheat your oven to 425°F (220°C). Line your baking sheet with parchment paper. This step is non-negotiable if you want easy cleanup. In a small bowl, mix your softened butter, minced garlic, chopped parsley, lemon zest, garlic powder, red pepper flakes, and a pinch of salt. Set aside. It should look like a fragrant, green-flecked butter paste.
Step 3: Smash the Potatoes (5 minutes)
Once the potatoes are drained and slightly cooled (so you don’t burn your hands), place them on your prepared baking sheet. Leave a little space between each one. Take your mason jar lid or small glass and gently press down on each potato. You want them to flatten to about ½-inch thickness. Don’t smash them into paste; you want them to hold their shape but be thin enough to crisp up. Sprinkle generously with sea salt and black pepper.
Step 4: Bake Until Crispy (25-30 minutes)
Drizzle the olive oil over the smashed potatoes. Make sure to get some oil into the crevices. Roast in the preheated oven for 25-30 minutes. You’re looking for golden brown edges and a crispy texture. If your oven runs hot, check them at 25 minutes. If you want extra crispiness, switch to broil for the last 2 minutes, but watch them like a hawk—they burn fast.
Step 5: Add the Garlic Herb Butter (2 minutes)
Remove the baking sheet from the oven. Immediately dollop the garlic herb butter mixture over the hot potatoes. The heat from the potatoes will melt the butter slightly, infusing it into the cracks. Use a spatula to gently spread the butter around, ensuring every potato gets some. Return to the oven for 2-3 minutes just to melt the butter fully. Remove and serve immediately.
Total Time:
About 55 minutes (20 minutes boiling, 35 minutes active cooking). But 30 of those minutes are hands-off.
Expert Tips for Perfect Smashed Potatoes
I’ve made a few mistakes along the way, so you don’t have to. Here’s everything I’ve learned from smashing potatoes for my weekly meal prep.
- Dry Them Thoroughly — This is the #1 reason potatoes get soggy. After boiling, let them steam dry in the colander. If they’re wet, they’ll steam instead of crisp in the oven.
- Use High Smoke-Point Oil — We’re baking at 425°F. Olive oil can start to break down and taste bitter at this temp. Avocado or grapeseed oil is safer and helps them crisp up better.
- Don’t Skip the Lemon Zest — I know, it’s just zest. But it brightens the whole dish. Without it, the garlic butter can taste heavy and one-note. The citrus is what makes them taste “restaurant-quality.”
- Smash Evenly — Try to smash them to a uniform thickness. If some are thick and some are thin, the thin ones will burn before the thick ones are crispy.
- Freeze for Later — These actually freeze well! Let them cool completely after baking, then freeze them on the baking sheet before transferring to a bag. Reheat from frozen in the air fryer or oven. They won’t be quite as crispy as fresh, but they’re still delicious.
Variations & Substitutions
Once you master the basic recipe, here are some ways I like to mix it up. I rotate these depending on what main dish I’m prepping.
Spicy Ranch Smashed Potatoes
Skip the lemon zest and parsley. Instead, mix the butter with dried ranch seasoning, extra garlic powder, and a bit of cayenne pepper. This pairs amazingly with my healthy chicken fajita bowl.
Herb-Crusted Parmesan
After smashing and oiling, sprinkle a generous amount of grated Parmesan cheese over the potatoes before baking. Add fresh thyme to the herb butter. This adds a savory, umami kick that’s incredible with roasted meats.
Vegan Option
Simply swap the butter for a high-quality vegan butter or coconut oil. Use nutritional yeast instead of Parmesan if you’re going the cheese route. The rest of the method stays the same. They’re still crispy and flavorful.
Gluten-Free
This recipe is naturally gluten-free! Just ensure your baking powder (if using) and any added seasonings are certified GF. I don’t use baking powder here, so it’s inherently safe.
Serving & Storage
These potatoes are incredibly versatile. Here’s how I store and reheat them for my weekly meal prep.
How to Store
Refrigerator: Let the potatoes cool completely to room temperature. Transfer to an airtight container. They’ll last for up to 4 days in the fridge. I usually portion them out into individual containers right after they cool.
Freezer: For longer storage, freeze the baked potatoes (without the butter added) on a baking sheet until solid. Then transfer to a freezer bag. They’ll keep for up to 2 months. Add the herb butter after reheating.
Reheating for Maximum Crisp
Never microwave these if you want them crispy. The microwave will make them chewy and sad. Instead:
- Air Fryer: 375°F for 5-7 minutes. This is my preferred method. They come out shatteringly crisp.
- Oven: 400°F for 10-12 minutes. Place on a wire rack if possible for even air circulation.
- Toaster Oven: 400°F for 8-10 minutes. Works well for smaller batches.
Once reheated, add a fresh dollop of the garlic herb butter. The cold butter on hot potatoes is the best part.
What to Serve With Them
I use these as a side for almost everything. They pair beautifully with the high-protein ground beef skillet, the mediterranean chicken skewers, or even a simple salmon rice bowl. They’re also great with breakfast, alongside my sausage and cheddar breakfast sliders.
Nutrition Information
I’m not a nutritionist, but here’s the breakdown if you’re tracking macros. This is per serving (based on 4 servings).
Per Serving:
- Calories: 280
- Protein: 5g
- Carbs: 38g
- Fiber: 3g
- Sugar: 2g
- Fat: 12g
- Saturated Fat: 6g
- Sodium: 320mg
These are relatively low in calories but high in satisfaction thanks to the fiber and healthy fats from the butter and oil. They’re a great way to add complex carbs to your meal prep without feeling heavy.
Final Thoughts
So there you have it—my go-to Crispy Smashed Potatoes with Garlic Herb Butter. I make these every single Sunday now, and they’ve completely changed how I approach meal prep. They’re crispy, flavorful, and actually enjoyable to eat on a Wednesday night when you’re tired.
Give this recipe a try. Smash those potatoes, make that garlic butter, and enjoy a side dish that actually gets you excited to eat healthy. If you make them, let me know how you liked them! Drop a comment below with your favorite variation or what you served them with. I love hearing how you adapt my recipes.
Happy prepping, and happy eating!
Frequently Asked Questions
Can I use large potatoes instead of small ones?
You can, but it’s not ideal. Large potatoes are harder to smash evenly and take longer to cook through. If you only have large potatoes, cut them in half or quarters before boiling. This will help them cook faster and be easier to smash.
Why are my smashed potatoes soggy?
This usually happens for two reasons: either the potatoes weren’t dry enough after boiling, or they were overcrowded on the baking sheet. Make sure to let them steam dry in the colander, and leave space between each potato on the pan so air can circulate.
Can I make the garlic herb butter ahead of time?
Yes! You can make the herb butter up to 3 days in advance. Store it in a small airtight container in the fridge. Let it come to room temperature before using it, or microwave it for 10 seconds to soften.
Do these freeze well?
Yes, they do. I recommend freezing them before adding the garlic herb butter. Bake, cool, and freeze. When you’re ready to eat, reheat in the oven or air fryer, then add the fresh butter. Adding the butter before freezing can make the texture a bit greasy.
Can I use an air fryer for the initial cooking?
Absolutely. After boiling and smashing, place them in the air fryer basket (don’t overcrowd). Cook at 400°F for 15-18 minutes, flipping halfway through. They’ll crisp up beautifully. Just be careful not to stack them.
Is there a dairy-free option for the butter?
Yes. Use a high-quality vegan butter stick or coconut oil. Melt the coconut oil and mix it with the herbs and garlic. It won’t be exactly the same texture, but the flavor will still be delicious.
Pin This Recipe!
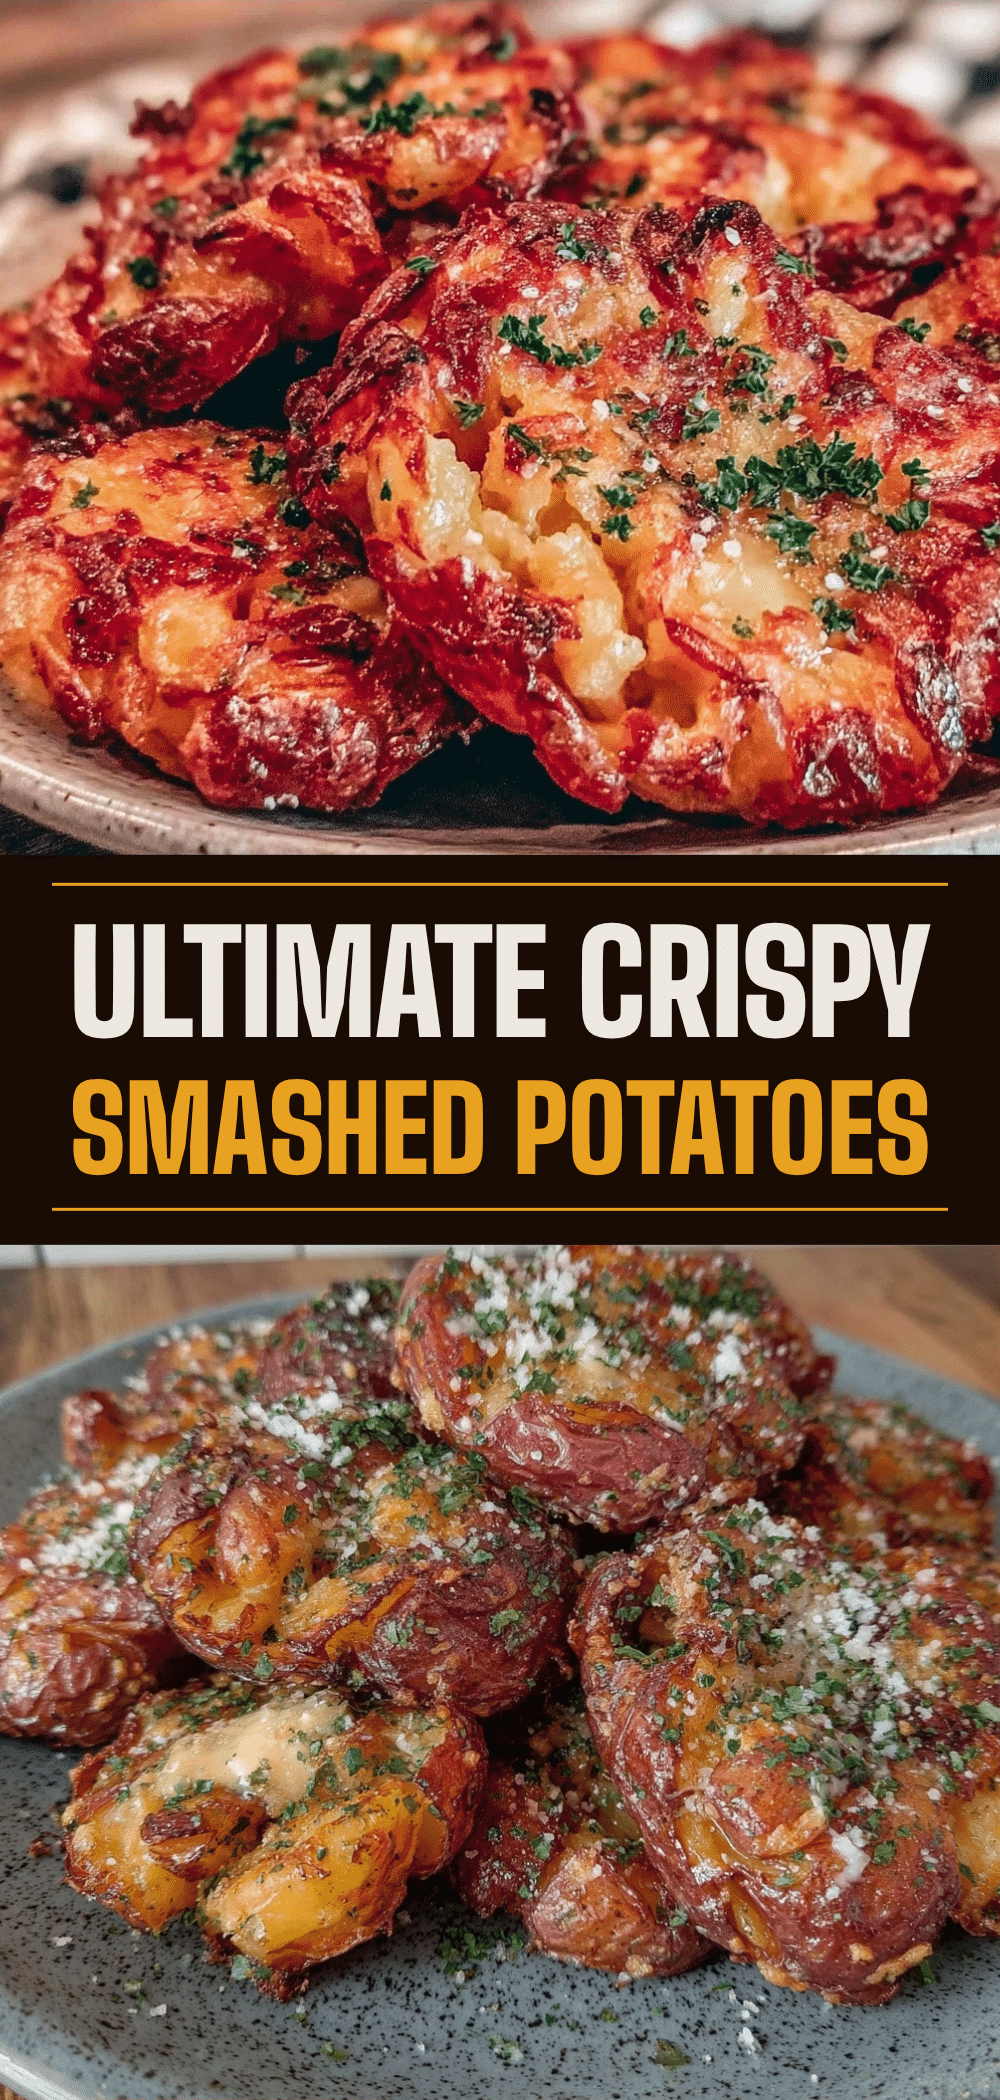

Crispy Smashed Potatoes with Garlic Herb Butter
- Total Time: 55 minutes
- Yield: 4 servings 1x
Description
These crispy smashed potatoes are the ultimate meal-prep side dish. Boiled until tender, smashed thin, and roasted to shattering crispness, they are finished with a rich garlic herb butter that keeps them flavorful and satisfying throughout the week.
Ingredients
- 2 pounds small Yukon Gold potatoes
- 3 tablespoons high smoke-point oil (avocado or grapeseed)
- 1 teaspoon sea salt
- 1/2 teaspoon black pepper
- 4 tablespoons unsalted butter, softened
- 4 cloves garlic, minced
- 2 tablespoons fresh parsley, chopped
- 1 teaspoon fresh lemon zest
- 1/2 teaspoon garlic powder
- 1/4 teaspoon red pepper flakes (optional)
Instructions
- Wash potatoes thoroughly (do not peel). Place in a large pot and cover with cold water by an inch. Add a generous pinch of salt.
- Bring to a boil, then reduce to a simmer. Cook for 15-20 minutes until fork-tender.
- Drain potatoes and let them sit in a colander for 5 minutes to steam off excess moisture.
- Preheat oven to 425°F (220°C). Line a large rimmed baking sheet with parchment paper.
- In a small bowl, mix softened butter, minced garlic, chopped parsley, lemon zest, garlic powder, red pepper flakes, and a pinch of salt to create a herb butter paste.
- Place dried potatoes on the prepared baking sheet. Using a mason jar lid or small glass, gently press each potato to flatten to about 1/2-inch thickness.
- Sprinkle smashed potatoes generously with sea salt and black pepper.
- Drizzle oil over the potatoes, ensuring it gets into the crevices.
- Roast for 25-30 minutes until golden brown and crispy. Optionally broil for the last 2 minutes for extra crispness.
- Remove from oven and immediately dollop the garlic herb butter over the hot potatoes.
- Spread butter gently to infuse into the cracks. Return to oven for 2-3 minutes to melt butter fully. Serve immediately.
Notes
Ensure potatoes are completely dry after boiling to achieve maximum crispiness. Use high smoke-point oil like avocado or grapeseed oil as olive oil can burn at 425°F. These freeze well before adding the butter; reheat in an air fryer or oven to restore crunch. Do not microwave as it makes them soggy.
- Prep Time: 15 minutes
- Cook Time: 40 minutes
- Category: Side Dish
- Cuisine: American
Nutrition
- Serving Size: 1 serving (approx. 4
- Calories: 280
- Sugar: 2
- Sodium: 320
- Fat: 12
- Saturated Fat: 6
- Carbohydrates: 38
- Fiber: 3
- Protein: 5
Keywords: smashed potatoes, meal prep, crispy potatoes, garlic herb butter, side dish, vegetarian, gluten-free, air fryer friendly


